
I took a long strip of diodes connected to each other, cut it into fragments of the desired length, energized, soldered the switch and carefully hidden all the wires. This project can be easily adapted to any other place where lighting is needed under something (for example, under wall cabinets in the kitchen, above the workplace, under different shelves, in display cases, etc.). This workshop is a good instruction on how to properly install lighting strips in general and how they can be used for different low-voltage lighting systems.
Step 1: Materials
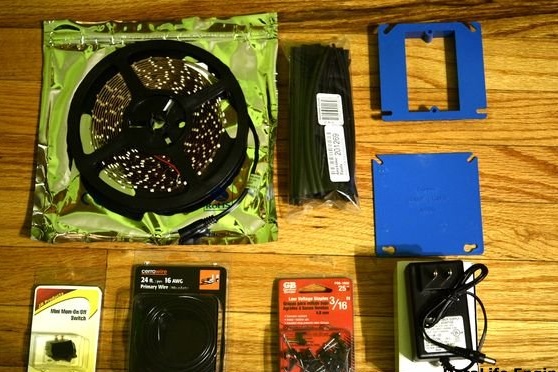
Here is all that I used for this project:
- diode strip
- AC adapter
- switch
- heat-shrink tubing
- junction box
- cover for junction box
- wire
- wire clips
- 2 screws and bolts 8-32
- a pencil for painting chips
- small wood screws
The total cost of all this stuff is about 1200 rubles.
Step 2: Tools
- drill
- Hammer
- Nippers
- Stripping tool
- Soldering iron and solder
- A building hair dryer or just a hair dryer
- Roulette
- (Optional) hot glue gun
- (Optional) paint brush
Step 3: plan

Each strip of diodes will be approximately 1.5 m in length. The total energy consumption will be 2A at 12V DC.
Step 4: initial wiring
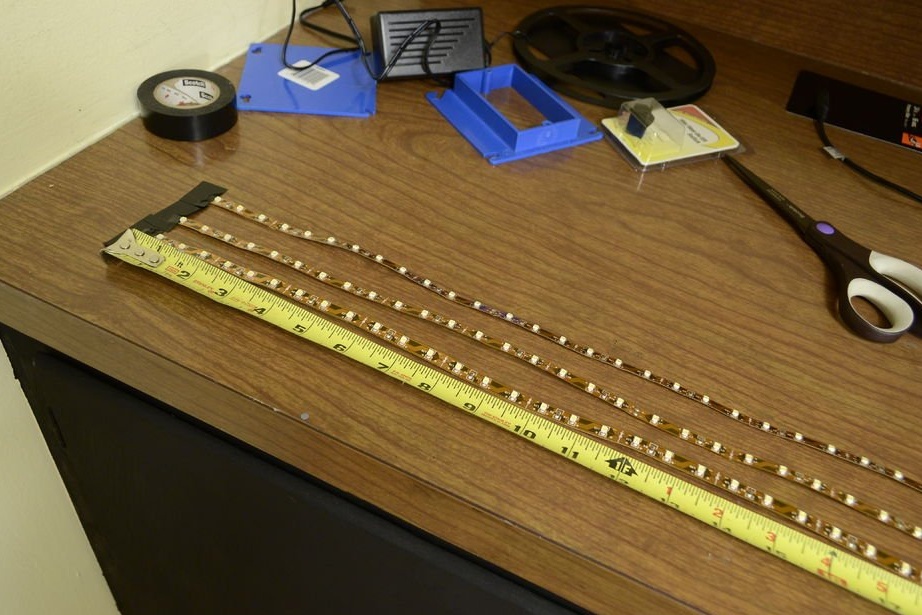
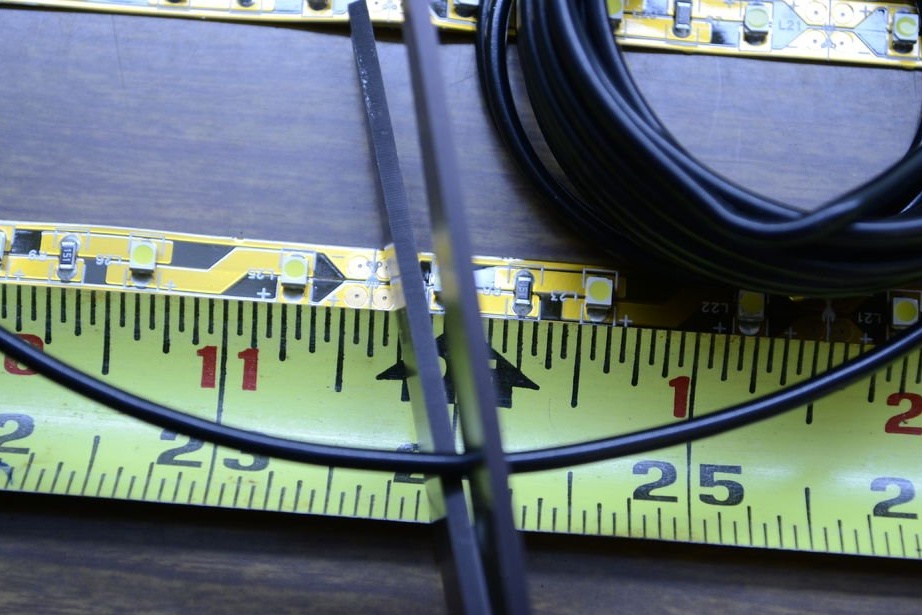

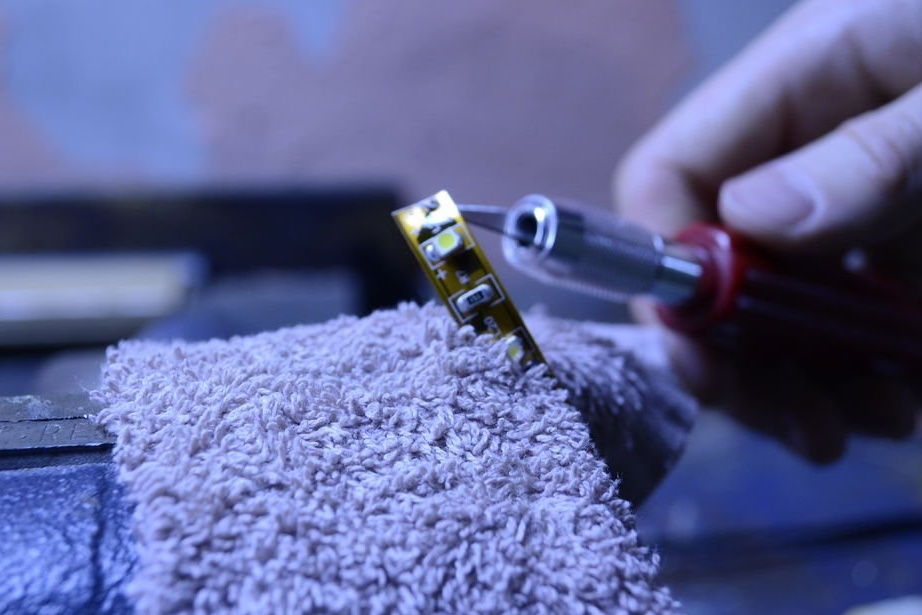
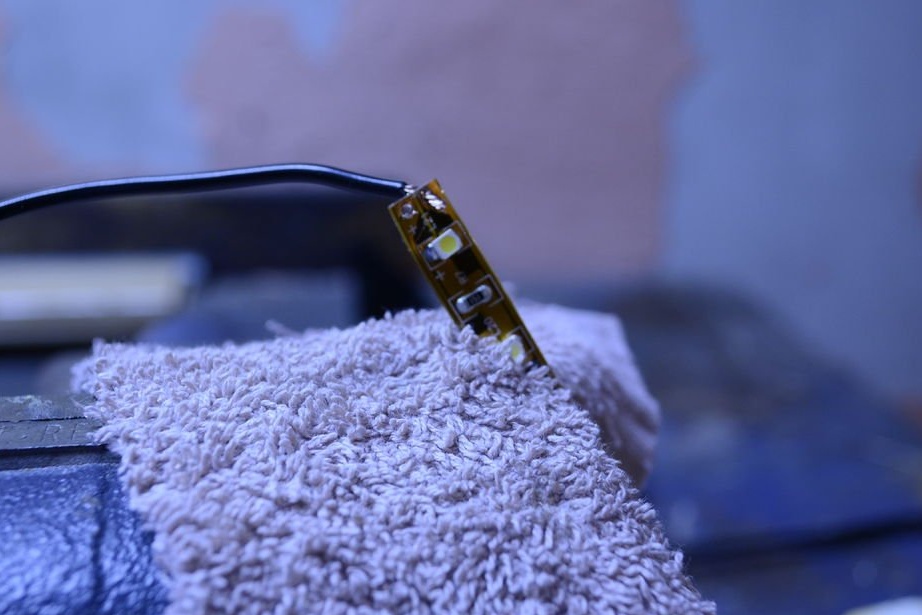
1. Measure and cut the diode strip into segments of the desired length.
2. Since both wires are the same color, mark one positive wire with electrical tape.
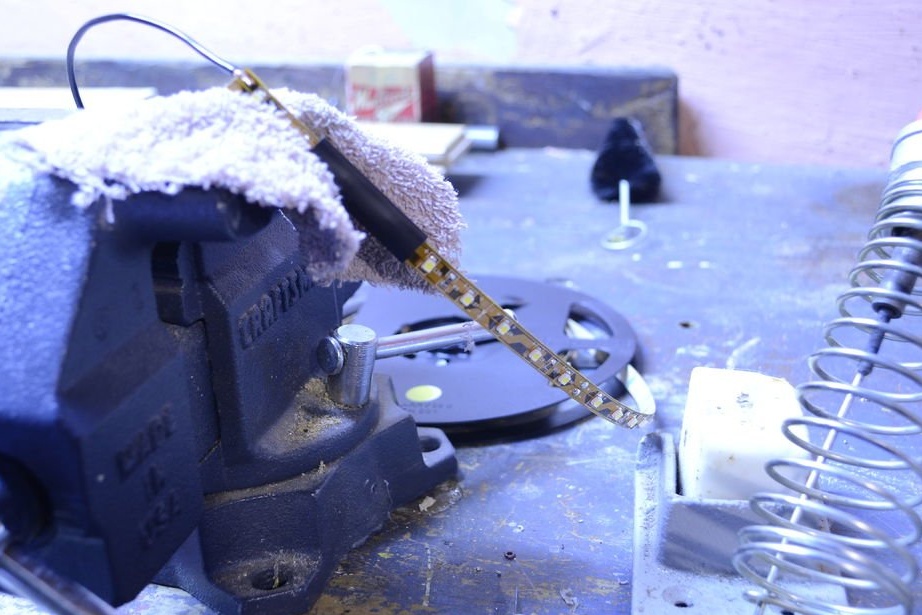
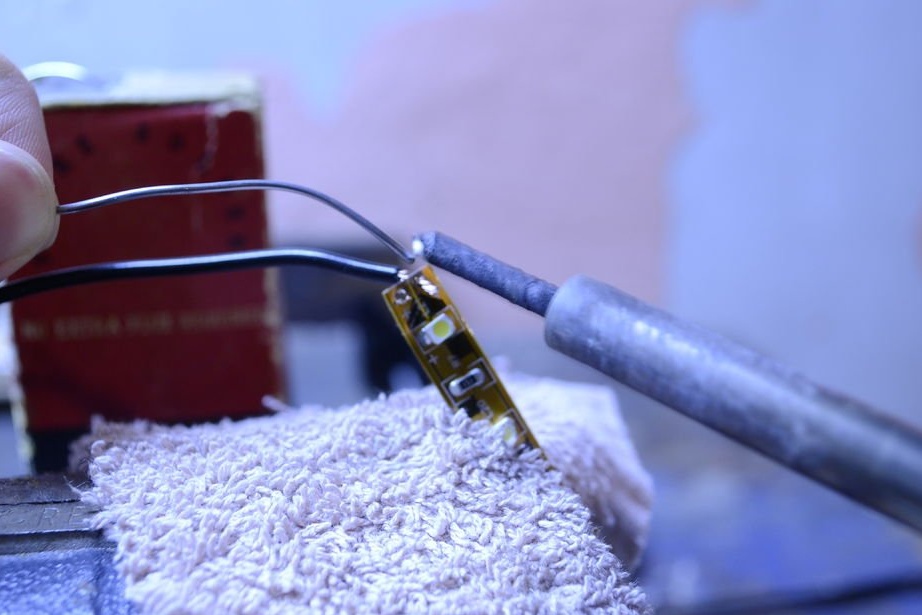
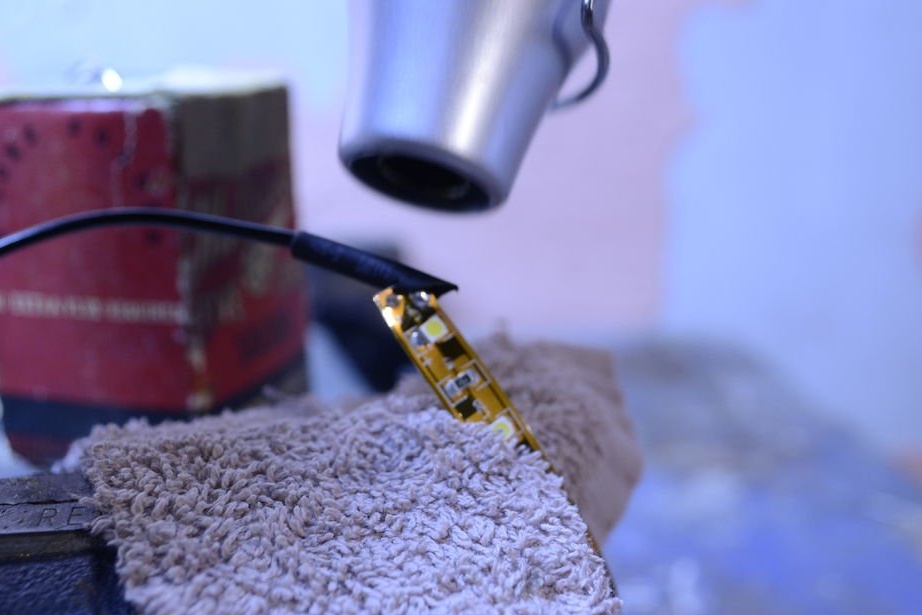
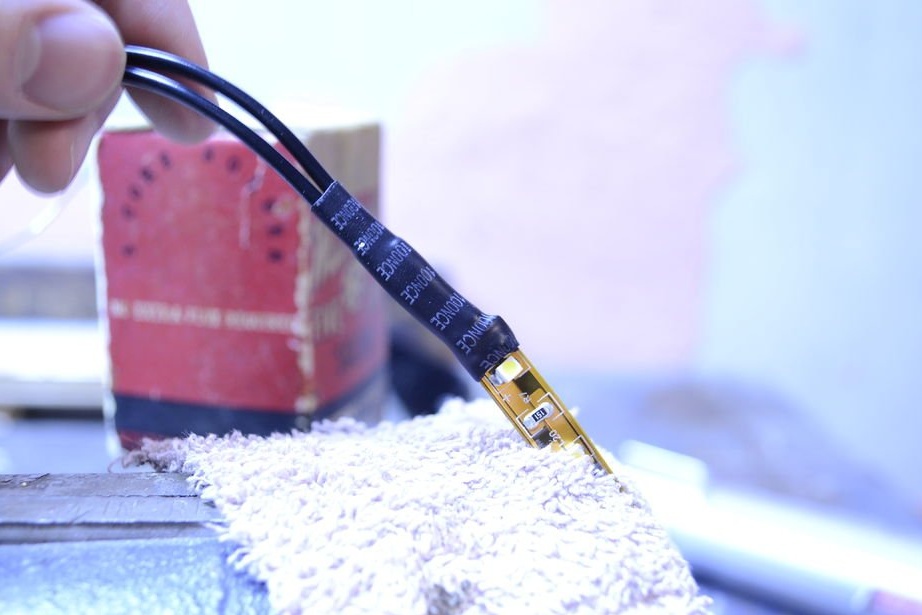
3. Solder the wire to the end of the strip of diodes and put on a heat shrink tube.
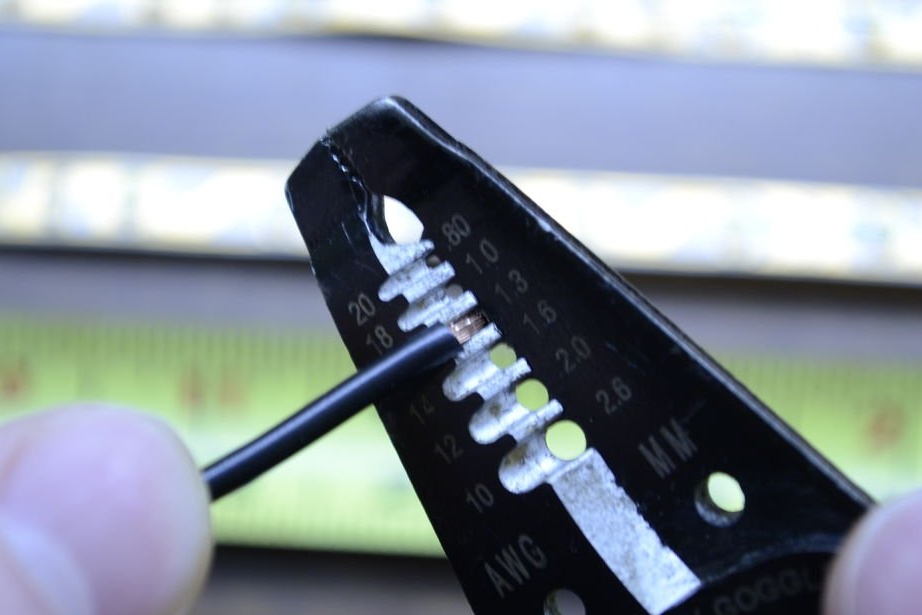
4. Bare the DC input of the connector that was connected to the diode tape during production.
5. Solder about 20 cm of wire to the terminals of the switch, put a heat-shrink tube on it.
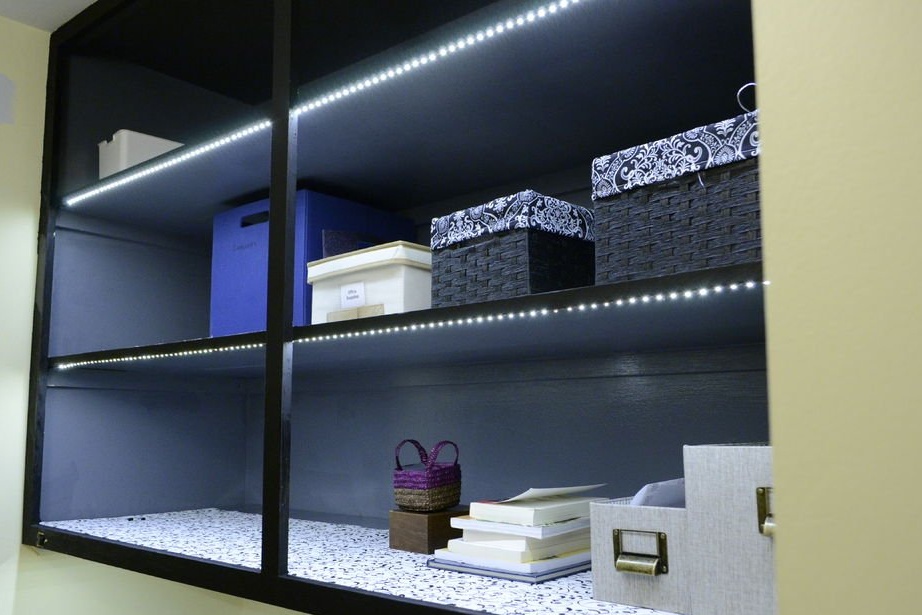
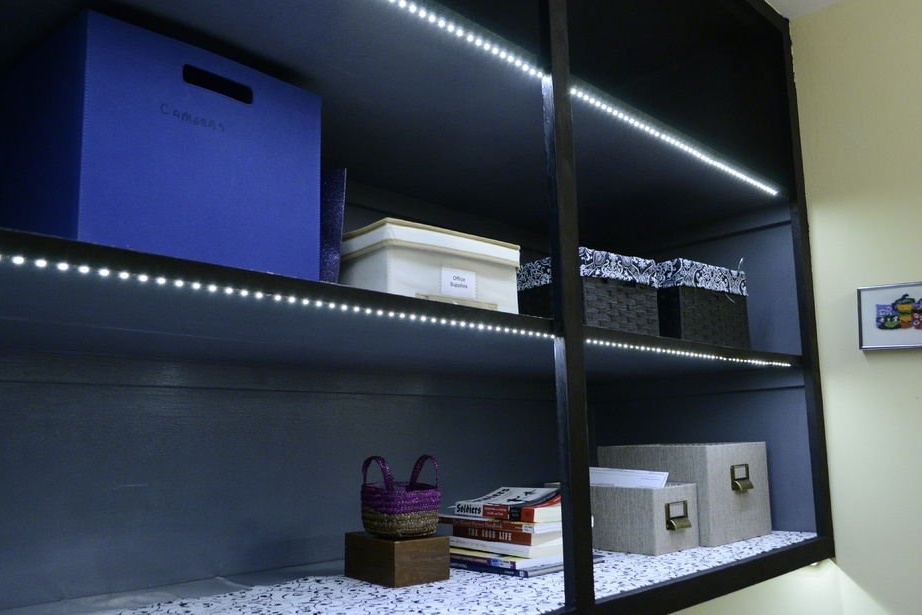
Step 5: Attaching the Diode Tape
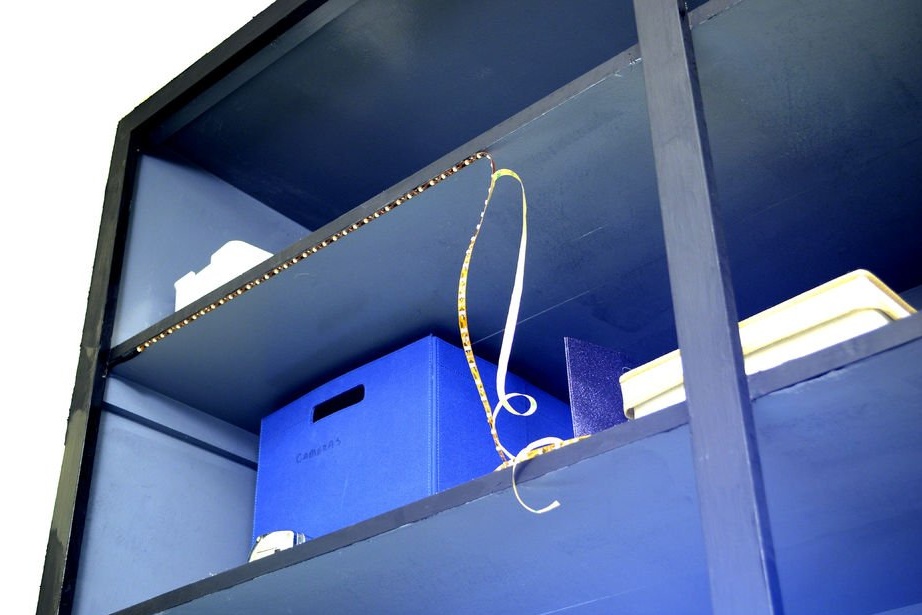
Glue the diode tape to the surface by removing the protective film and firmly pressing it in the places between the diodes.
Take your time and act carefully while trimming the tape with a ruler.
Perhaps in some places you will need hot glue (for example, at the ends of the tape), but usually the adhesive surface of the tape is quite reliable.
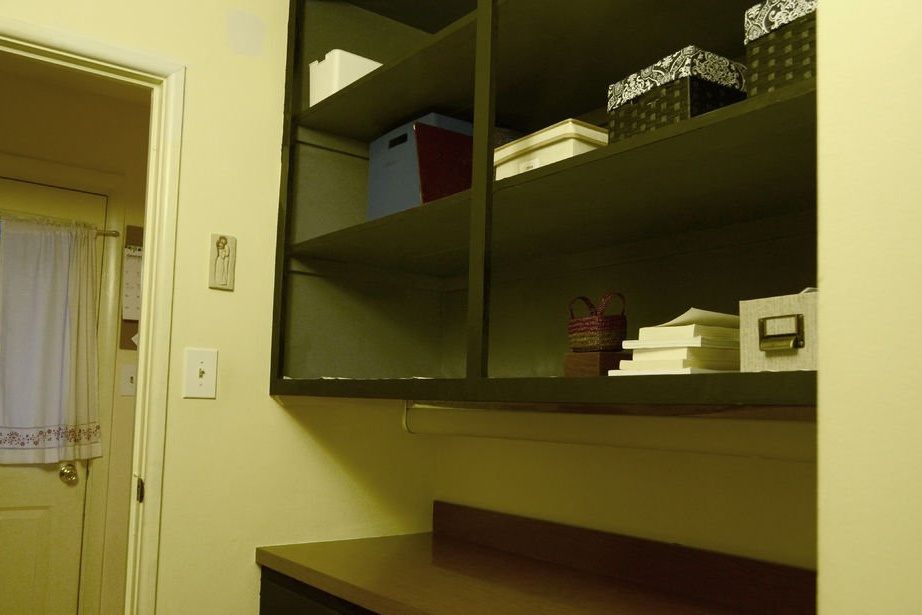
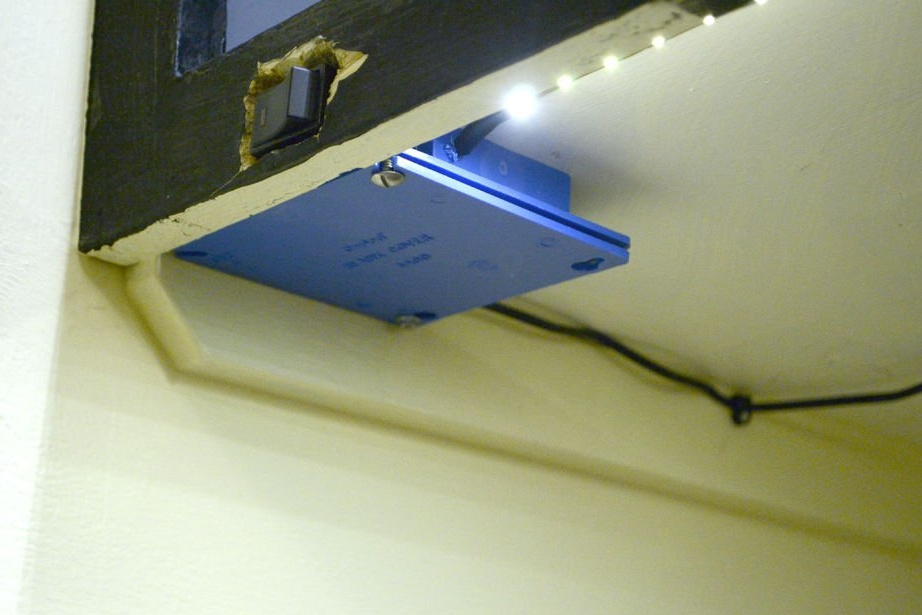
Step 6: Drill
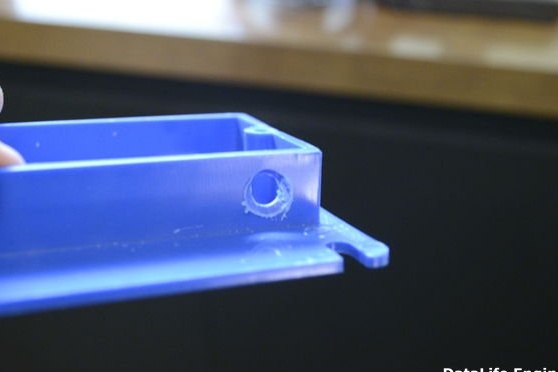
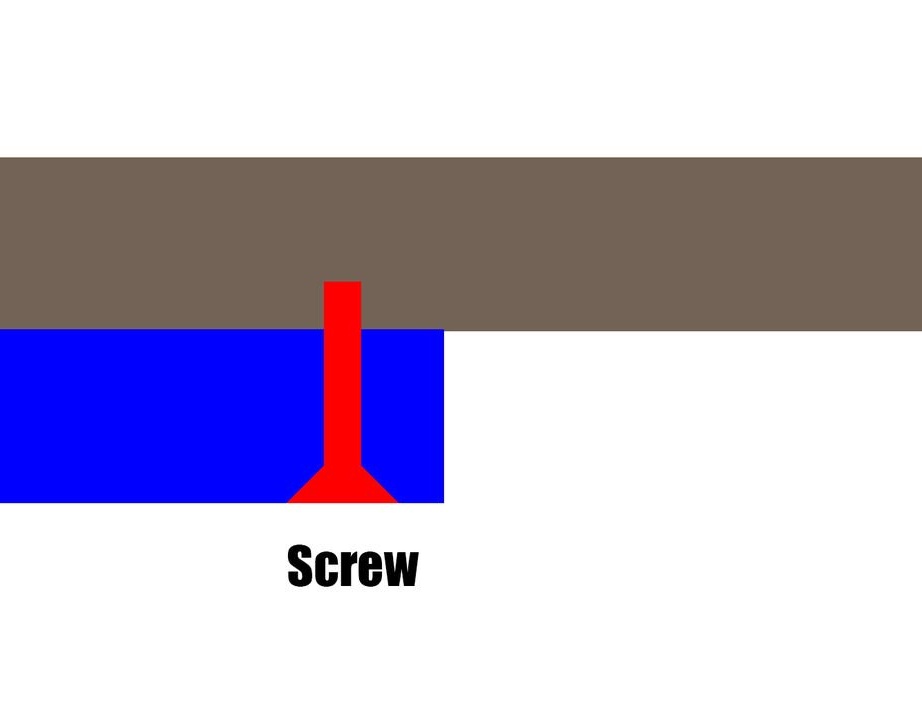
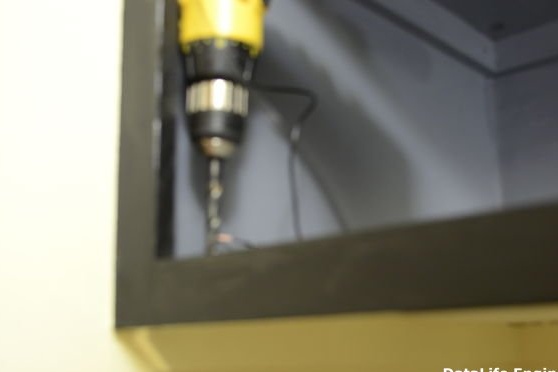
Drill holes on the shelves and the housing (for wires). Fasten the case of the box under the shelf with screws (you can drill the already existing holes in the case with a large drill so that the screw head fits snugly)
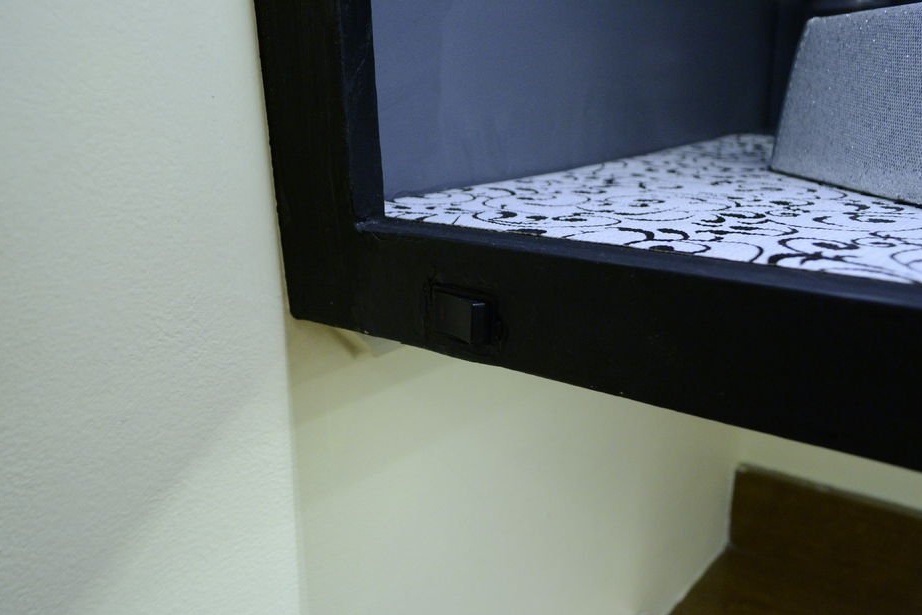
Drill a hole for the switch.
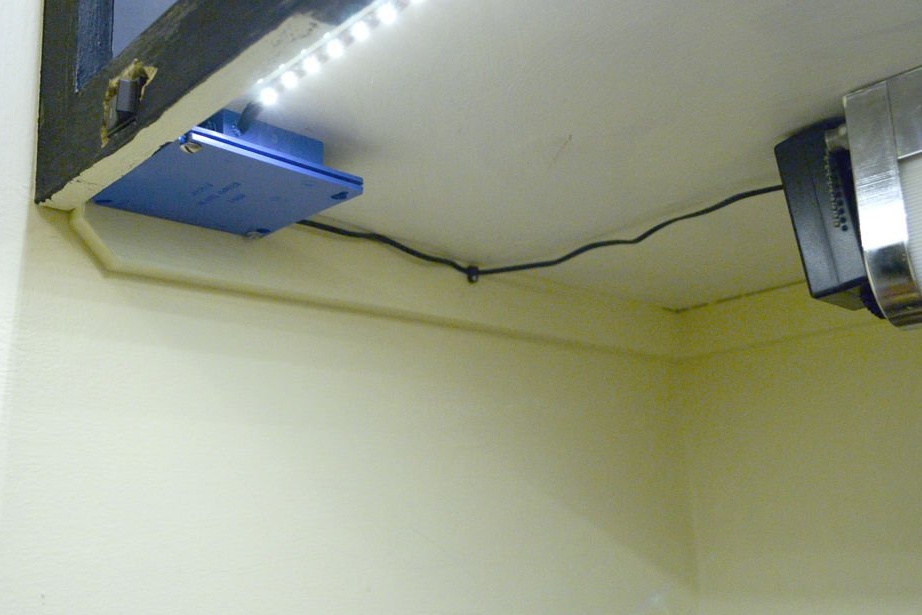
Step 7: Posting
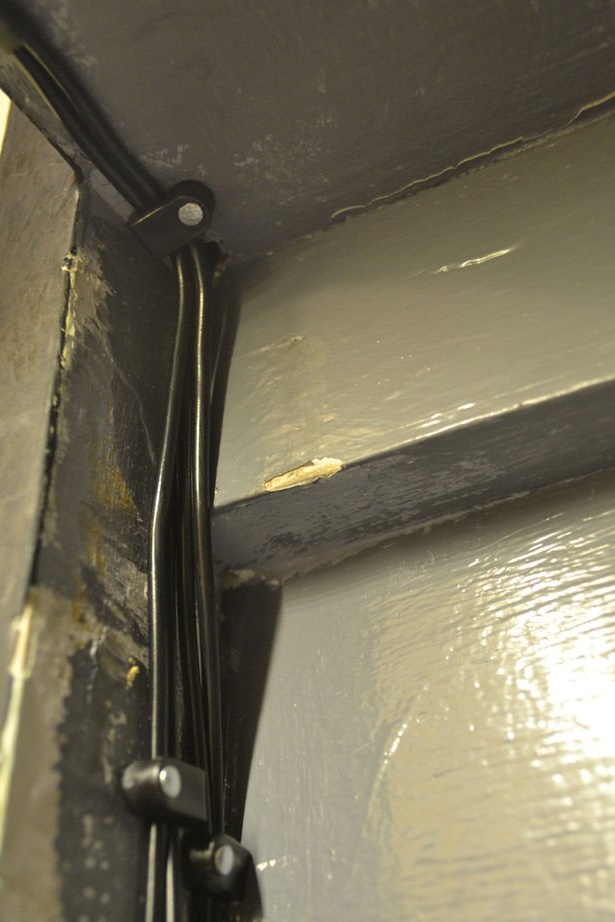
Pull the wires through the holes. Secure them with staples.
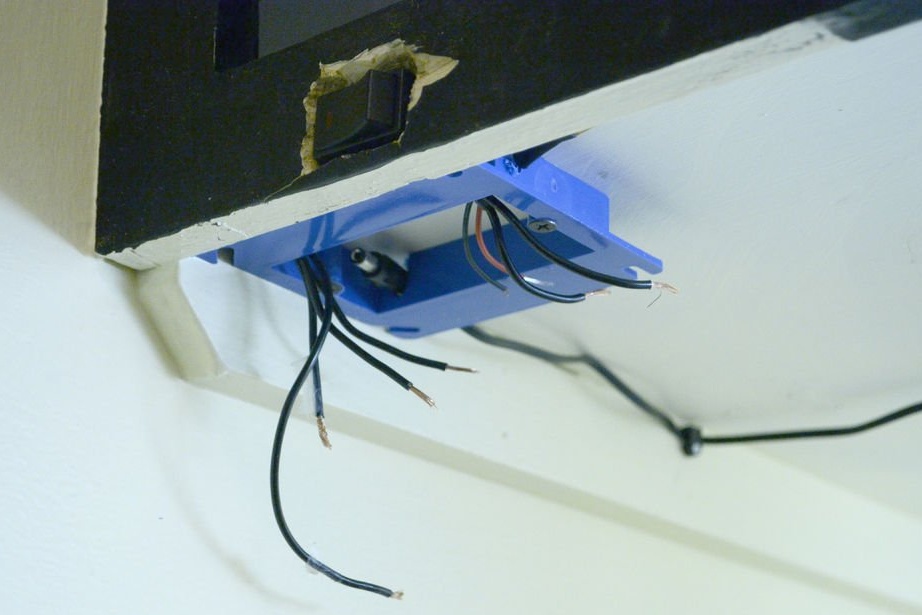
Step 8: Connect the wires
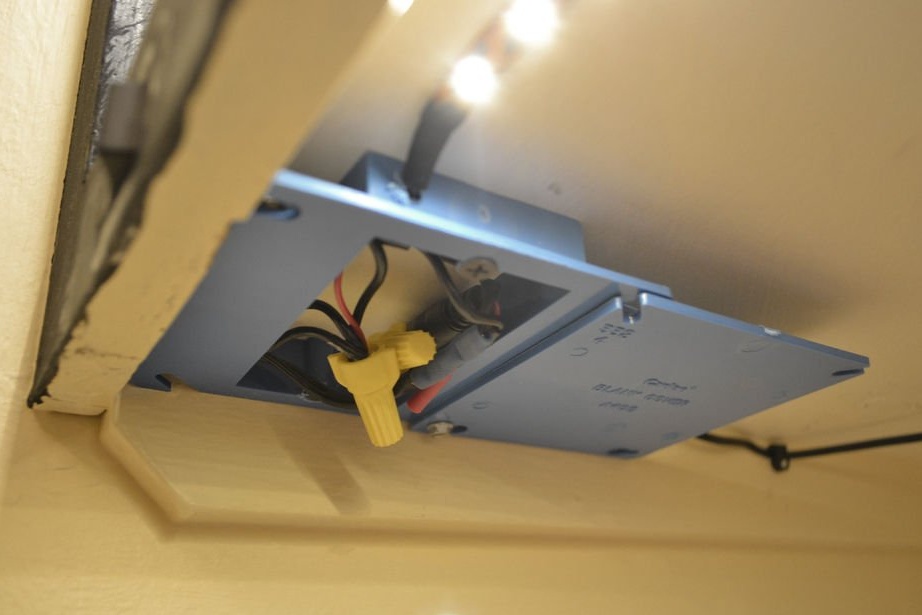
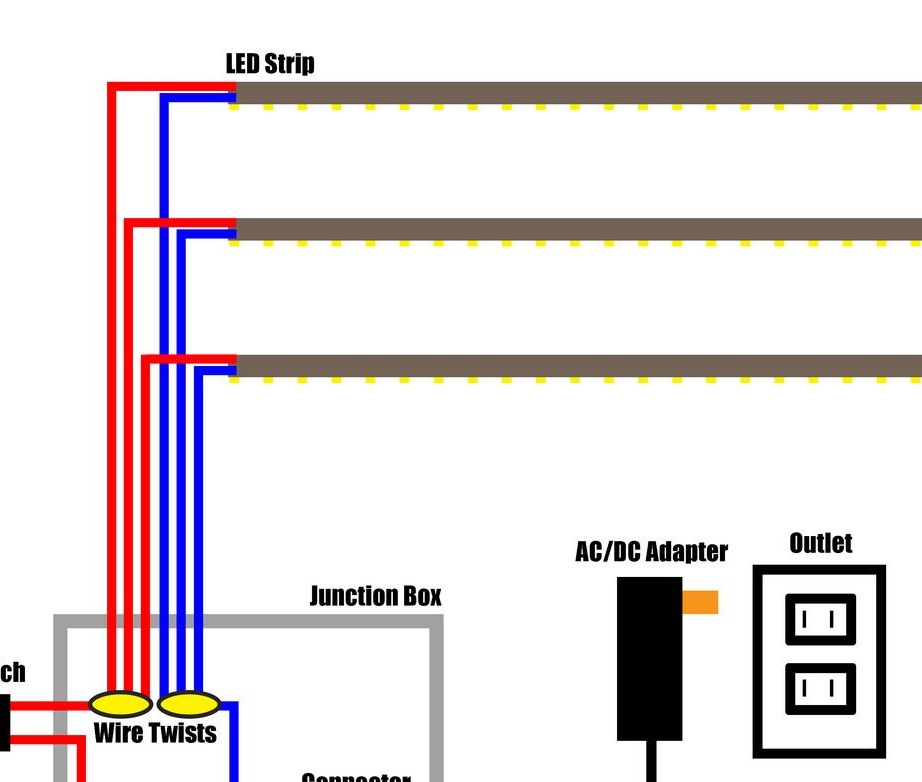
Connect the wires together as shown in the graph.
Twist the wires into a spiral, and then use twisted wires.
Make sure that there are no bare wires, carefully cover everything with electrical tape.
Close the box with the lid.
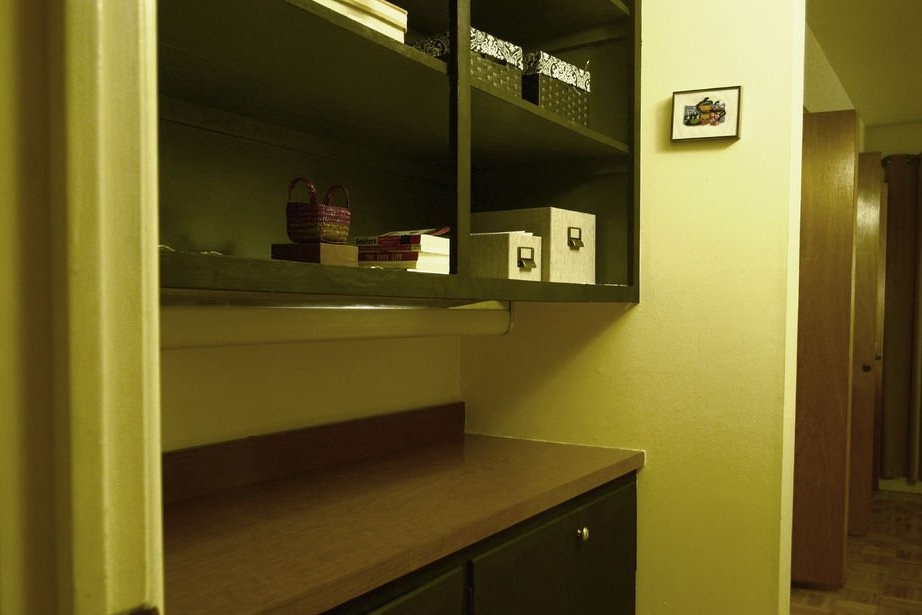
Step 9: Finish
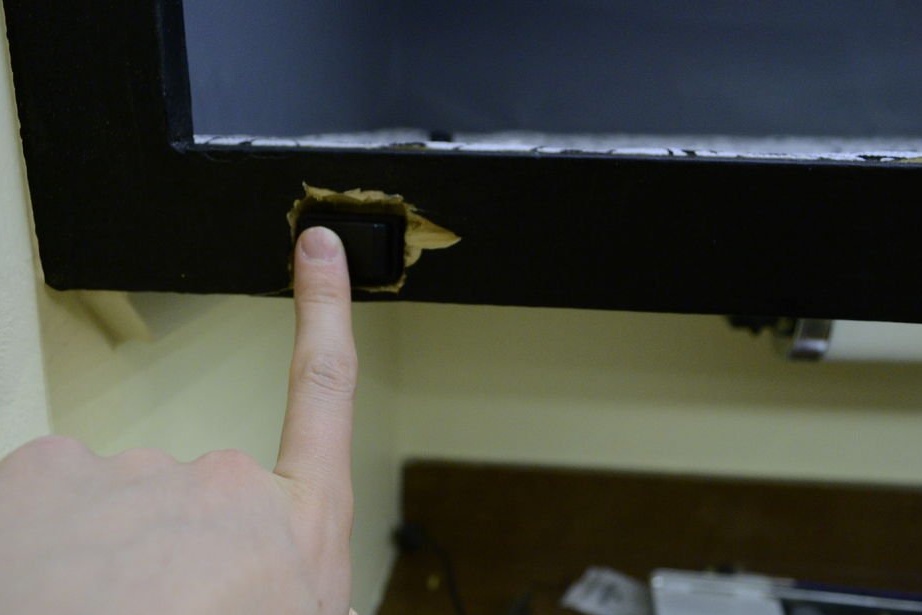
I needed to mask the breaks around the switch, so I smeared them and painted over.