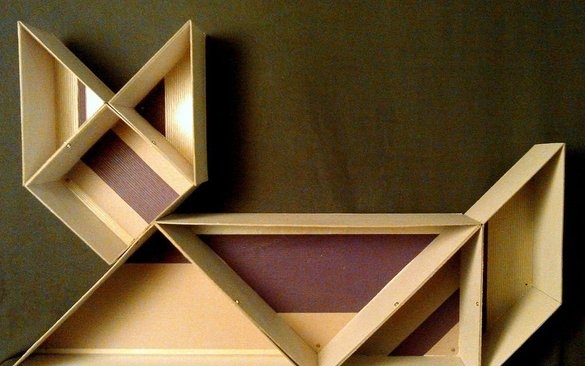
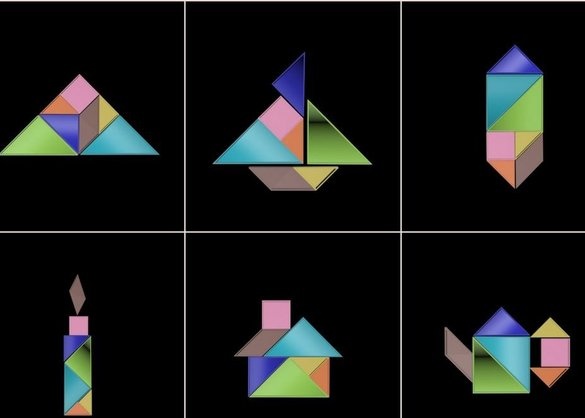
I got inspiration for such an original organizer from the famous Chinese puzzle, a tangram made of seven fragments (one parallelogram, one square and five triangles), which can be rearranged in different shapes.
Tangram (a Chinese game, translated as “seven tablets of mastery”) is a puzzle of seven flat shapes called tans, which are assembled in different shapes. The goal of the puzzle is to form a specific figure (along a given silhouette or contour) using only seven fragments that should not overlap each other.
Fragments:
The figures must be proportional to each other so that when assembled they form a square. These figures include:
- 2 large right-angled triangles
- 1 middle right triangle
- 2 small right-angled triangles
- 1 square
- 1 parallelogram
A parallelogram differs from other figures in this set in that it is the only one that does not have mirror symmetry, it only has rotational symmetry. So you can mirror it only by turning it 180 degrees. Therefore, he is the only figure who will have to turn upside down when drawing figures.
Step 1: Material
For this interesting interior decoration, which also serves as an organizer for various little things, you can use any material (if you plan to use it as drawers for storing things, the material should be strong enough).
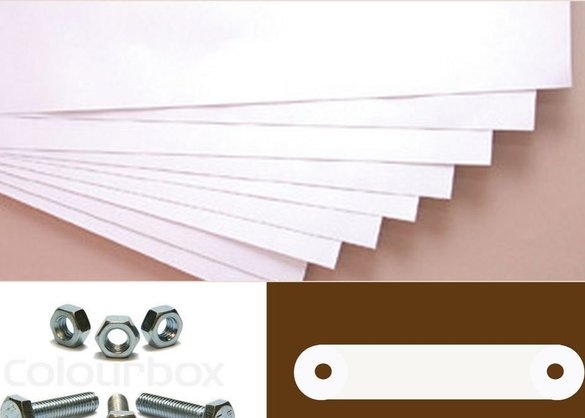
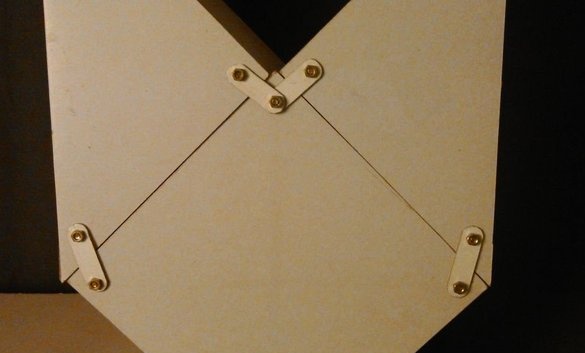
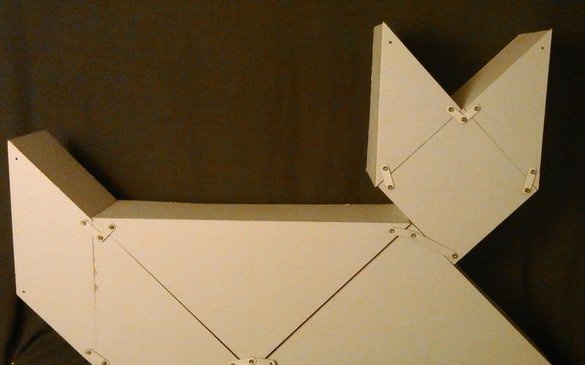
I used thick white cardboard. To connect fragments together, you can use bolts with a nut and connectors (as shown in the photo).
I made these connectors from the same cardboard (you can find ready-made ones in stores, if you are too lazy to do it yourself). I made it out by cutting cardboard into strips of the desired length with rounded edges and punching holes at both ends (this is easy and quick, actually).
Step 2: How to make these shapes?
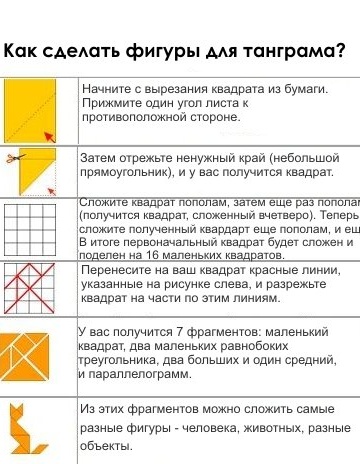
The figure above explains well how you can make the shapes you need.
Once you have cut the square into the desired pieces, drill a hole in each corner. So it will be easier to collect them together!
Step 3: How to turn flat shapes into volumetric ones?
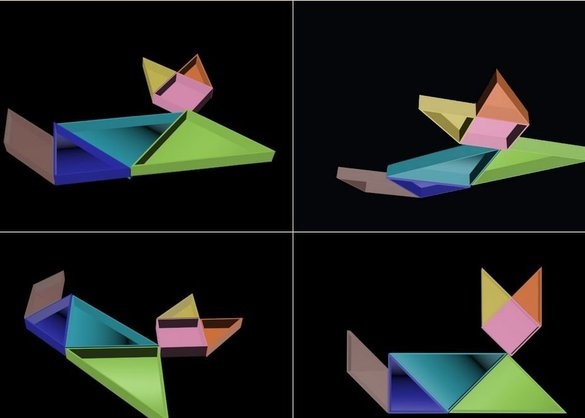
The main idea of this organizer is to turn flat shapes into three-dimensional ones, giving them a certain height (the height itself depends on your preferences).
Height can be given by the faces attached to the sides of the cut figures of the tangram.
Step 4: How to put everything together?
At this stage, you have 3-dimensional tangram figures, as well as nuts, bolts and connectors.
I explained how to make connectors in step 2.
Now you need to add the desired object from the figures and fasten the figures with a connector, two bolts and two nuts. All this needs to be done until all figures are fastened.
I chose a sitting cat as an object :)
Step 5: Ready to use :)
After all the previous steps, just add a hook on which the tangram could be suspended. Or just put it somewhere.
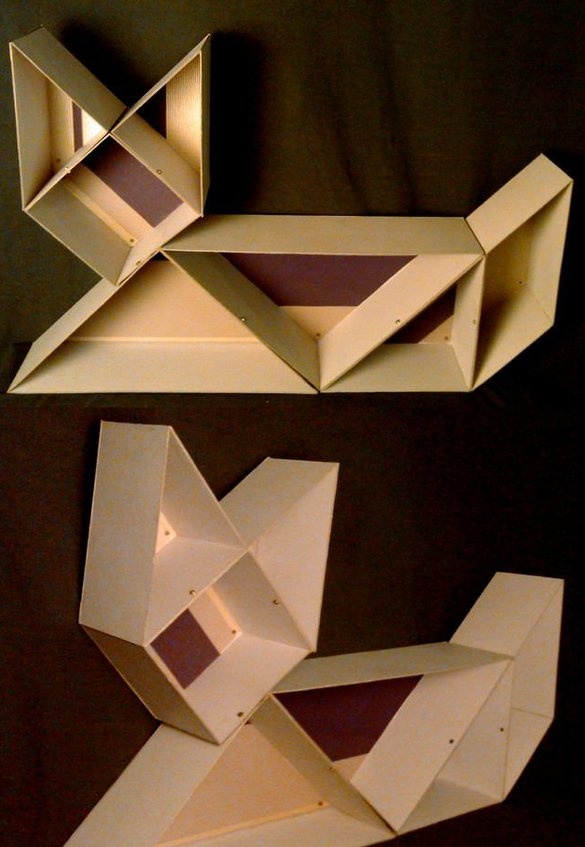
Step 6: Boring? We change the form!
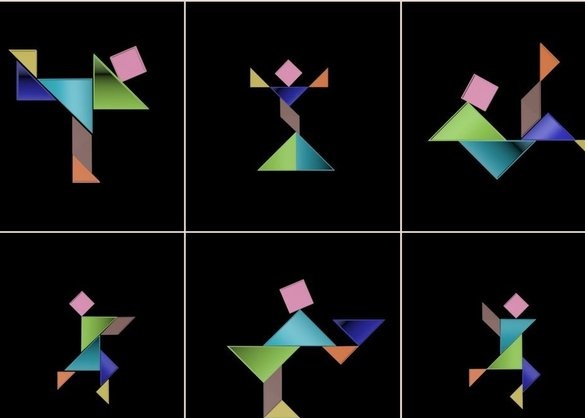
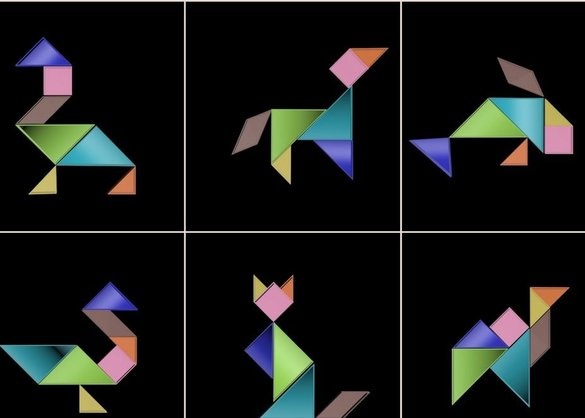
The best feature of this organizer is the ability to change shape if the former bored you. Just unwind the structure, reform it into another shape, and screw the screws again!
I showed several models that can be used ... But these are far from all options, do it!

