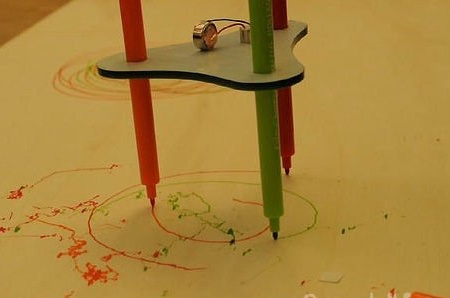
Materials:
- 3 felt-tip pens;
- button battery;
- adhesive copper foil;
- a vibrating motor from a mobile phone or pager;
- laser cutter;
- plexiglass or light wooden bars.
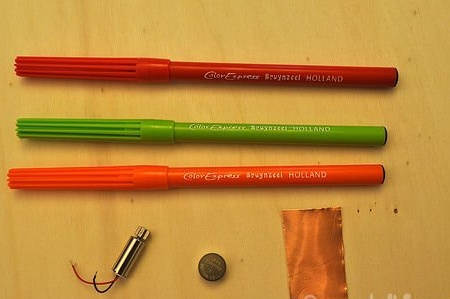
Step 1: Materials and calculations
Once you have prepared the materials, you will need to do a few calculations and calculations. I made a special plate to hold the entire structure in order to calculate the radius for the felt-tip pens and the vibrating motor.
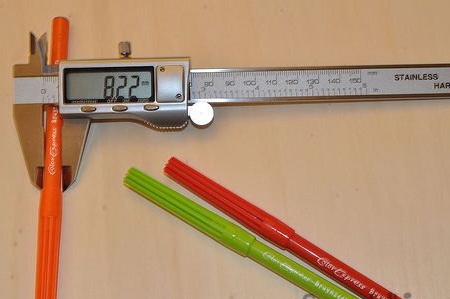
Step 2: Design the Record
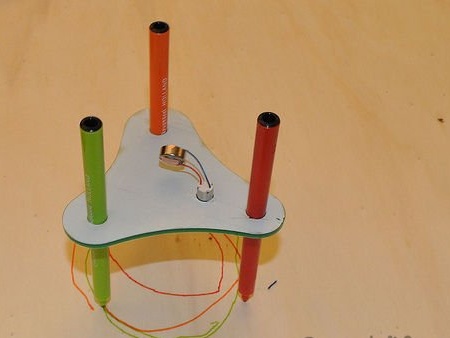
Run any PC program in vector graphics and design a record in it. I chose a trihedral shape that looks good and is durable. The middle hole will be for the motor, although it deviates slightly from the center when creating the hole so that the robot's movements are no longer accurate. Then turn on the laser cutter and cut the plate according to the sample.

Step 3: Connect all the parts
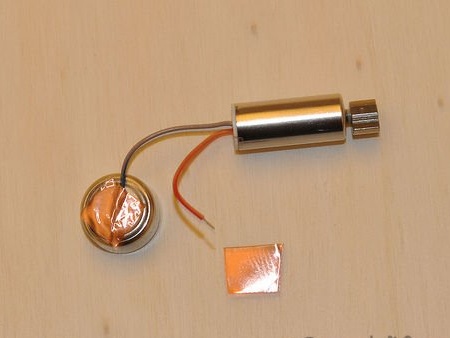
Insert felt-tip pens into the holes on the sides of the plate. Also insert the motor into the hole in the center. So that the robot does not fall during movement, and to make it more convenient, the motor must be connected with the contacts up, and it will be easier to change the battery. When connecting the battery to the motor contacts, use copper foil. If the motor does not fit into the hole, use hot glue to secure the motor in place.
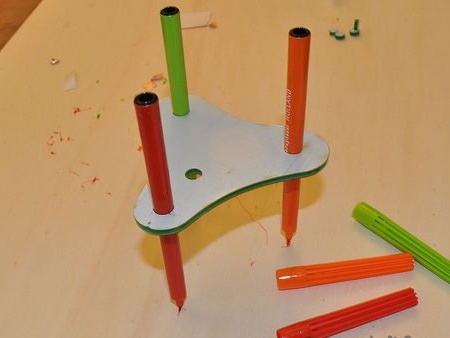
Step 4: Test the Robot!
Let your robot get a little "goofy"! Get funny drawings, I guarantee.
