
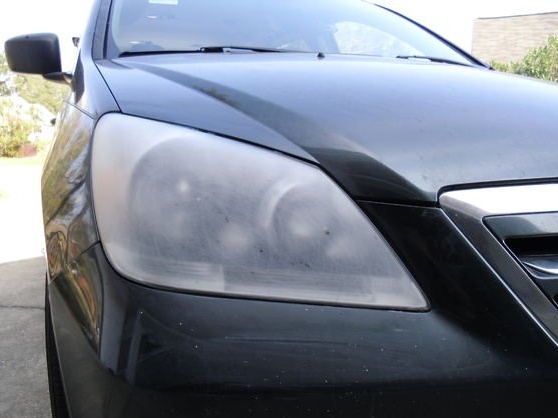
The lights begin to deteriorate over time, and there's nothing to be done about it. As you become clouded, the amount of light from the headlights decreases, visibility in the dark deteriorates, and most importantly, the risk of driving increases. All this is due to the oxidation of the diffuser, because polycarbonate is a porous material. When oxidation is in effect, the headlamp lens deteriorates very quickly due to the porosity of the material. Wet grinding (which we will do today) helps to remove the oxidized layer, restoring the brightness of the headlamp to a much safer level.
I have been doing this for some time (for my car, as well as for family and friends), and it seemed to me that I needed to share this knowledge with others. Let's get started.
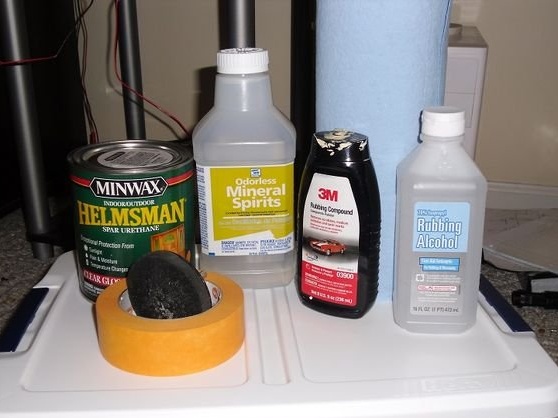
You will need:
- technical napkins
- sandpaper: 800, 1000 and 2000 grit.
- a small towel, a piece of cloth or a microfiber cloth
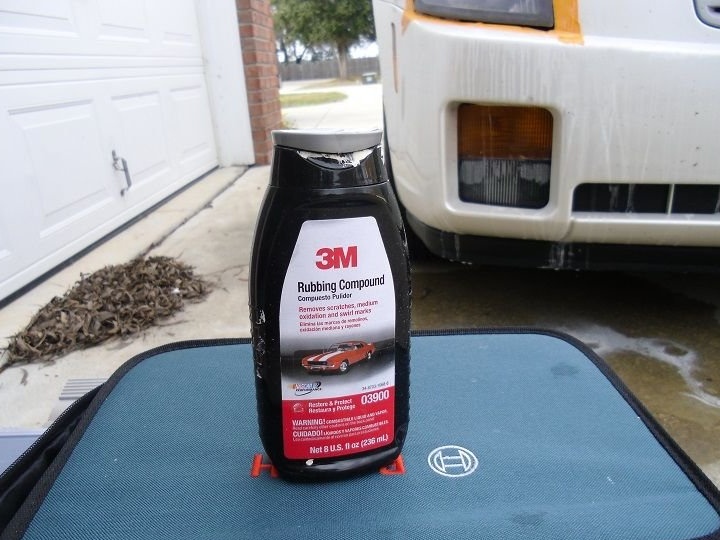
- 3M Rubbing Compound glass polishing system
- masking tape
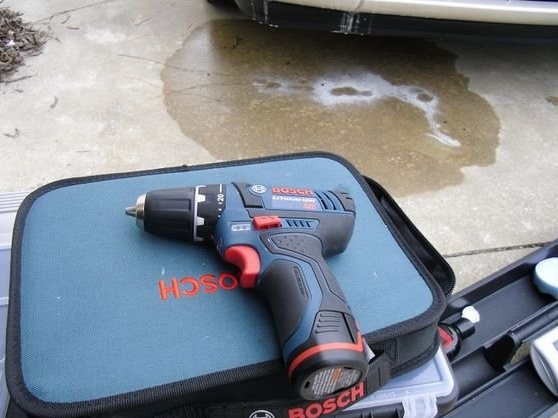
- drill
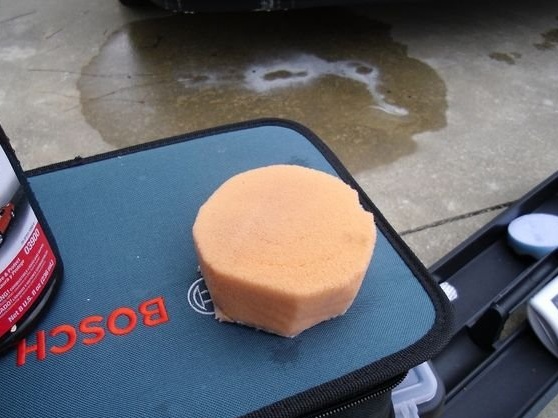
- polishing sponge (a wool fiber sponge is also suitable) with a drill holder
- bottle of water with a spray
- medical alcohol
- a small measuring cup (one that you do not use for food)
- urethane varnish for outdoor use - Minwax's Helmsman Spar Urethane: Clear Gloss - you need this particular type.
- white spirit without perfume
- 2 or 3 hours of time (depends on your thoroughness)
- patience
Step 1:

First The step is to prepare. Everything needs to be at hand. Remember that polishing will take time, so adjust the radio and a pair of speakers to spend this time more or less pleasant. You need to put in a bottle with a spray of water. Hint: you can add some soap to the water. This will help lubricate the headlamp, less often wetting it with water. Add just a couple of drops, not more.
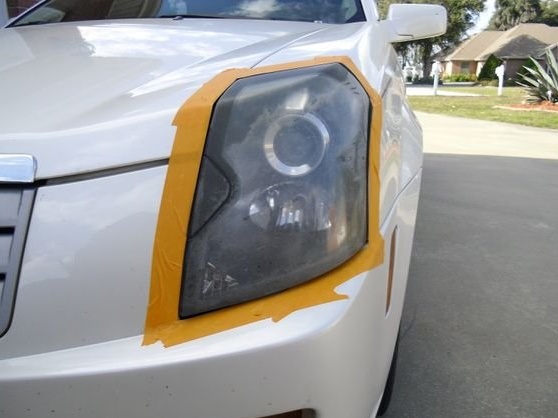
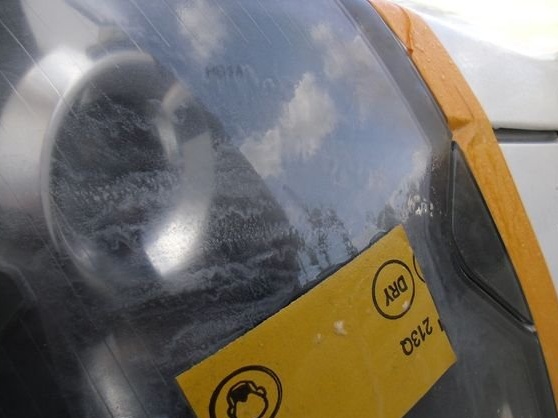
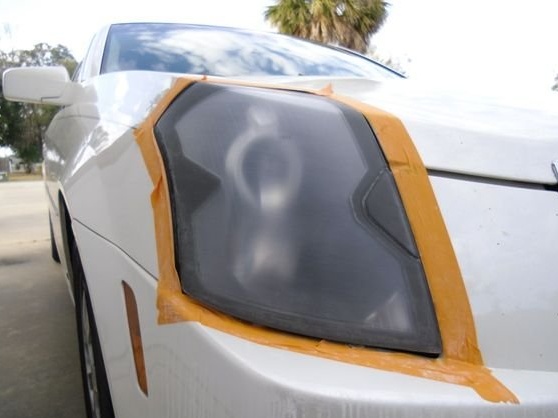
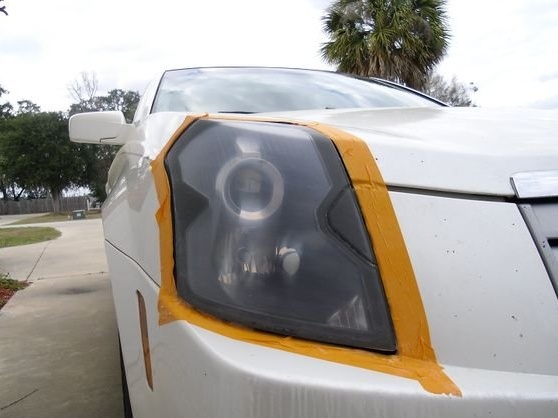
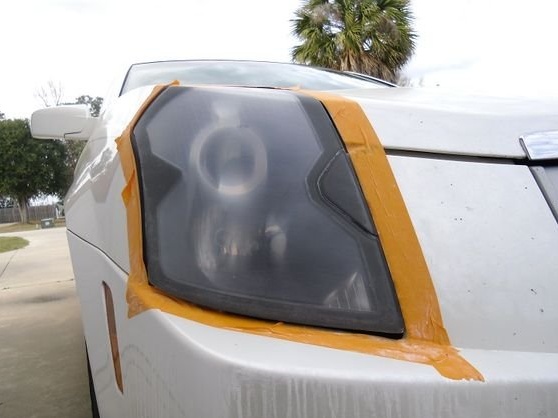
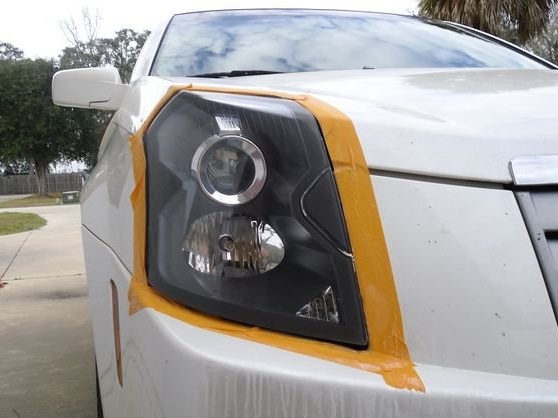
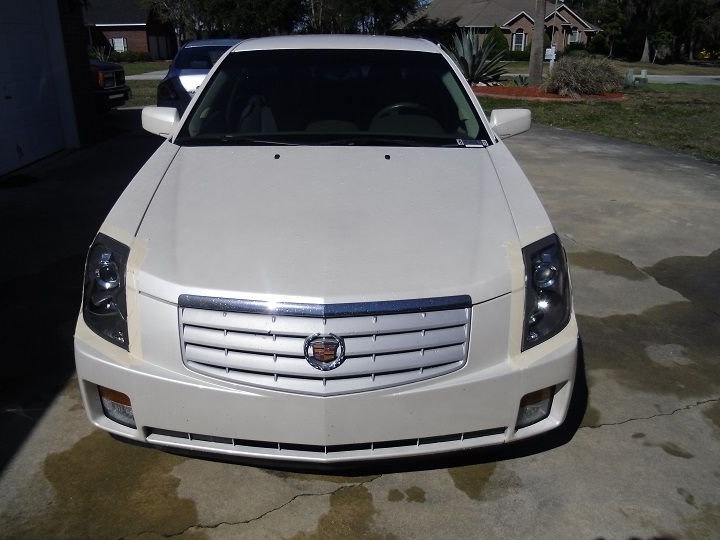
Now you need to glue the metal around the headlights. This is the first important point in this process.. It is necessary to carefully glue all the painted parts that are adjacent to the headlamp. So a lot of time will be spent on the headlights, so nobody will want to spend even more on eliminating scuffs on the paint !!!
Then, after pasting, you can start grinding itself.
- Cut the sandpaper sheet into four parts (I bought my package for 100 rubles, each sheet contains 5 sheets).
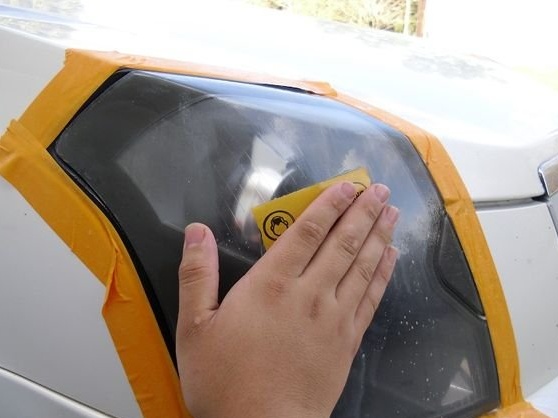
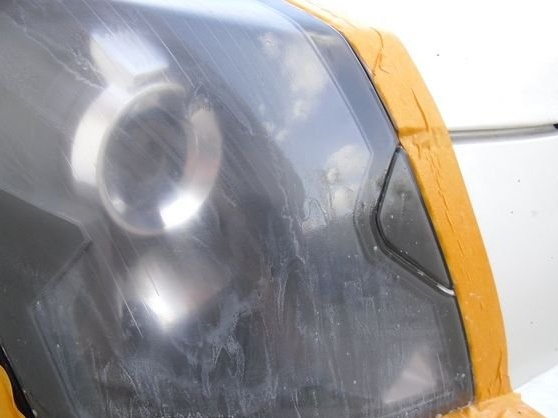
- Take a quarter of a sheet of 800 grit, sprinkle with water from a spray. Attach the emery cloth to the headlamp (it will stick on its own) and continue to spray water on the headlamp until it has moistened its entire surface with water.
- Slowly start working with sandpaper, updating the water in the process.Water is optional, but it simplifies the sanding process and prolongs the life of the paper. Make sure that all corners and edges of the headlight are well polished. Handle both headlights. Each headlight will take about 1 ¼ sheet of sandpaper.
Useful advice: Always sand in one direction. So it will be easier for you to check and see the direction of the lines, evaluate the uniformity of processing the headlights, and not skip sections.
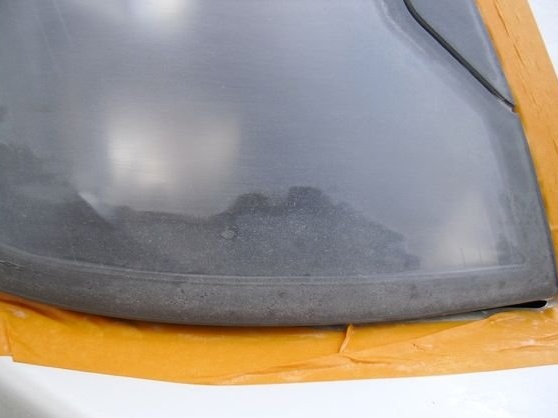
- Continue sanding until you get an even coating of 800 scratches with sandpaper. To check, simply wipe the headlamp with a towel. When the entire oxidized layer is removed, you can go to the next stage.
Step 2:
Now we are done with 88 grit paper, and we can move on to 1000 size. As in the case of 800 grit, sand in one direction, thoroughly lubricating the headlamp with soapy water, and checking that there are no untreated areas left.
When you get a uniform finish, you will see that the headlights begin to “brighten up” (but not so much). Dry the headlights and proceed to the next step.
Step 3:

Now, after 1000 grit you need to switch to 2000. This is a very important step. The more you linger on it, the better results you get. As with 800 and 1000 sandpaper, sand the headlights in one direction. Always spray the headlights thoroughly with water; at this step it is especially important to keep the headlights constantly moistened. Overmoistening in this case is impossible.
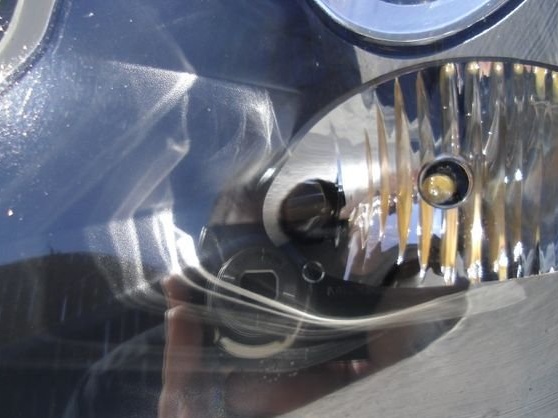
After getting a uniform finish the headlights will become even clearer. This time much more noticeable than in the previous step. The good news: the sanding is over!
Step 4:
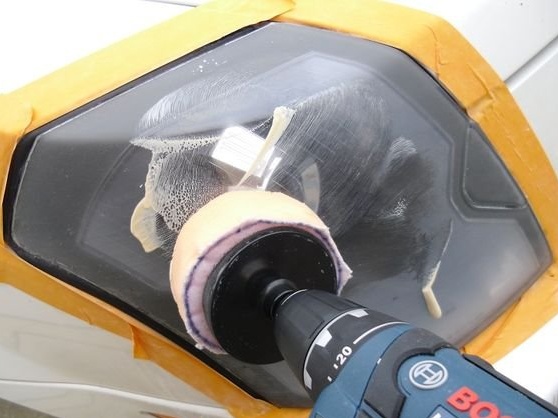
And here the magic begins. Take a drill, attach a grinding sponge to it.
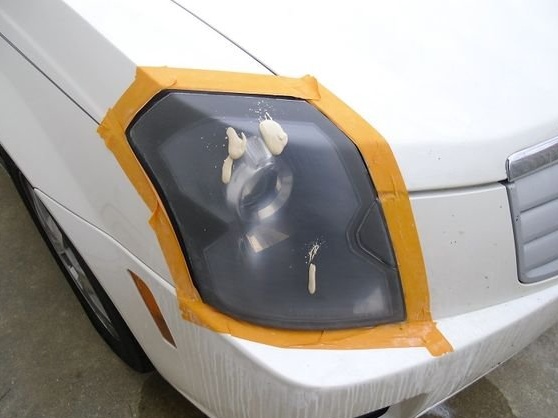
Take polishing mixture and shake it well. Open the lid and drop generously on the headlamp. Rub the mixture into the spotlight with a sponge, first not including the drill. This is to ensure that the mixture is not sprayed on the sides at high speeds.
Starting at low revs, turn on the drill and start polishing the headlights. When the mixture is evenly distributed over the entire surface of the headlamp, turn on the drill at full speed, and continue polishing, capturing the entire surface. This process allows you to get rid of small scratches left by sandpaper, and makes the surface of the headlights smooth and shiny, like brand new.
Make sure the headlight is fully sanded., and if necessary, apply another polish. The headlight should sparkle, and if you worked hard at the previous step with 2000 emery, it will be like new! You are almost done. You can go to the next step.
Step 5:
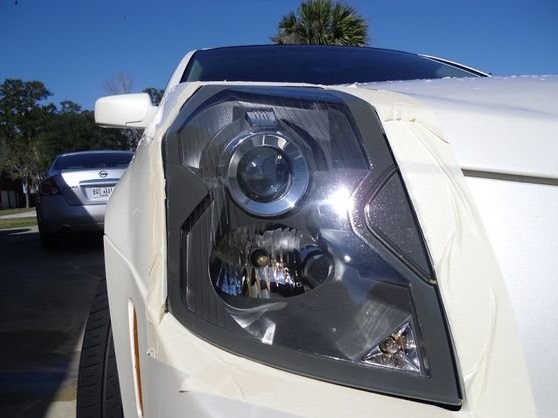
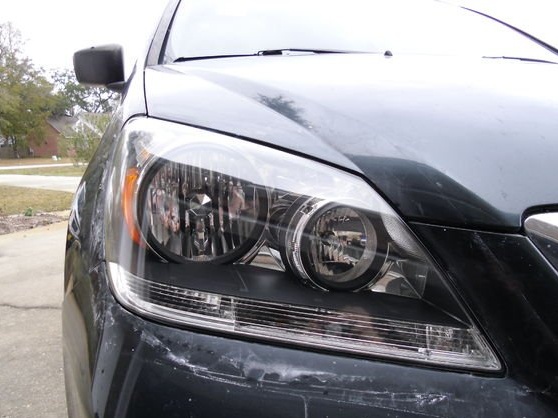
Celebrate successful completion of work. Now your headlights will emit bright, clear light, and you will again see at night all the details of the road landscape. Since a lot of work has been entrusted, it is necessary to protect the headlights from subsequent oxidation so that they do not dim again. To do this, we need the Minwax urethane varnish.
Take urethane varnish and pour about 15-30 grams into a measuring cup.
Now add the same amount of white spirit to the lacquer cup. The mixture should be 1: 1, that is 15 g of varnish and 15 g of white spirit, for example. You will get 30 grams of perfectly transparent coating.
Shuffle varnish and white spirit. After that, wipe the headlights clean with a towel (or napkin) dipped in alcohol. This will clean the surface of the remnants of polish and other debris.
You can now wash the car, because after applying the varnish for some time you will not be able to touch the headlights.
Take a cloth napkin, and collapse it into a small square. Moisten it in a urethane mixture, get rid of its excess on a napkin, if you do not want to drip with varnish where it is not necessary.
Apply a coat of varnishstarting from the top of the headlamp and moving in the horizontal direction, slowly going down. Apply a smooth, thin layer without gaps or smudges. After application, the layer will quickly begin to harden, so try not to make any mistakes. Do not panic if something goes wrong. The transparent layer is easy to remove with white spirit. Dip a cloth in it and remove the entire layer, and then start over.
You will get a beautiful, uniform layer of varnish on the headlights after completing the job. If not, remove the varnish with white spirit and start over. The varnish will give the headlamps shine, and also protect the surface from oxidation.
Let the varnish dry for 30 minutes before starting the ride. The varnish layer hardens in half an hour, and ceases to stick. DO NOT TOUCH THE HEADLIGHTS. The layer under the bottom is still not frozen. It will completely dry in 4 hours, and only then you can touch the headlights with your hands. It is safest to leave the headlights dry for the night.
If you have not washed the machine before applying varnish, I advise you not to wash it for at least another day. And preferably wash by hand. Urethane varnish needs time to completely dry and soak. Demonstration of updated headlights in the sun will not hurt. After three days of “sunbathing" in the sun, the headlights will finally recover, and you can wash the car, as you are used to.
My congratulations. This is the end of the work. Your headlights are now brand new, and more importantly, now at night you can clearly see the road. Now you have experience, and even left materials for the restoration of other headlights (if you still have the strength).
NOTE: If you notice that the urethane layer has come off (it has peeled off over time, it may or may not. My first layer on the headlights lasted about a year and a half, and the clarity of the headlights did not deteriorate until I noticed that there was no varnish), you can make the urethane mixture again and renew the coating. This is not an eternal solution to the problem, but if you do everything according to the rules, you will have years of clear headlamp lighting ahead!
I hope you will find my master class useful. Ask your questions in the comments!