
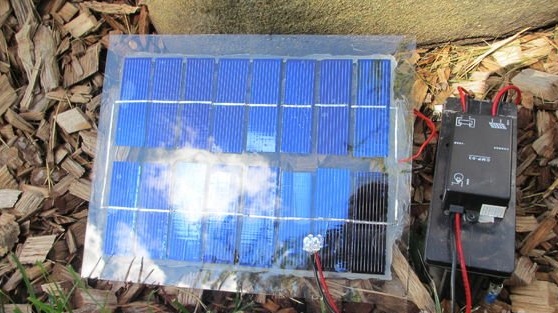
This is the little solar panel I made do it yourself. I designed it using the minimum amount of materials, using the cheapest raw materials. The goal was to make the panel easy to transport. The resulting electricity can be used to home needs And thanks to our help, residents for the first time in their life will receive a non-combustible, non-toxic light for night lighting.
This 8-watt solar panel is made of recyclable glass and single-crystal solar cells, laser-cut into rectangles. This panel is coated with an optically clean, vulcanized epoxy for protection against mechanical damage and as a waterproof barrier. Such panels can serve for 20 years without any maintenance. The kit includes a 6-volt battery and circuit. Light is a combination of four cheap 5mm diodes that are also moisture proof and diffused.
I hope you are interested in this introduction, and you read my instructions!
Step 1: Idea
Why did I earn the Hurricane Laser Cutter?
With this cutter, I can make an excellent, cheap source of renewable electricity in the village.
In my project, unfortunately, I can help a limited number of people due to financial constraints. One solar panel and power station cost about 600 rubles. Such a system is sufficient to illuminate the whole house (1- or 2-room building) throughout the entire time while there is no solar lighting. This solar panel will provide clean, stable electricity to 40% of Nicaraguan residents who are deprived of electricity and 60% of those whose electricity is intermittent. Special diode lighting will allow students to study normally, eliminate the need to burn kerosene lamps and greatly increase the self-esteem of residents who can make their life more comfortable.
At the moment, the cost of the panels is calculated based on the fact that I buy already cut photocells at about 10 rubles apiece. I can reduce the cost by 480% if I have a laser cutter.
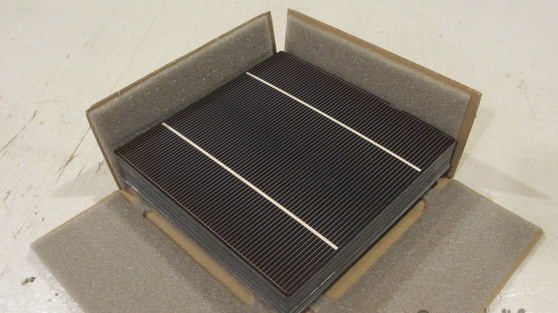
I have 300 single-crystal solar cells measuring 15 x 15 cm (6 x 6 inches), which cost me 4,500 rubles. Each such photocell can be cut into 8 cells for my solar panels. A laser cutter will allow me to make 150 solar panels for residents.This means that 150 houses will receive light, thousands of dollars can be saved on the rejection of kerosene lamps. Perhaps this will save someone's life due to an unobstructed fire.
Step 2: Tools and Materials

For this project, a minimal set of tools is needed due to the simplicity of the design and production process:
- silicone
- silicone sealant for solar panels
- solder 0.3 mm
- flat conductor
- pen with flux
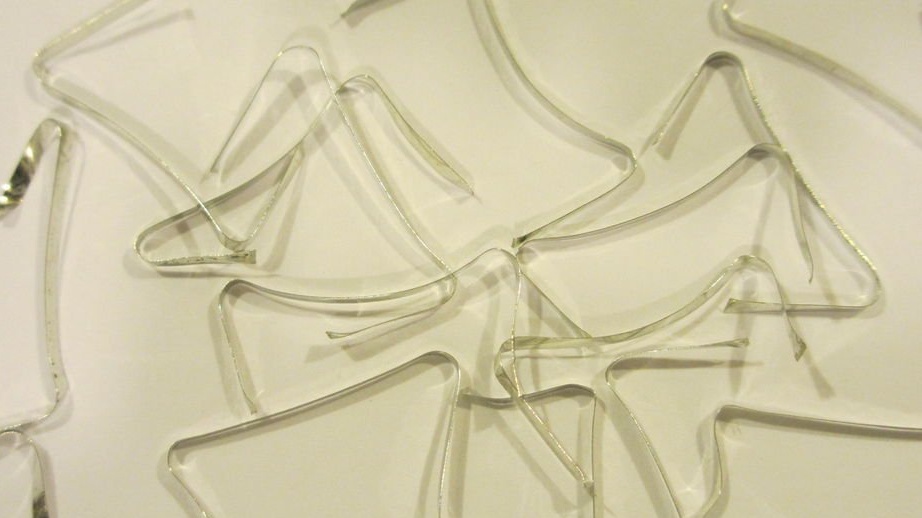
- recycled glass
- wires
- soldering iron
- nippers
- solar cells
Step 3:
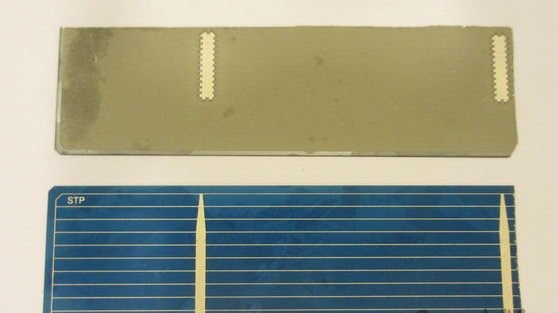
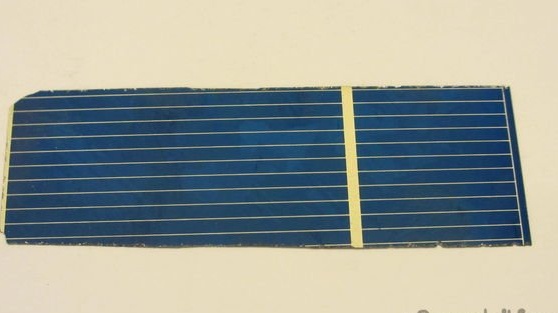
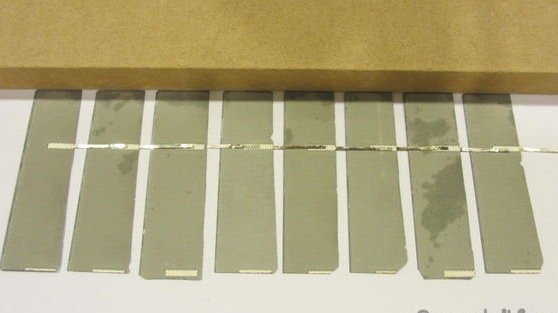
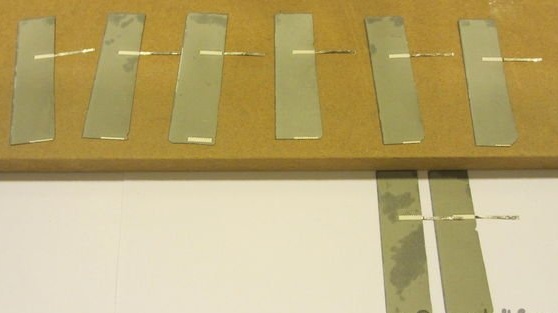
This is one solar cell. Each element acts like a battery, the gray side is positive and the blue side is negative. These are very subtle and fragile technological miracles, but they are easy to work with if you are careful.
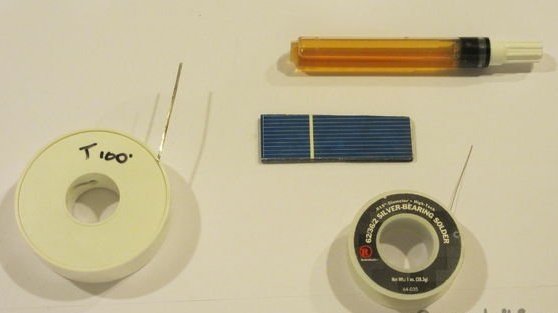
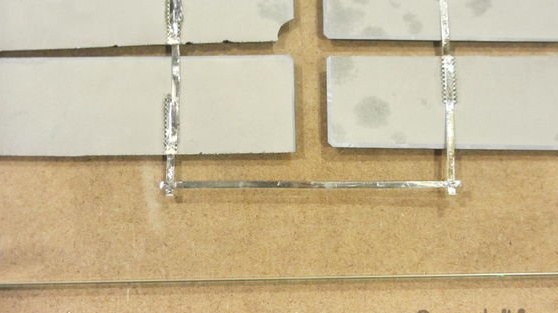
Step 4: Conductor Cutting Tool

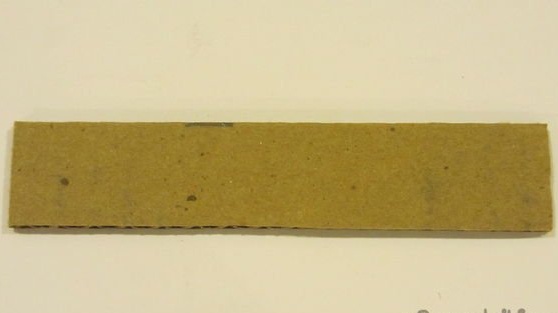
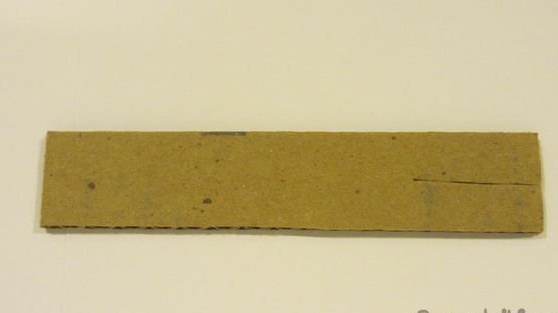
The photo shows well what it is, and how I made it. This is a small ribbon wire cutting template.
Step 5: Ribbon Wire
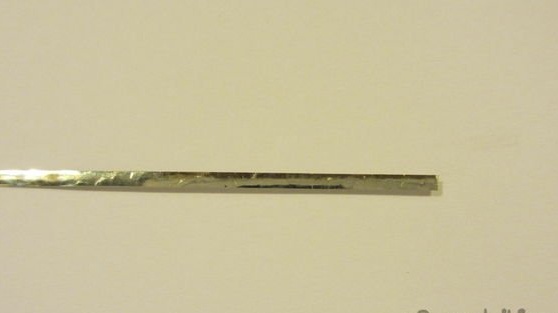
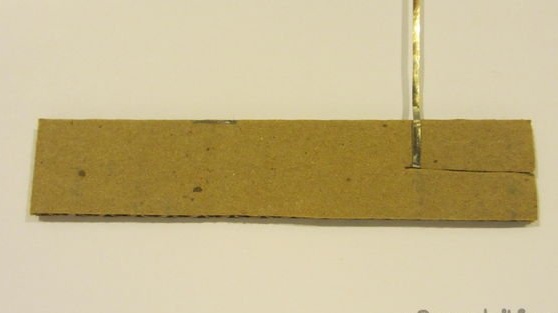

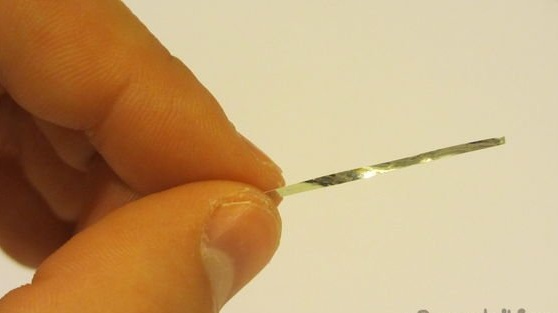
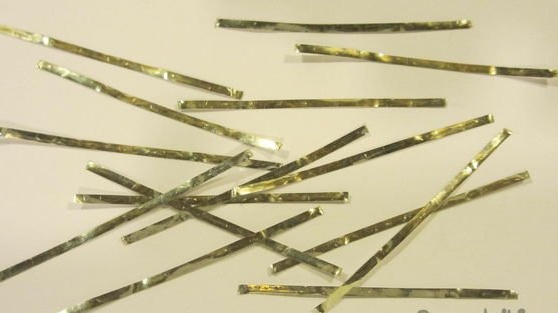
The photo shows how I carefully cut ribbons of wire into pieces of the desired length. This is a very effective process.
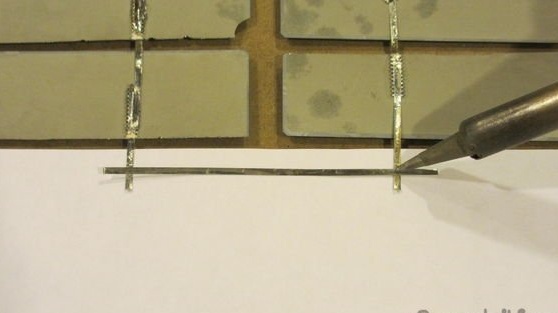
Step 6: Soldering the Pins

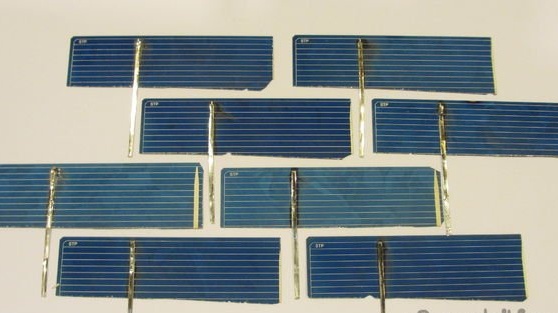
So I soldered each photocell with 1.5-inch pieces of conductor. I used a 60-watt soldering iron at a temperature of 400 ° C. It is necessary to solder 16 such photocells.
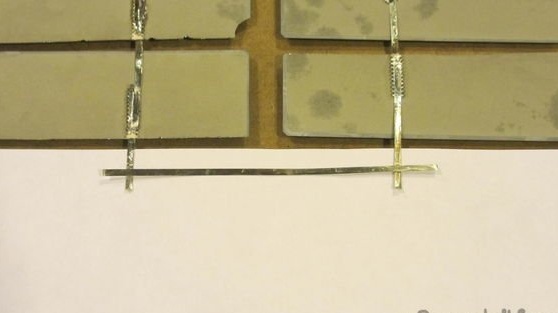
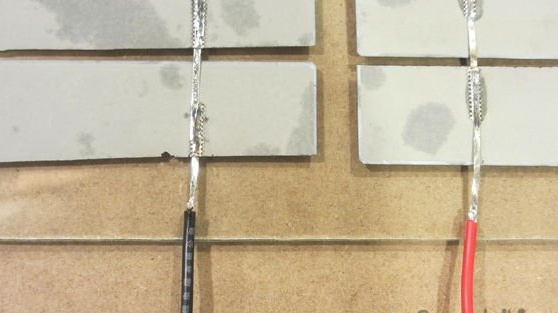
Step 7: Connect the Photocells
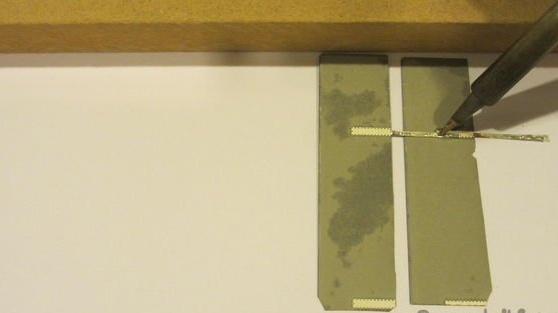

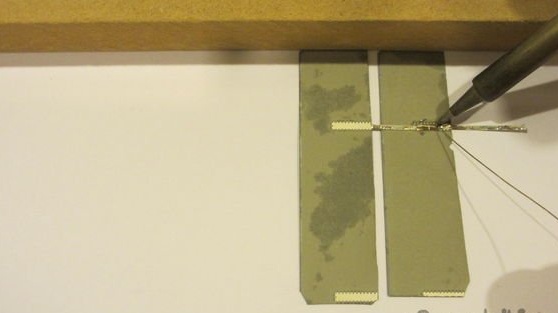
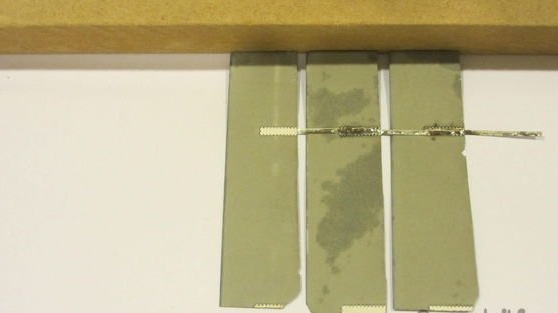
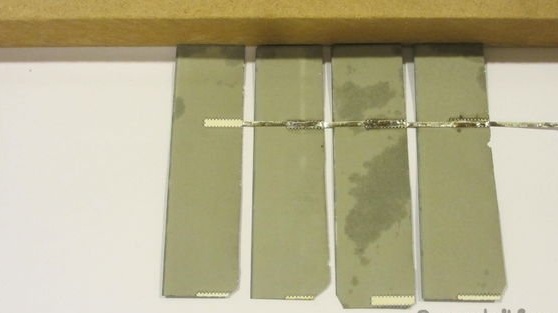

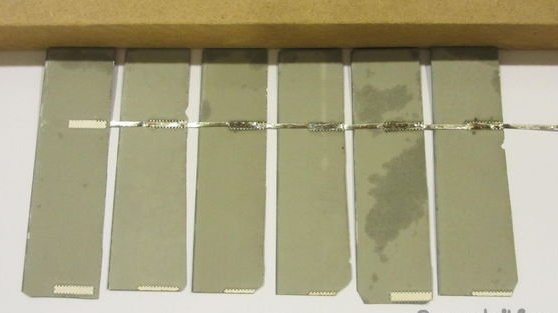
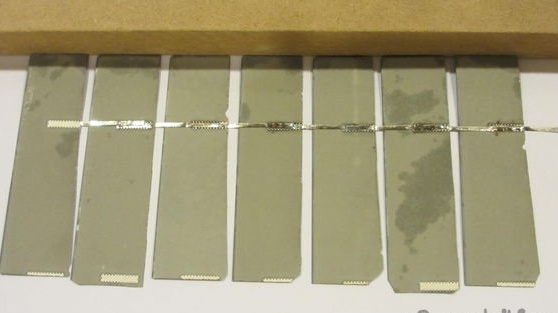

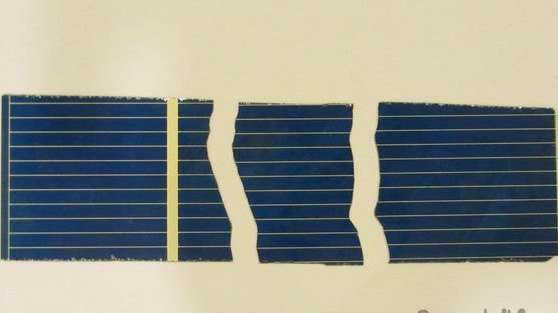
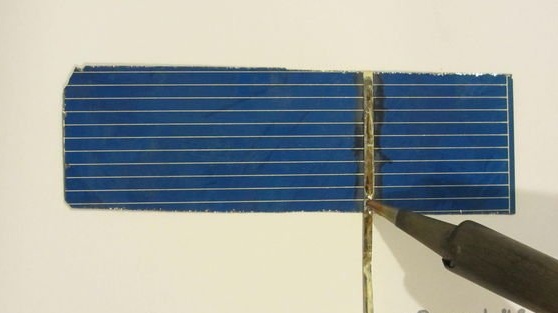
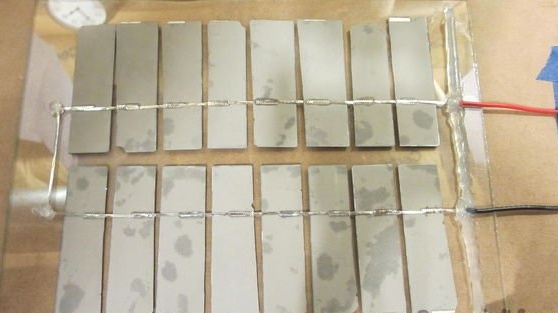
For this step, I solder a series of 8 photocells to increase the panel voltage. The result is a panel with a total voltage of 8 volts.
Repeat this operation twice since two panels are needed for one panel.
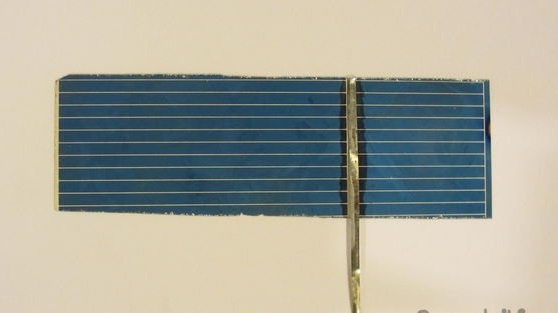
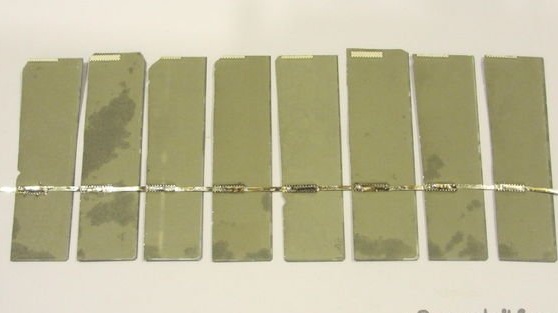
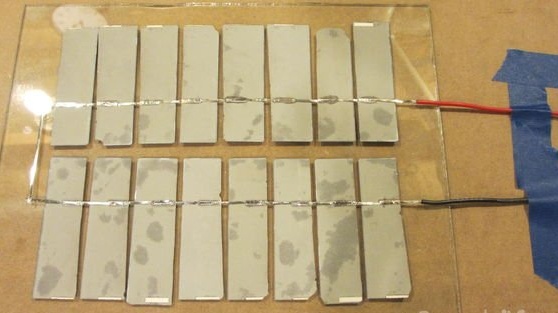
Step 8: Build
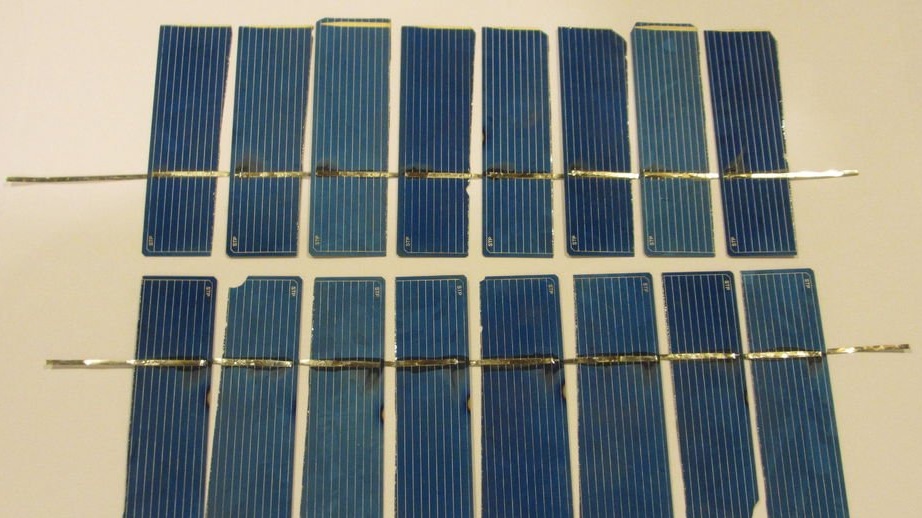
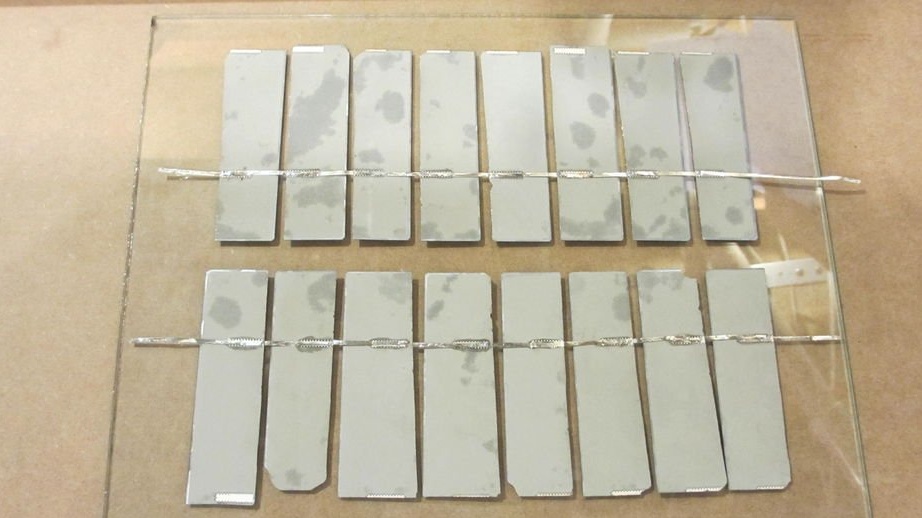
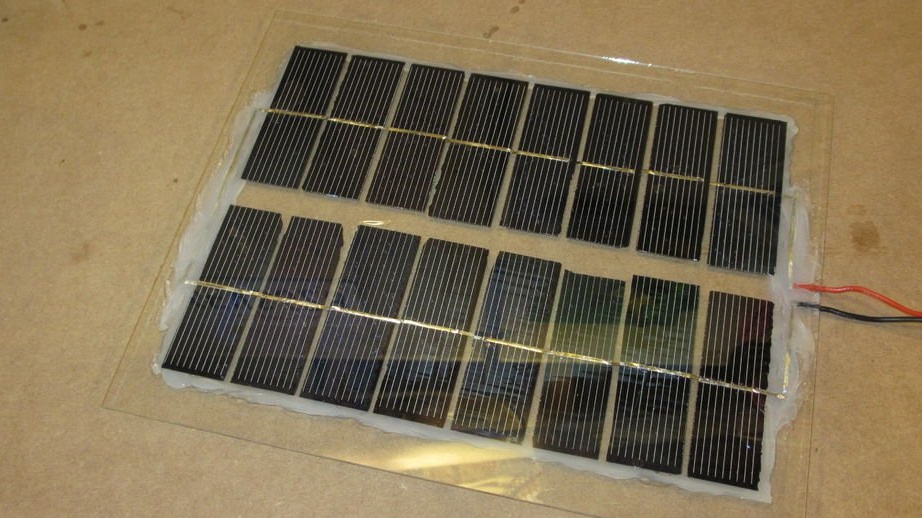
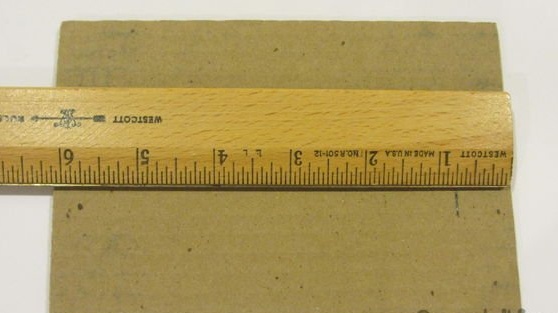
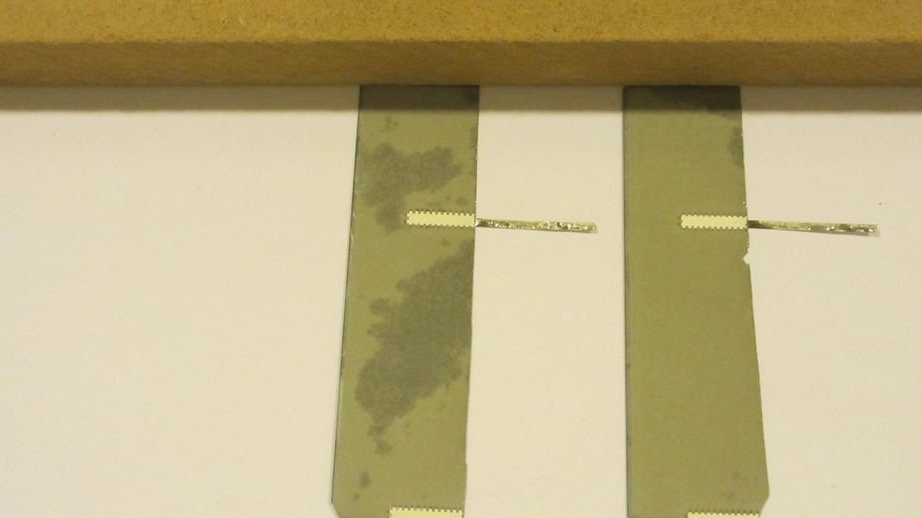
Carefully transfer the two strips of photocells from the work surface to a sheet of glass. Make sure that they are located on the glass, as shown in the second photo, with the blue side facing the glass. Almost any glass will do. I have sheets of 25 x 20 cm, 3 mm thick.
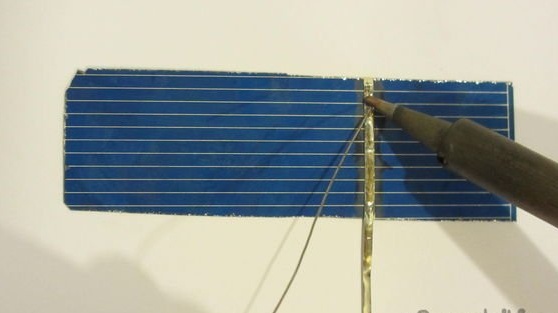
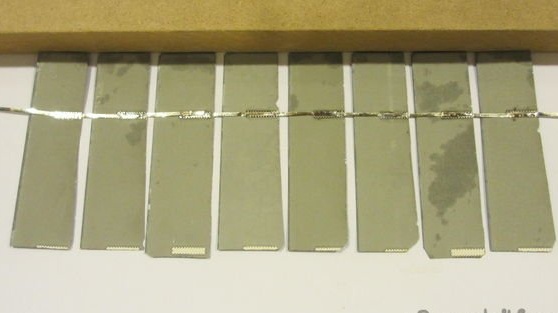
Step 9: some more wire
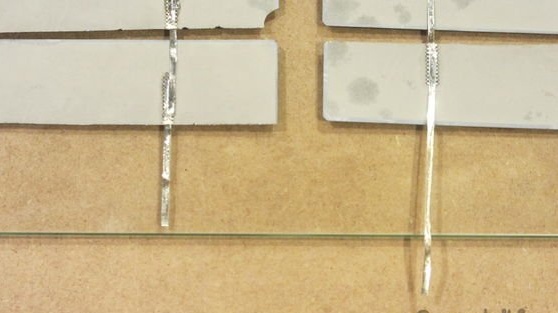
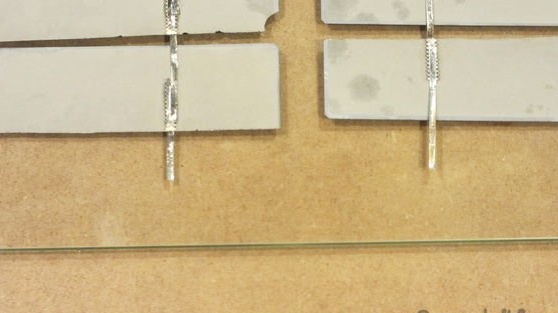
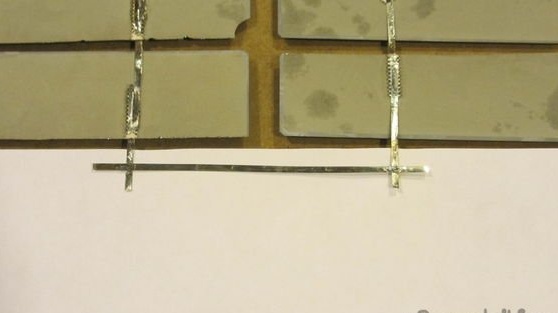
I soldered two strips of 8 photocells together in order to finally get a voltage of 8 volts.
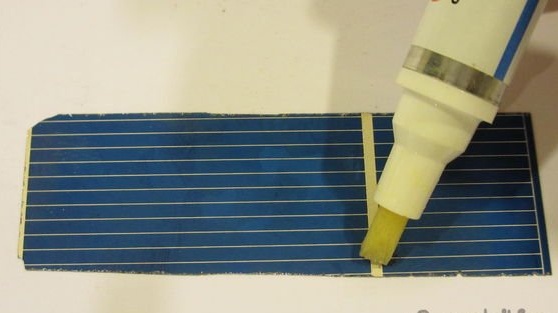
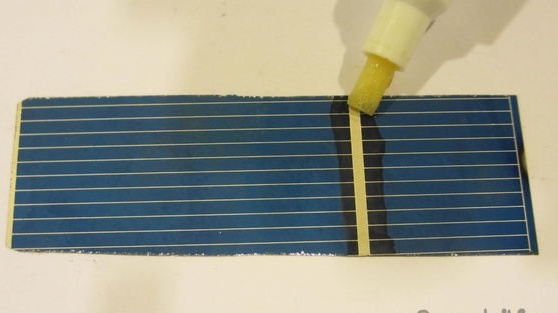
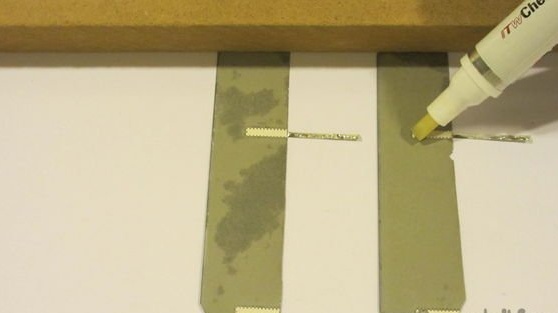
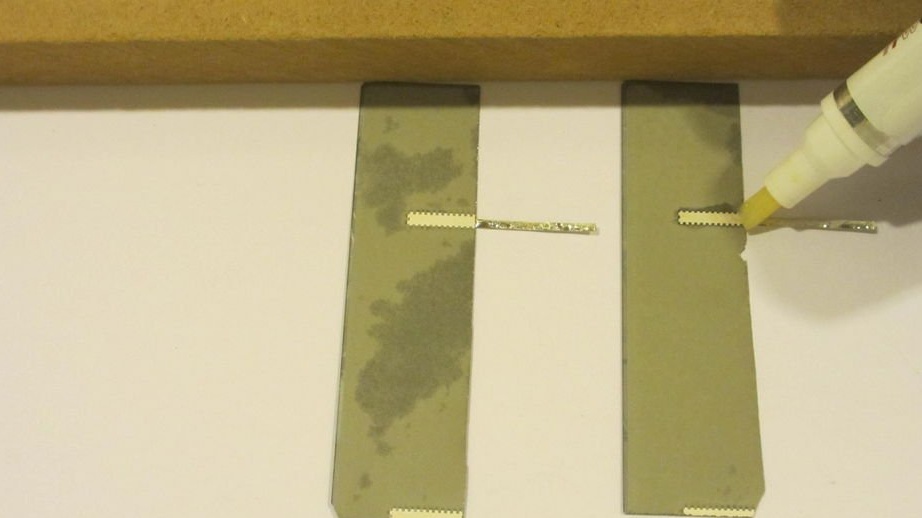
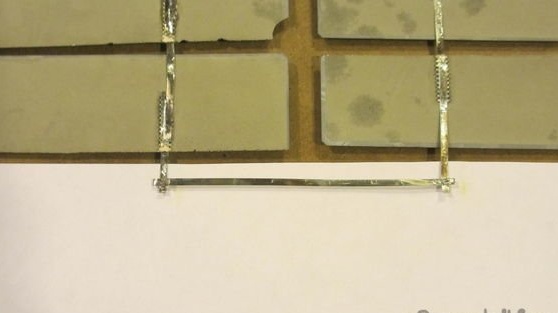
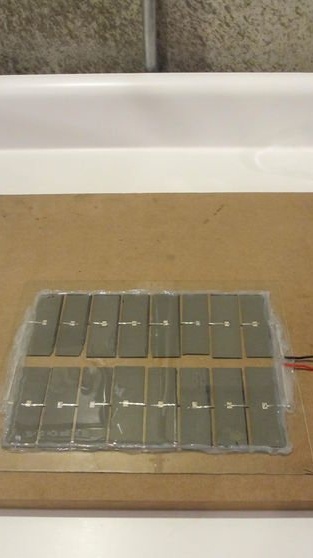
Step 10: Prepare for Encapsulation
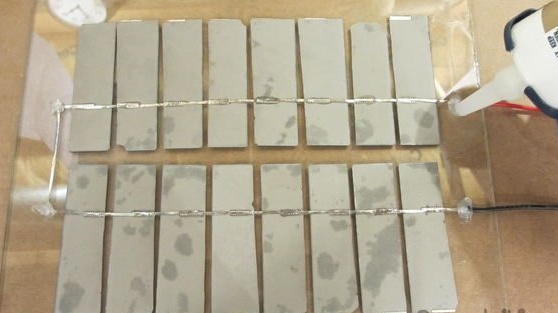
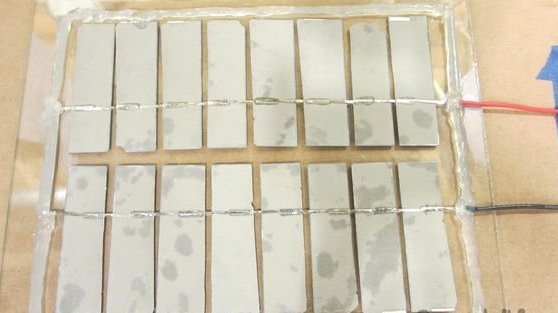
The photo shows how I used silicone to fix the cells and create a barrier for the liquid sealant so that it does not pour out.
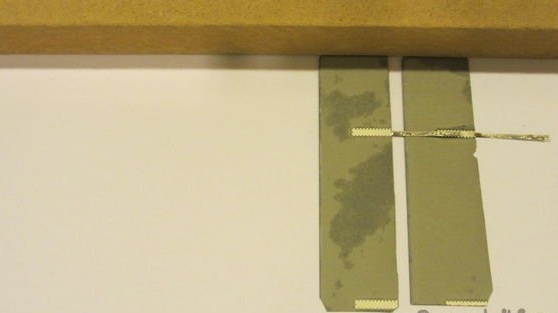
Step 11: Encapsulation
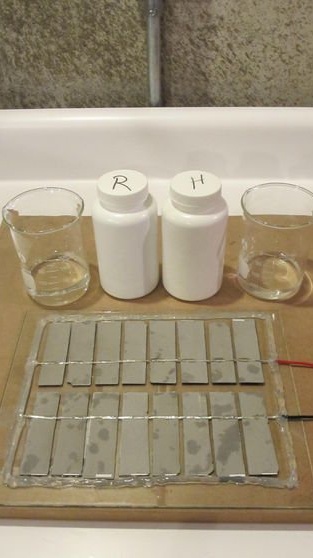
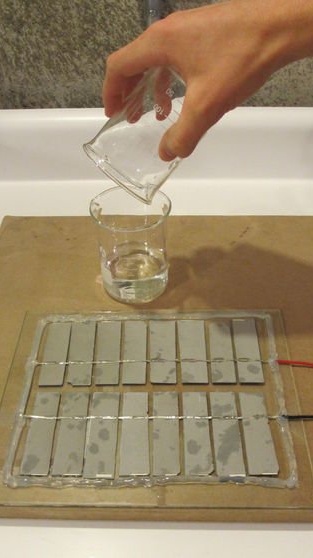
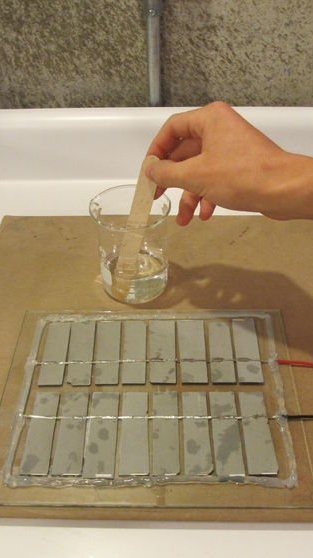


The photo shows the process of encapsulating a solar panel. I used 50 ml of components R and H.
Step 12: Conclusion

Congratulations, you took the course to create a compact solar panel that will help the world. Such a useful thing can be done with your own hands at home.