
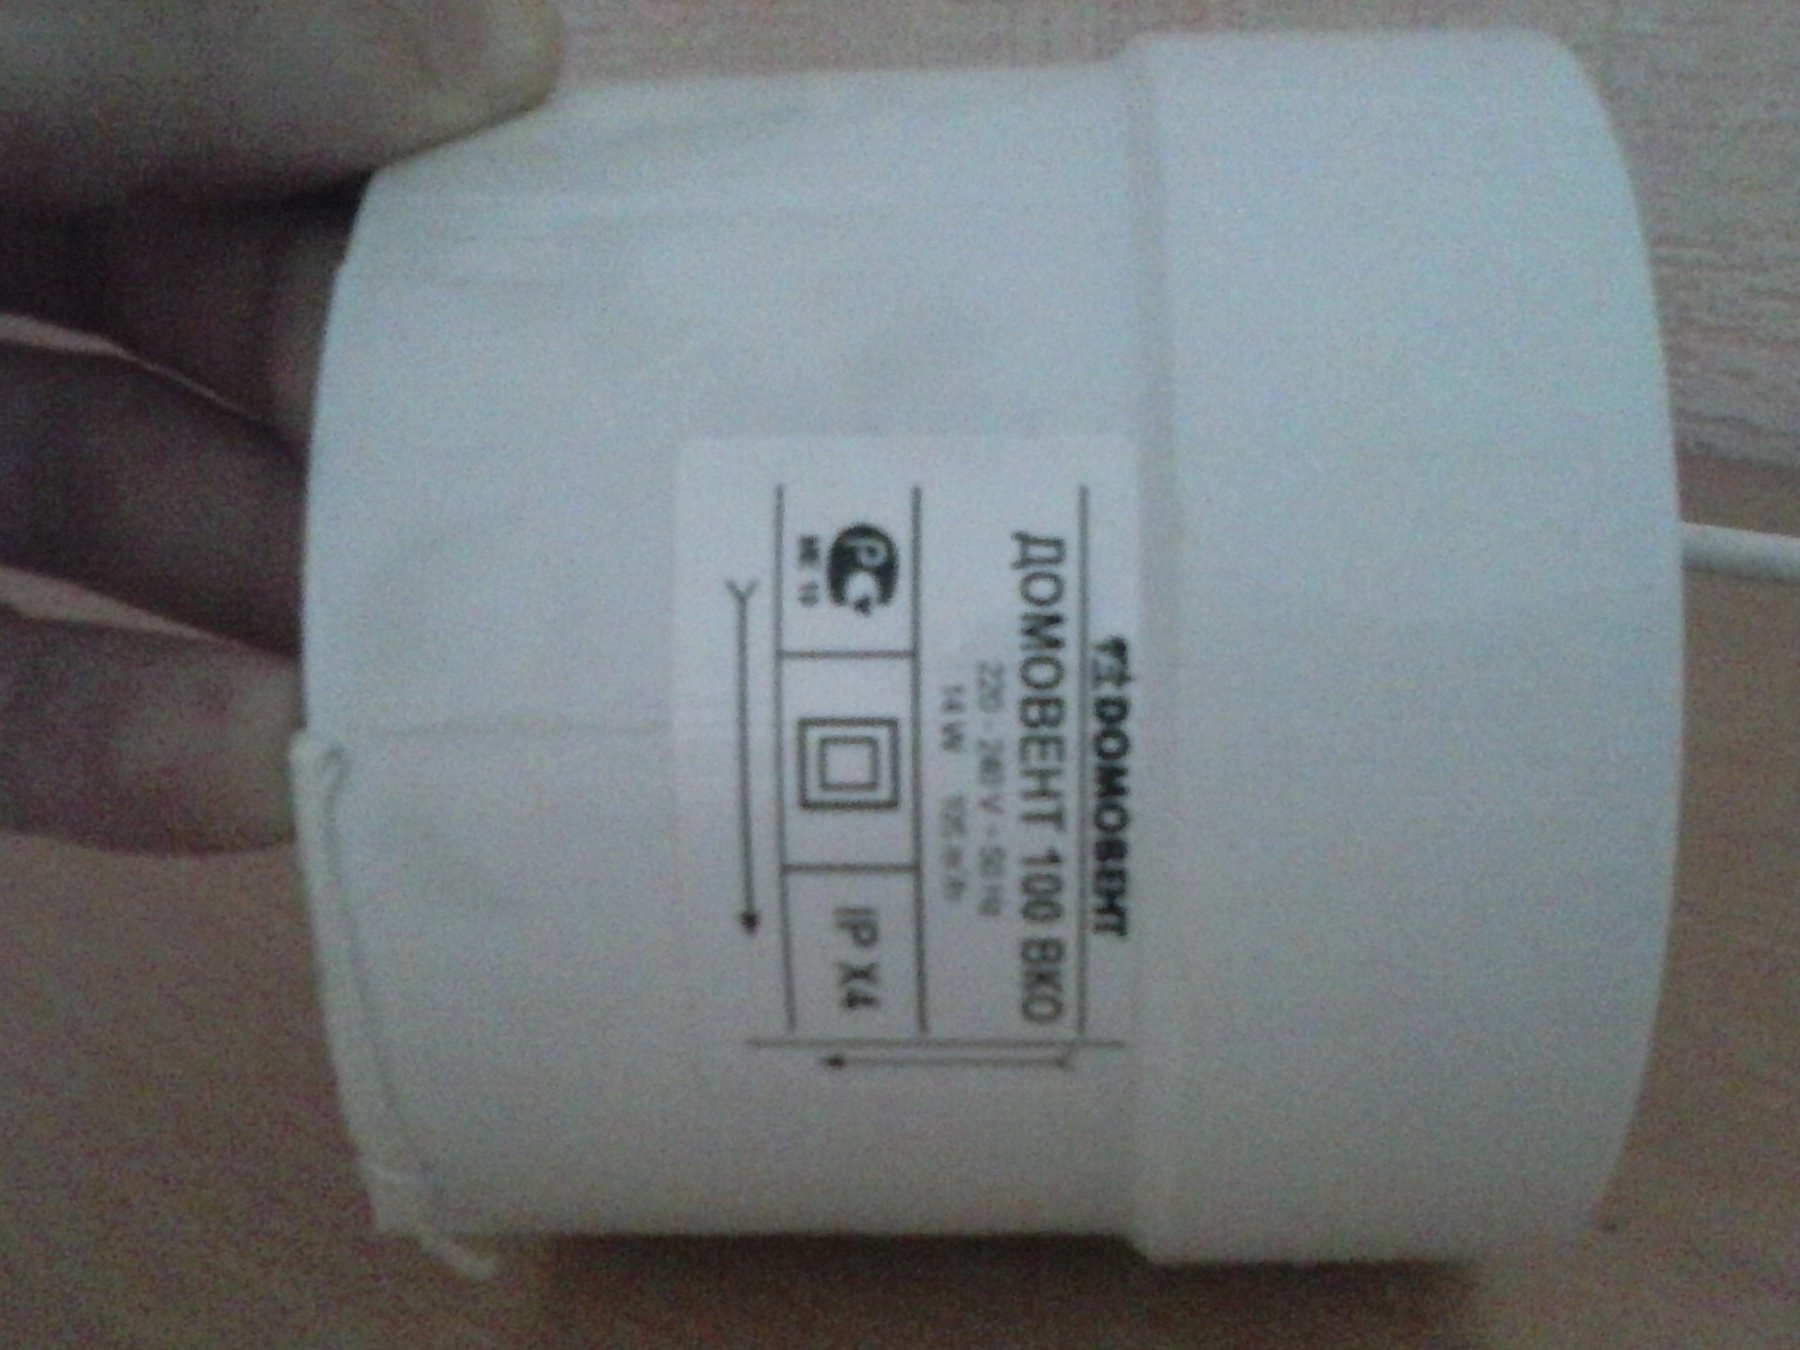
To reduce the cost, I purchased an axial fan Domovent VKO-100 (100 mm) worth 200 rubles.
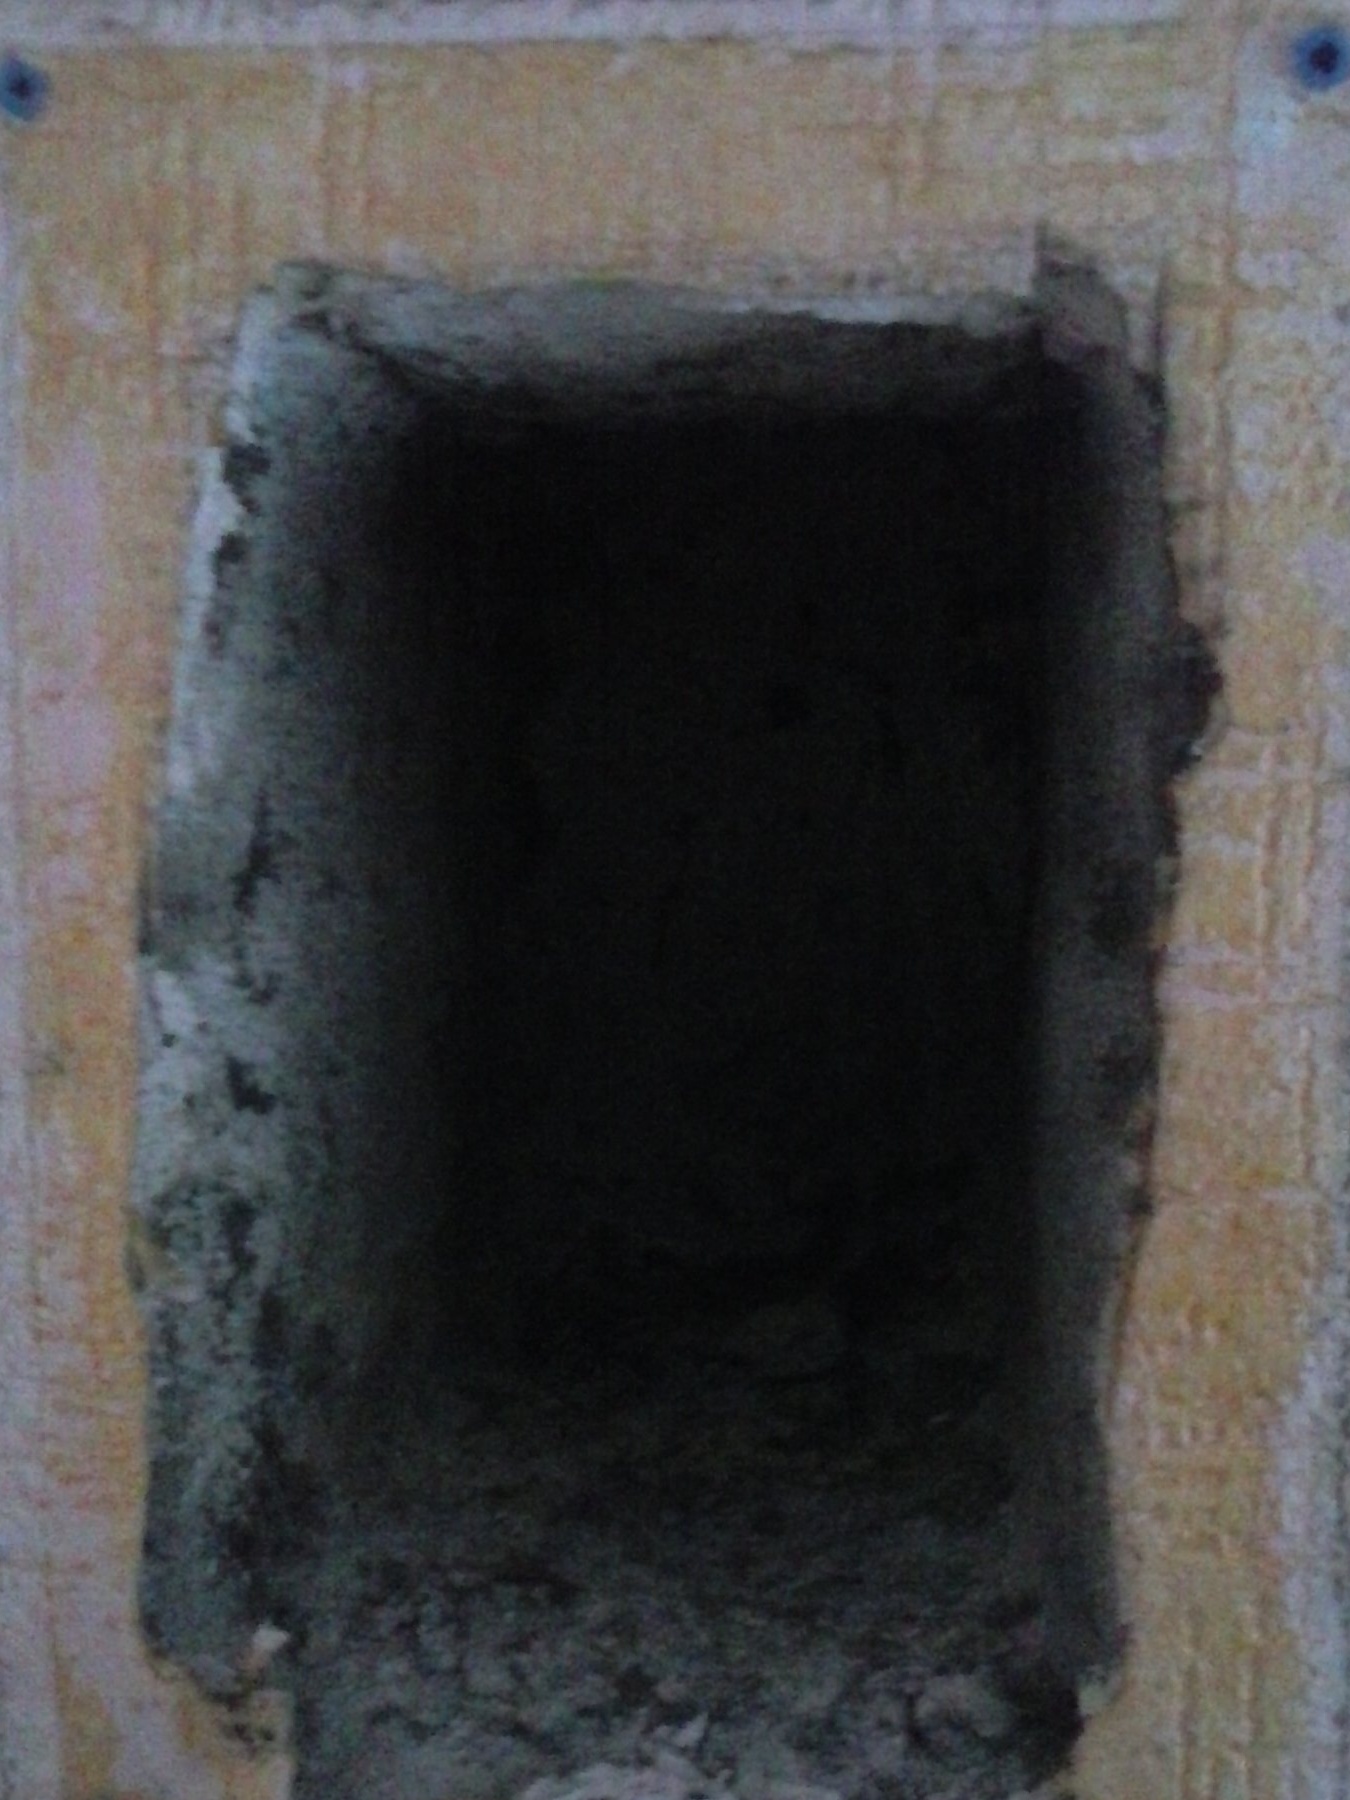
I also bought for 100 rubles a grille on the wall for a fan with a hole, like my fan’s 100 mm and a size of 125x250 mm (the size of the hole in the wall is 80x200 cm).


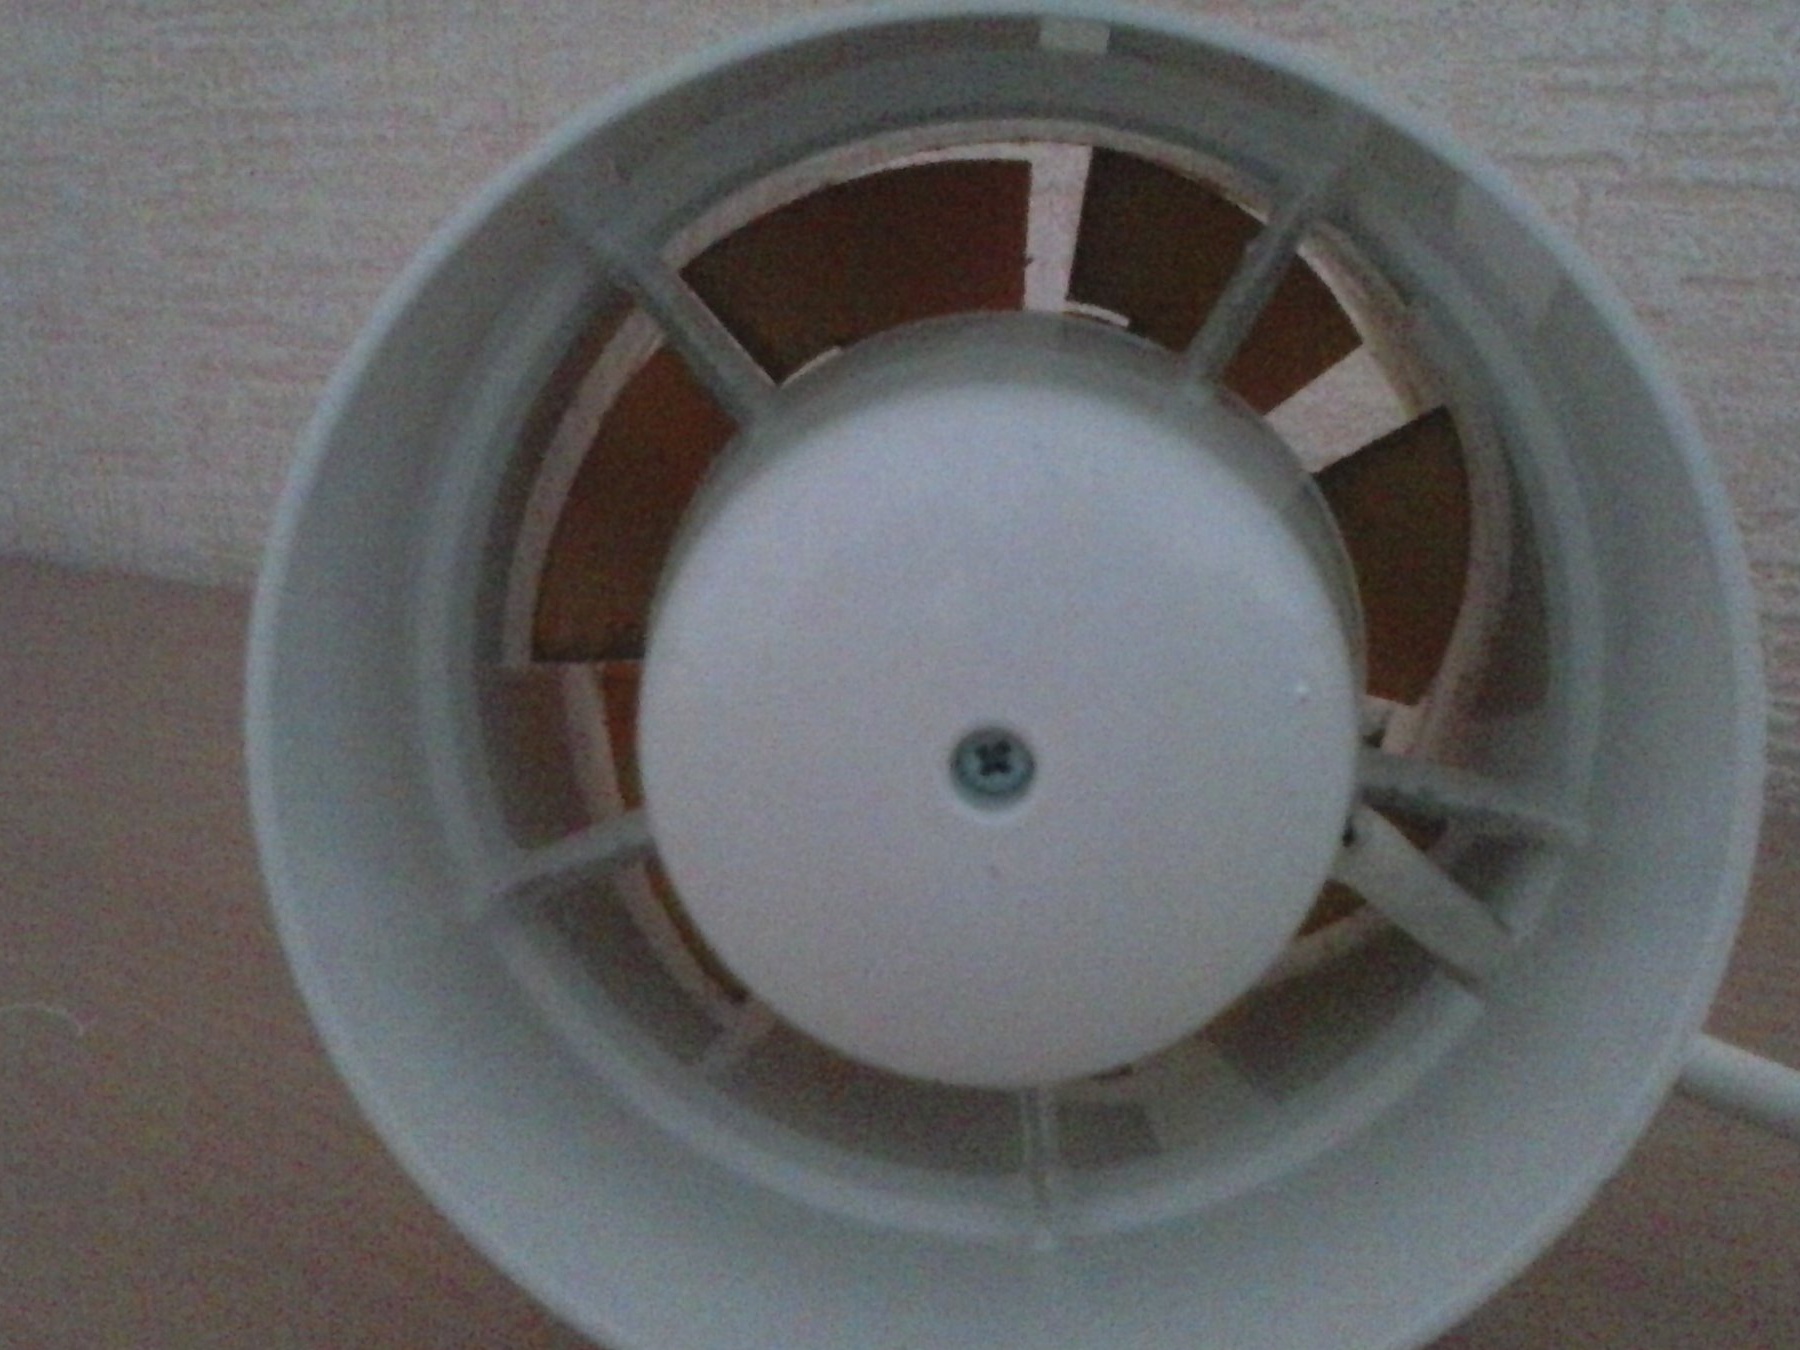
I glued the upper grille with tape so that there was no recirculation effect, that is, the exhaust air was blown back into the room.
You could buy a fan assembly with a grill. However, they are more expensive and hard to find a suitable size to completely cover the hole in the wall.
To begin with, I made marks on the wall of the grille fastening, drilled it with a puncher and fixed it (grille) using self-tapping screws.
I connected the electric wire to the fan as shown in the instructions (nothing complicated: removed the fan cover, stripped the 2x1 PVA cable and connected it).
He thrust the axial fan all the way into the grill hole (the fan has a transitional protrusion, seen in the side photo).
The cable was 3 m long. He handed it behind the closet of the kitchen set closer to the outlet and cleaned the ends.
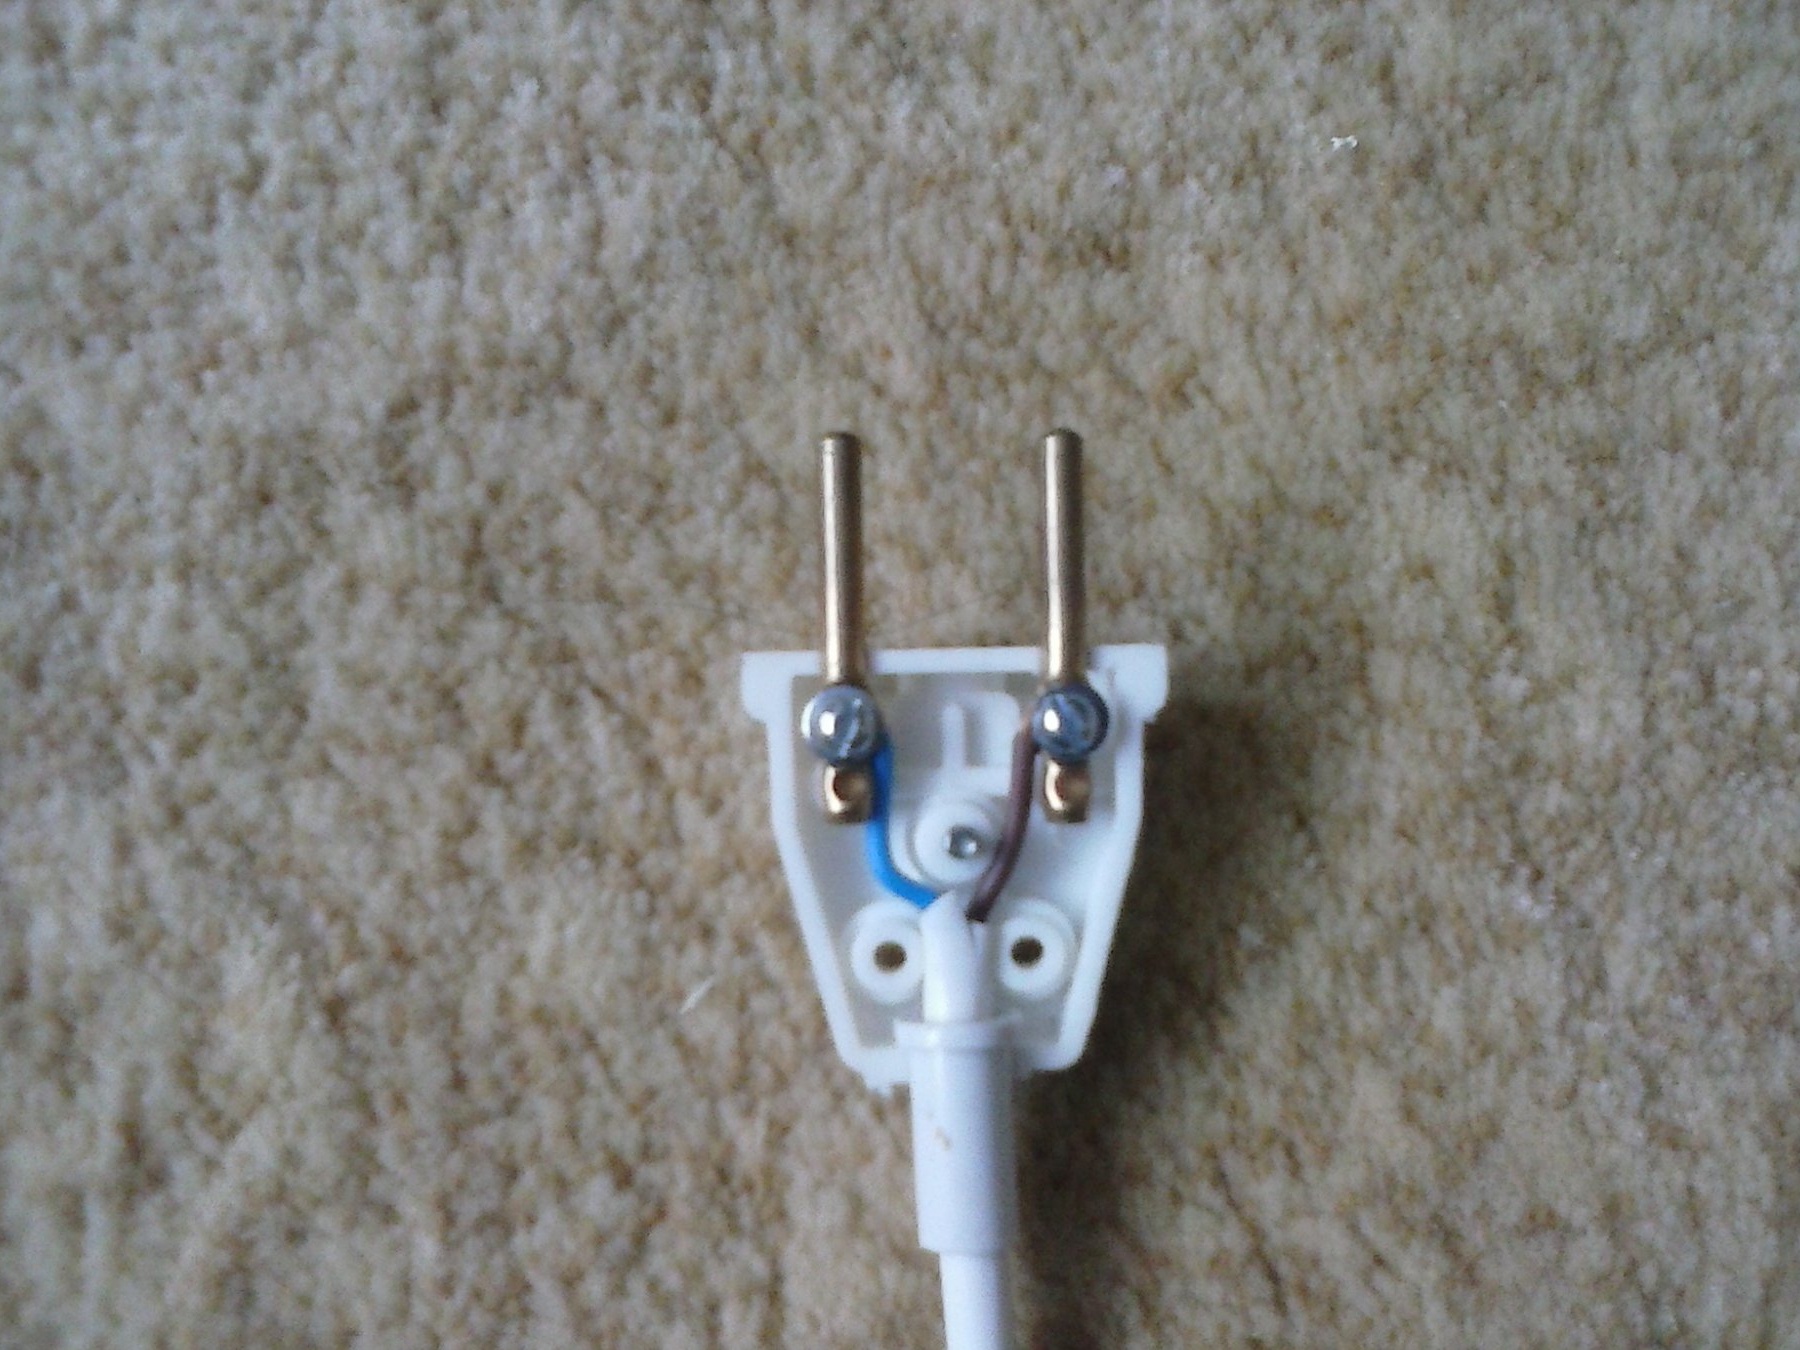
In the future, an external switch and a plug were needed (the simplest ones for 35 and 15 rubles).
I connected 2 separate wires with a length of about 15 cm to the plug and to the switch, cleaned the return ends.
He fixed the switch on the headset cabinet in the lower part with self-tapping screws so as not to catch the eye.
Thus, it remains to connect only the wires coming from the plug, switch and fan. There are six of them. The first wire from the plug is connected to one of the fan wires. The second wire from the plug is connected to one of the wires from the switch. The remaining two wires (one from the switch, the second from the fan) are also interconnected. All connections are carefully insulated with electrical tape. It turns out something like this:

I glued the wires with tape to the bottom of the headset, so as not to sag. Done.We connect the outlet and press the switch, the fan is working.