From the mezzanine from the hallway they removed the rear plywood and doors.
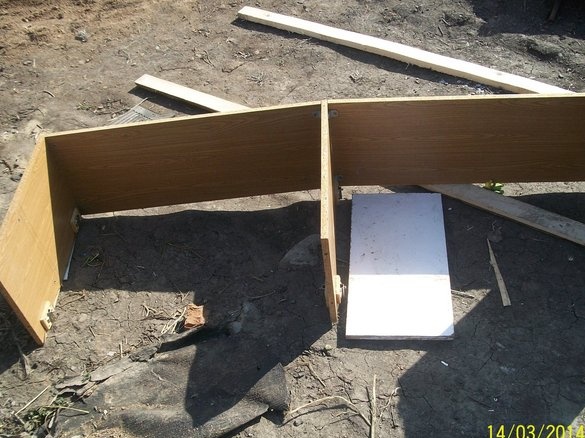
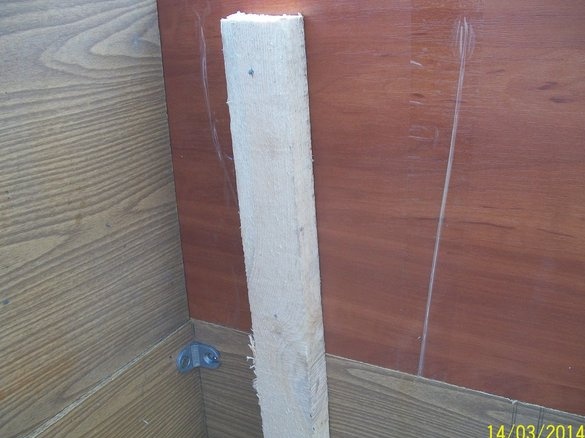
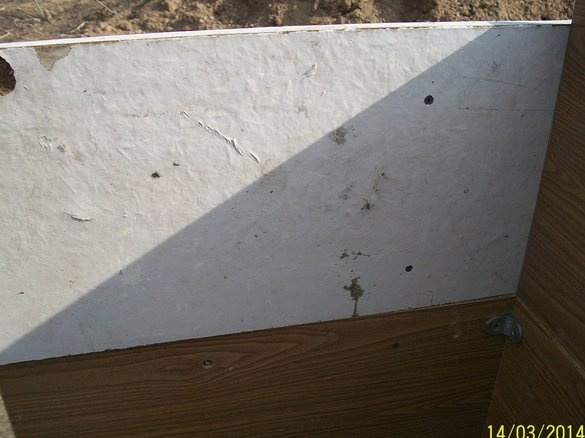
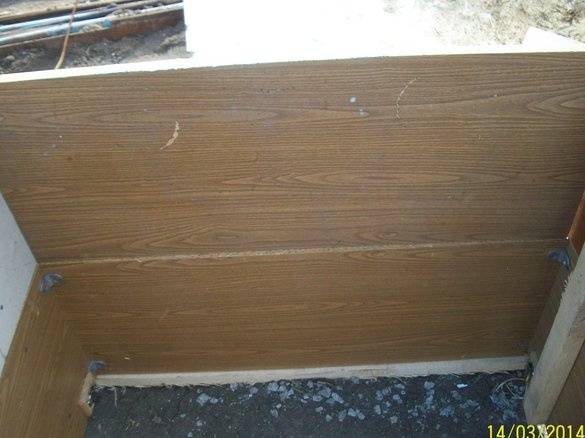
From the pieces of fiberboard and planks found in the farm, the side walls and the top of our future cage have grown
Now proceed to the back wall.
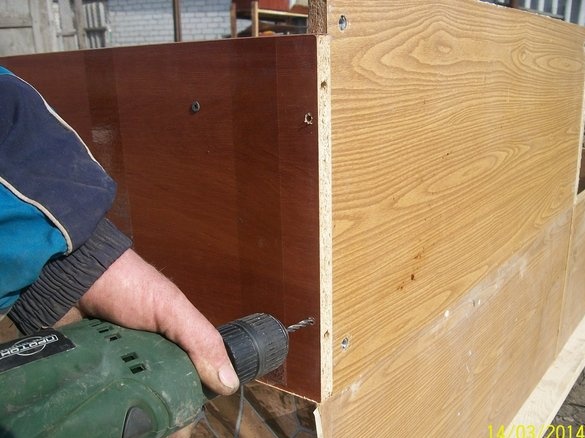
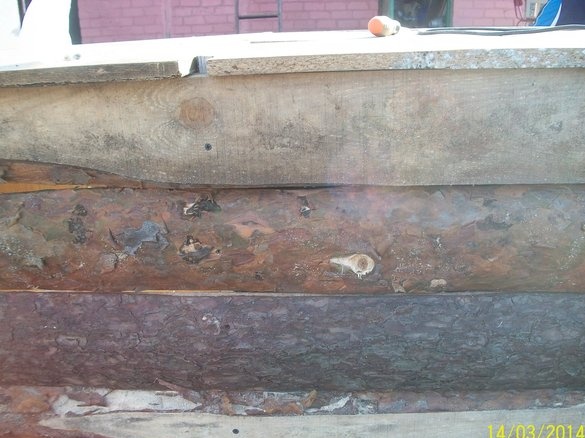
From the slab and obapalki, cut the boards necessary along the length and fasten them with screws
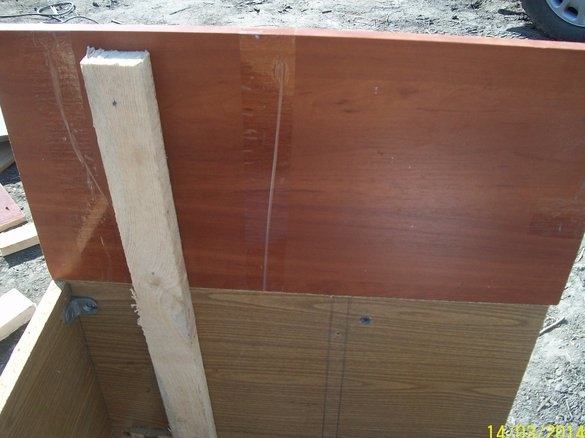
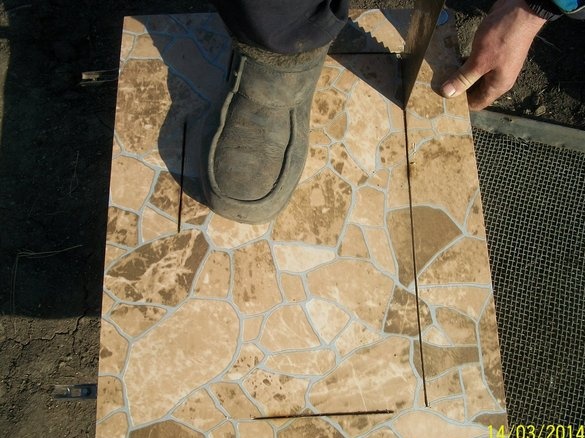
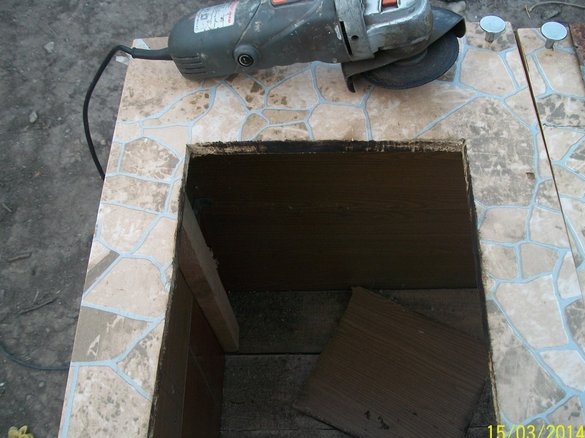
Now, to turn over and tackle the bottom of the cage, you need to hang it in place of the door so that the cage does not warp. To do this, immediately cut openings for air and feeders.
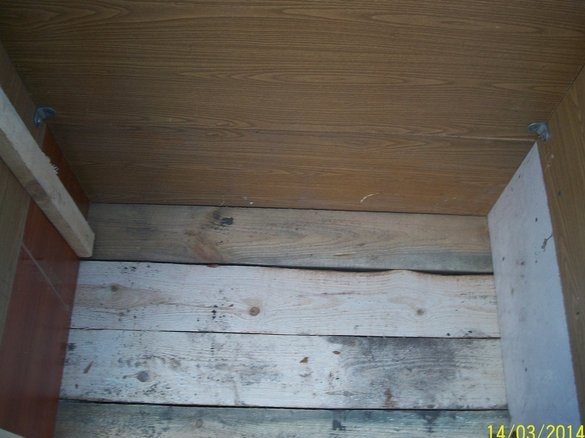
For a while we attach the doors to the place and deal with the bottom. As well as with the back wall of the obalaski we cut the desired length and fasten it with screws, leaving gaps between them.
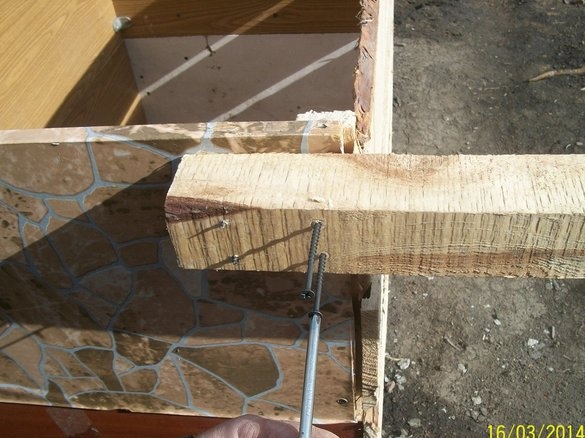
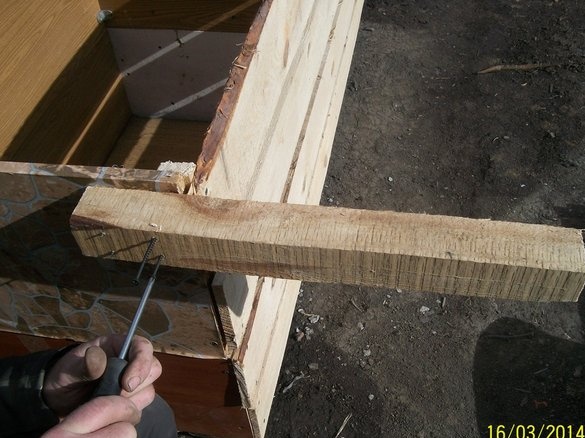
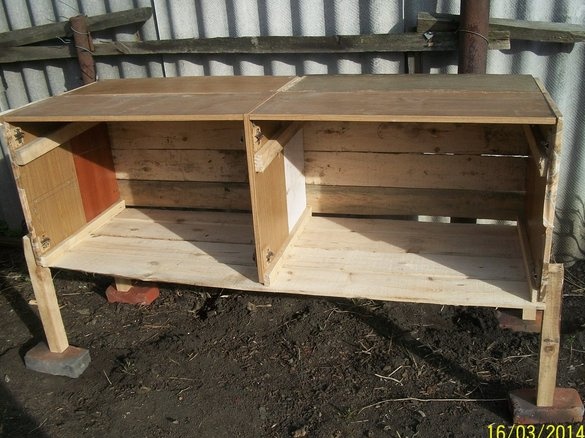
Now we cut out the legs of the bars, 10 cm longer than the height you need and attach them to the cage. Each 4 screws or bolts to be stable.
Now you can put the cage on its legs and do feeding troughs.
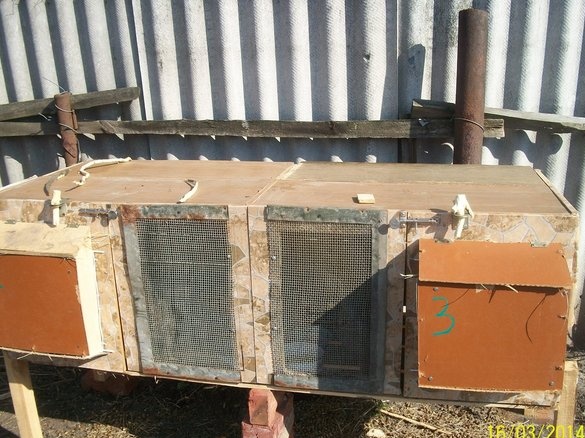
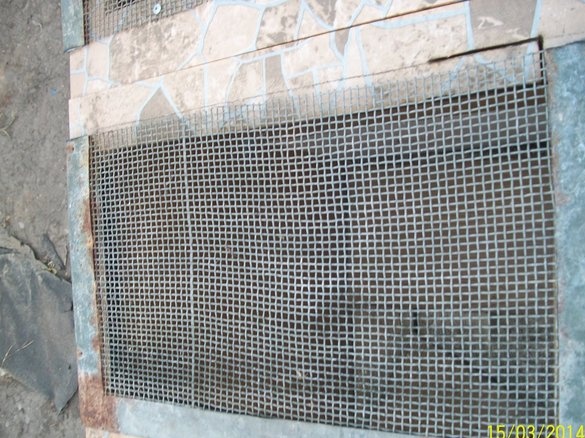
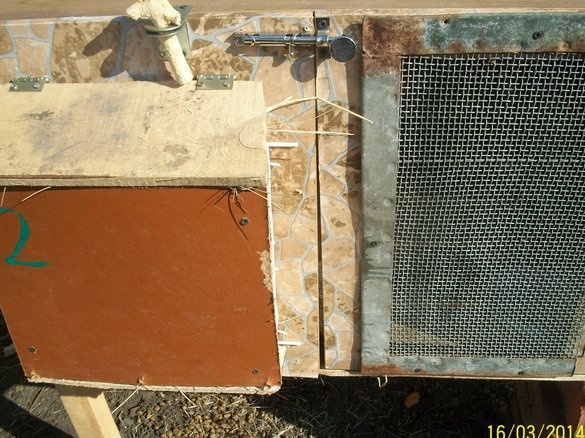
To do this, we fix the grid on 2 doors, for air access.
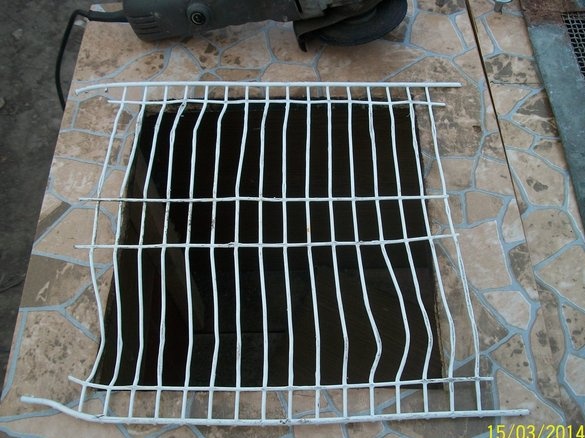
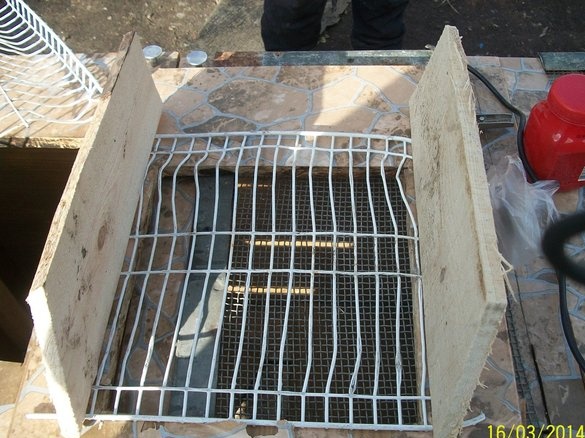
And on a 2-grid for a future feeder with a larger cell, it was convenient to pull out the hay.
Now we attach the sides for the feeder, the bottom, the front and the cover.
Here we have such a feeder
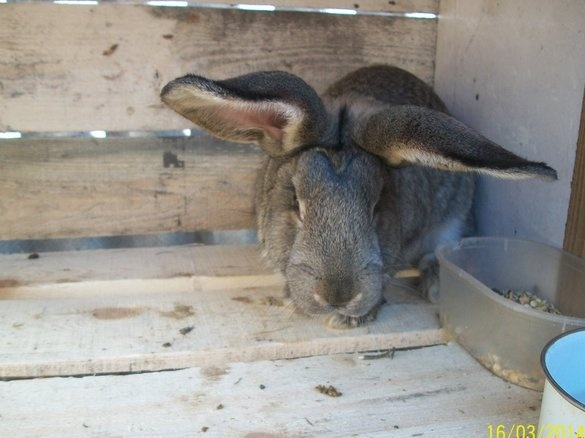
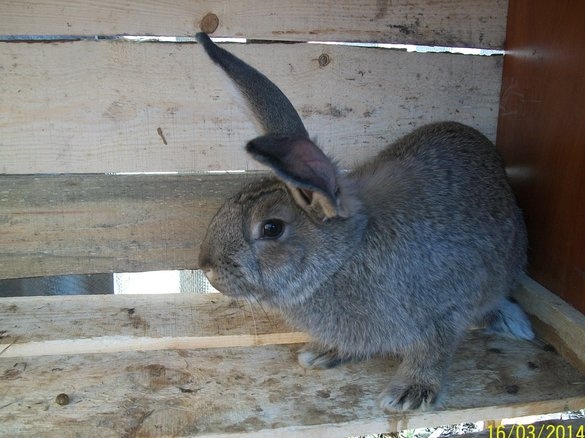
So our cage is ready, you can settle the rabbits.
We attach iron pans as a feeder and drinking bowl
So our cell is ready !!!!

