
Getting started
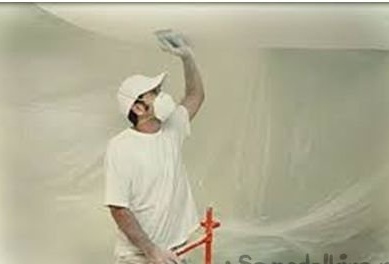
So, the first step before wallpapering, however, as in any work, is the preparation of the work surface. If your ceiling is replete with bumps and cracks, then it should be cleaned of dust and dirt, putty all cracks, smooth out bumps and finally treat the surface with a special compound (primer). Remember that when carrying out construction work, it is necessary to de-energize the electrical wiring available in the house.
After all the above actions are completed and your ceiling is ready for pasting, you should do some marking,
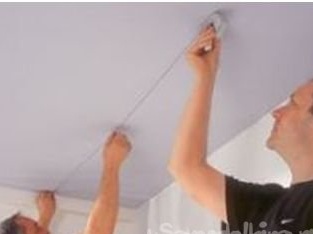
namely, to draw a line that defines the visible border of the first glued strip. Since the wallpaper should be glued parallel to the sun, the line should go from the window to the opposite wall. In order to draw the line as evenly as possible, using a roll, measure two points from the side wall on both sides and connect them using a tourniquet rubbed with blue powder or chalk.
As for the adhesive composition, it is worth choosing, starting from the quality of the wallpaper and their density. Pasting it with thick wallpaper can bring some difficulties and, it would seem, well-glued wallpaper can suddenly come off that night under the weight of its own weight. If you take into account such a turn of events and the fact that you did not have enough experience, it would be better to opt for simple paper wallpapers and overlap stickers.
Pasting
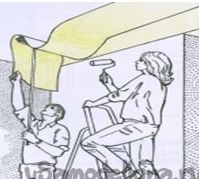
So, you clearly marked everything, spread the glue and cut off the first strip.Next, you should first smear the surface on which the first strip will be attached, and only then it itself. Having pressed the edge of the strip to the beginning of our marking (line) and armed with a rubber roller, carefully roll the wallpaper over the entire surface of the ceiling, smoothing out the air bubbles that form. We perform the same operation with the remaining bands.
Having reached the point of location of the lamp, which you previously removed, turning off the electric power, glue the entire surface with wallpaper and mark this place with a pencil in order to further cut a neat hole in it for removing wiring.