
Building material and pond plan
Since there are many options for creating artificial reservoirs, we have chosen the most suitable one both in terms of economy and material availability. So, for the implementation of the first stage, you will need a durable PVC film or butyl rubber.
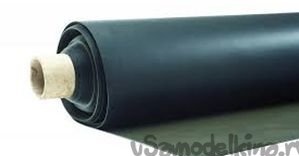
When choosing the width of the cloth, it is necessary to start from the depth of the future reservoir, in our case it is one and a half meters, which means that the width of the material should not be less than 1.5 m (more can be). In addition, you need - an insulating material, which can be an old film taken from a greenhouse, or another flexible base. You will also need sand and clay. As for the decor, but here you can apply your imagination, take, for example, stones that have a non-standard shape, decorated tiles, figurines, etc.
Getting to work
I would like to remind you that it is necessary to carry out such work in the summer and preferably at a temperature of at least 20 ° C. This is because it is recommended to work with PVC film in such conditions, since it will not work out normally to spread it at low temperatures.
The second reason is the earth itself, which must be dry and loose, and in spring and autumn, as you know, shifts, shrinkage and swelling of the soil occur.
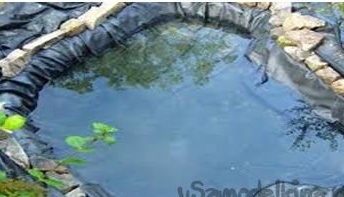
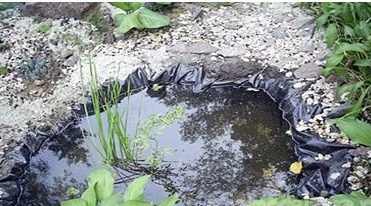
After you have dug a pit, how to hold a shovel, I think you do not need to teach anyone, you should work on waterproofing. To do this, it is necessary to put a 5-10-cm layer of peat, sand, or any other soil not subject to decay to the bottom of the future reservoir and carefully apply it. If old blankets or any other material are in the shed, then lay it on top of the sand. Next, flatten the film and spread it all over the bottom of the future reservoir. This must be done so that the edges of the material protrude ashore by about 20-30 cm. The edges themselves need to be fixed with plates, stones or bricks.I would like to note that when using butyl rubber or PVC film, there is no urgent need to evenly distribute them along the bottom of the reservoir, since these materials themselves take the form of a prepared foundation pit after the liquid enters it. But if you still use cheap polyethylene, then in order to avoid tearing it will have to be straightened, forming thin folds on all the bumps.
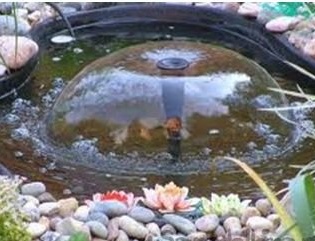
Well, our pond is almost ready, it remains only to do the decor, which can serve as gravel, stone, tile and, in general, anything you want for your imagination. Between the stones, you can also plant plants, and on the bottom, for aesthetics, put river pebbles, but we only warn you, not crushed stone, which can damage the material.
What will be the diameter of the reservoir depends on the area of the summer cottage, as well as on the individual preferences of the owner, but if it exceeds a depth of one meter and has a radius of 5 squares, then it will already be called a pond. Have a nice rest!