

Stage 1: Necessary materials and the necessary tool for the boat:
- plywood sheet
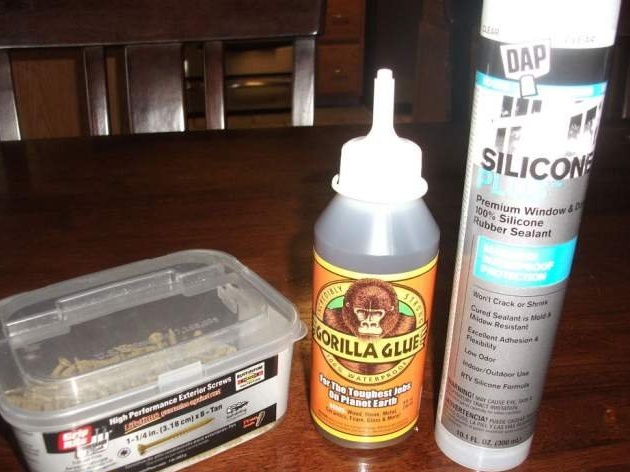
- Adhesive based on polyurethane according to Gorilla type;
- nails
- Latex paint
- Silicone sealant
- Syringe for sealing joints
- Emery paper
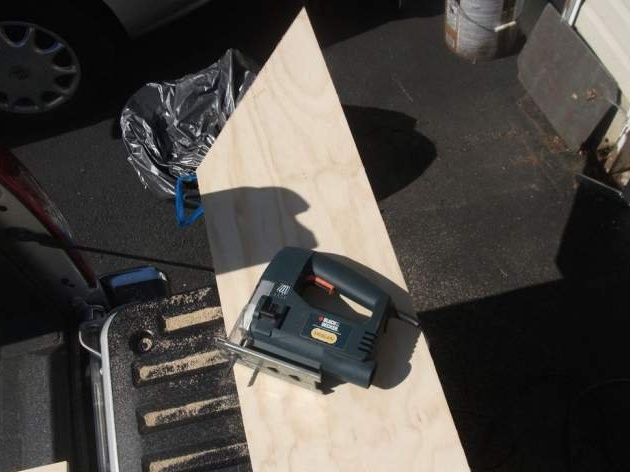
- Jigsaw
- Paracord
- Screwdriver
- clamp
- Yardstick
- drill
- brush
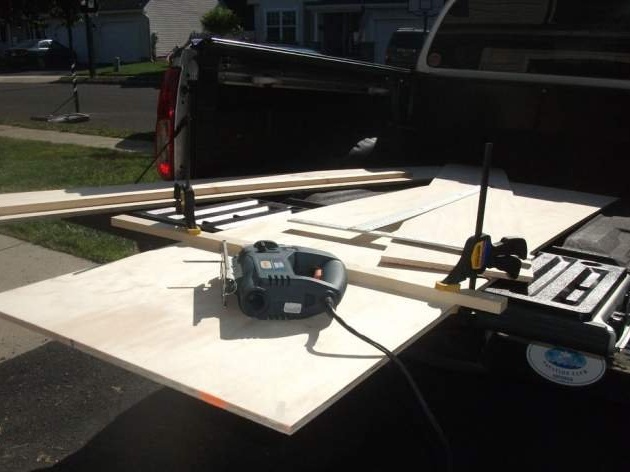
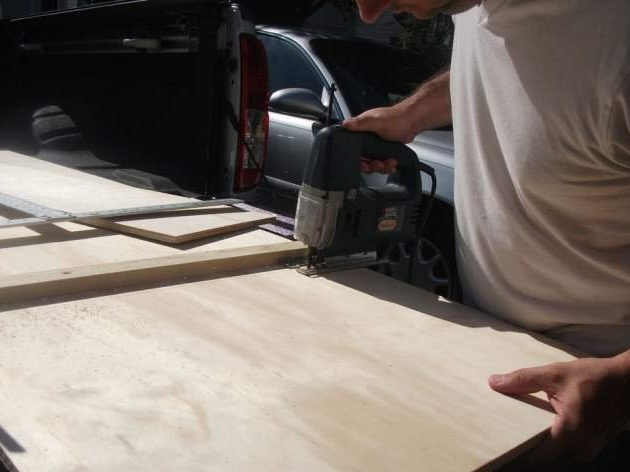
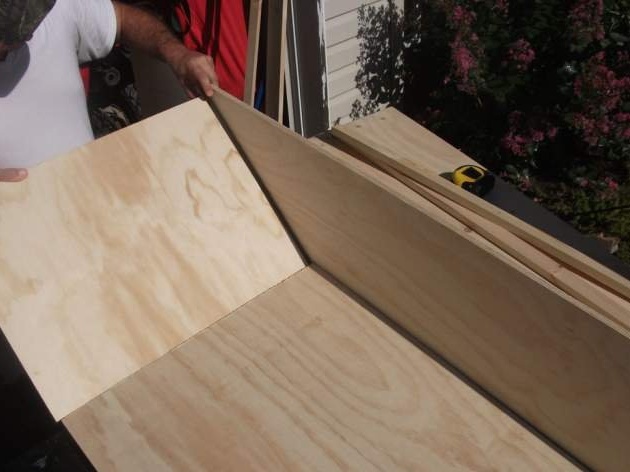
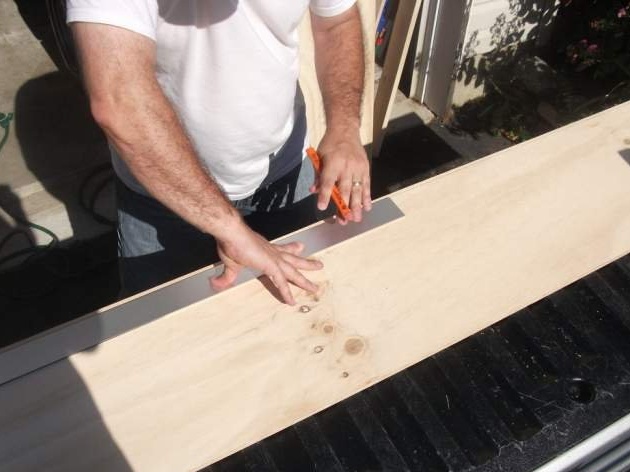
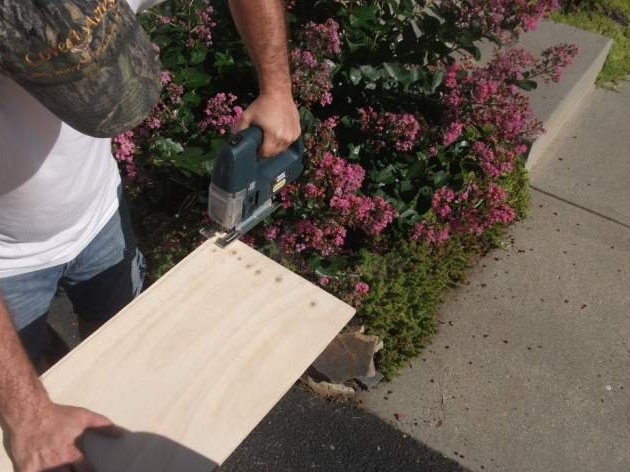
Stage 2: Preparation of parts
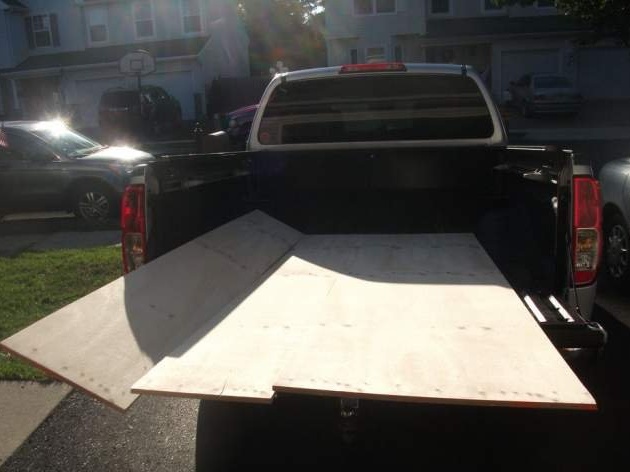
We divide the plywood sheet into 3 parts, which will be the main parts for the bottom of the boat: 46 cm x 61 cm, 31 cm x 61 cm and 61 cm x 168 cm.
The dimensions of the two sides are 31 cm x 244 cm.
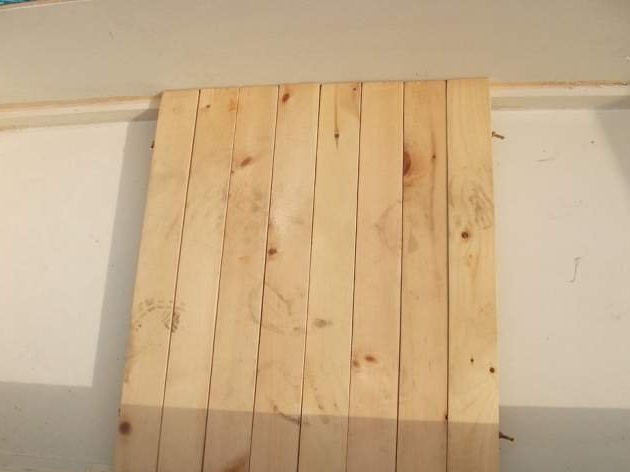
Small bars of 2.5 cm x 5 cm x 240 cm are quite suitable for props. Three pieces of props are necessary.
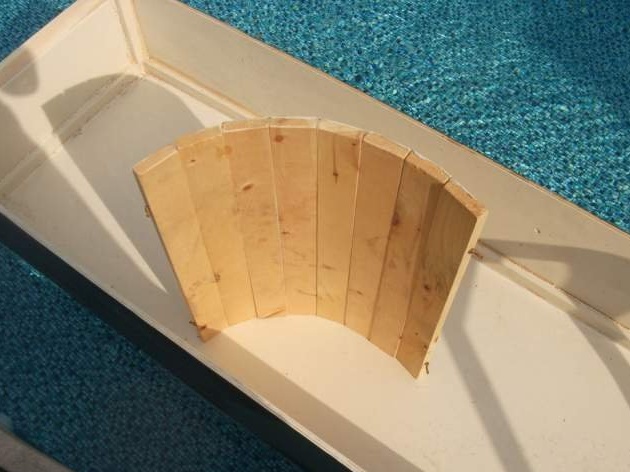
For the manufacture of the bow and stern, a bar of 2.5 cm x 7.6 cm x 240 cm is suitable for us.
Two bars of 2.5 cm x 5 cm x 240 cm are suitable for the body. They must be cut into several parts, and then fastened with a paracord.
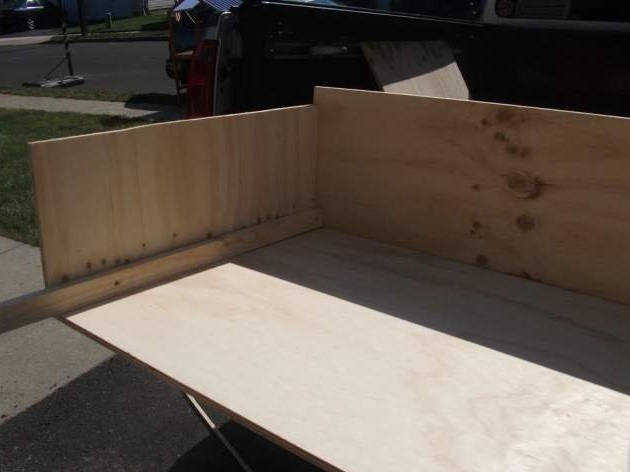
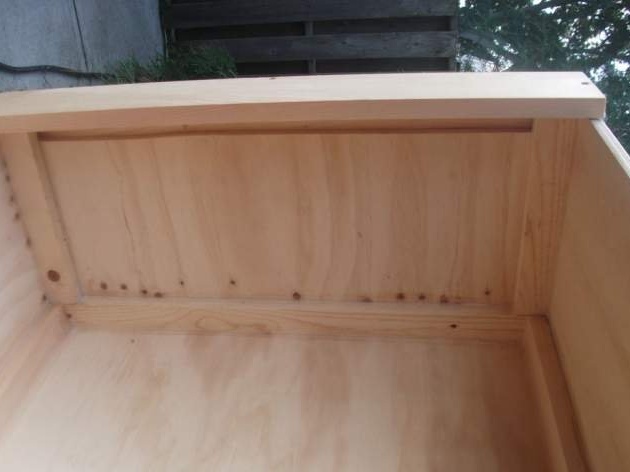
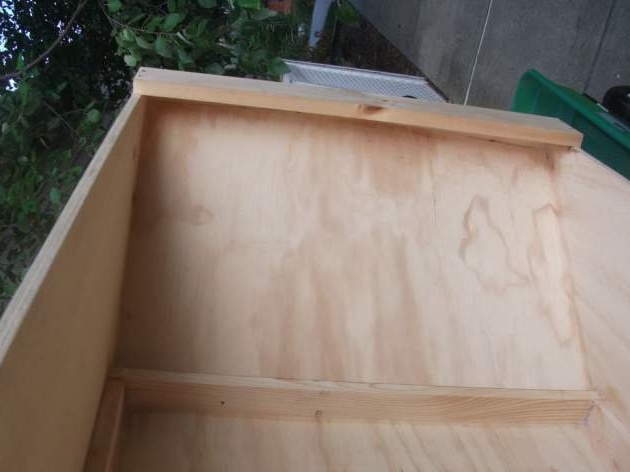
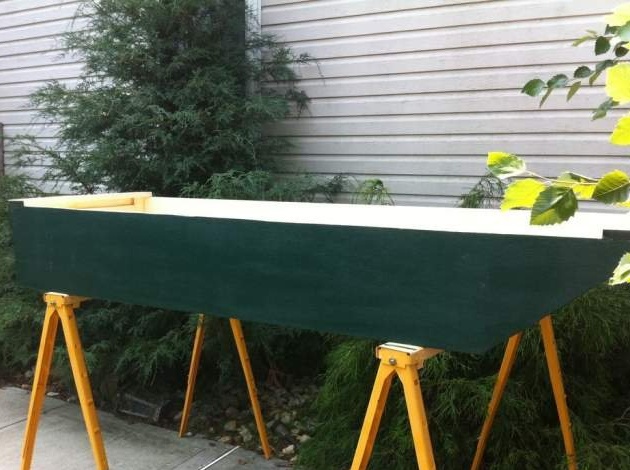
Stage 3: Assembly.
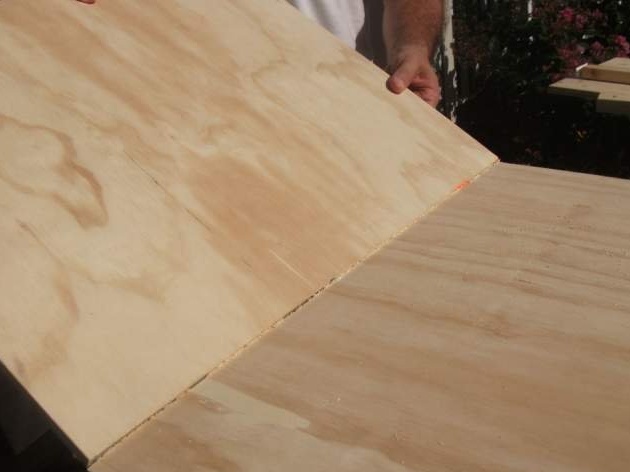
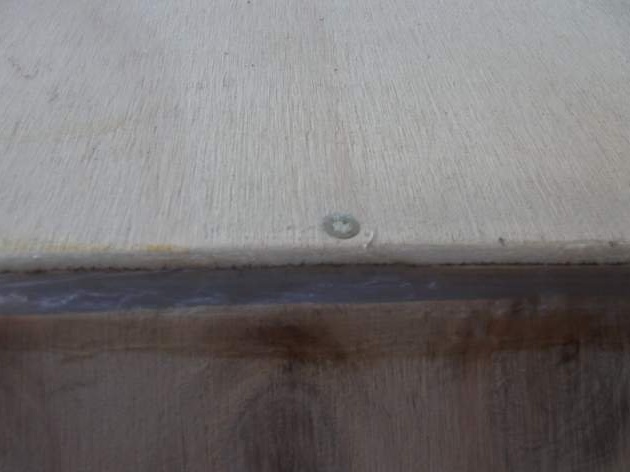
We begin to collect all the main parts of the boat, for this we use nails or pins.
The assembly order is as follows:
1. Fasten the left side of the boat to the bottom.
2. Then the stern - also to the bottom and left side of the boat.
3. Fasten the right side to the bottom and stern.
4. And we attach the bow to the bottom and its 2 sides.
Before fastening the parts with nails, we first use glue.
Before fastening the parts with nails, we first use glue.
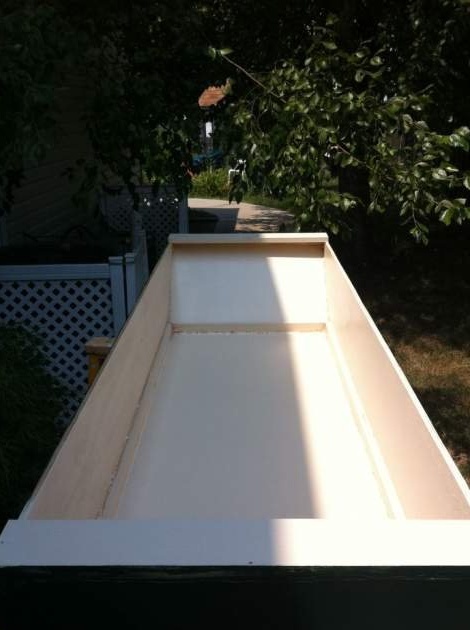
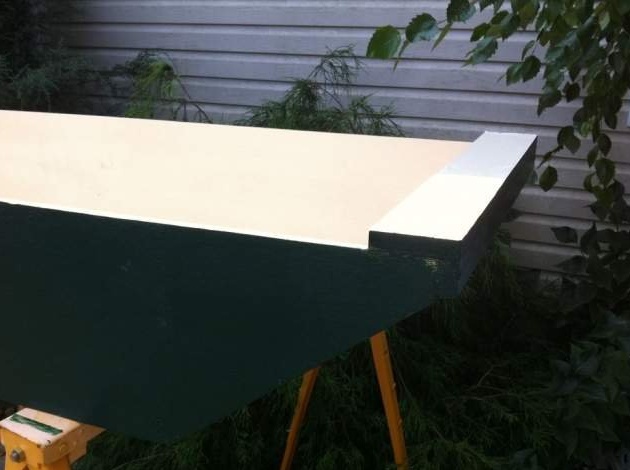
Stage 4: Surface painting and polishing.
Once the boat is assembled together, we begin to thoroughly clean it from splintering and bumps using sandpaper (0 or 1 is better). Then we begin to close up all the cracks on the outside, which were formed during assembly, with silicone sealant. And leave it in the open air for one day, so it dries faster.
You will need to paint the boat in three layers: 1 - outside and 2 - inside. Before applying a new coat, wait a while.
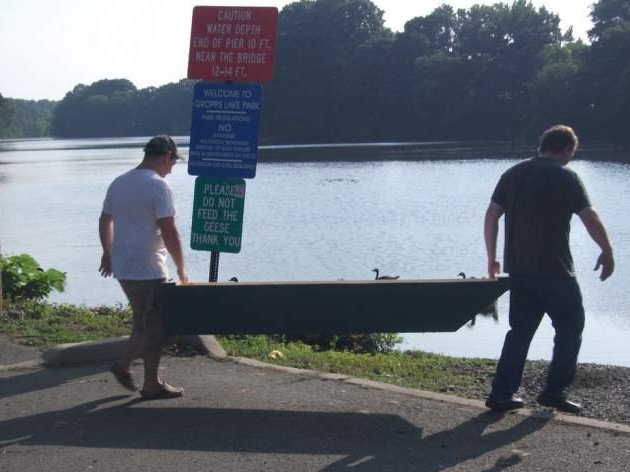
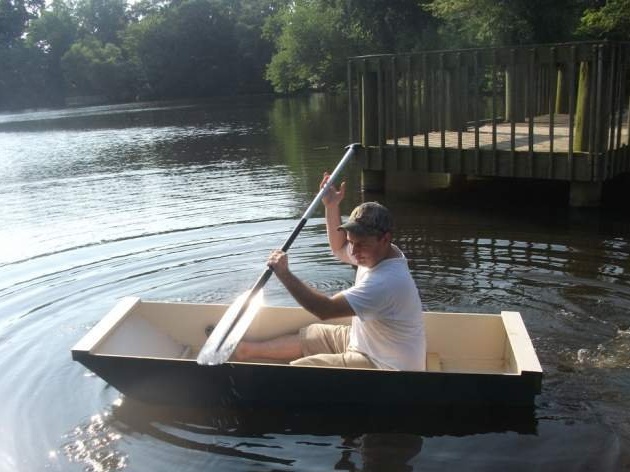
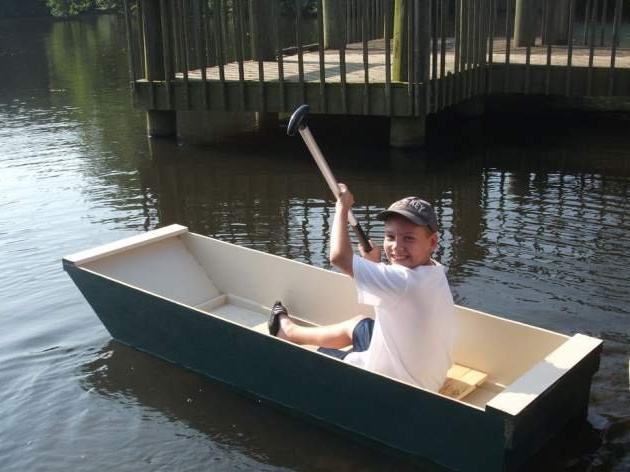
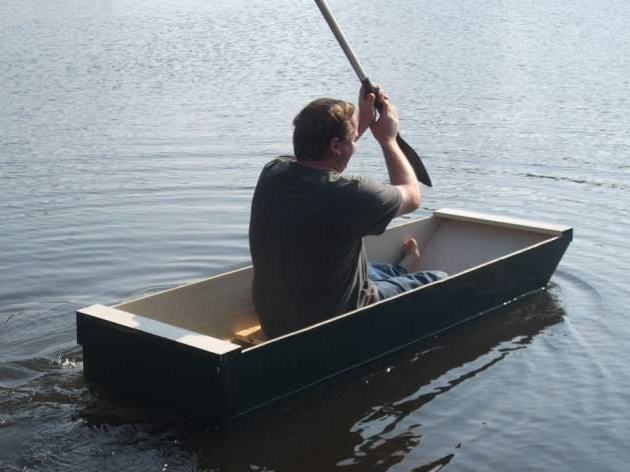
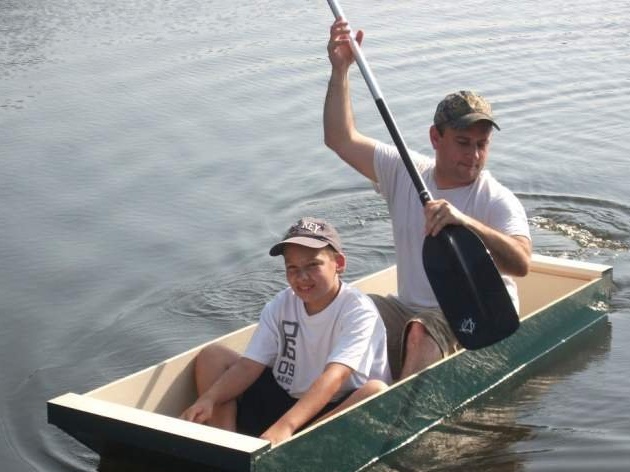
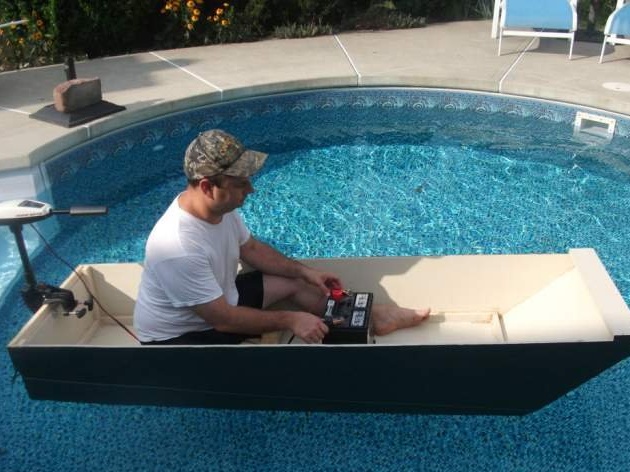
Stage 5: First swim.
Well, now it’s time to check out our “unsinkable longboat”. If something went wrong with the assembly, I advise you to watch the video of the American radio host Derek Didriksen, in it he creates and tests the same version of the boat.

Stage 6: Motor.
If you have a suitable outboard motor, you can improve the resulting boat a little.
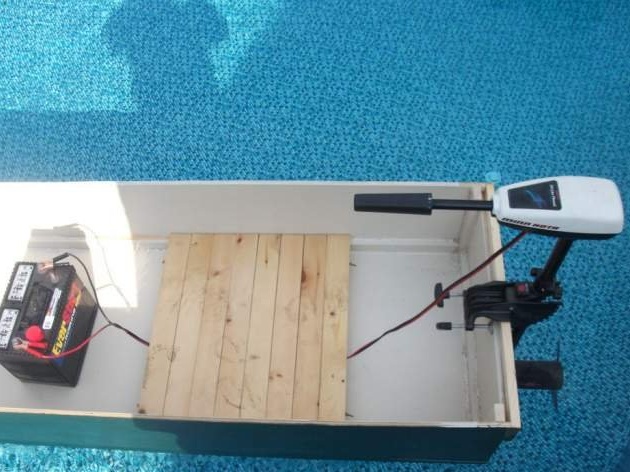

Good luck to everyone!