
Many of us often sit in front of a computer: some work, others play games, but in any case, it is sometimes necessary to clean the work or game space, namely a computer table, keyboard, on which dust accumulates, crumbs, and so on. Especially for such cases, you can buy a mini USB vacuum cleaner in specialized stores, but you can also make it yourself from improvised means.
Watch the manufacturing process of a mini USB vacuum cleaner in a video clip:
[media = http: //www.youtube.com/watch? v = nQ_bofB0uv8]
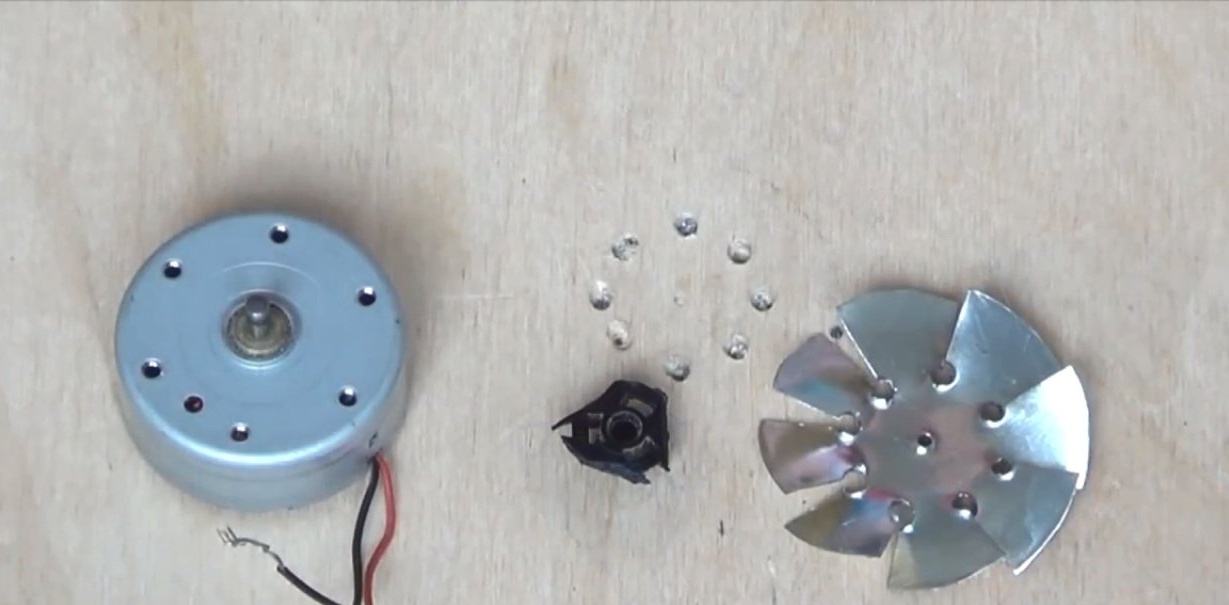
So, to make our own mini vacuum cleaner, we need a 50 ml syringe, a piece of a tin plate, a motor, a felt-tip pen, scissors, a glue gun and a USB cable from an old charger, mouse or keyboard.
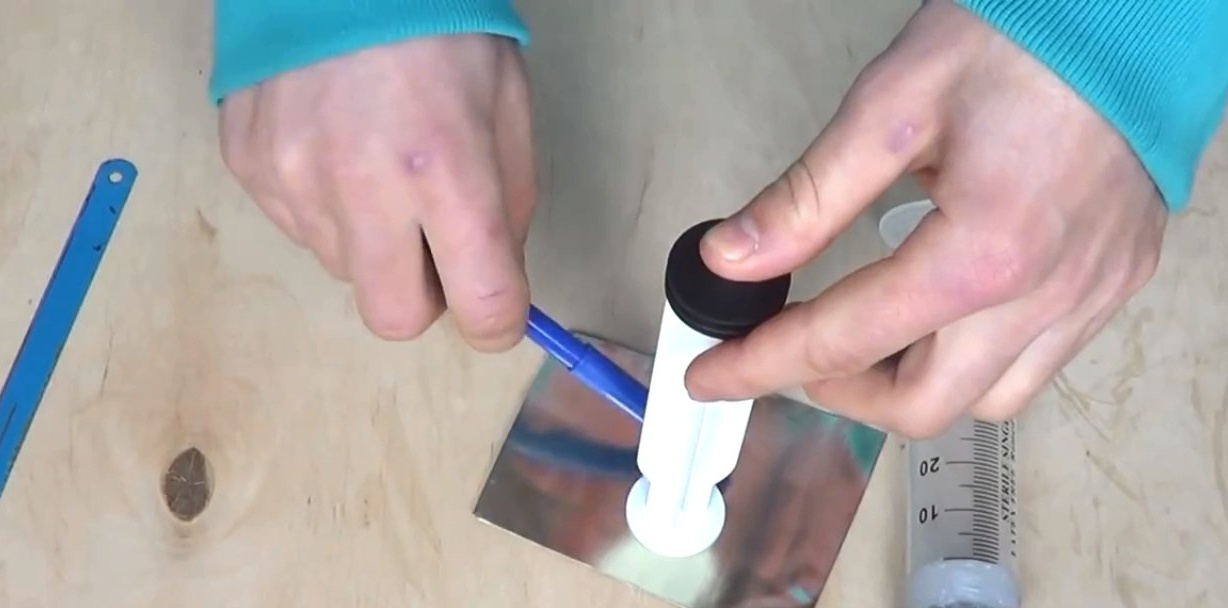
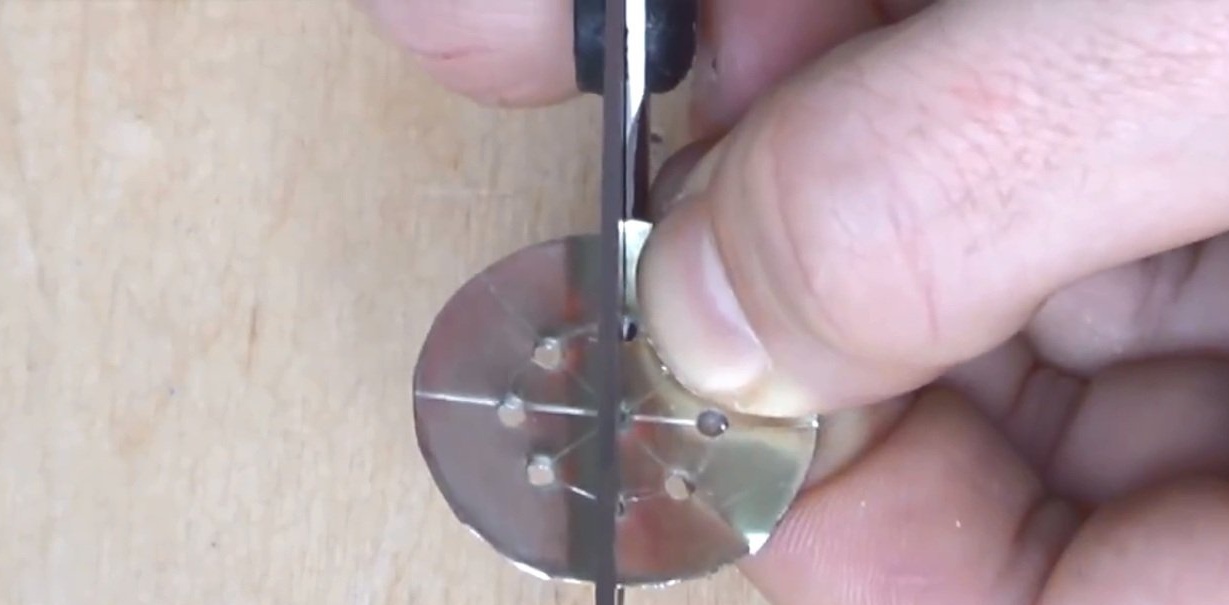
First of all, you need to take care of the turbine, which will absorb dust. To do this, cut a circle from a tin plate under the inner diameter of the syringe, which by the way is equal to the diameter of the piston of the syringe. To cut a circle, you just need to put the piston on the plate, circle it with a felt-tip pen and cut the resulting circle with scissors.
After that, you need to divide the circle into eight equal parts, draw another small circle in the middle using a cover from toothpaste or healing gel.

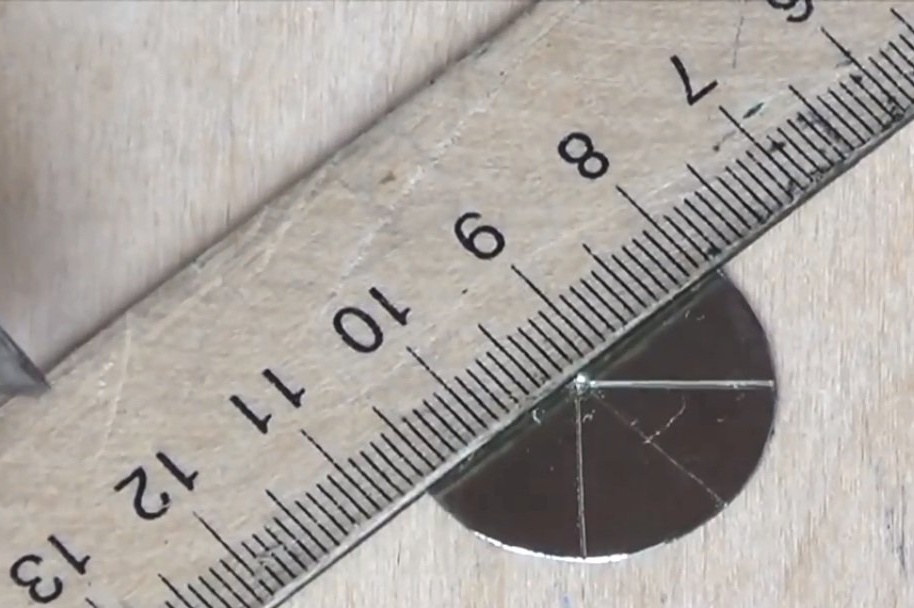
Next, you need to make eight holes at the points of intersection of the lines with a small circle.
After this, it remains only to make radial cuts and slightly bend the turbine blades, making another hole in the very middle for mounting on a motor.
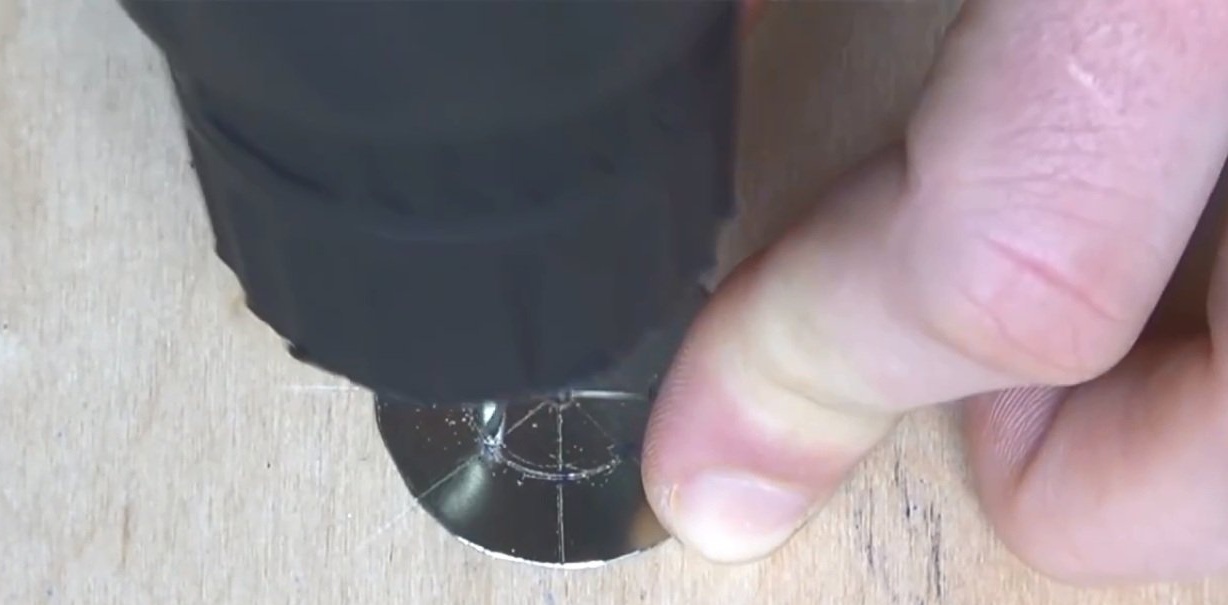
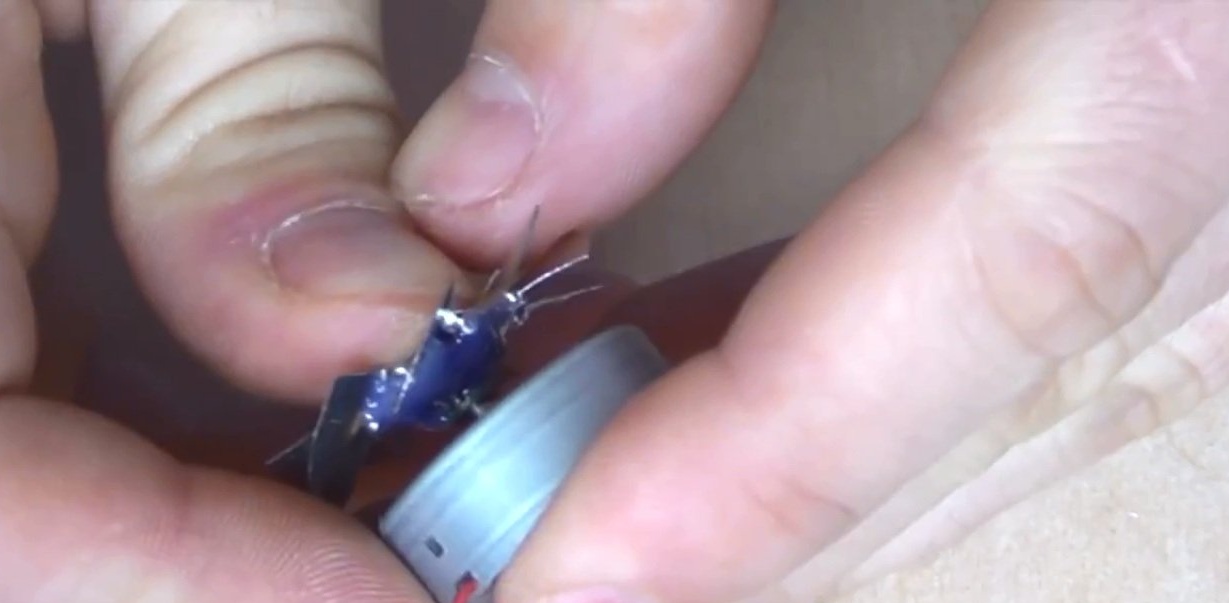
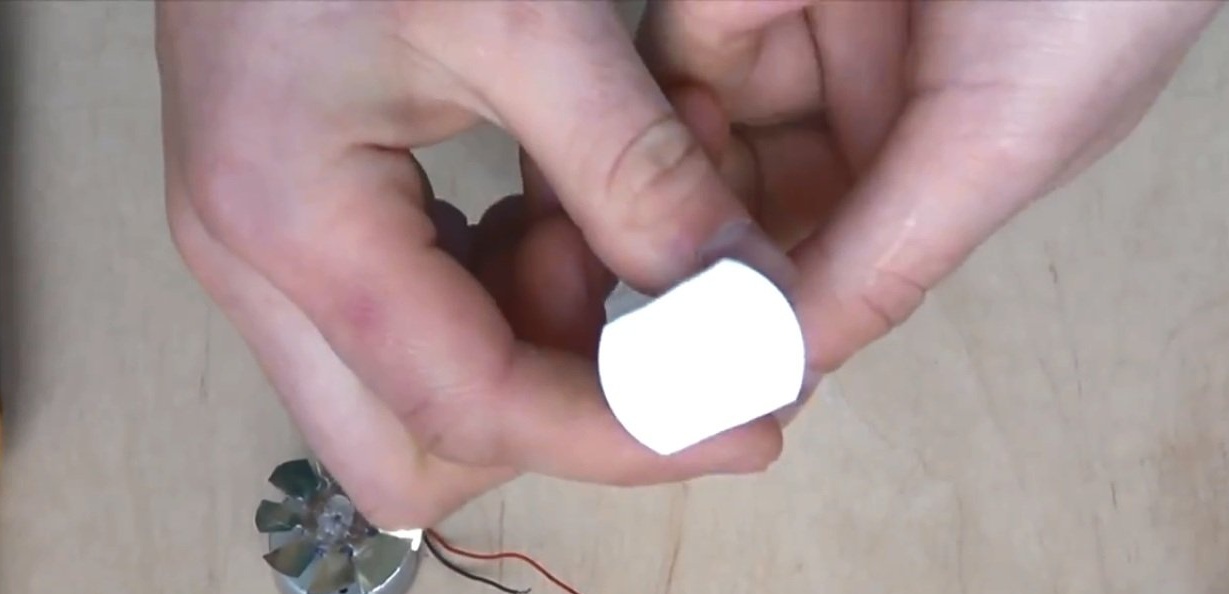
The next step is to take a regular disk holder and cut off all the excess parts, leaving the middle one and glue the turbine to it using an adhesive gun. After this, it remains only to attach the turbine to the motor.
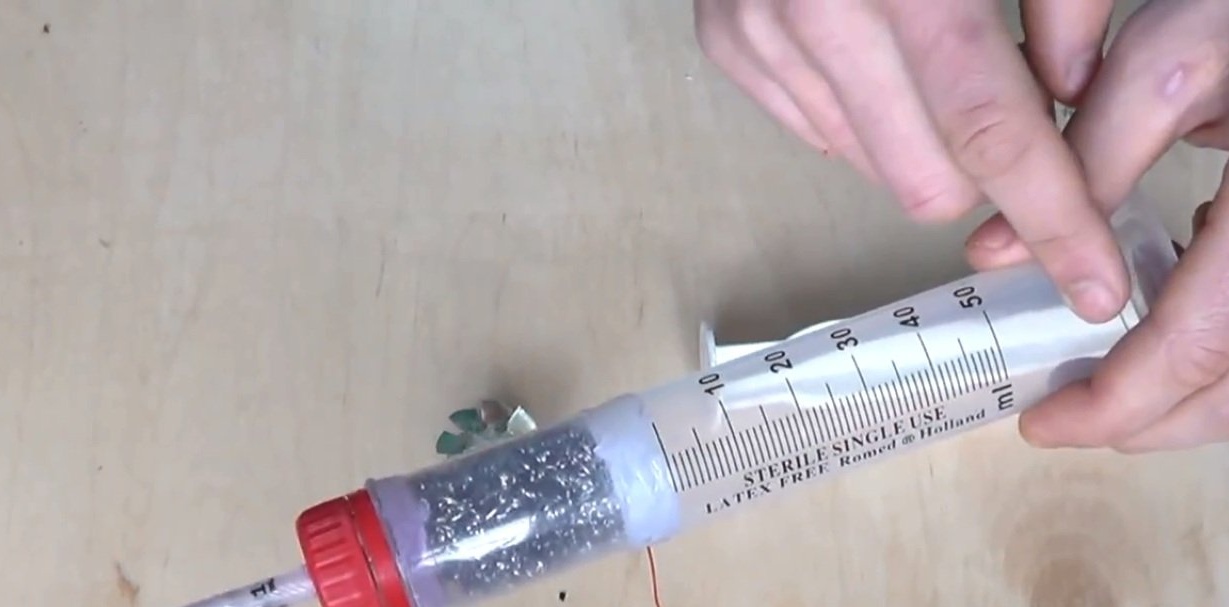
In order for air to pass through the body of the mini vacuum cleaner freely, and the engine does not overload, you need to make two small slots in the piston of the syringe and glue the engine in the center.
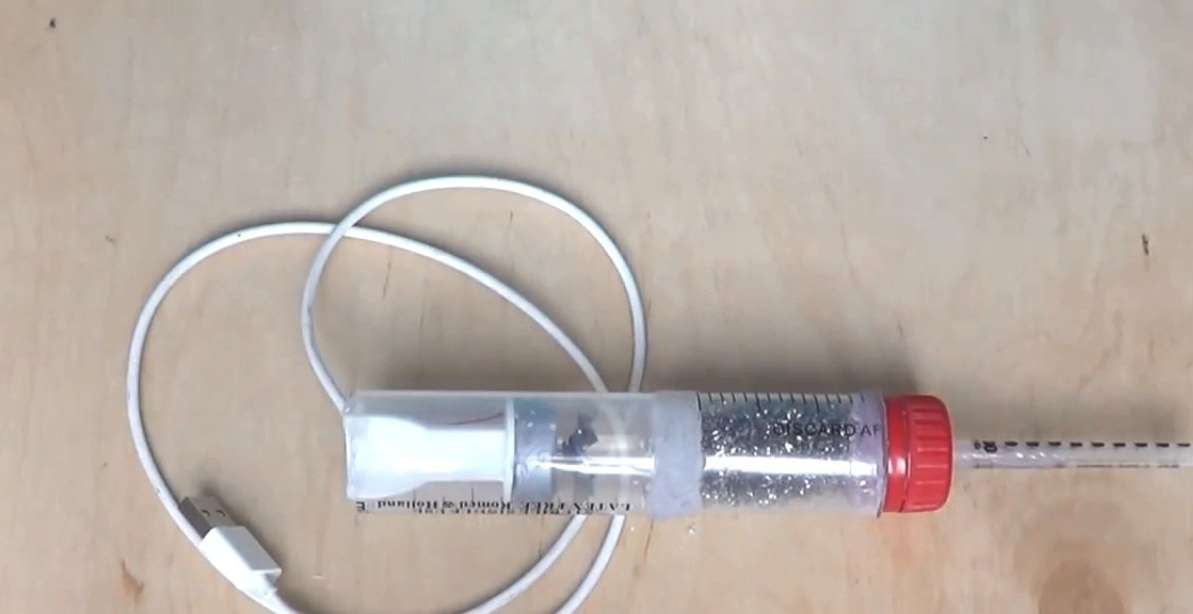
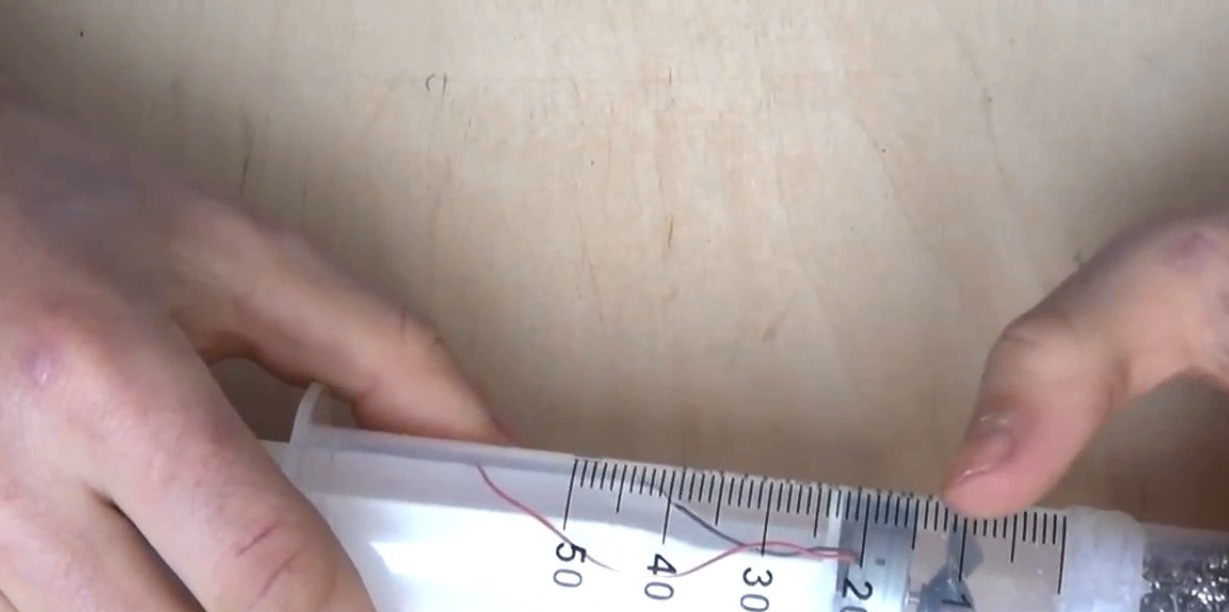
Next, you need to insert the piston into the syringe so that the turbine reaches the mark of 10 ml, cut off the excess part of the syringe from the last mark and the piston, connecting at the end of the wire to the USB cord.
There are no special difficulties with the upper part of the vacuum cleaner: you just need to glue the neck of the plastic bottle together with the cork, on which you need to make a hole and insert a tube through it.
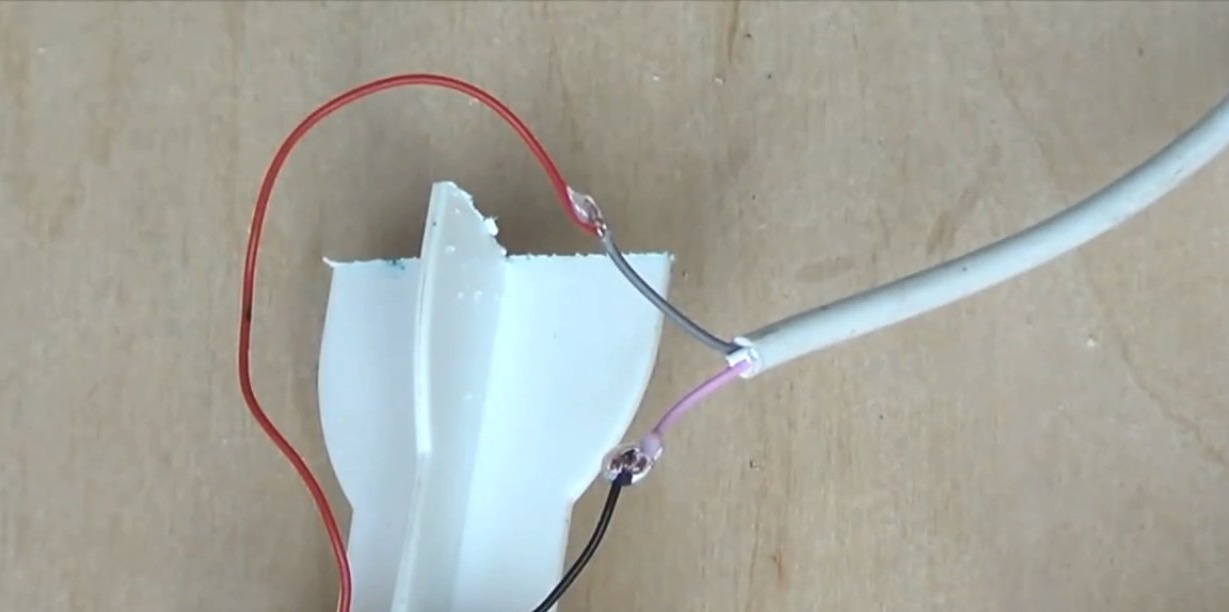
If after turning on the vacuum cleaner does not suck in and blow it out, then you need to change the polarity of the wires.
Thus, you can make your own mini vacuum cleaner in home conditions.