
Many of us like to play on the computer at night. Many people prefer to work at night, because they love when nothing bothers them around. In such cases, a nightlight is needed, and it is better if there is a portable flashlight that can be connected to a computer or laptop and illuminate the keyboard, as well as the workspace. This article will describe the process of creating a home-made flashlight for a computer that can be connected to a USB port on a computer.
See how to do do it yourself USB flashlight:
[media = http: //www.youtube.com/watch? v = DyOdKvdQwkU]
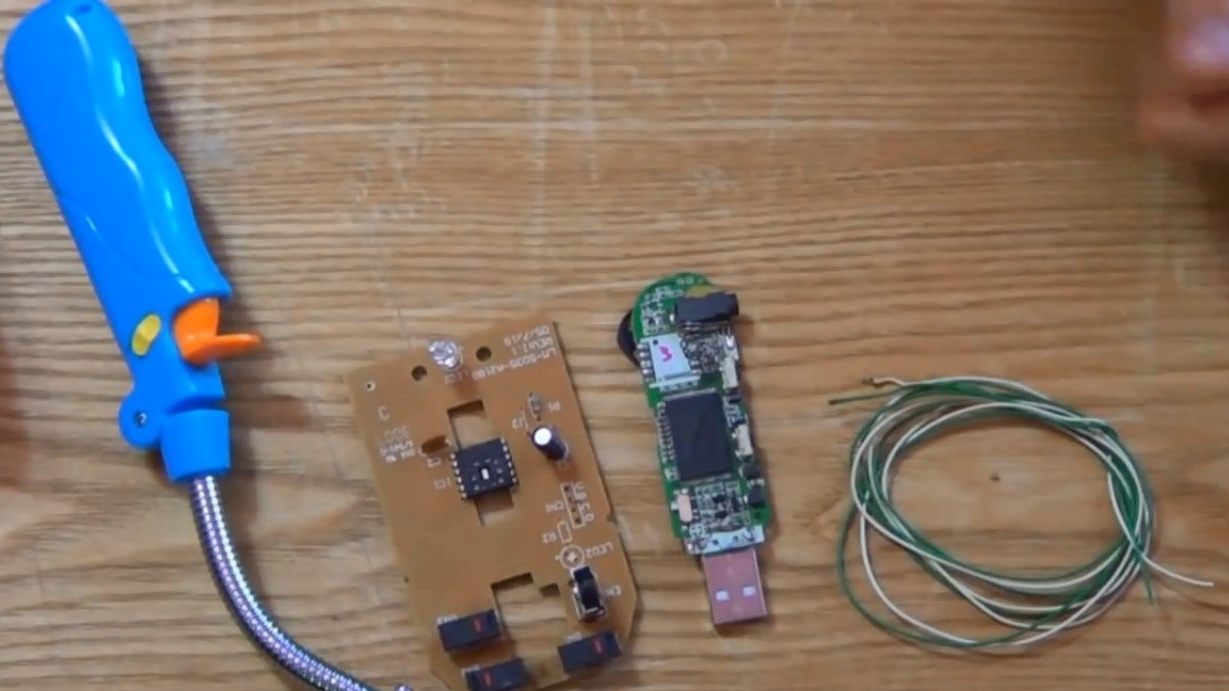
So, we need a wire, a USB plug, an LED, as well as a base on which it will all be installed: as a base, you can use an old gas stove lighter with a corrugated part. If such a lighter is not at hand, then you can separately remove the corrugated part from computer headphones with a built-in microphone. As for the LED, it can be unsoldered from the old computer mouse, and the USB plug can be removed from the old flash drive or MP3 player.
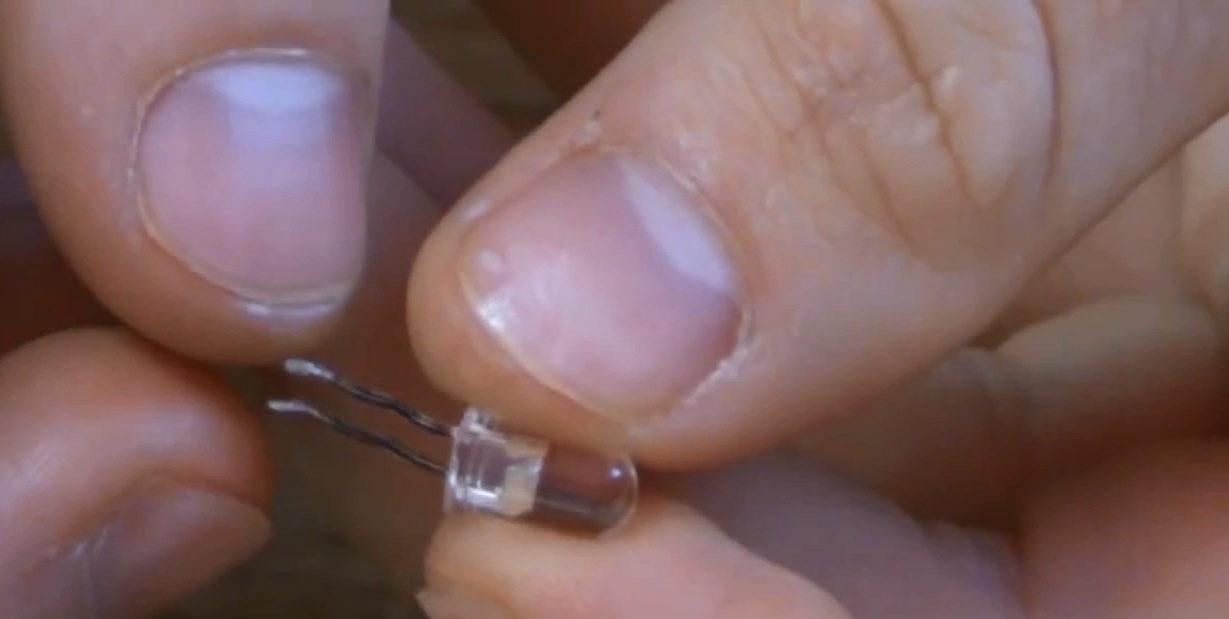
First of all, we need to unsolder the LED bulb from the mouse.
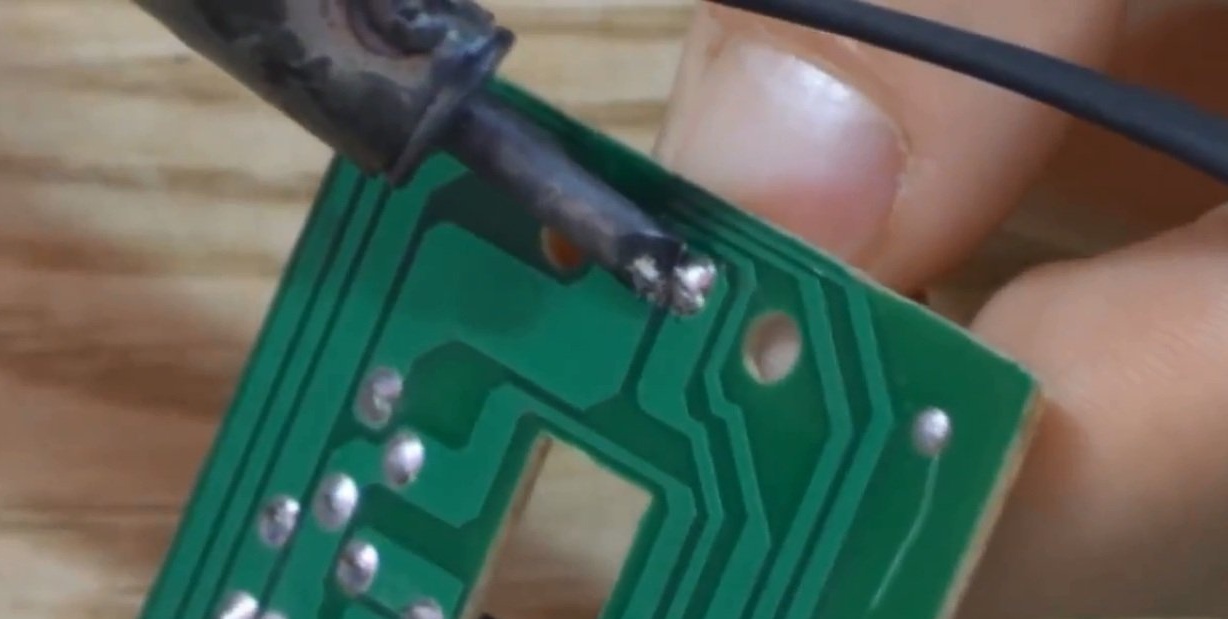
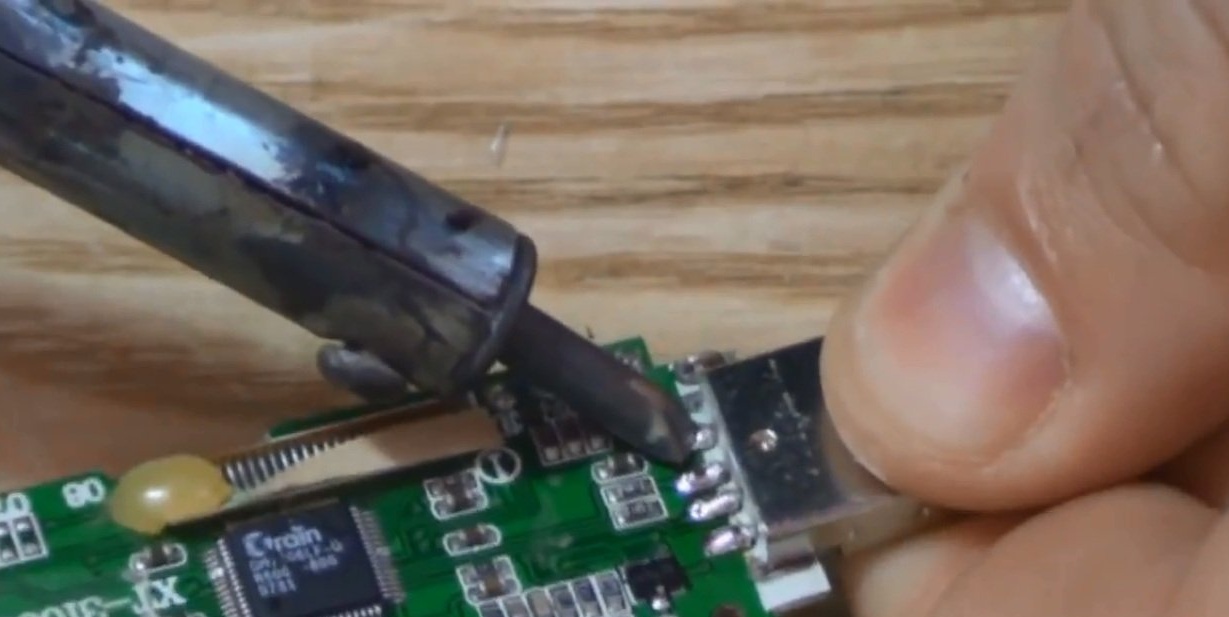
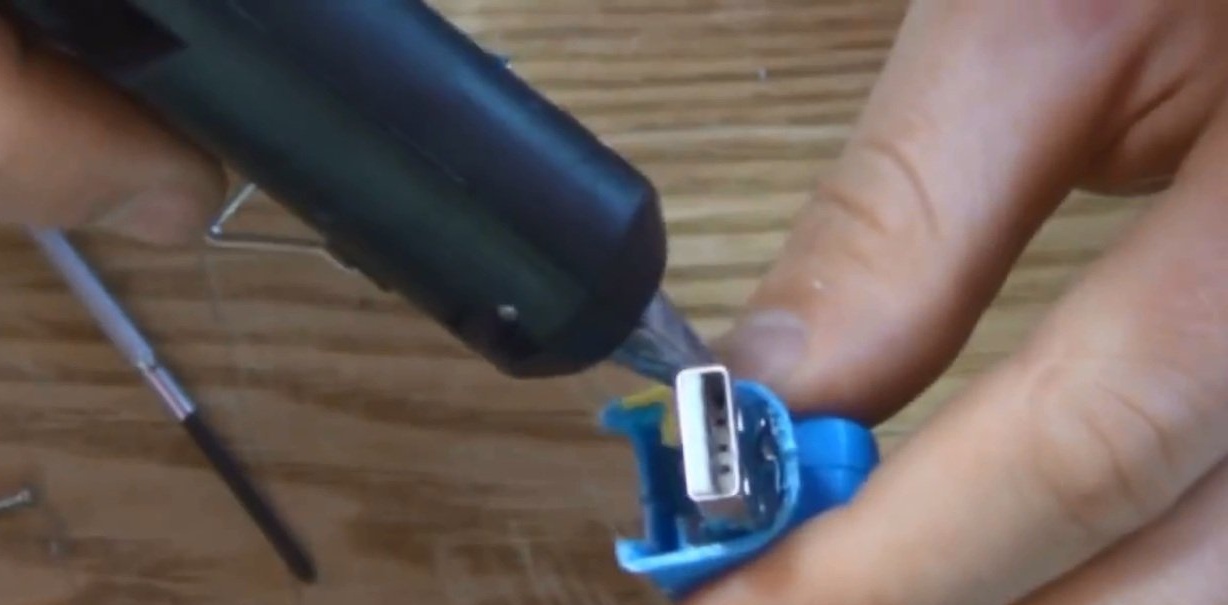
Next, you need to unsolder the USB plug from the player or drive.
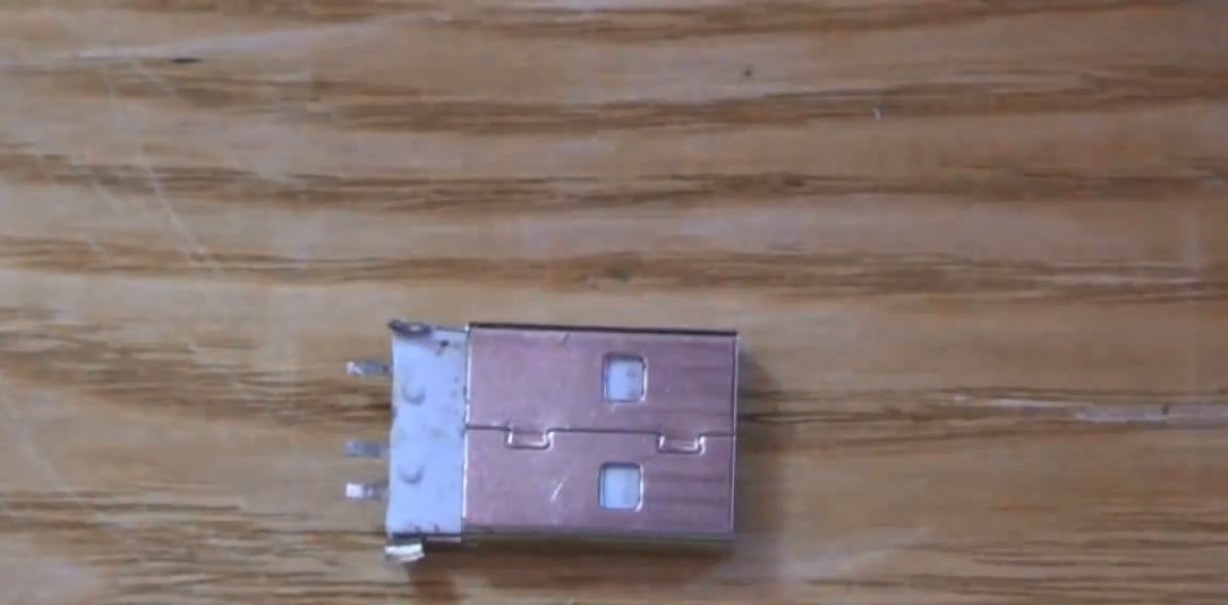
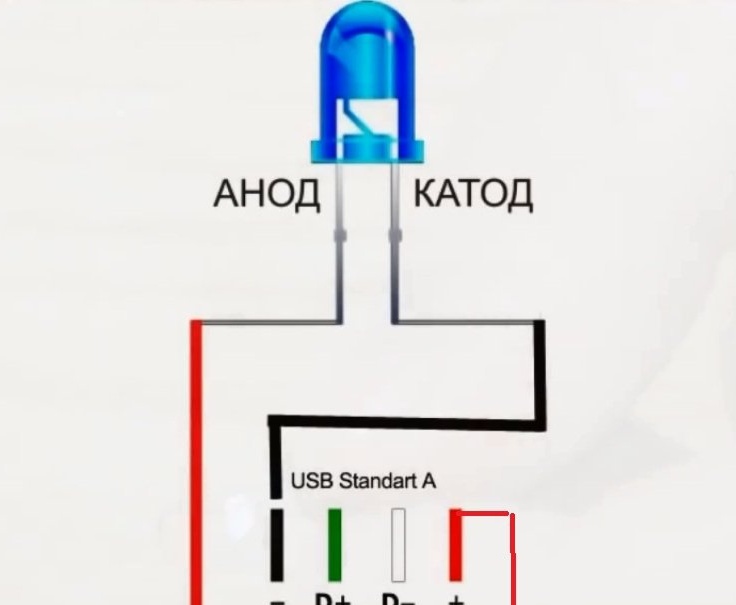
After the USB plug and the LED bulb are unsoldered, they must be connected together and installed in the lighter body. The LED has plus and minus, that is, the anode and cathode. The question arises: how to distinguish them? The smaller LED contact is positive and the larger contact is negative. Now you need to determine the positive and negative contact on the plug. In the plug position, when the plate is in the lower part, the rightmost contact is the plus and the leftmost is the minus.
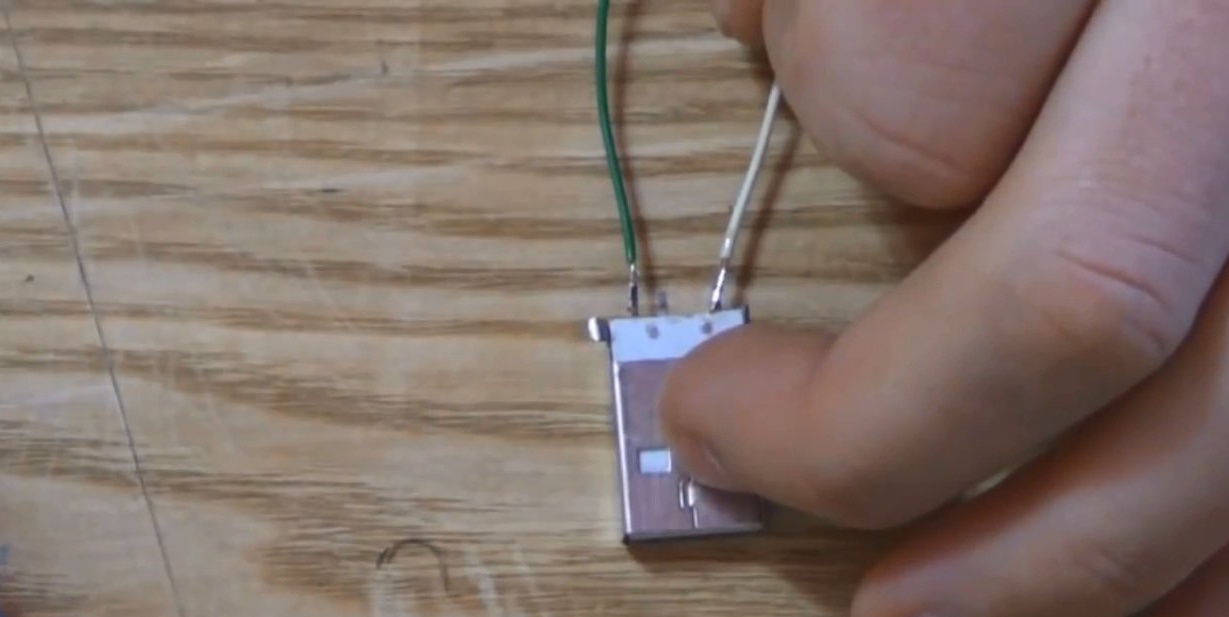
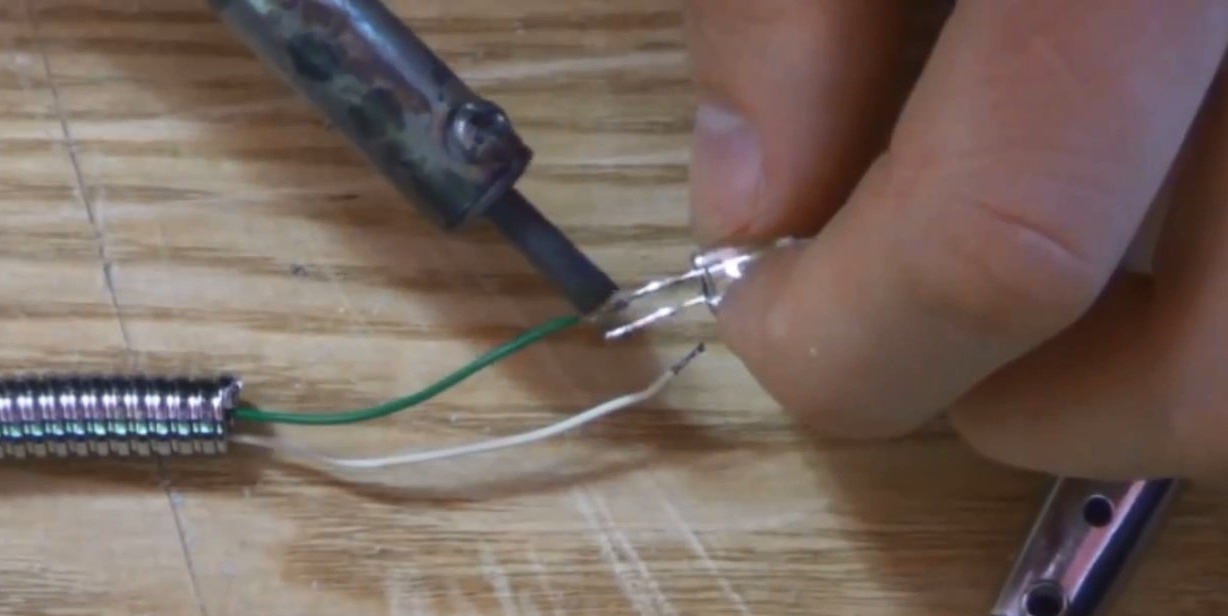
Negative and plus contacts are found, which means that you can proceed to connect them using a wire, as well as installation in the lighter body. The first step is to solder the wires to the plug.
We disassemble the lighter, removes everything internal from it, since we do not need all this. Next, cut off the bottom, leaving room for the installation of a USB plug.
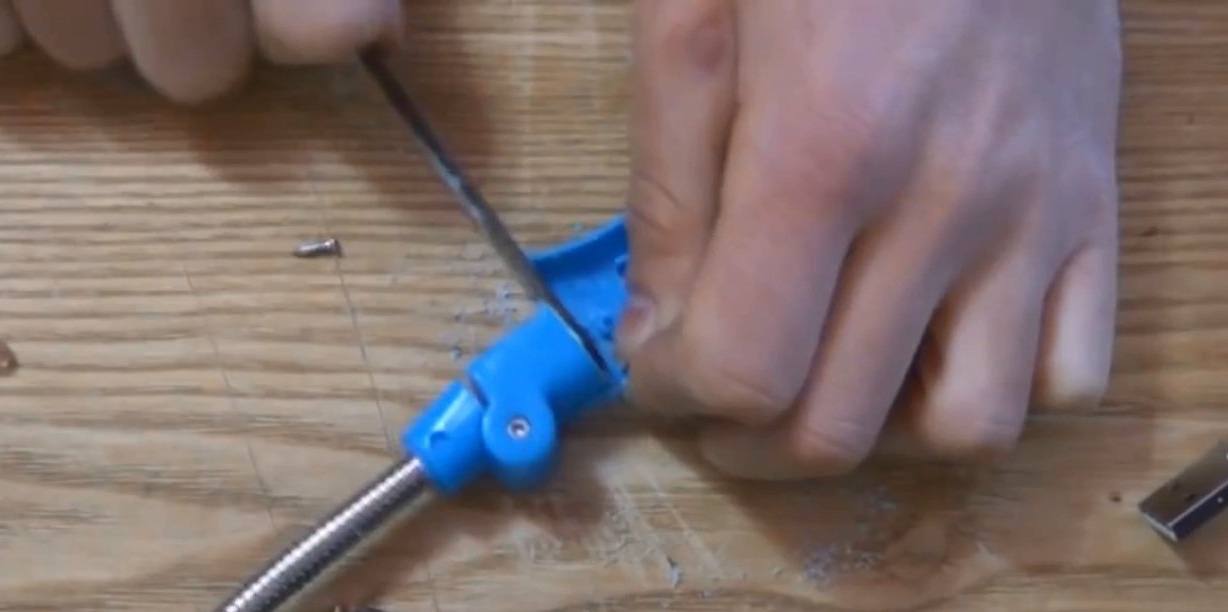
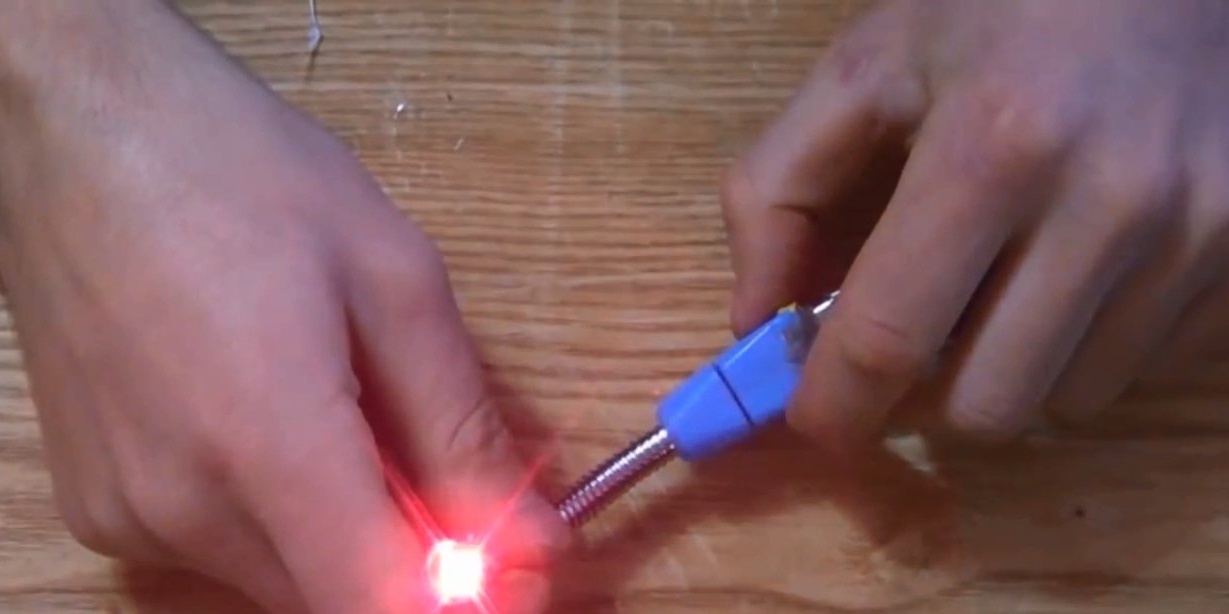
The wires must be inserted through the corrugated part, install the plug in the lighter body and fix everything with hot-melt adhesive. When the wires are pushed through the corrugated part, they can be soldered to the LED bulb. The lamp also needs to be fixed with glue, and after that - assemble the case and connect to the computer.
Thus, you can create your own portable flashlight or nightlight, which will certainly become a useful accessory for your computer.