
It will be superfluous to talk about the need and benefits of a soldering iron at home. This device helps with the repair of wires, cables, equipment and much more. However, there are times when a soldering iron is necessary in places where there are no outlets, which means that it is possible to use a conventional soldering iron.
Homemade rechargeable soldering iron in the video:
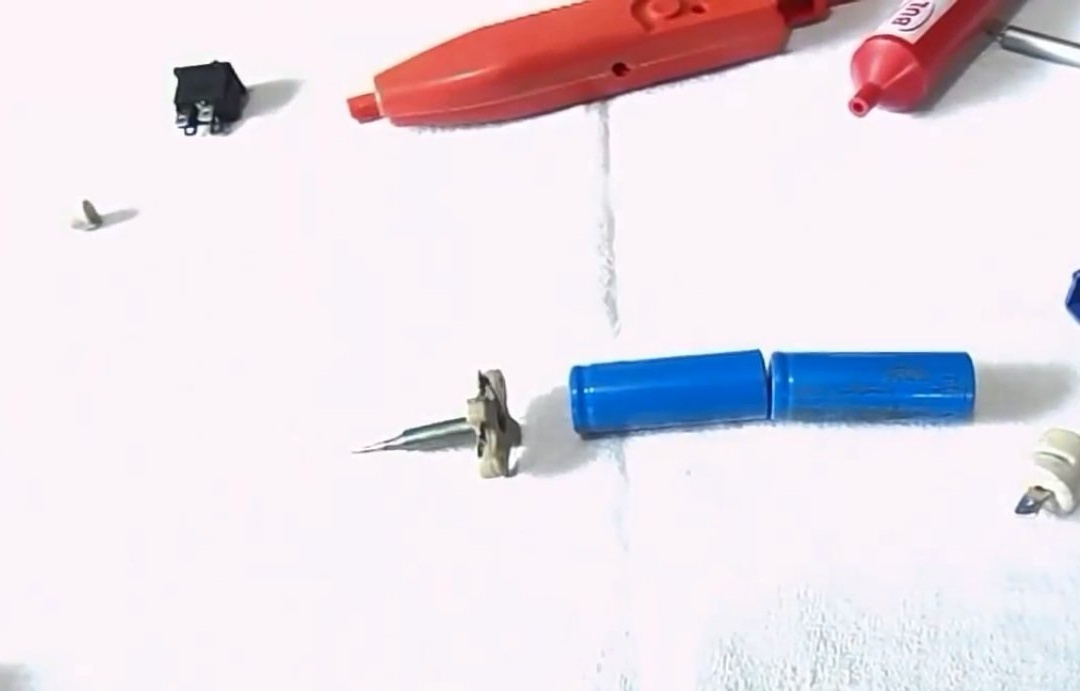
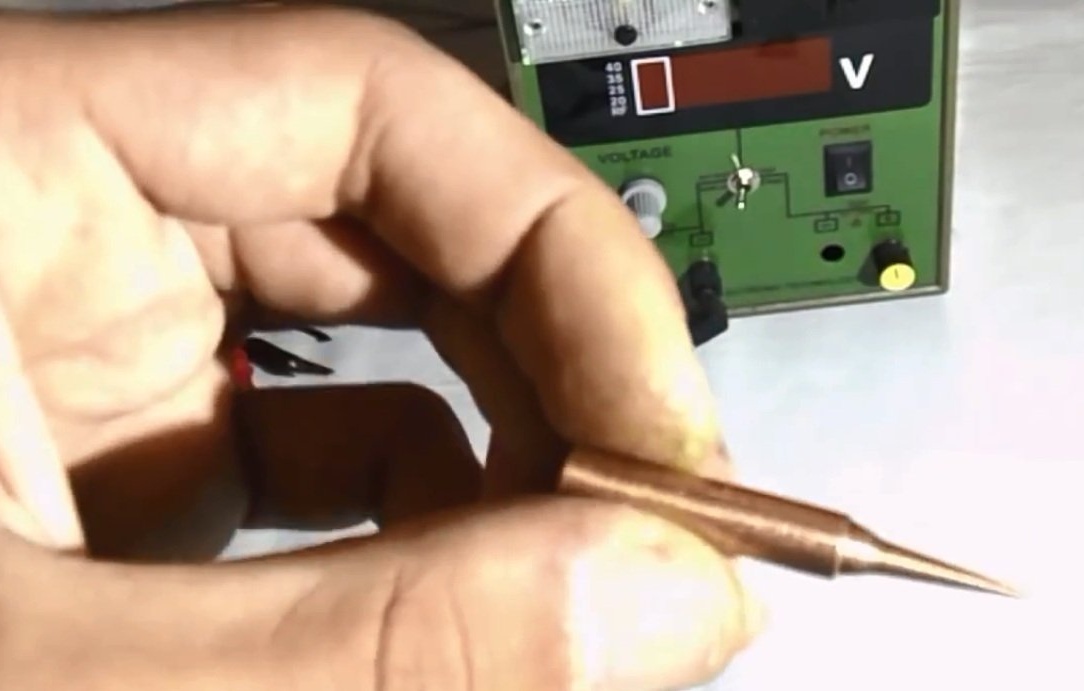
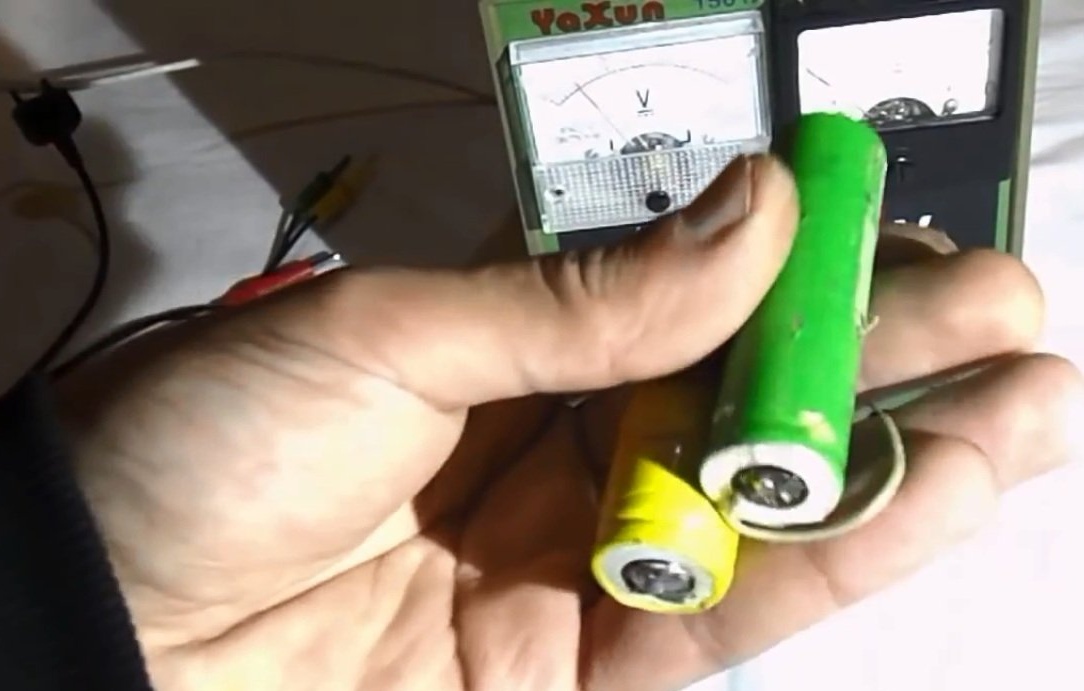
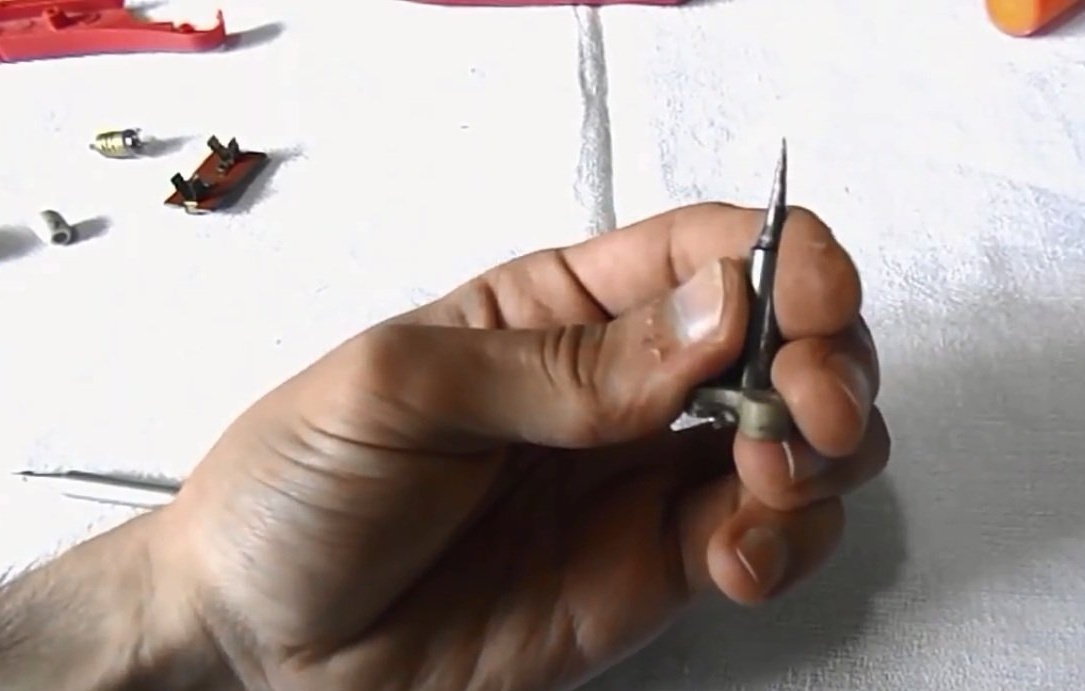
So, we need a copper sting for the future soldering iron, which can be purchased for about $ 4, a power supply, two batteries with a larger capacity, since the working time of our soldering iron will directly depend on the battery capacity, two MLT resistors per ohm (such resistors can remove from old domestic TVs), pliers, nippers, scissors, epoxy, which is not afraid of high temperatures and will serve as adhesive material, as well as a body that can be made of plastic.
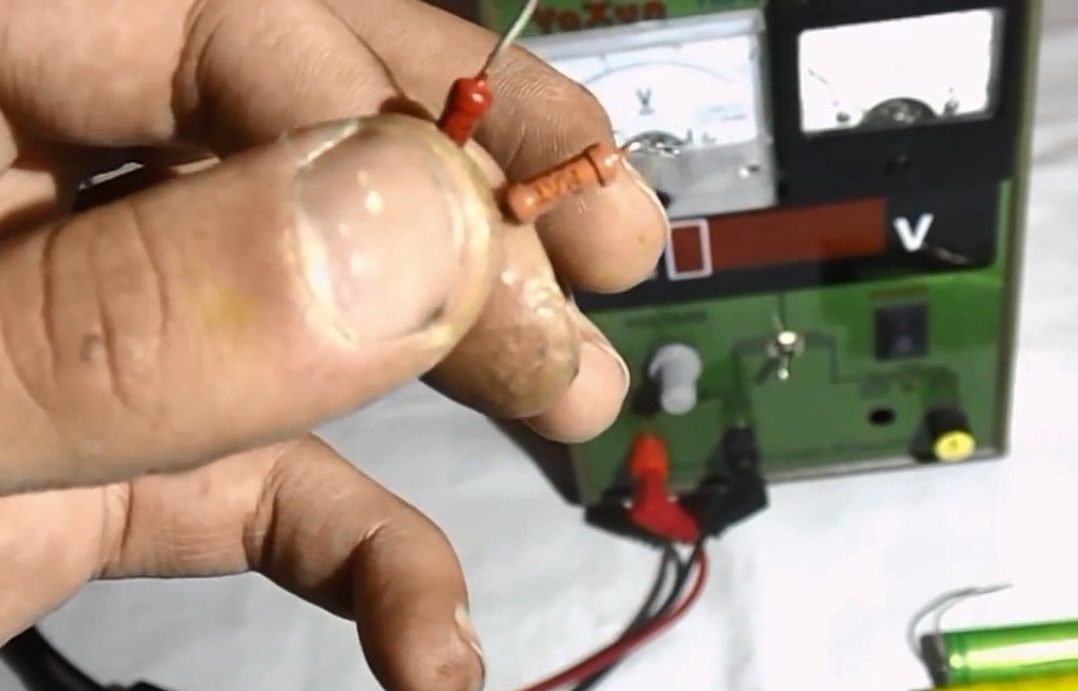
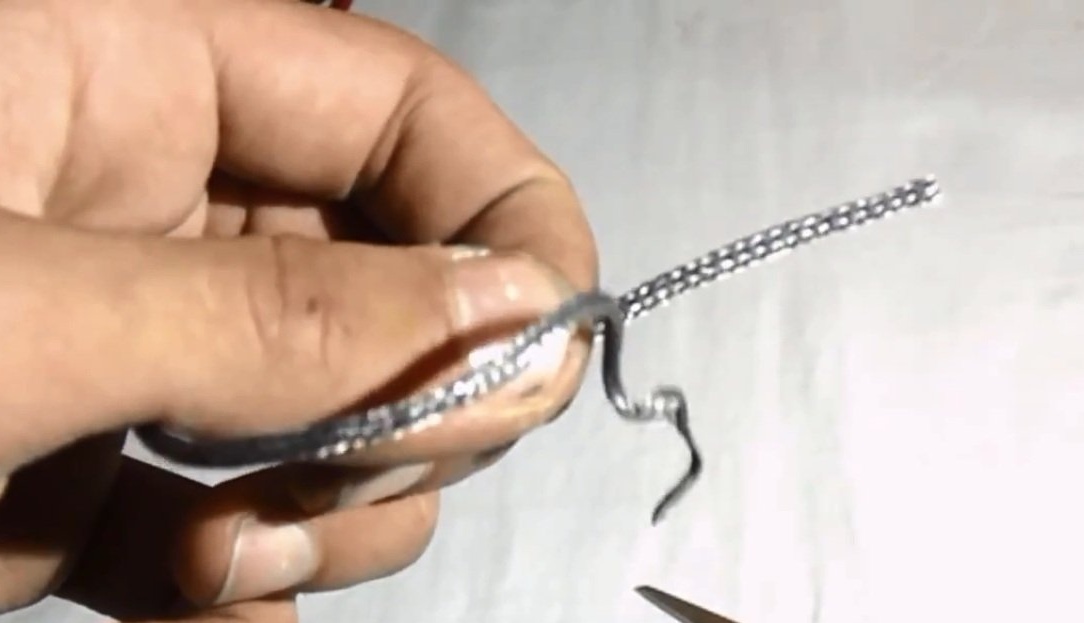
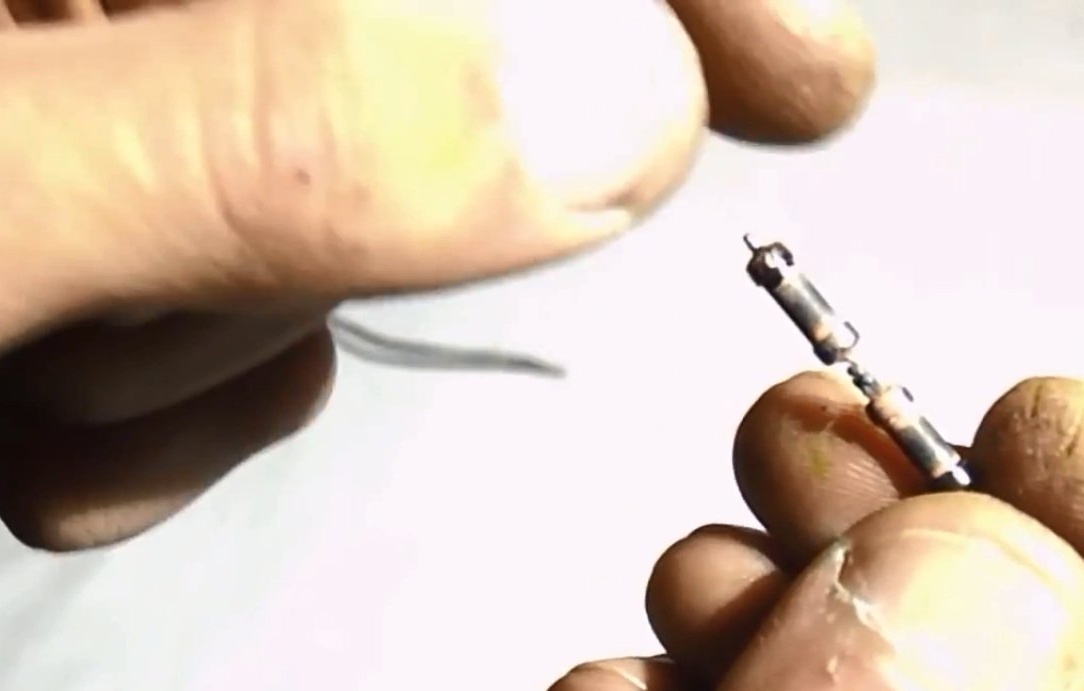
First of all, we need to make a heater and put it in a sting. To do this, you need to take a shielded wire, which is used in the sound circuits to supply sound signals. You can find such a wire in any power amplifier. Such a wire is necessary to ensure the contact of the resistors with our sting. To do this, it is enough to cut off a centimeter piece of wire, put it in the sting. Resistors should also be placed in the sting, pushing them inward. To connect the resistors do not need to use any rations. It is enough to fold the conclusions to each other using pliers, thus fastening the resistors. You need to do this, because the resistors in our soldering iron will be very hot, and the tin that will be used for soldering will simply melt. These two resistors will be located in the sting.
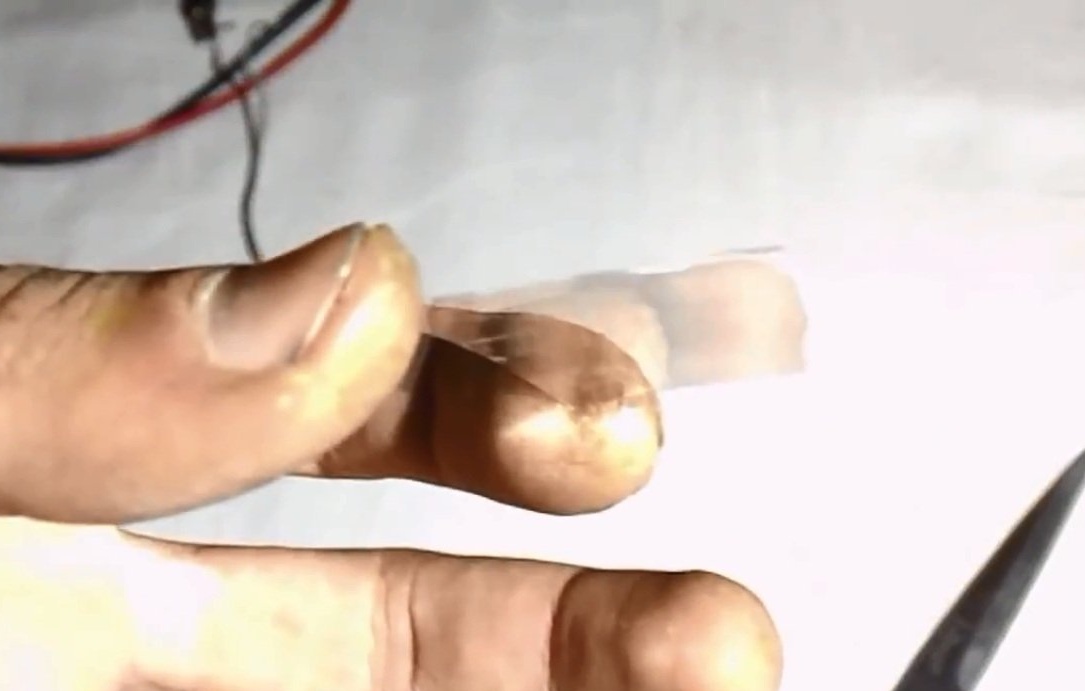
The next step is to isolate the resistors, for which we will need a heat-resistant insulator, since the resistors will heat up to 400 degrees Celsius. Such plates can be removed from the old soldering iron.

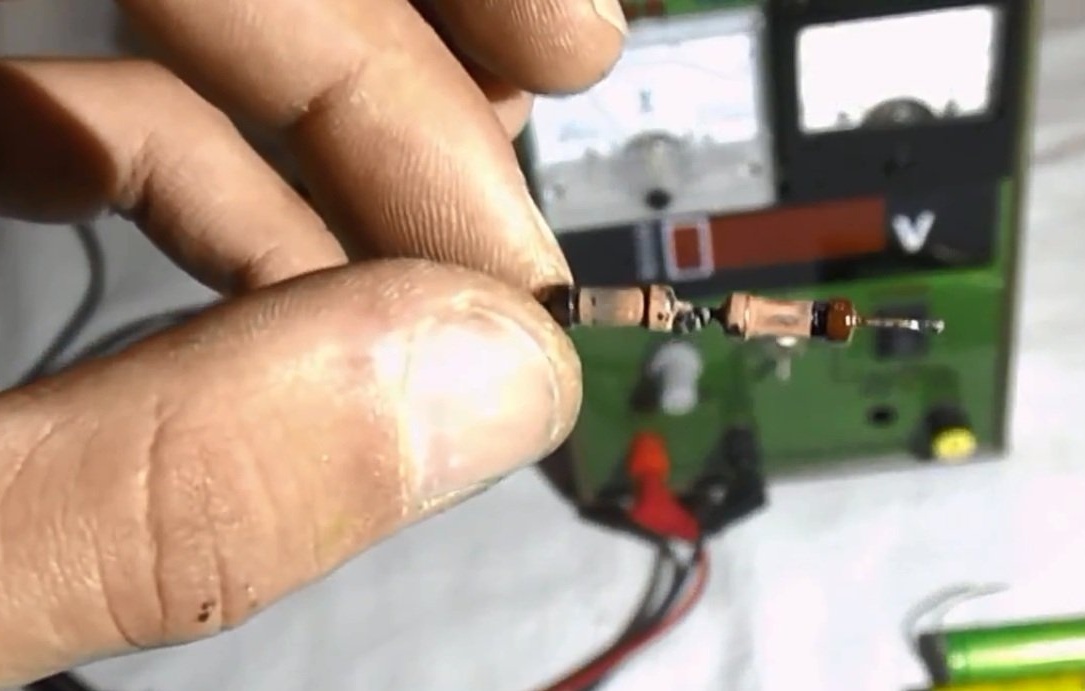
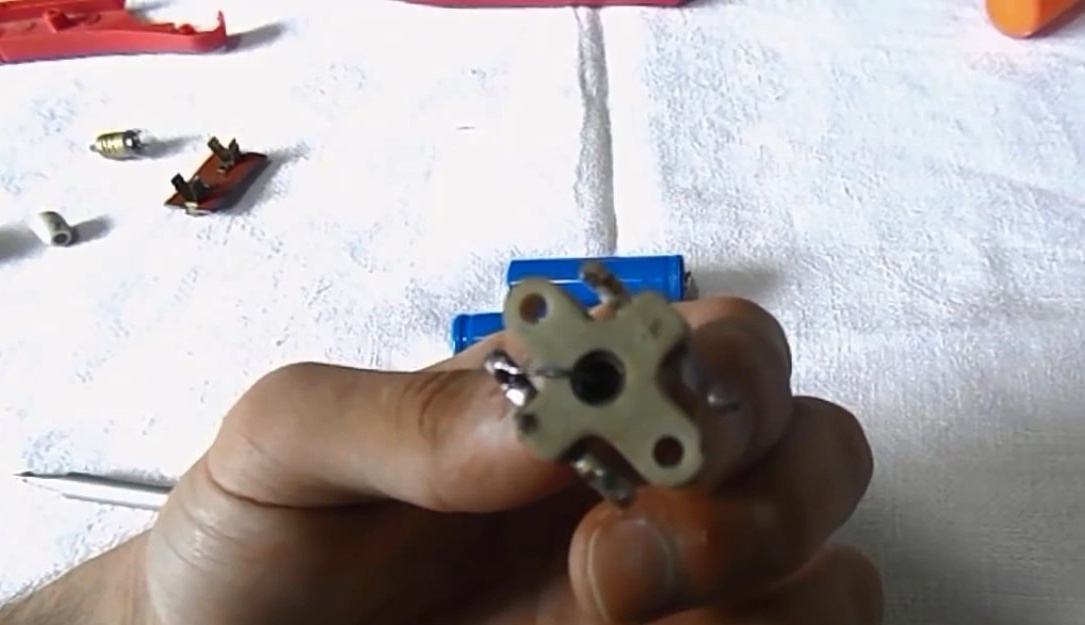
Now you can move on to creating a body that can be made of any material, as well as a tube into which the sting will be inserted. We take the form from under the diodes KD 213a. Next, you need to connect the output of the resistor to one of the side contacts of the diode, and the second contact, which goes directly to the sting, can be soldered using a wire to another contact of the diode.
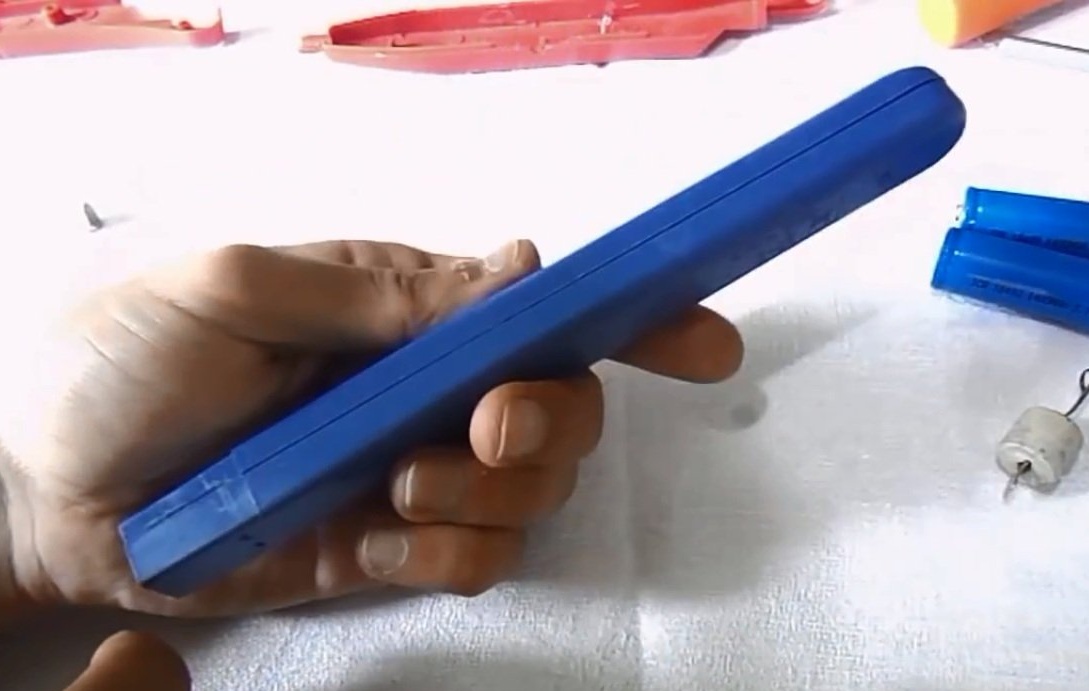
To make the case, you can use an old lighter to set fire to a gas stove.The case must also have a 10 amp switch installed, which can be purchased at electronics stores or removed from an old oven.
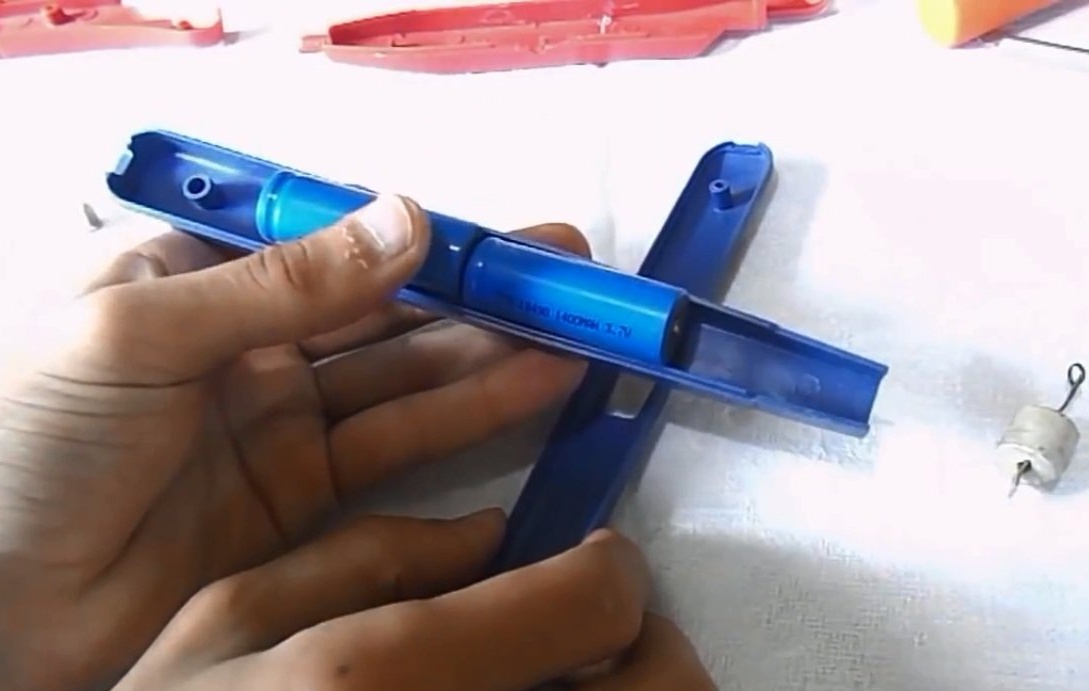
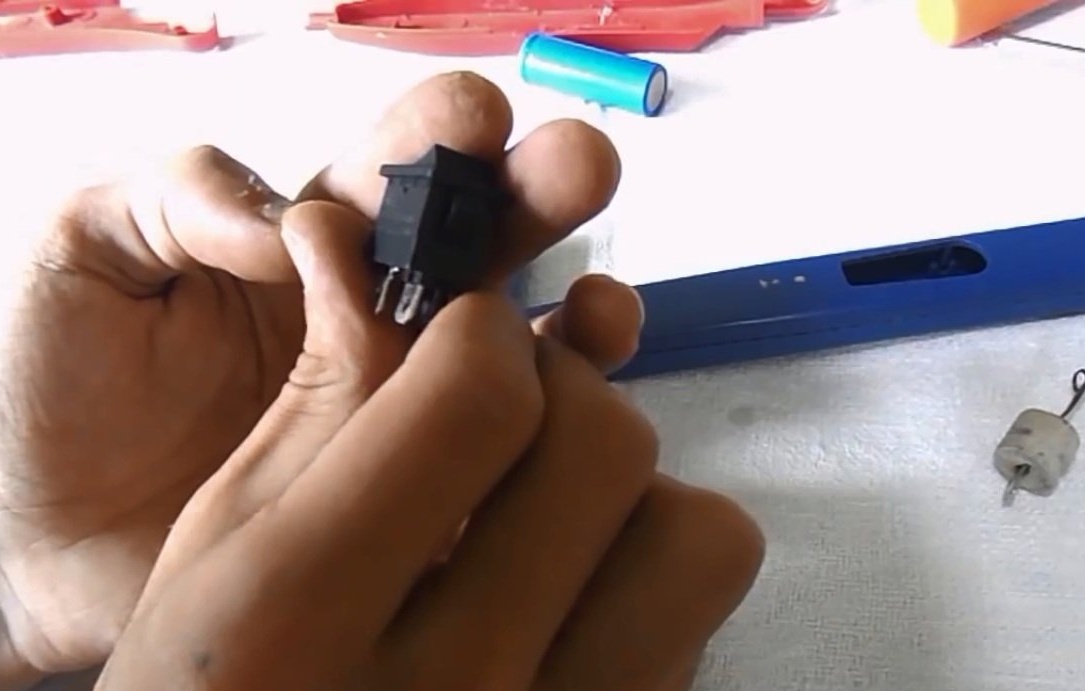
It remains to connect the batteries in series and pass the wires through the switch to the tip. It should be noted that one of the sting poles must be connected directly to the battery. After collecting the workpiece, you can get a homemade portable battery-powered soldering iron.