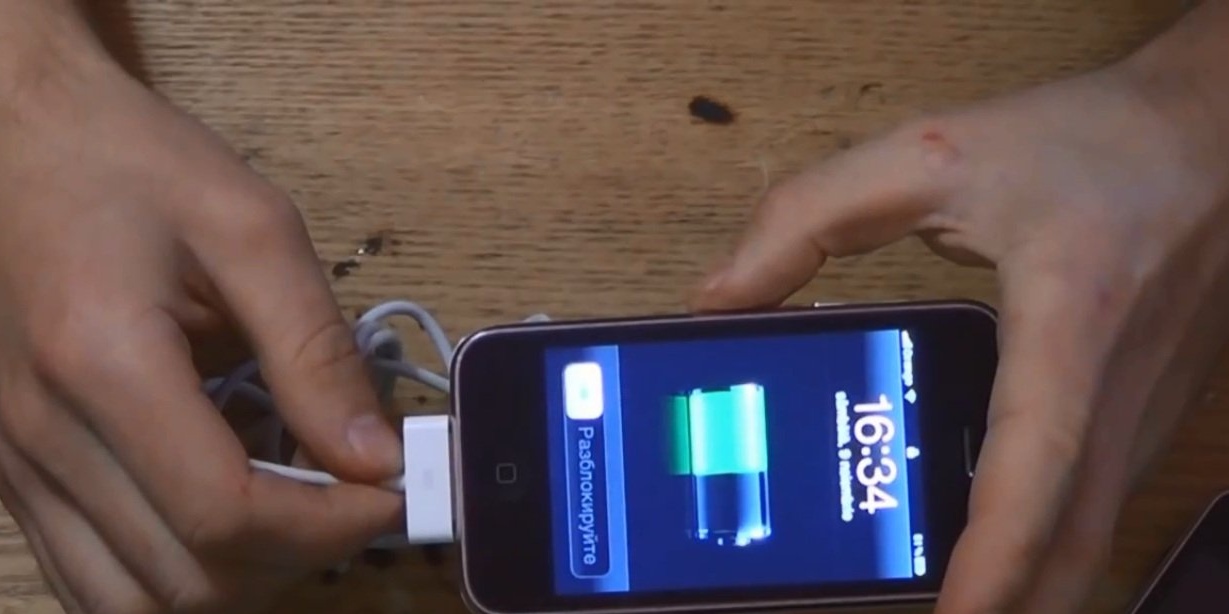
One of the most important problems of a modern person having a smartphone is the constant discharge of the device’s battery. Especially for such cases, portable chargers have been created that allow you to connect the gadget with a USB cable and charge your smartphone using the built-in battery charger.
Consider how the author homemade does the charger:
[media = http: //www.youtube.com/watch? v = vkGobensSpY]
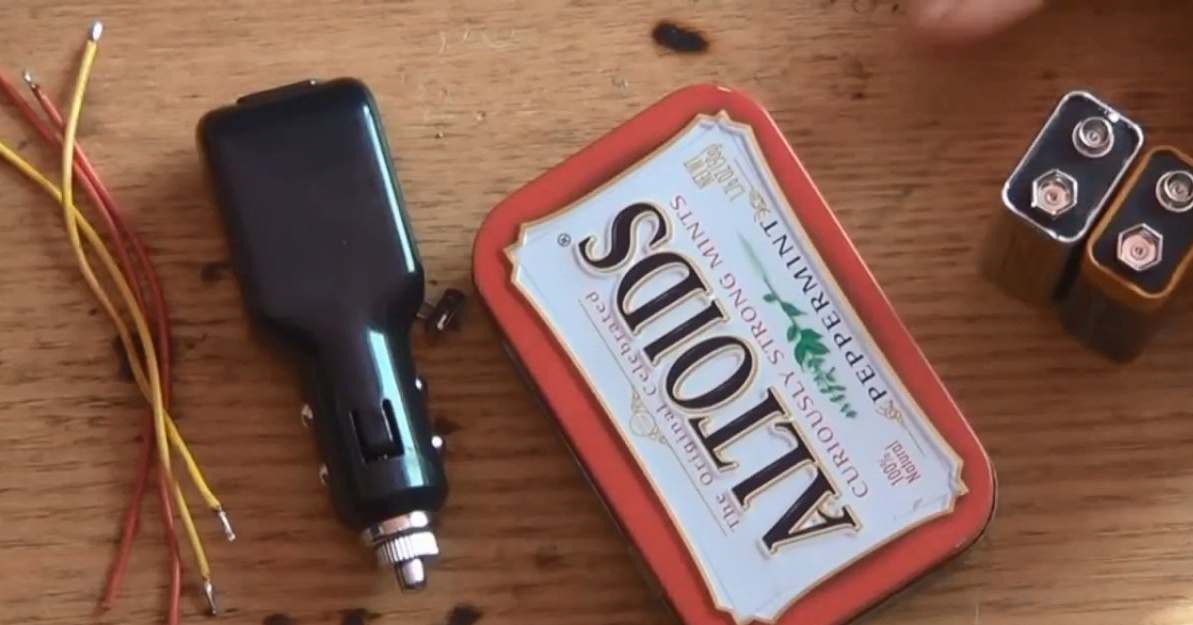
So, for the manufacture of a portable charger, we need:
- Two crown batteries (one of the batteries can be used),
- Box (you can use a metal box from sweets),
- A switch that can be removed from an old cassette player or a broken children's toy
- And most importantly - a USB charger for the car, which can be purchased for about 2-3 dollars,
“And also the copper wires with which we will all connect.”
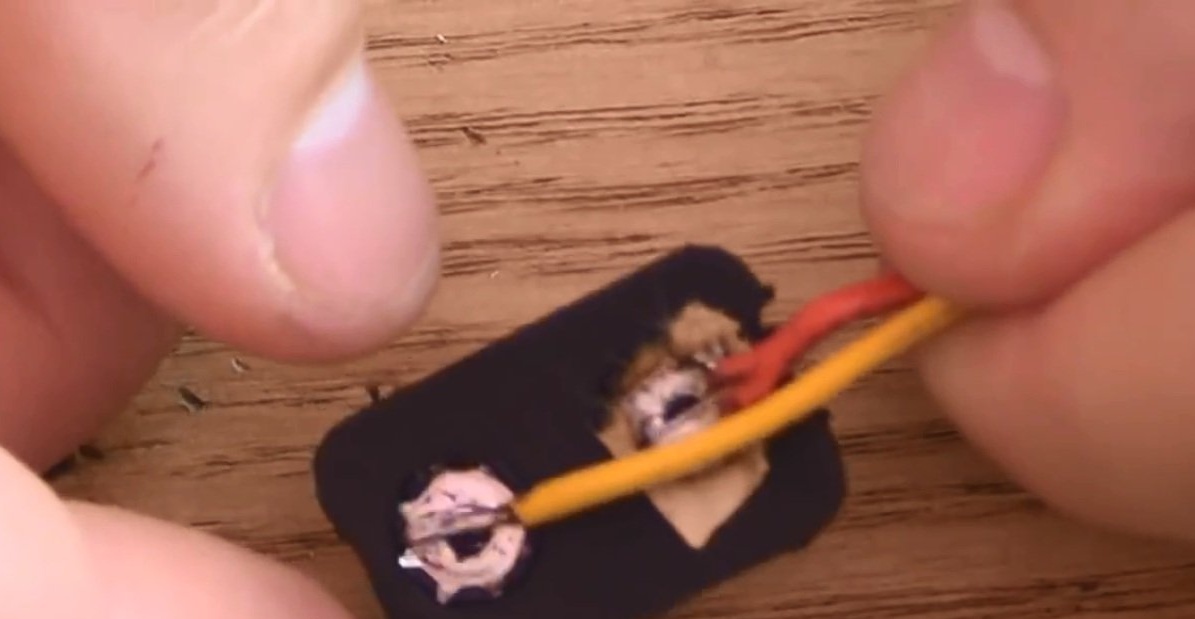
First of all, we must make a removable brand for the battery. If you have old toys or devices in your home that use batteries such as crown, then the finished stamps can be removed from them. If there are no such toys or devices, then you can make a stigma yourself. To do this, remove the upper part of the crown battery, smear the flux on the metal contacts from the inside and solder the copper wires to them. For fixing and insulation, you can use regular hot melt adhesive.
Stamps are ready, they can be attached to the contacts of the second battery (wide contact to narrow, and narrow to wide).
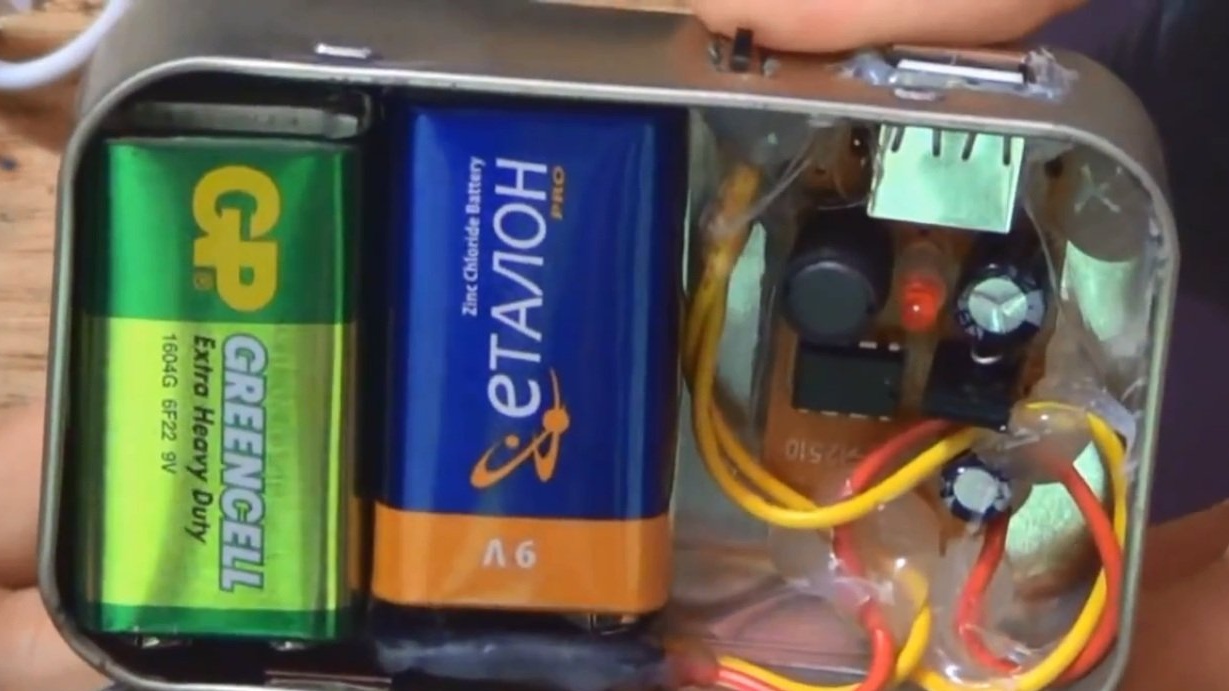
The next thing we need to disassemble the charger for the car, taking the board on which the USB connector is located. It remains only to assemble all the components of our portable charger and connect everything through the switch.
When connecting the hallmarks to the battery, you can see which of the wires is positive and which is negative if you use multi-colored wires.If not, then it can be noted plus for greater convenience and ease.
The center wire or spring on the charger for the car is always positive and the wire that is on the side is negative. So, we must connect the positive wire of our battery to the switch, and the negative wire directly to the charger board.
If the positive wire on the charger is made in the form of a spring, it can be replaced with a conventional one for greater convenience.
After that, two positive wires must be soldered to the two contacts on the plug.
The device is almost ready. It remains to assemble it in a box on which in the side you need to cut two passes for the USB input and switch.
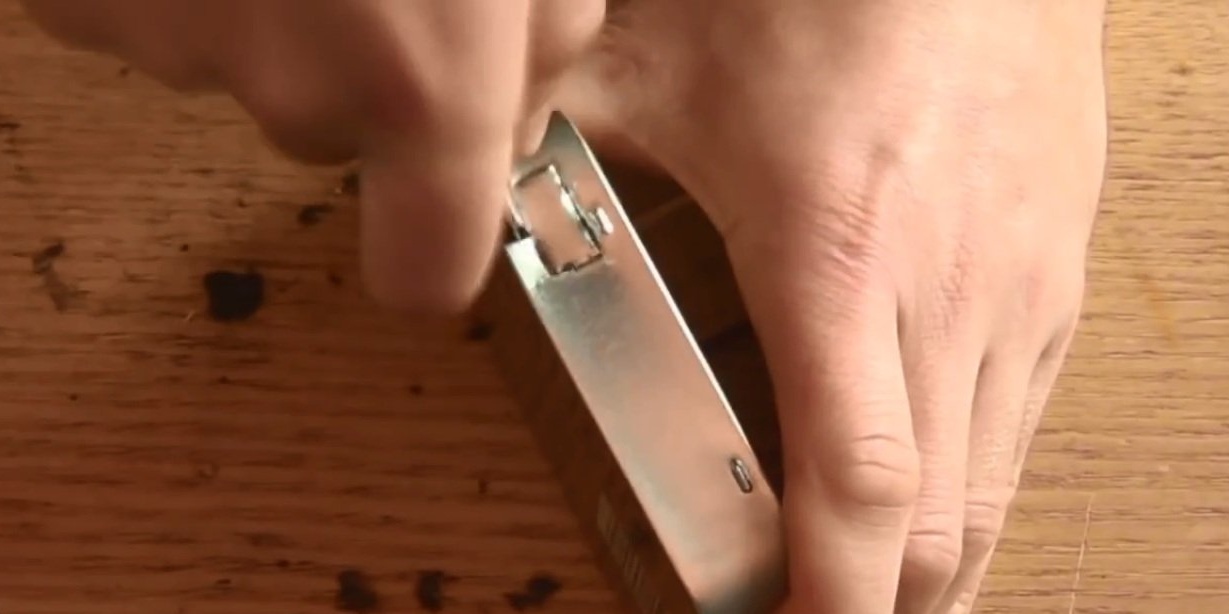
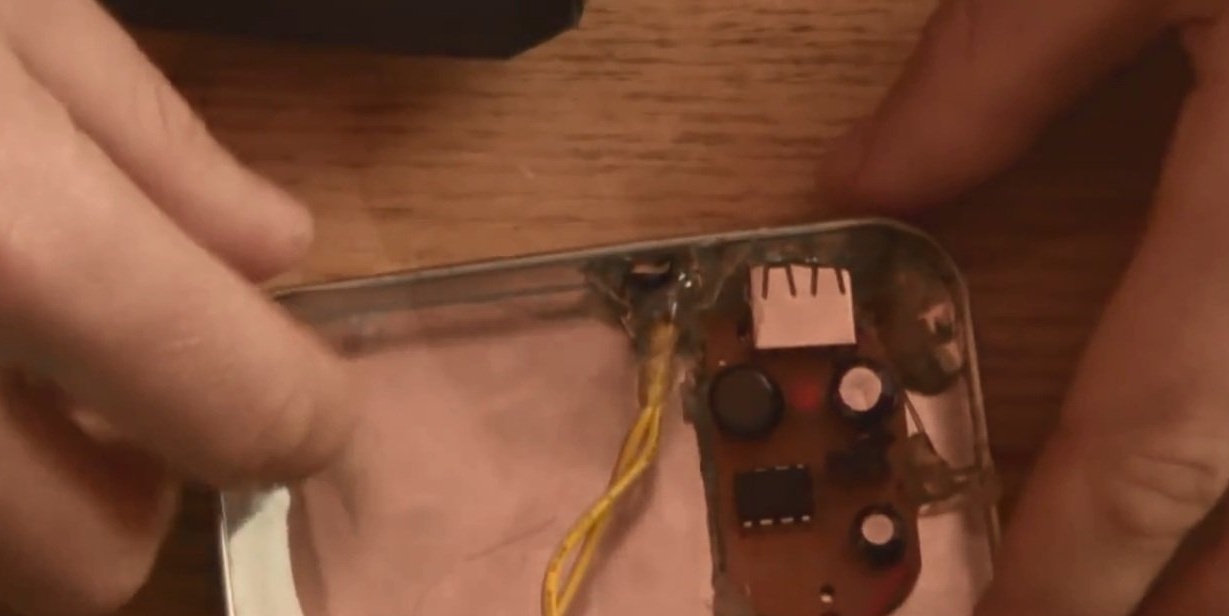
When using a metal box, you also need to take care of isolating the board from the metal, for which you can use a regular plastic bottle.