Summer has come, which means heat, heat and an eternal lack of coolness. But this problem is fixable, and quite easy. It takes only a few details and a bit of free time to yourself do it yourself make your life easier, fill it with the light coolness that you will certainly get by making a USB fan at home. Of course, you can go and buy a fan in the store, but how nice it will be to sit near the same computer, and a light breeze will blow on you from the USB fan you created. Yes, and a thing created by one’s own hands, always pleases not only the eye, but also selfishness develops.
We offer to watch a video homemade - usb fan:
[media = http: //www.youtube.com/watch? v = _ZgozHgjkoY]
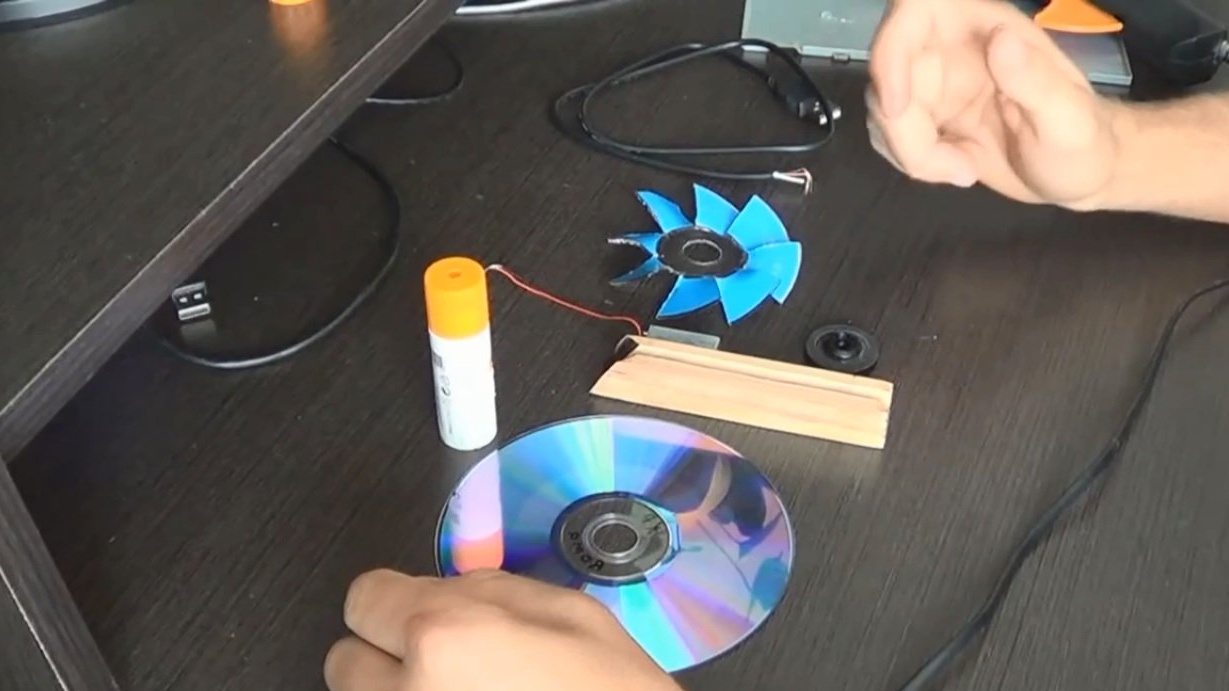
Tools for usb fan:
- Normal CD (not necessarily new);
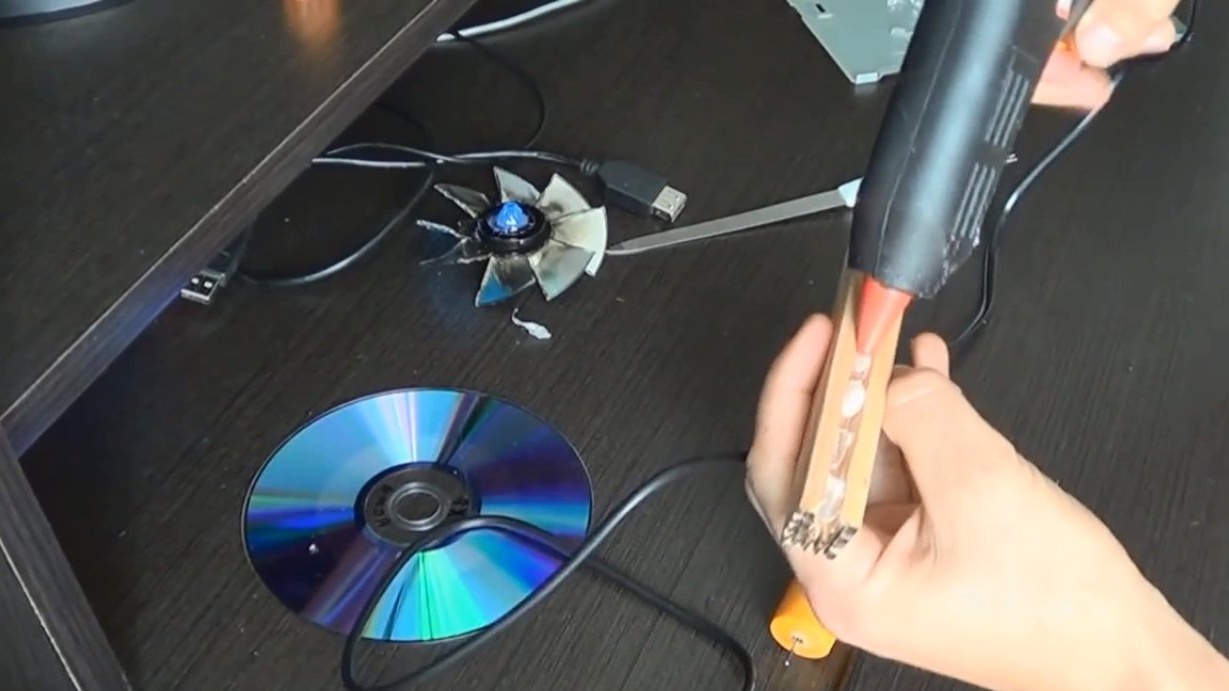
- The tube from silicone glue is empty;
- Wooden block;
- Mini drive;
- USB cable;
- motor;
- holder;
- adapter;
- Glue silicone gun.
Three holes must be made in the tube, one in the lid, and two on the sides. The holes are easy to make using a regular nail, which must first be heated.
In a wooden block, it is also necessary to make a slot or recess. Make it easy using emery.
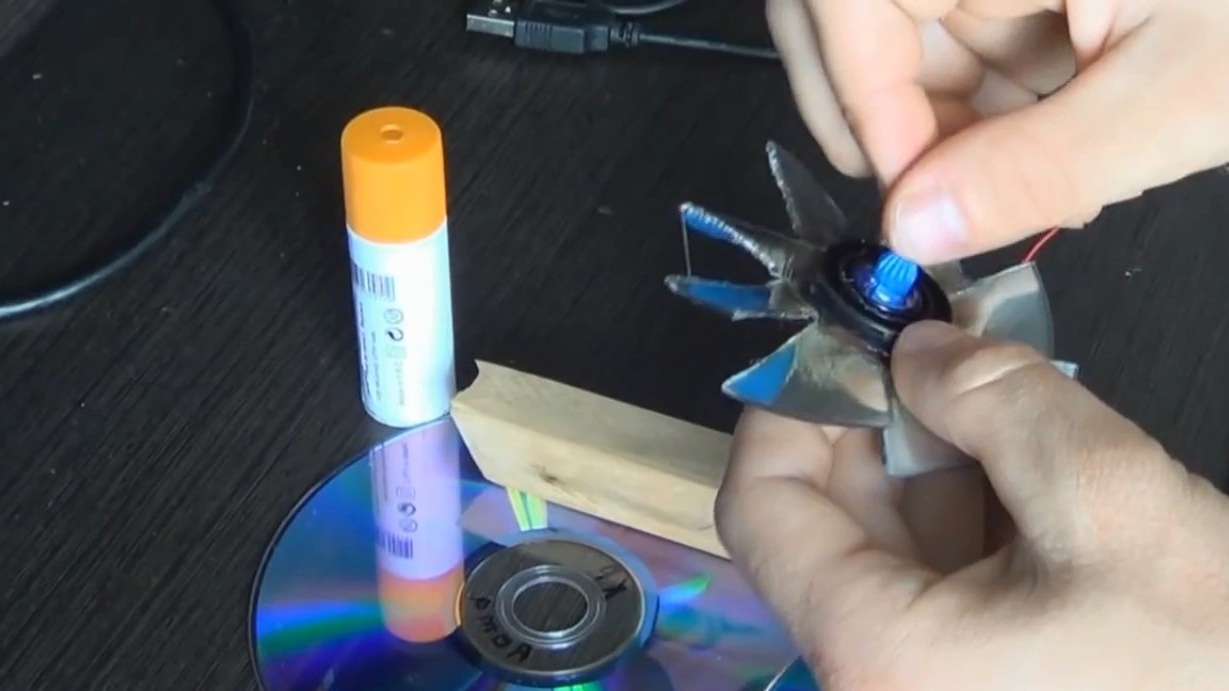
The mini disk easily turns into a propeller. To do this, you need to draw it on uniform blades, then heat the clerical knife and cut along pre-drawn lines. After that, we heat the base of each blade with a lighter and bend each blade slightly with our hands to make a propeller.
We take the motor, holder and adapter from a non-working sit-drive.
Now let's start assembling the USB fan.
We heat the glue gun. The axis holder is lubricated with silicone glue from a glue gun. On this glue you need to tightly fit the propeller. Press on all sides. Then, on the other side of the holder, drop a drop of glue and glue the adapter. We wait until the glue dries well. This usually takes only a couple of minutes.
Now we take a tube of silicone glue, remove the lid and lubricate the inside with silicone glue. And inside, insert the motor so that the part that we will be connecting sticks out of the hole that we originally made.
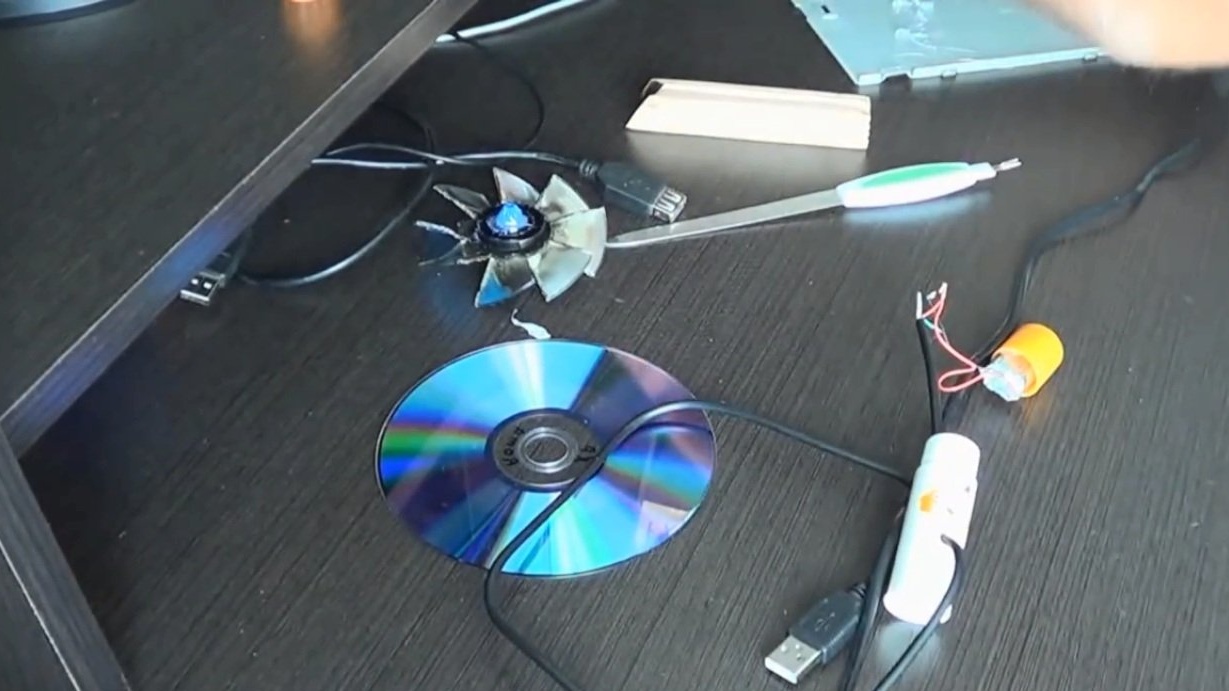
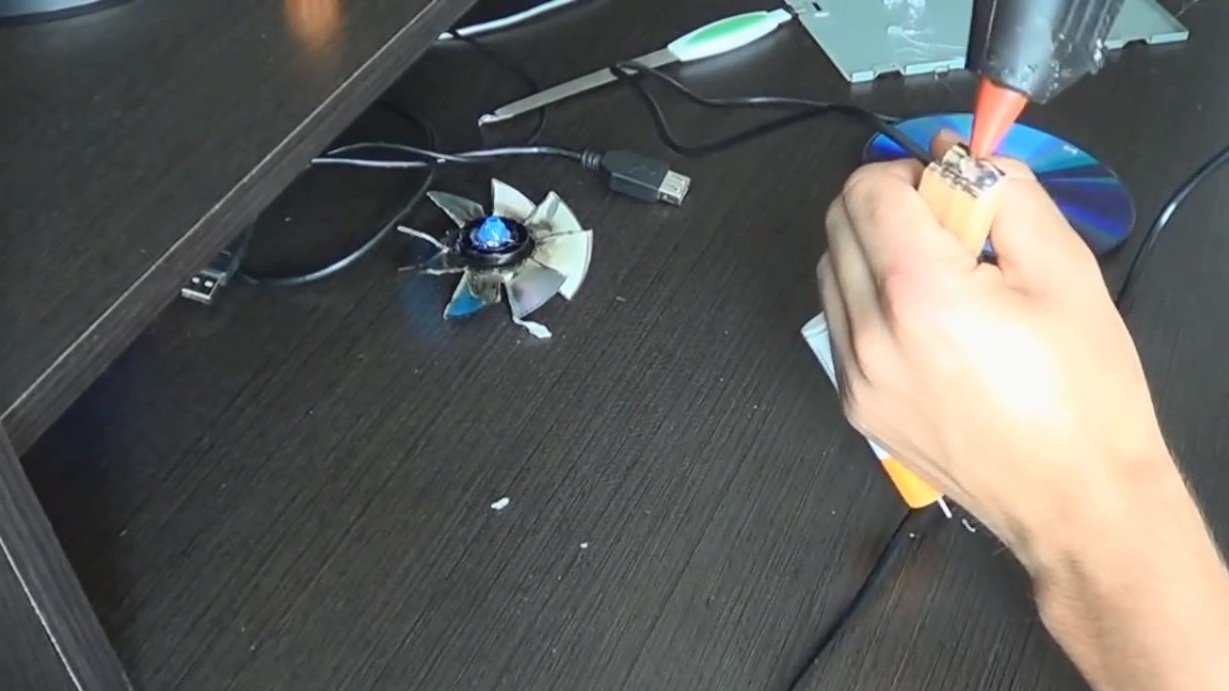
Then we insert the USB cable into the side hole of the tube from under the glue and connect the ends of the wires to the motor.
It is necessary to pour silicone glue into the recess in the wooden block, and we put the wire from the USB cord tightly there, and glue the tube with the motor inside to the base of the bar. And on the other side of the bar, glue the CD onto silicone glue.
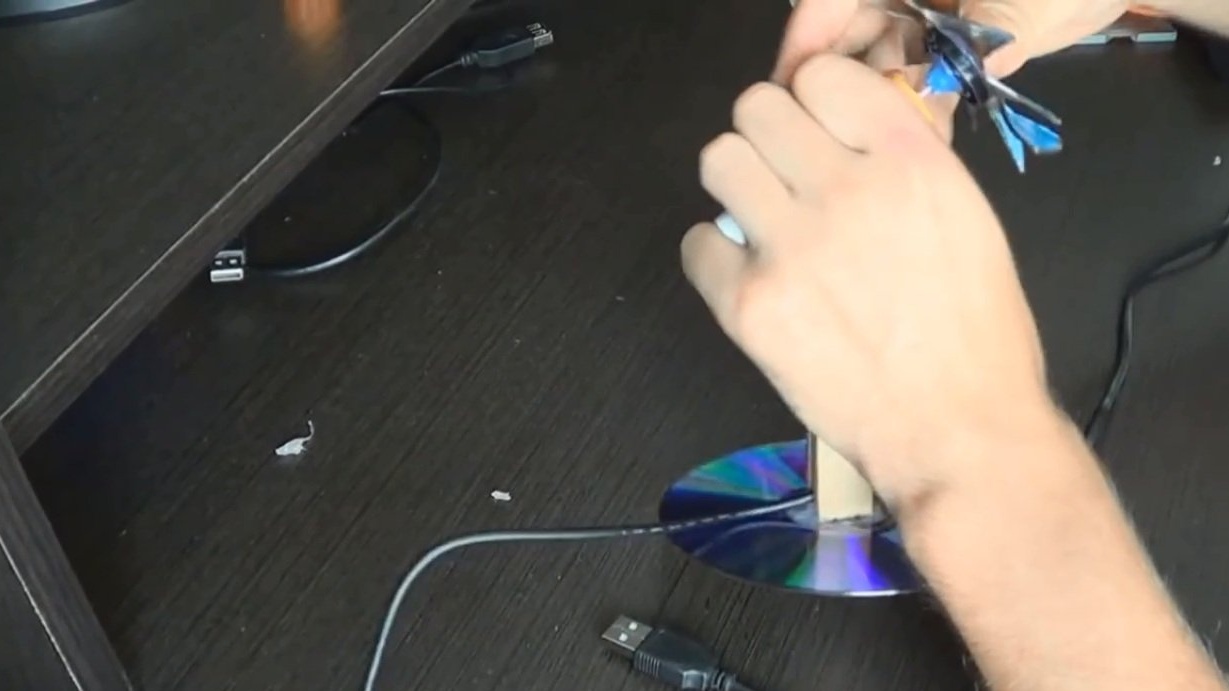
Now the propeller must be on the side of the adapter glued to it, put on the sharp edge of the motor, which sticks out of the hole in the tube from the glue.
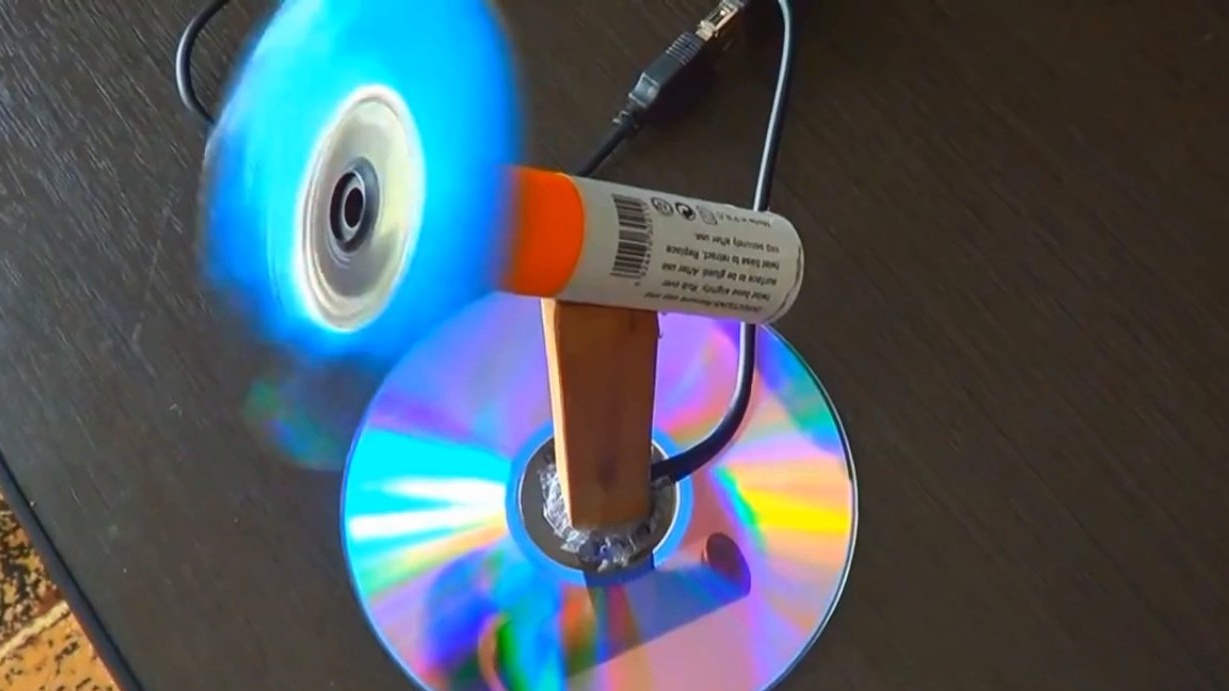
And finally, our USB fan can be plugged into the network and get such a long-awaited cool.