
Soldering objects is done not only by radio amateurs, but also by all other people who at least once dealt with circuit boards or small mechanical toys. Not everyone has a soldering iron at home, and not everyone wants to run and look for neighbors at the right time. You can always improvise and make a micro-soldering iron yourself in home conditions. This is a very simple but very effective thing that every person will need. Any amateur radio amateur, even a beginner, who still knows all the nuances of this work, can make a micro-soldering iron.
Let's watch a video of a soldering iron:
For a microsoldering iron we need:
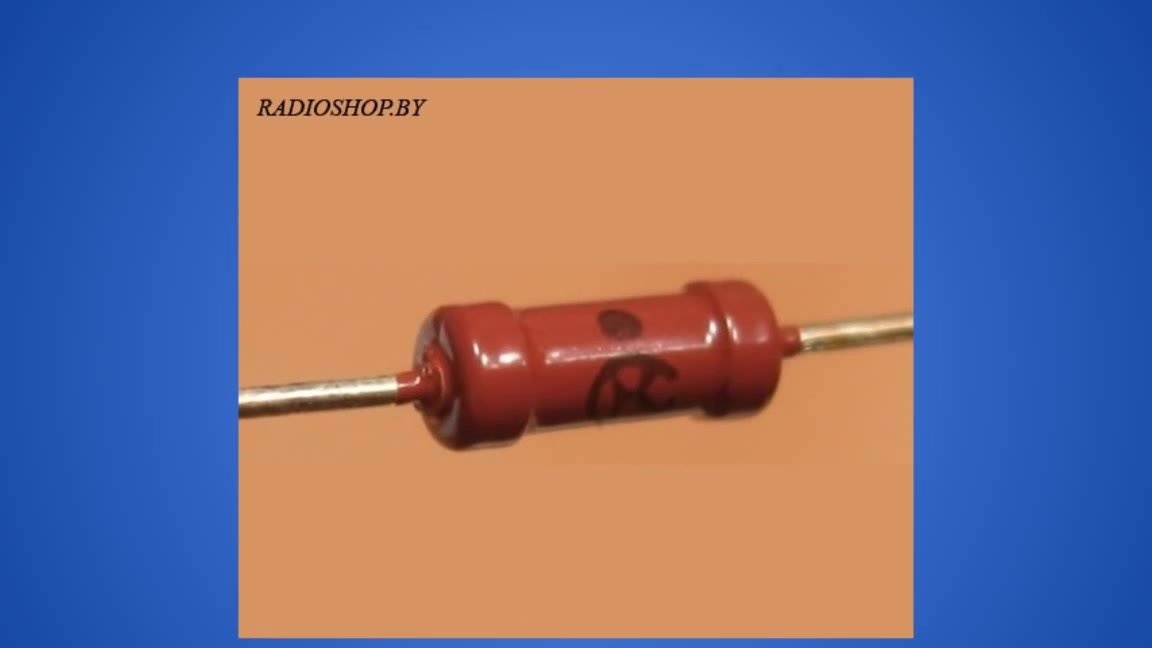
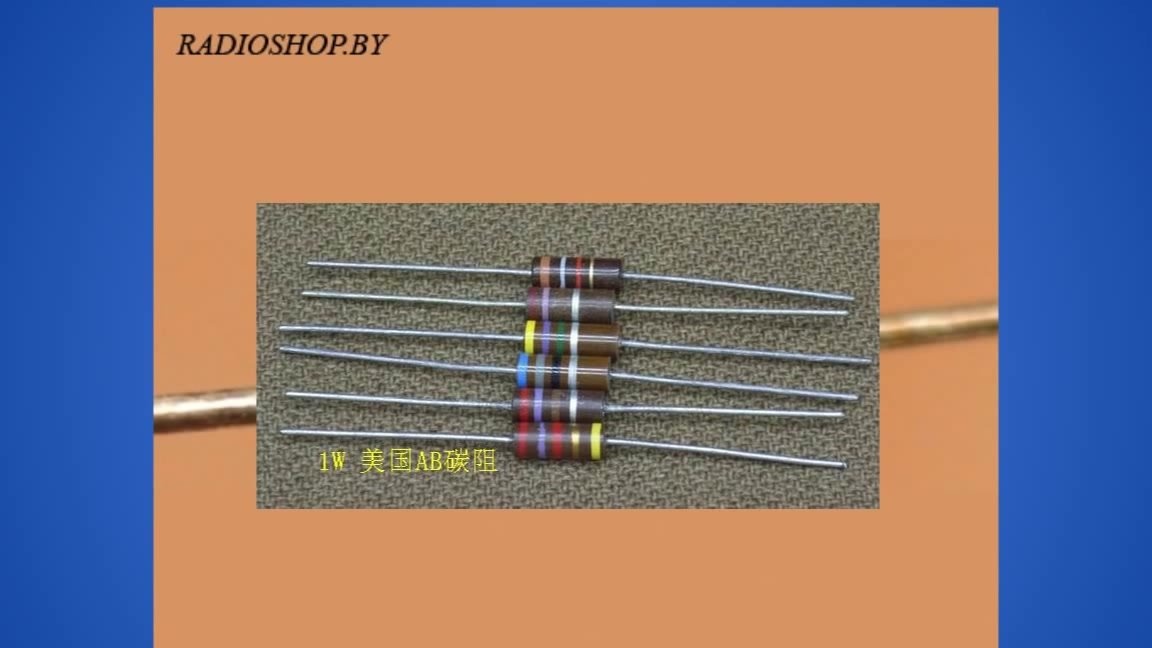
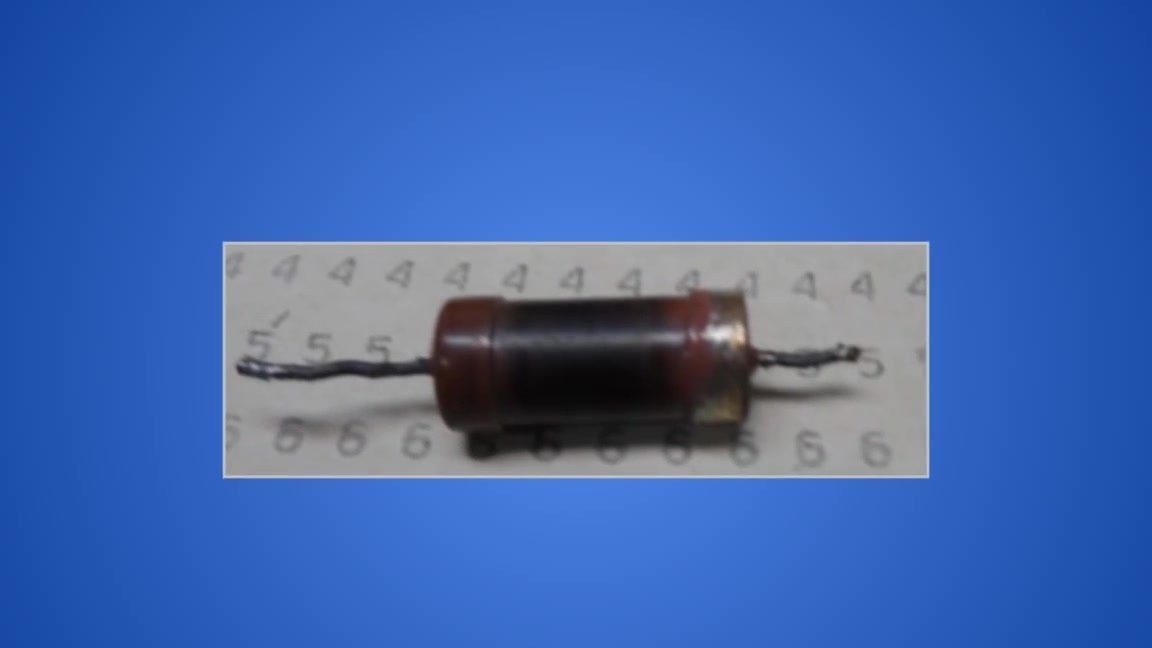
- resistor. This is the most important element and without it we can’t do anything at all. The resistor should be 51 ohms and 2 watts. It is important to take the Soviet OMLLT resistors, which are made entirely of copper. Chinese resistors are also on sale, which are only covered with a thin layer of copper, but they burn very quickly.
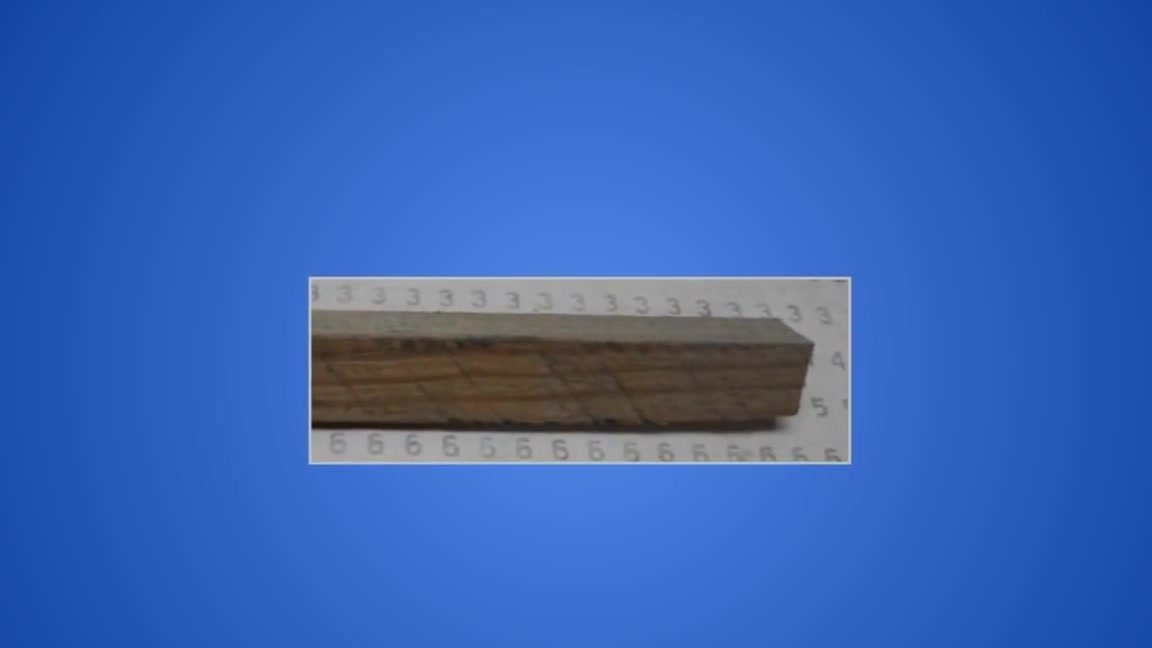
- a piece of wooden rail, it will serve as a holder in a soldering iron;
- a pair of copper wires 1-1.5 mm thick in an insulating sheath;

Important! From these materials you get a soldering iron for a working voltage of 24 volts. If you will work with other voltages, then use a different resistor.

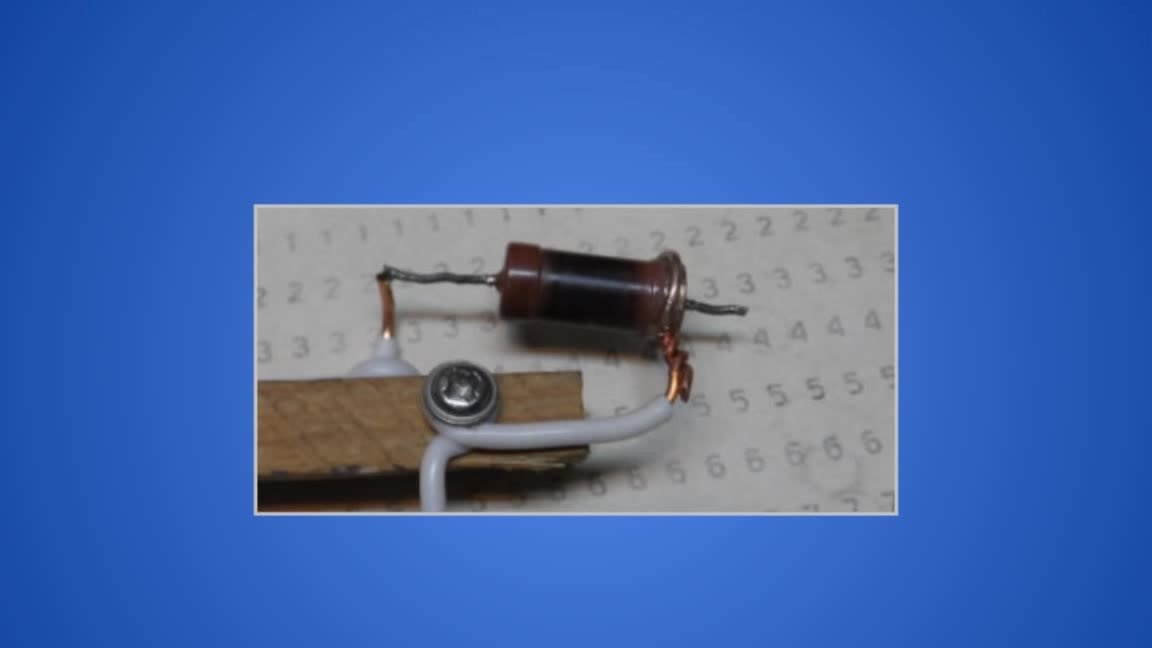
Now proceed to the synthesis of our product. First of all, we need to thoroughly strip our resistor on one side and make a loop from the crimped end of the copper wire.
Then we clamp the edge of the resistor into a loop of copper wire. As a result, we get the very edge of the resistor ringed by copper wire.
Next, we make a small loop on a copper wire, designed for a small screw.
Then we fasten with a small screw to a wooden block, a twist from a copper wire.
To the other end of the resistor, we solder the second end of the copper wire. We should succeed: one end of the wire is soldered to the poke of the resistor. The second end of the wire is wound on the round part of the resistor. In the middle, a wire is bolted to a wooden block.
The resulting soldering iron can freely melt POS60 tin.
If you want to make a soldering iron for a voltage of 12 volts, then a resistor will be required for a voltage of 21-26 Ohms.
For more reliable and high-quality work, the output of the sting should be no more than 1 centimeter. And the second end of the resistor, which is soldered to the contact wire, should be more than 1.5 centimeters, ideally 2.5 centimeters.
That's all it takes to get a microsoldering iron in minutes.