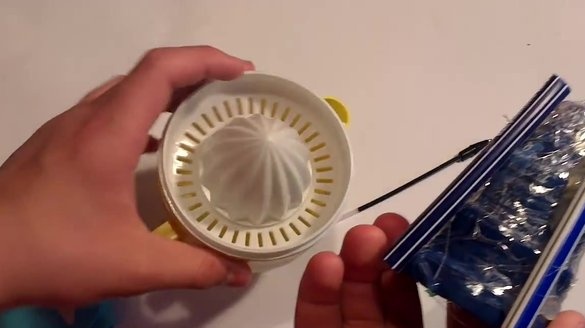
A juicer in the household is an indispensable thing. But not everyone has it available. But you can make it yourself at home, having a small list of tools that you need for this. You can use it all the time, but use it, perhaps, only for citrus fruits.
Let's look at the manufacturing process of the juicer in the video:
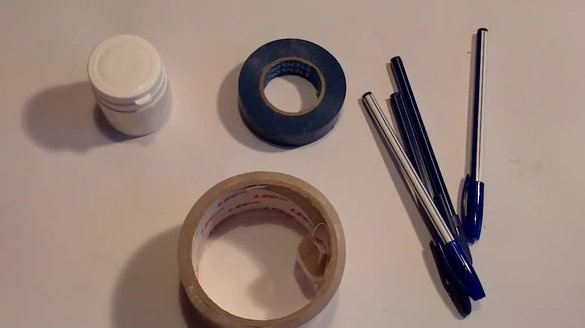
Tools for making juicers do it yourself:
- a jar of vitamins;
- one skein of electrical tape;
- 4 ball pens;
- one transparent adhesive tape;
- plastic bottle cap;
- silicone glue gun;
- a sharp knife;
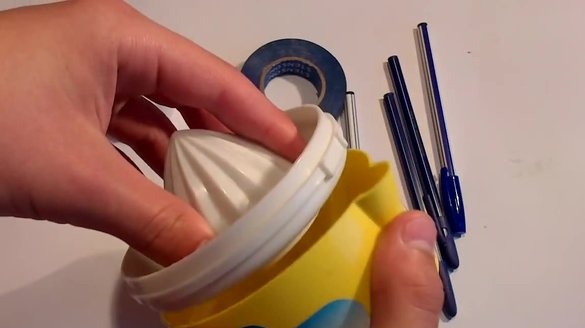
The juice extractor we produce must have a conical shape in the end result.
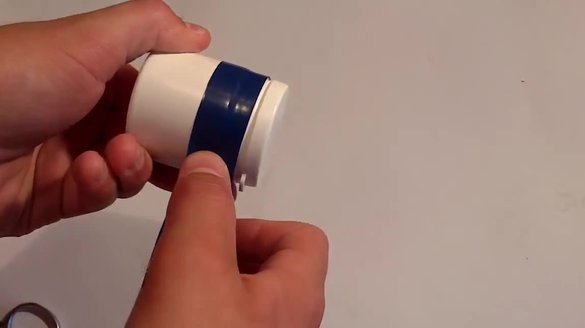
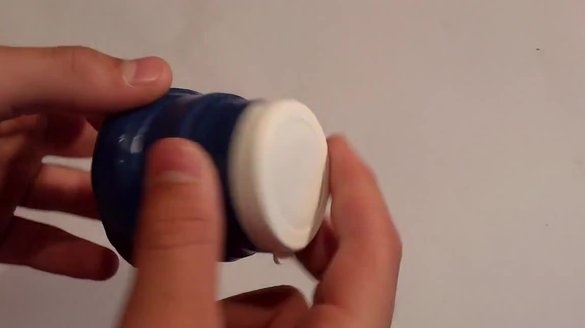
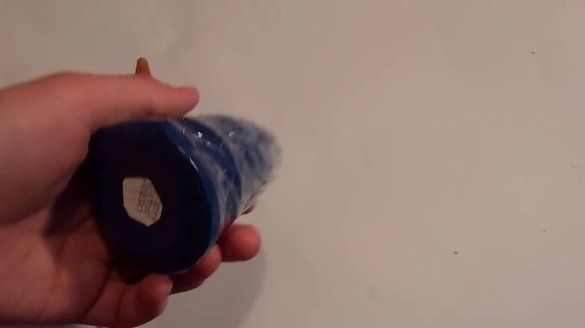
Therefore, a jar of vitamins should find it. We will give this form to it with the help of electrical tape. Where we have the bottom will be the widest part of the juicer, we wrap it with tape a couple of dozen times so that the part turns out to be wide. We wrap the average level a dozen times less, and the very neck of the jar is only a couple of times, because this will be the narrowest part of the design.
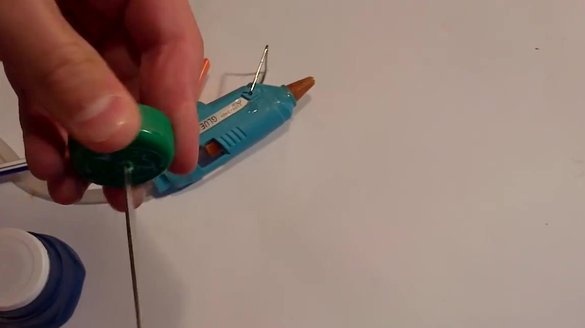
But having done all the manipulations, we did not achieve multi-tier, so we take a plastic bottle cap, with a knife we make a hole in it, equal in width to the plug from the handle.
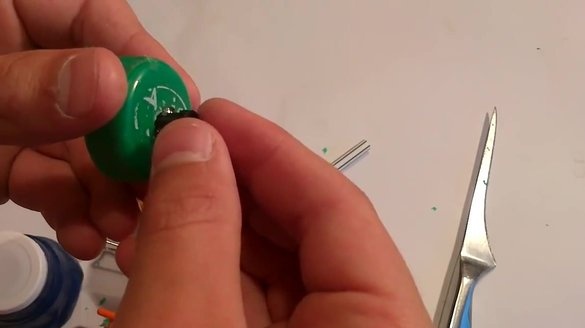
Now, using a silicone glue gun, glue this plug to the lid. After that, let the glue dry thoroughly.
Then we glue the lid to the lid of the jar. We also wait until all the glue is completely dry.
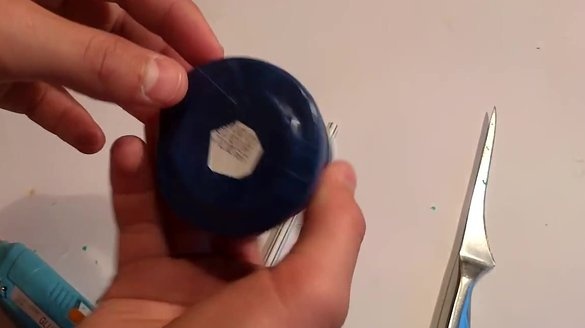
And we continue to wind the construction with electrical tape.
Then, when everyone wrapped the electrical tape, we wrap our future juicer again with tape to give it smoothness.
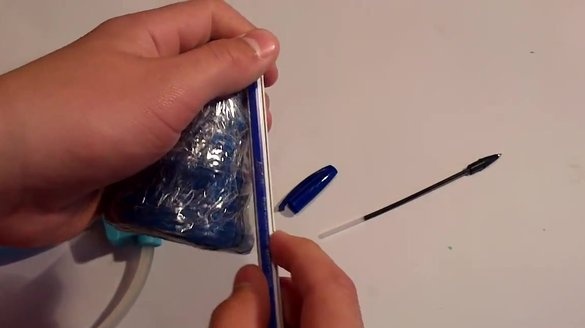
Now take a pen, measure the height equal to the height of the structure, and cut off the excess, after removing all the insides of the pen.
And with a glue silicone gun, glue them on four sides. Let the glue dry well.
After that, check that all parts are firmly fixed.
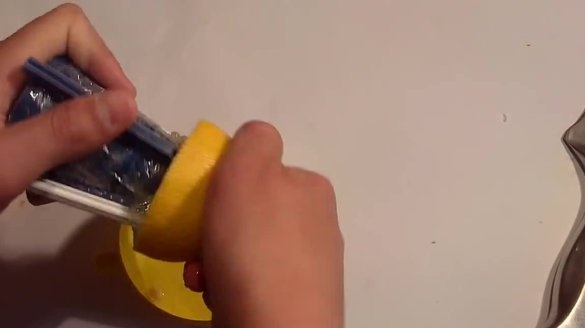
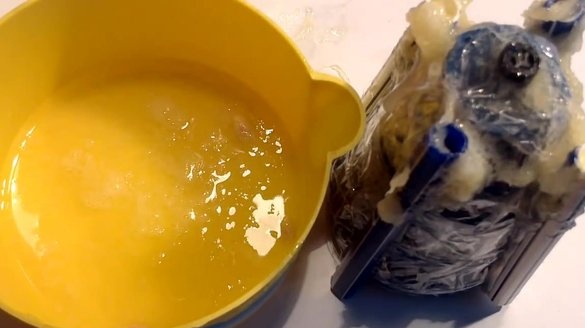
And of course, do the first test of a hand-made juicer.
It is recommended to use such a juicer exclusively for citrus fruits, since their pulp is the softest.

