
This topic is most relevant for beginning masters, when there is no necessary tool for work, and it is not always possible to spend some amount on its purchase. And in order to do something and the lack of equipment did not stop you, and so that you can start from somewhere, you can make it yourself. For example, you do not have a vise in order to drill or plan. Of course, you can buy a clamp to clamp the board, but it will be very inconvenient to handle it.
Let's see how the manufacturing process is described. homemade author:
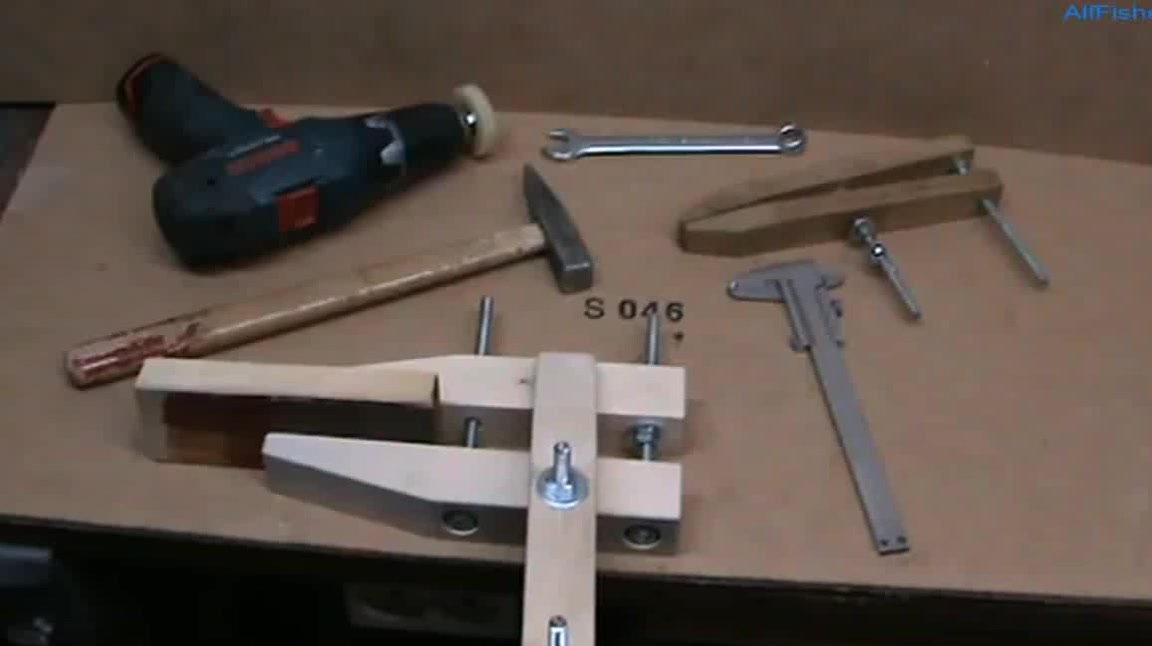
Therefore, you can make a clamp yourself. To do this, you need:
- two bars;
- two threaded rods at 8mm;
- 5 nuts;
- vernier caliper;
- hammer;
- wrench;
- screwdriver;
- a drill.
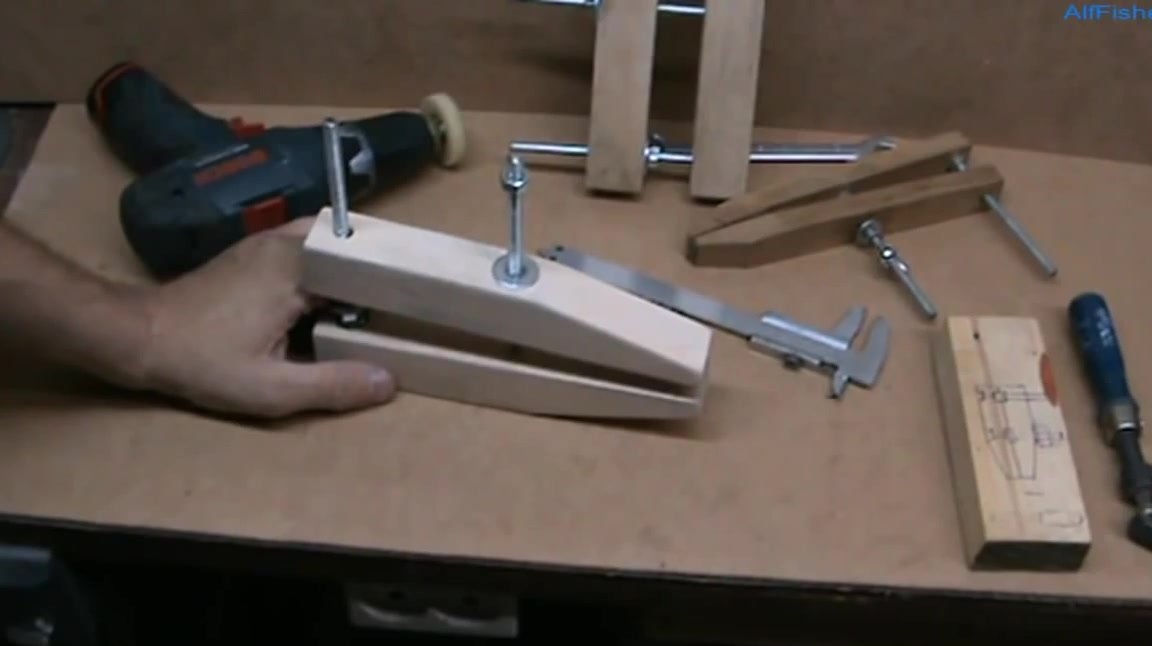
We take two bars with dimensions of 30x36mm and a length of 200mm. From one edge on both bars we make slices at a slight angle. We should get two mirror bars with p-measurements on one edge, as it was originally, and on the other - about 30x20mm.
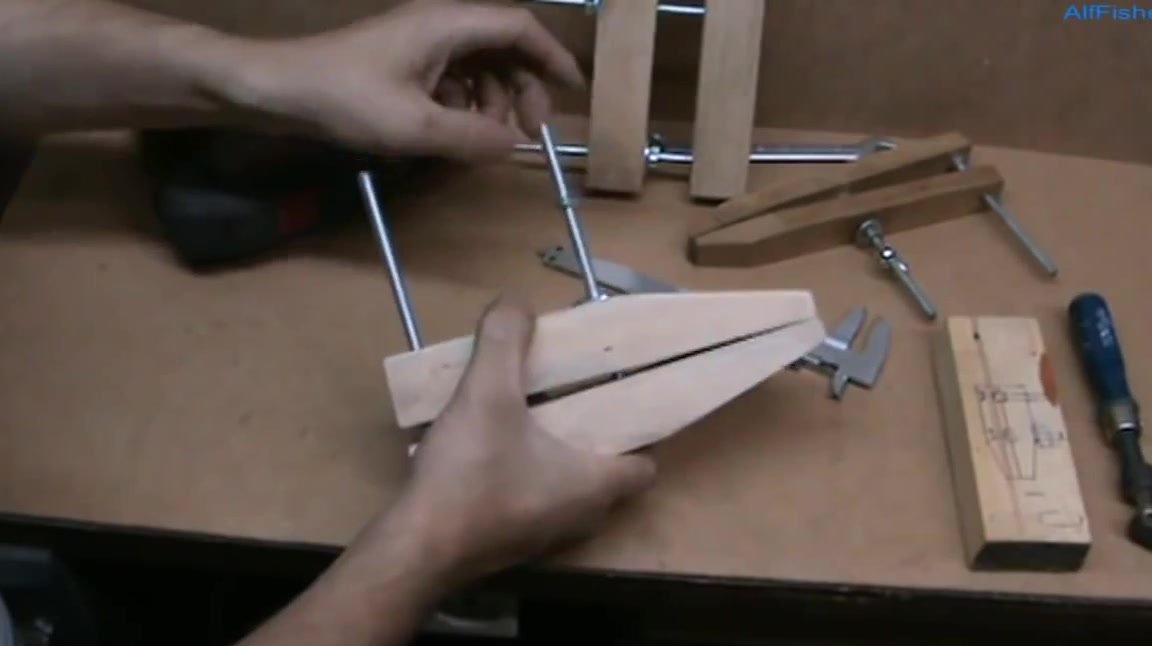
Then, in each bar, two holes with a diameter of 7 mm are symmetrically drilled. One hole should be on the side of the uncut edge, and the second must be placed immediately before the cut (this is about 10-20 mm from the middle).
Threaded rods with a diameter of 8 mm and a length of 150 mm are screwed into these holes. In this case, the studs are fixed with nuts at the edges.
The hairpin that needs to be placed closer to the center of the bars will work in tension. Therefore, it is enough to fix it with only two nuts on the outside of each bar, so that one end of the threaded rod does not stick out of it.
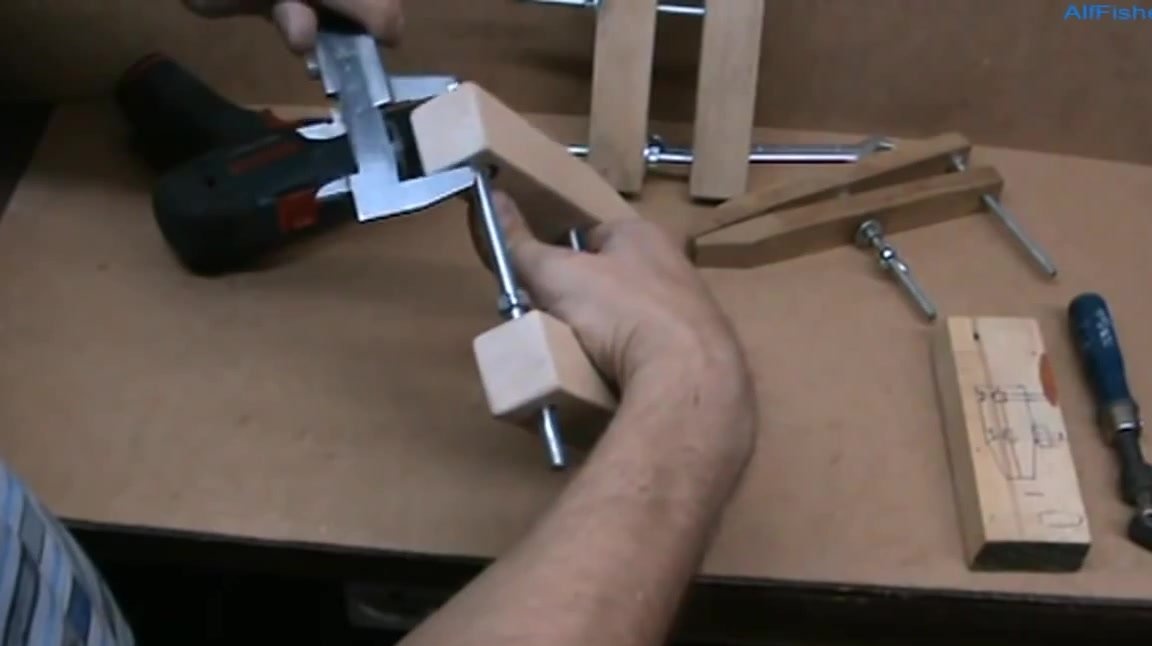
The second hairpin, located at the very edge of the bars, will work in compression. Therefore, it is necessary to fix it with three nuts: two are located on the outside of each bar, and the third is located inside one of the bars, in the one from which the threaded rod does not stick out.
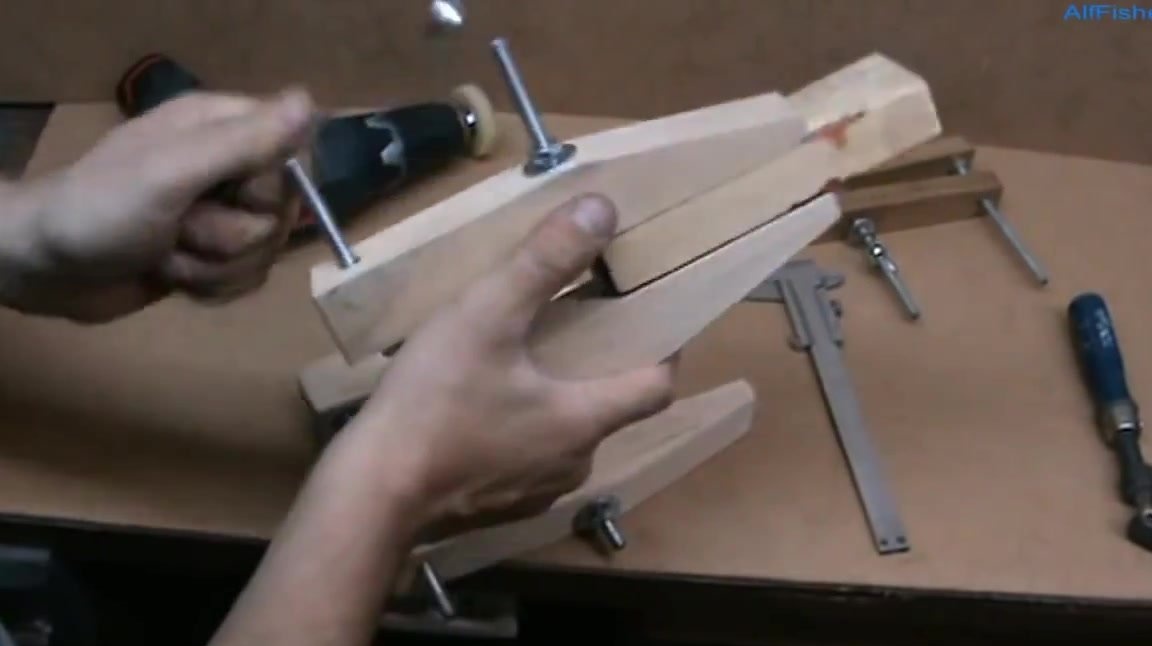
So that the clamp bars converge as close as possible, you can make overlays to their edges or just drown the nuts in a tree.
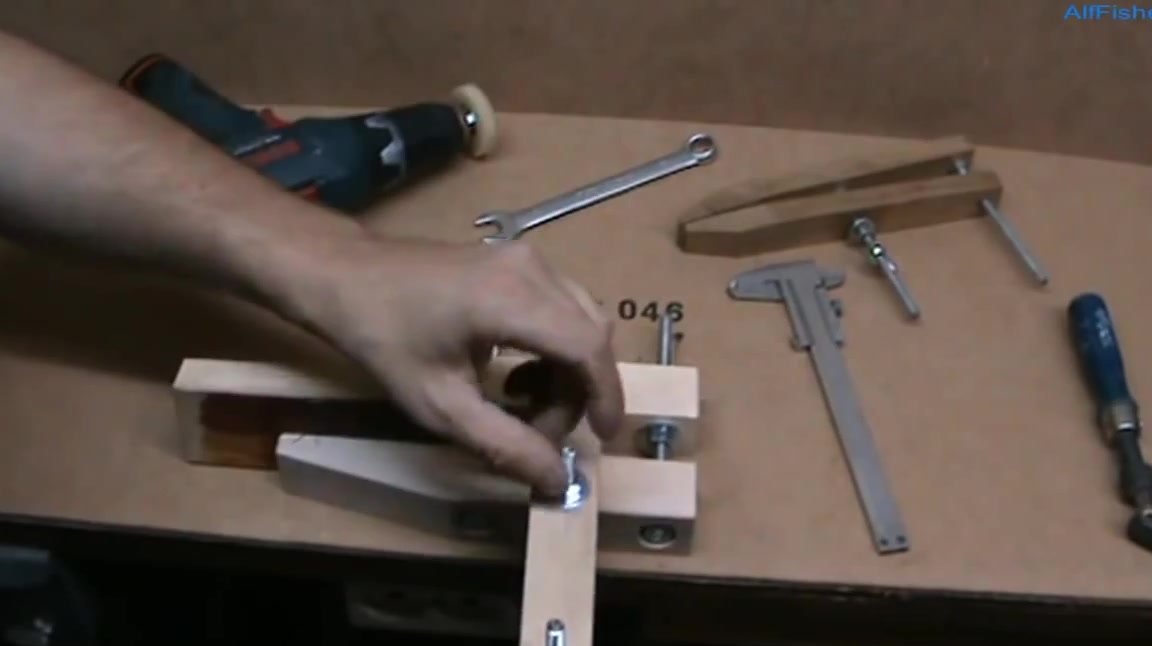
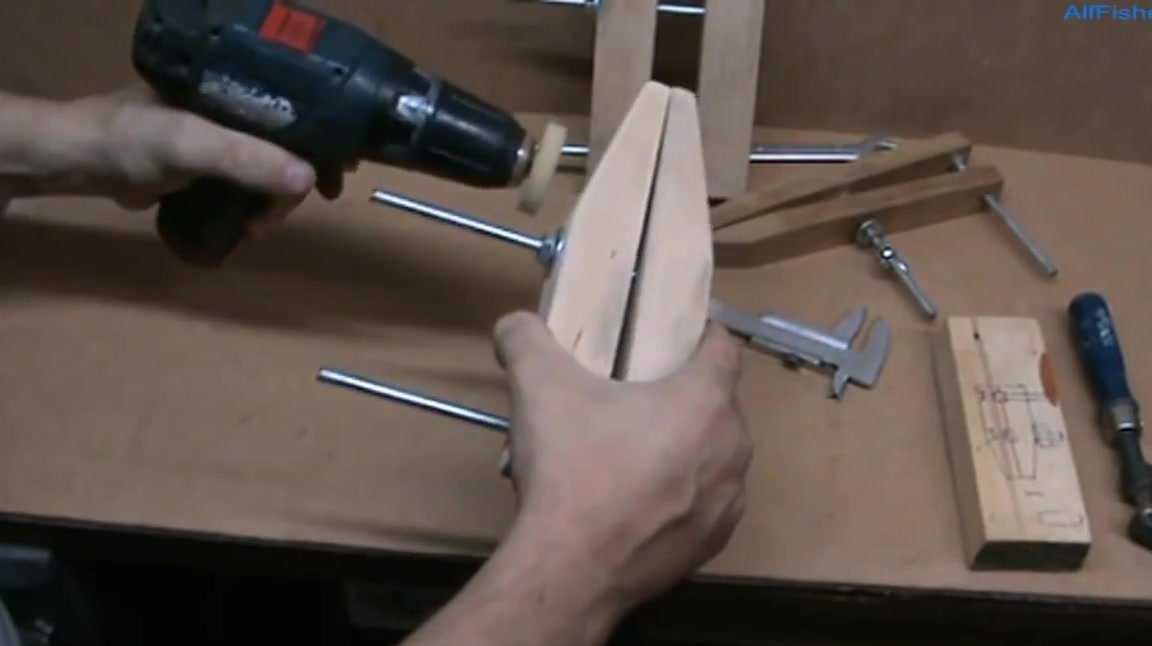
In the event that the threaded rods were taken very long, then manually driving the nut back and forth will be very inconvenient to fix the workpiece. To facilitate the task, you can use a simple device: a small foam rubber circle is dressed on the screwdriver, which is fixed with a bolt, two washers and a nut. Device helps quickly, conveniently and safely unscrew and tighten the nut.
