How often during study, writing down a lecture under the quick dictation of the teacher in the synopsis, you simply do not have time to change the writing instruments. Or you constantly lose pens or pencils at home and dream of an invention that would consist of both a pen and a pencil and make your life easier. There is a solution, you can make such a writing instrument at home yourself, without much effort and expense.
Let's watch a video describing the process:
[media = http: //www.youtube.com/watch? v = N9Ekqn2qh_4]
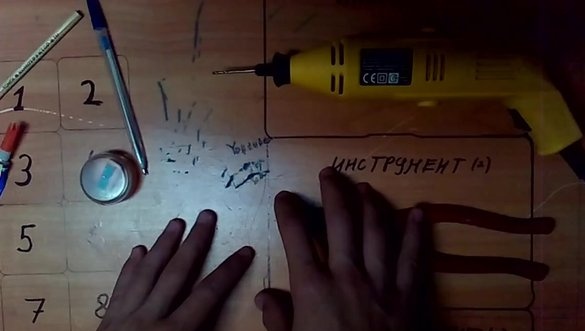
For work, we need:
- a simple pencil;
- old ballpoint pen;
- glue moment;
- pencil sharpener;
- drill;
- drill with a diameter of 2-3mm;
- stationery knife.
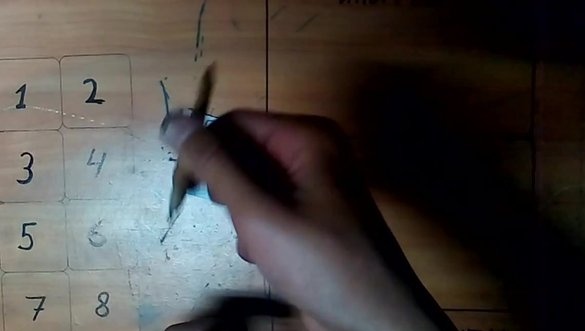
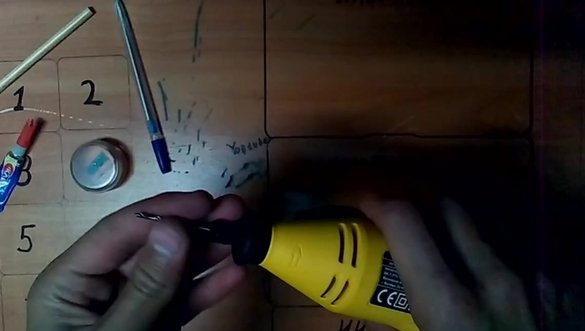
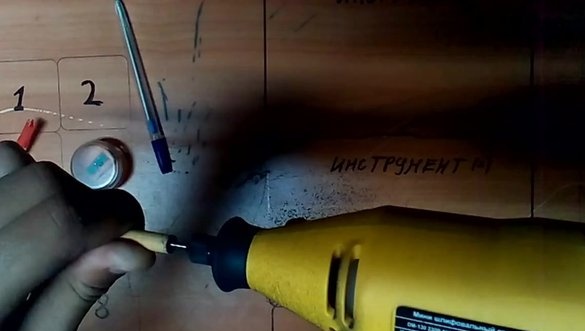
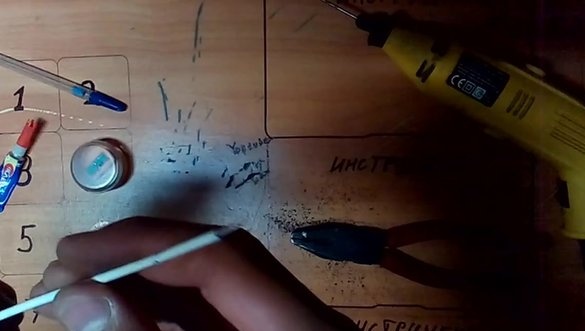
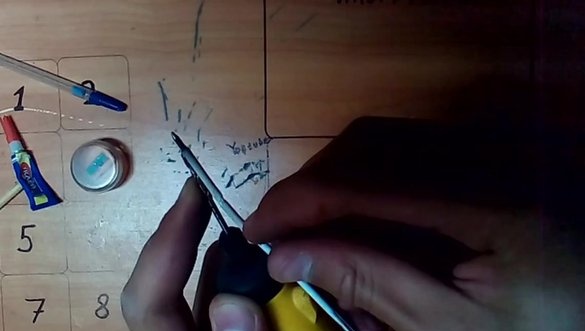
Getting down to work. First of all, we drill a hole in the pencil from the not sharpened side in the center, to the entire depth of the drill. After the hole is made, you need to blow into it so that no debris remains inside.
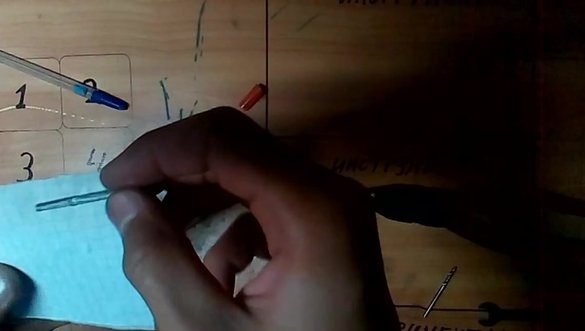
Next, remove the rod from the ballpoint pen. There is no point in buying a new rod, because it will be filled almost completely with ink, and we need about one quarter of the total ink remaining. Then we check to see if it goes into the hole made in the center of the pencil. If the hole is narrow, slightly bore it. We do this using the same drill: moving it a bit in a circular motion to increase the diameter of the hole. If you overdid it and made a hole too wide - it does not matter, everything is fixable in a very simple way. The core simply wraps in one or two layers of plain paper or newspaper, depending on what you have on hand at the moment.
Again, check how the rod enters the hole. If he holds tight - then everything is fine. We move on.
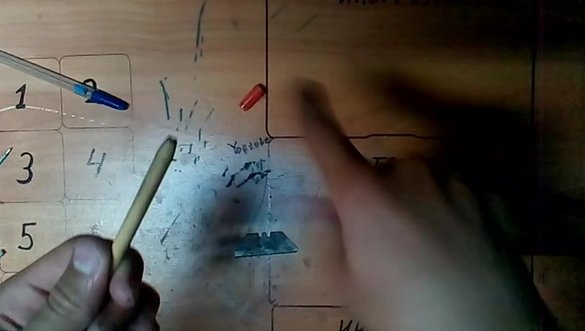
We try on the rod to the drill and mark its length. We need the length of the rod to be exactly equal to the depth of the hole in the pencil. After the desired length is marked - cut off the excess with a clerical knife.
Then sharpen the pencil from the side of the hole made. If during sharpening a pencil you find. That the hole is not made in the center, you have to cut off the wrong part. After that, re-hole and try on the rod. When everything is done almost perfectly: the hole is exactly in the center and the rod in it holds well - proceed to the final stage.
Pour some glue inside the hole in the pencil (you can shove it with a small needle inside) and insert the cut rod into it until it stops.
Leave until glue is completely dry.
We check how we write with a pen and pencil. Our little homemade completed.

