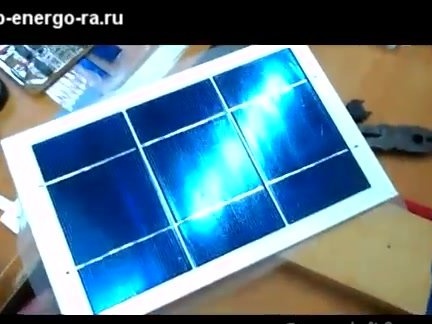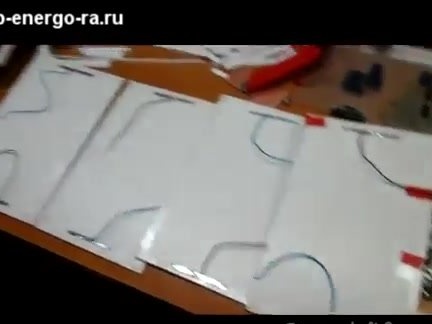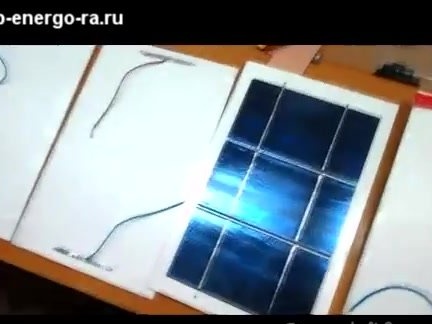
Solar panels are an excellent source of alternative energy. Today these panels are used by many leading companies. They are also successfully used in private homes. The process of assembling portable solar panels has a number of subtleties that you need to know before the assembly process. We will familiarize with these subtleties right now.
We offer to watch the video:
So, in order to assemble a solar battery for charging portable devices, we need:
- Three plates of solar panels;
- Pencil or marker;
- EVA film;
- The tire is wide and narrow;
- Scotch tape;
- Stationery knife.
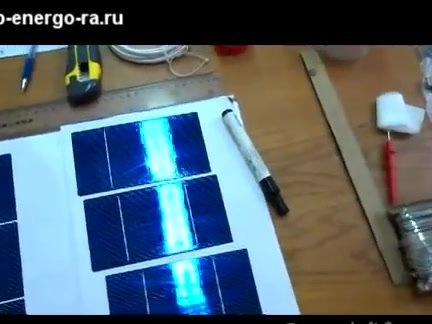
First, we need to solder the three plates in series. To simplify the process, the photos below show soldering.
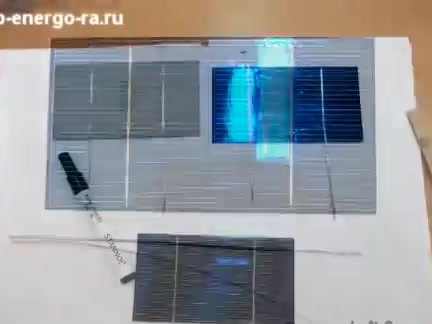
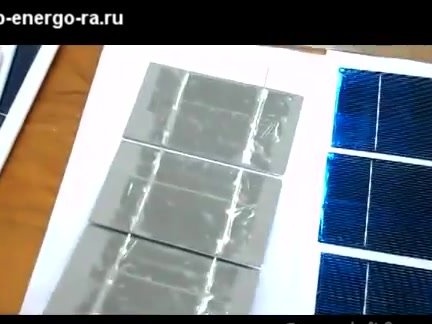
The back side of the plates must be glued with tape to ensure structural stability and increase structural strength.
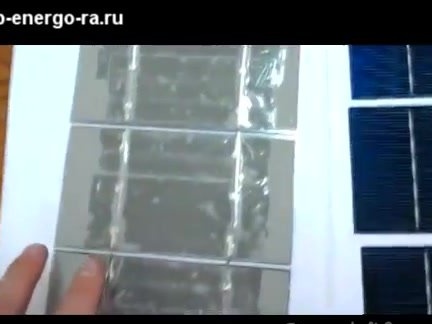
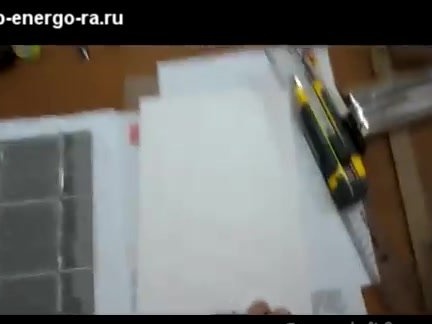
You can collect plates on a three-millimeter PVC sheet or on plastic sheet. Sheet plastic is more convenient to use and durable, but it can not be found in every store, so PVC can be a good alternative. The sheet should be cut with a regular clerical knife. We drill holes for the outputs of the contacts.

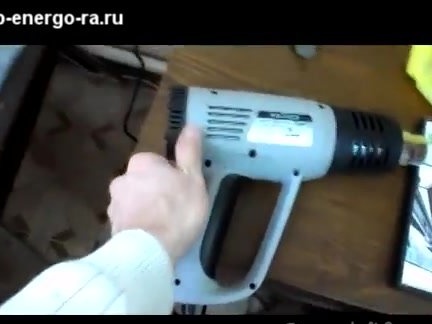
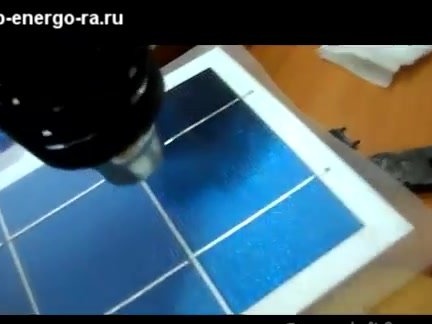
The front of the plates must be glued with a special film, which is known as an EVA film, making sure that there are no bubbles. We recommend laminating the plates with a hot air gun or a regular hairdryer. For better fixation of the film, you can make additional holes on the PVC sheet. By attaching the vacuum cleaner hose to these holes, the film will be fixed in the best way. It is necessary to laminate very carefully and carefully, since the stability of the solar plates will depend on this.
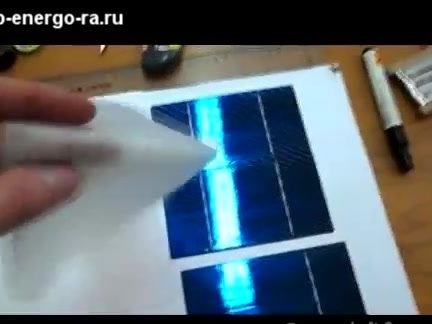
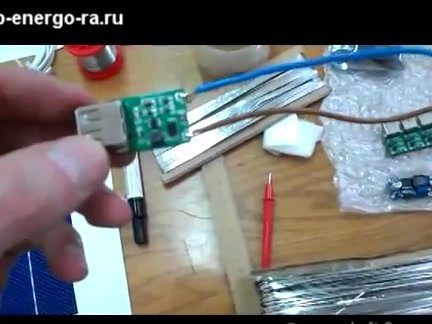
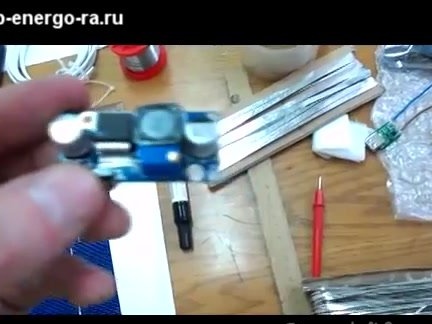
Solar plates are assembled for a voltage of 6 volts, however, you can use a voltage stabilizer, such as a USB stabilizer, which increases the voltage.
The assembly process, therefore, is not as complicated as it might seem at first glance.
We offer you to watch a video, everything is more than clear and clear there.
