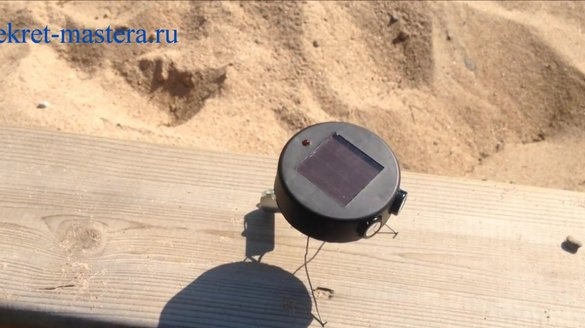
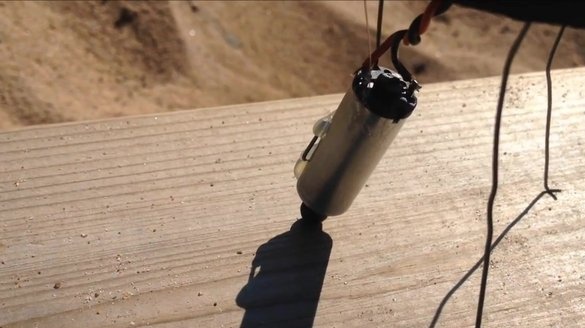
Often on the forums there are questions about how to make a small robot do it yourself from improvised materials. Someone wants to try their strengths and skills in creating mini-robots, and someone just wants to surprise friends or their child. In fact, everything is quite simple, you just need to show a little patience and ingenuity.
We bring to your attention the following video:
To create a small insect robot you will need:
- garden lamp (solar battery);
- two capacitors;
- engine;
- transistor VD135;
- transistor A733P;
- Light-emitting diode;
- resistor;
- soldering iron;
- copper wires;
- a knife;
- hot glue;
- paper clips.
The capacitance of each capacitor is 2000 μF, rated for a voltage of 16V.
The engine can be used from an old toothbrush, and you can also use the engine from an old film camera.
A powerful transistor (it is permissible to replace it with a medium power transistor), an n-p-n structure, in this case will use the VD135.
The second transistor of the p-n-p structure in this case will use the A733P.
A blinking LED giving flashes at regular intervals.
2 kΩ resistor.
After all the necessary radio elements have been prepared, we get to work.
Principle of operation:
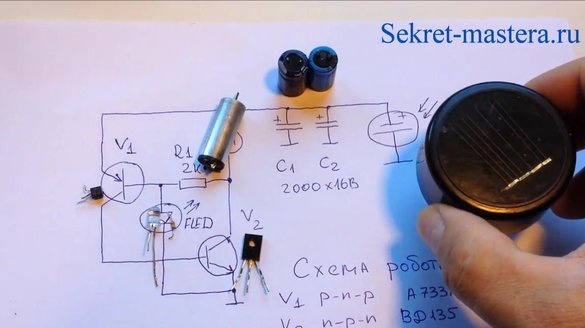
The energy from the solar battery is stored on two capacitors and, with a certain frequency, the LED is activated, which supplies power through a powerful key transistor to the engine. In this case, the engine discharges the capacitor and performs some rotational movements.
Assembly:
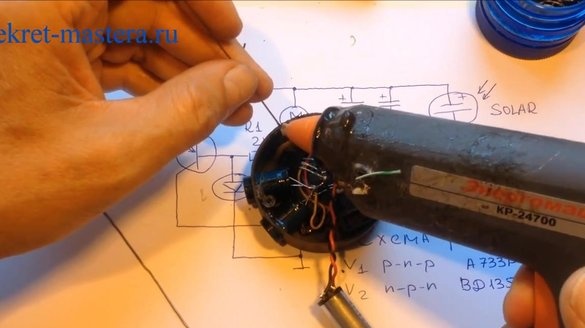
In the case of the solar battery, we make two holes with a knife and insert capacitors into them - these will be the eyes of our insect. We fix them with hot melt adhesive.
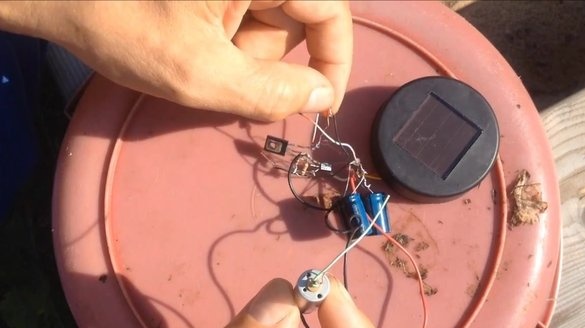
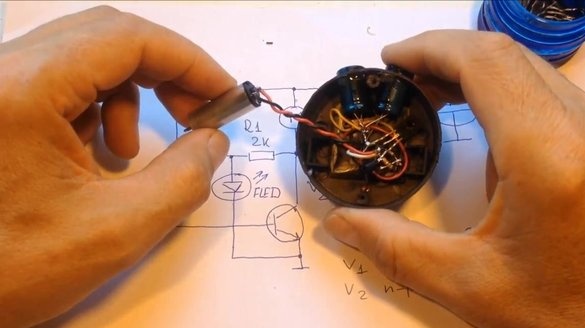
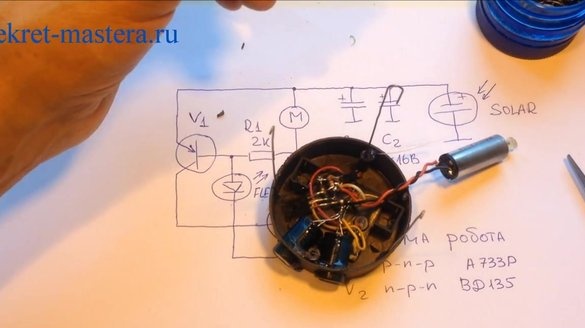
Then, using a soldering iron and wires, we collect all the radio elements according to the scheme.
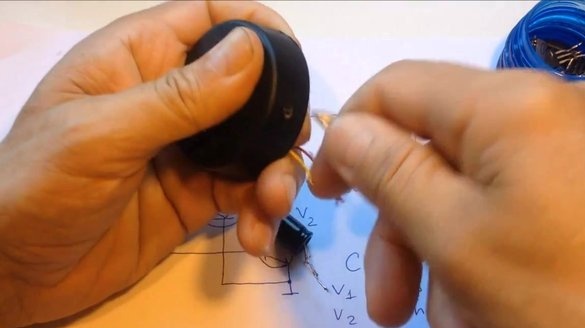
All elements are fixed inside the case of the solar battery, on an elongated wire we leave only the engine and do not fix it.
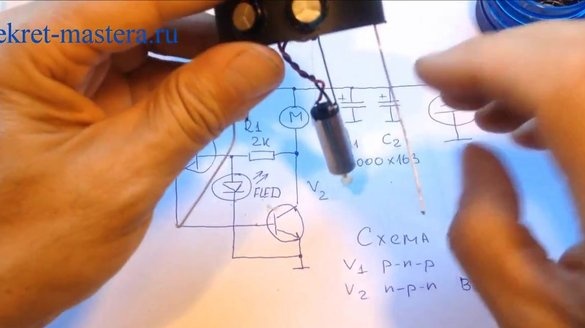
A large drop of glue is applied to the tip of the engine axis, you can even several times to form a small ball on the tip.
We will make the legs of our insect from ordinary paper clips.Straighten the paper clip, leaving only the small tip unbent, and fix it to the body with hot-melt adhesive. In total we will have three legs.
We attach our motor to one of the legs, so that robot leaned on a ball formed at its end.
Optionally, you can give the legs the necessary shape, slightly bend or straighten.

