
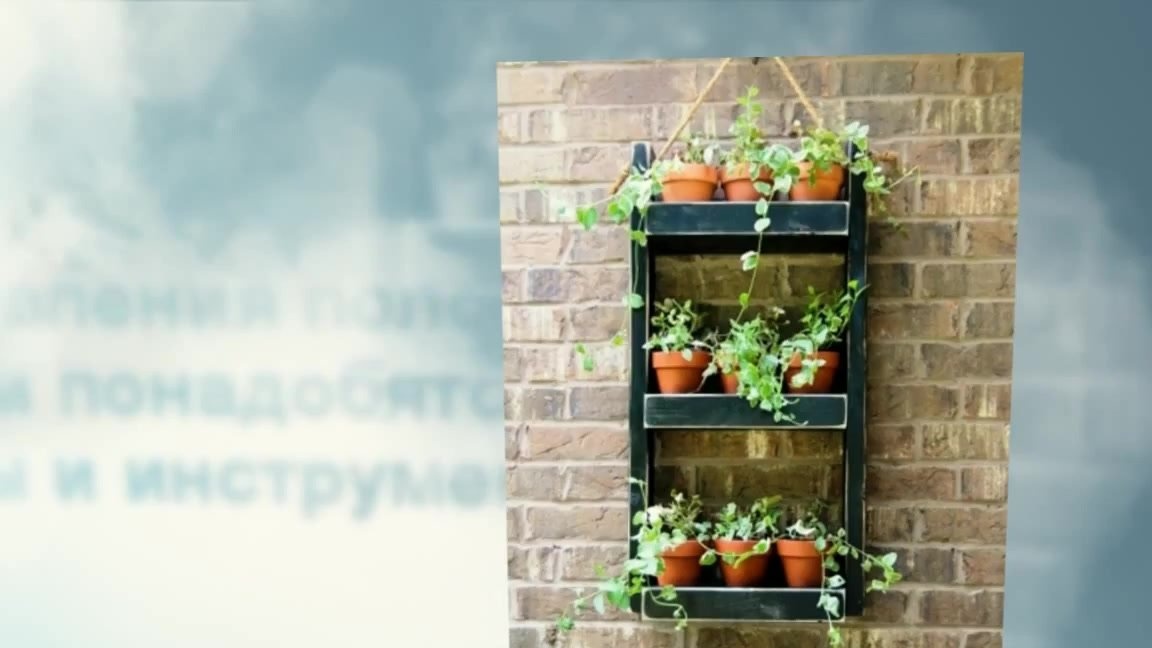
There are flowers in almost every apartment, but even at first glance, unpretentious green plants need care. Not all flowers love bright sunshine, and the decor of the apartment sometimes does not allow you to put flower pots. In this case, you’ll have, by the way, a flower shelf made do it yourself.
We suggest you watch a video on how you can step by step make a flower shelf with your own hands:
To make a beautiful decorative shelf for plants, we need:
- wooden bars (length and width do not matter);
- saw;
- drill;
- screwdriver;
- screws;
- sandpaper;
- putty for wood;
- paint and varnish on wood;
- rope;
- hook.
The dimensions of the bars are individual and depend on the size of the flowers, as well as on the free space on the wall of the room. The same can be said about the number of shelves.
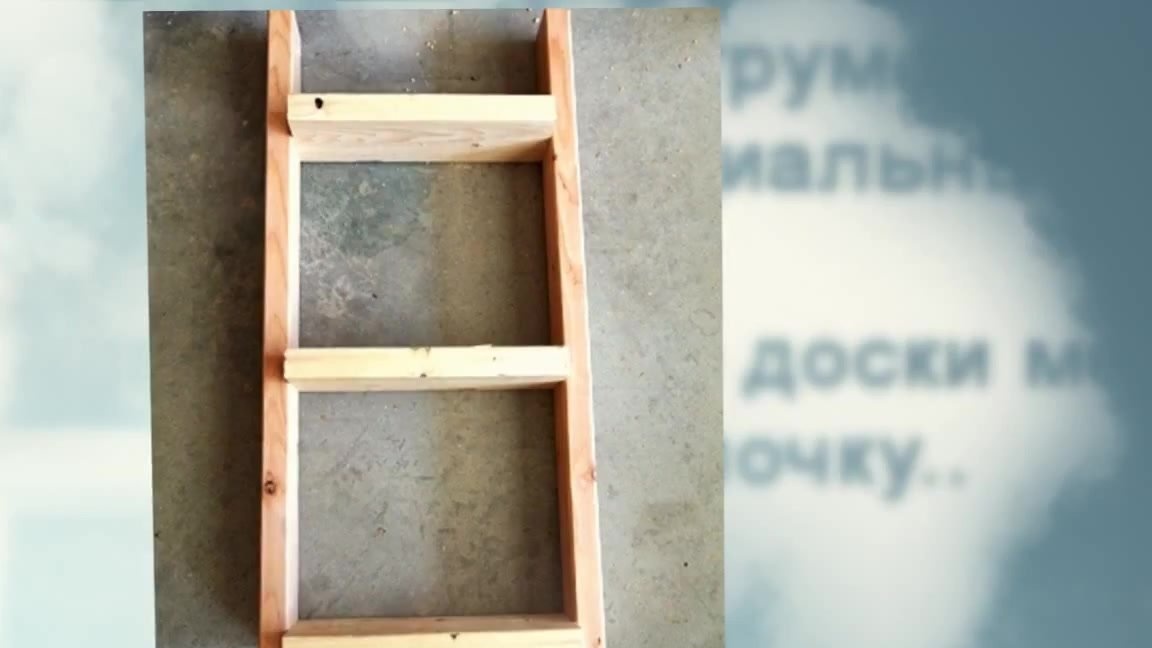
Author homemade made a shelf with a width of 35 cm and a height of 86 cm. In total, he needed 3 shelves.
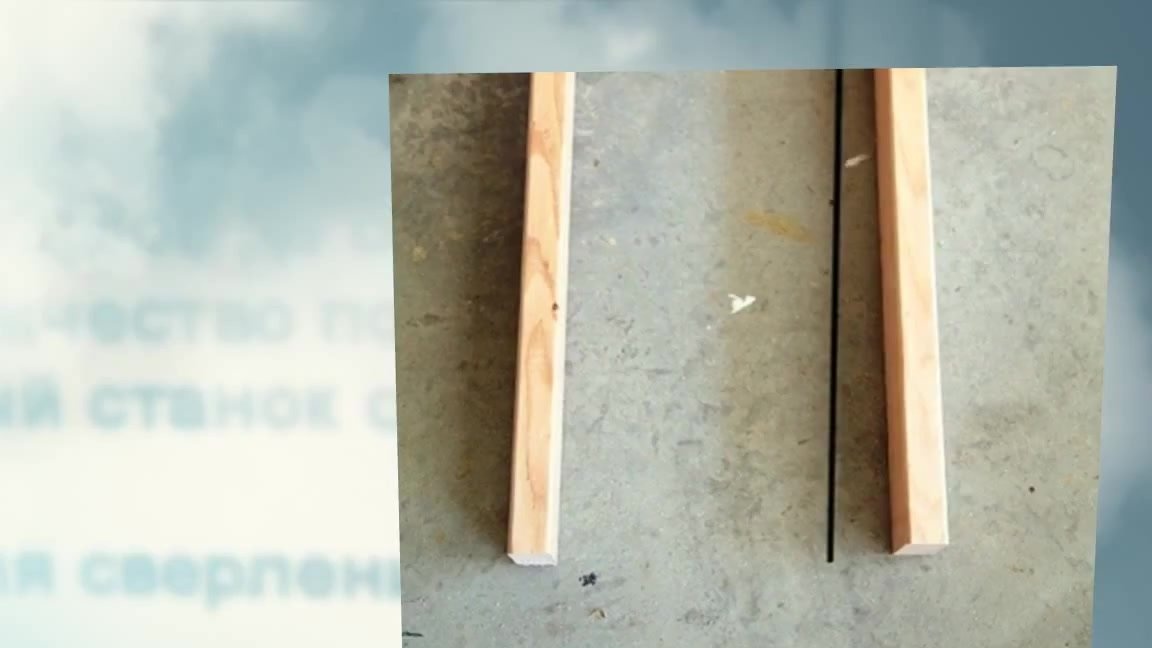
Let's get to work. First of all, we need to measure and cut boards of the right size. At this stage, we advise you not to forget about the safety rules and wear special safety glasses, as well as gloves.
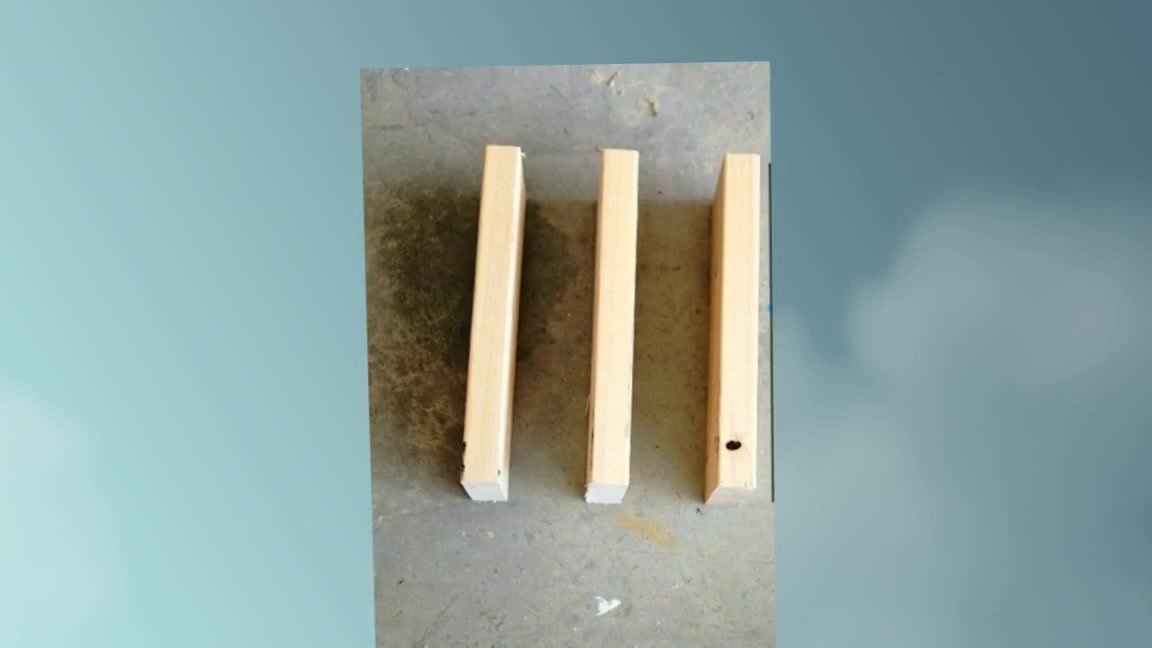
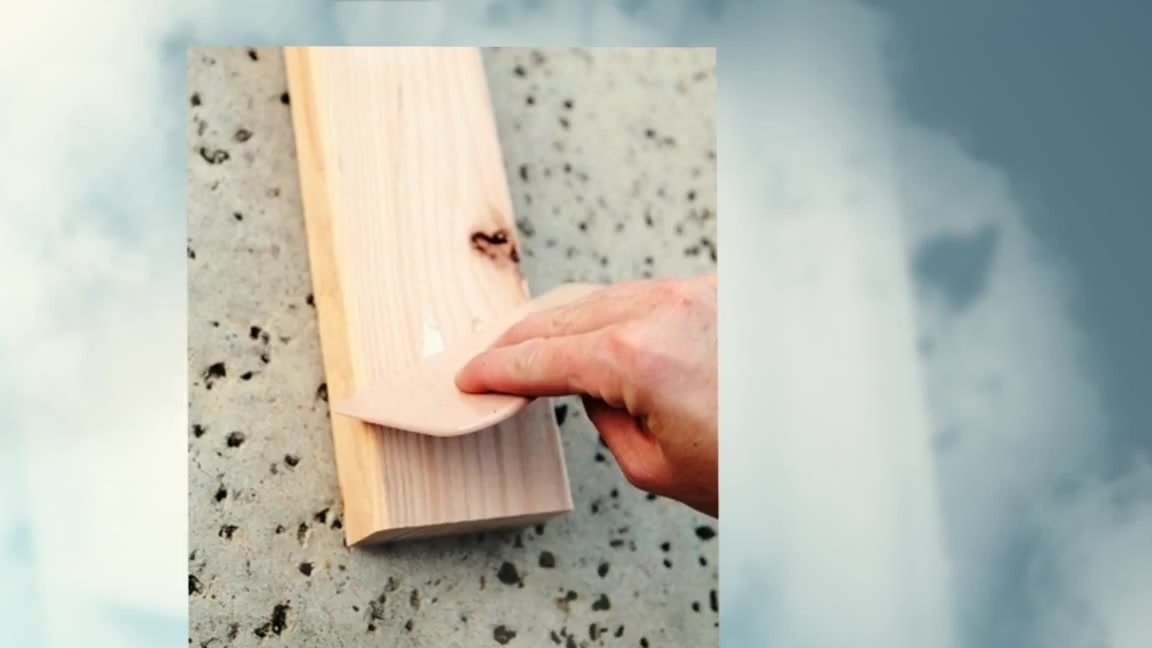
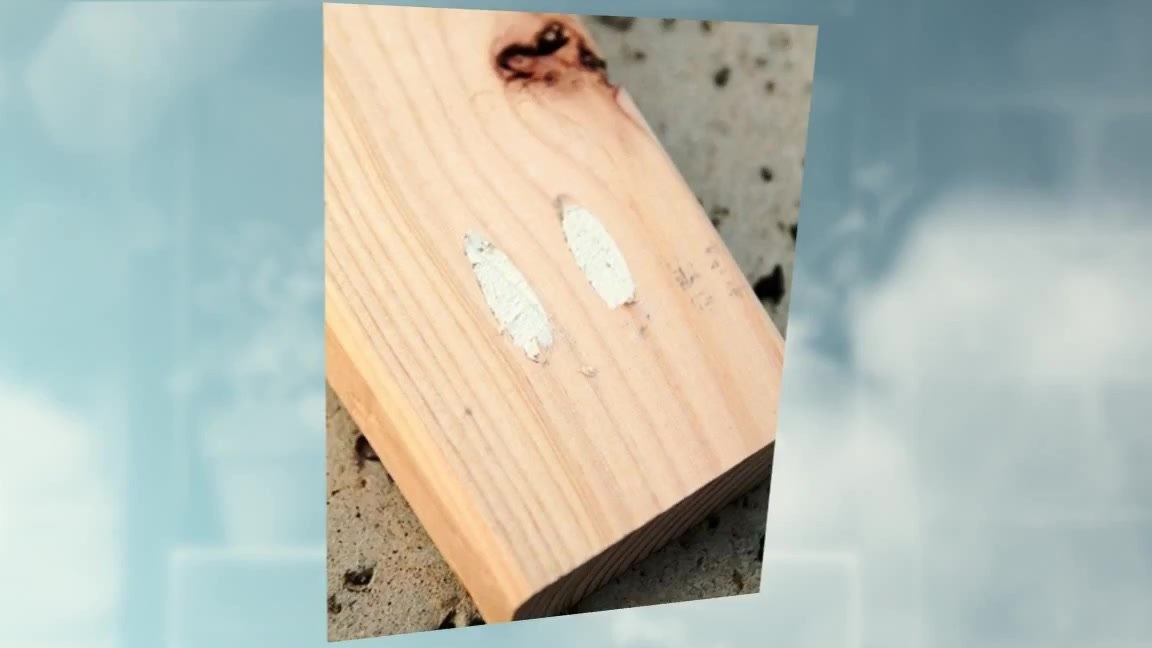
Finding the perfect wood for sure will not work for everyone. Most likely, some defects will be visible on it, which can be eliminated without special problems with putty.
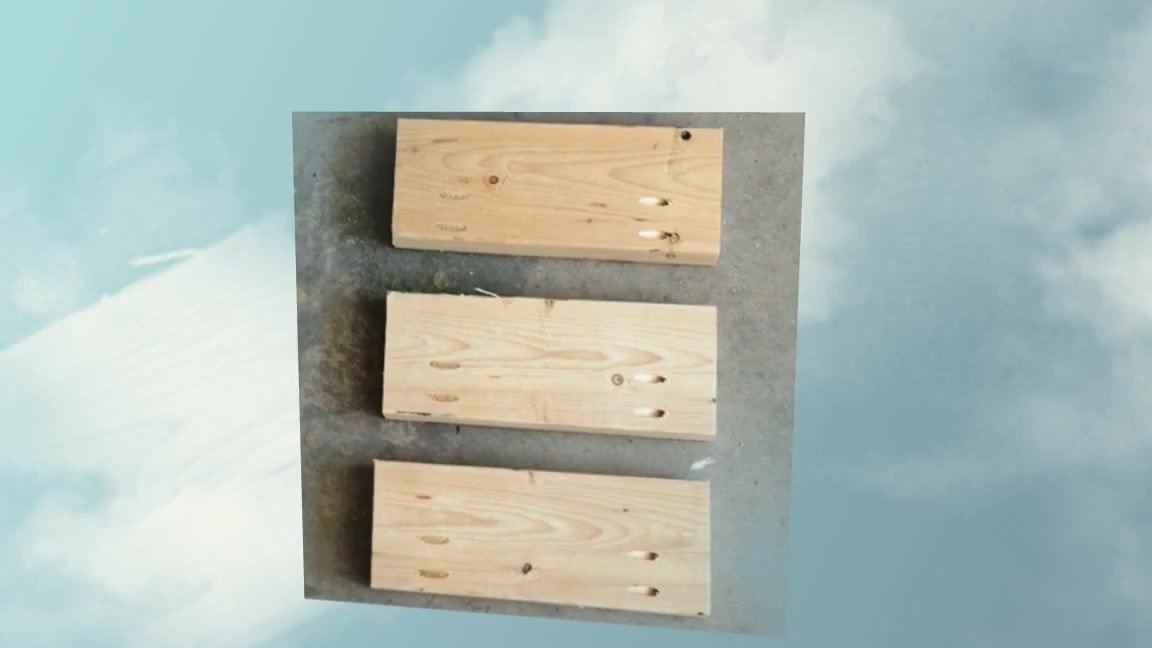
Next, we process the surface of the bars with sandpaper to get rid of the splinter. Finally, we fasten all the bars with screws. Our shelves got their initial look and shape, which means that it's time to take care of their aesthetic side.

We take the chosen paint and paint the shelves. Lovers of retro and aged things, as well as various vintage decor elements, can use paint in dark shades. This paint is ideal for giving an aged effect. After painting, it is necessary to apply a layer of varnish in order to better fix the paint, as well as protect the wood. The fact is that with every watering, drops of water will certainly fall on the shelves, and the varnish will avoid premature deformation. It should not be forgotten that before applying varnish, the paint should dry thoroughly.The same goes for varnish.

When the varnish becomes completely dry, it will be possible to proceed to the next stage of work. At this stage, we need to drill through the hole on the top of our shelf and put a rope through them. When the rope is pushed through, its edges must be tied in knots.
Next, take a drill and make holes on the wall. We fasten a screw to the wall, hang a hook. The shelf is ready.
It remains only to hang it on a hook and decorate it with your favorite flowers and plants.