We all know that excessive salt intake in our daily diets can cause serious harm to our body. However, consuming salt in moderation can add an appetizing taste to dishes. Conventional glass salt shakers are not suitable for cottagessince they usually manage to hold out for only a week. Therefore, you can find an alternative in the form of metal or plastic, or you can make it yourself using ordinary plastic bottles.
So, we suggest starting the production of salt shakers by watching the video useful homemade.
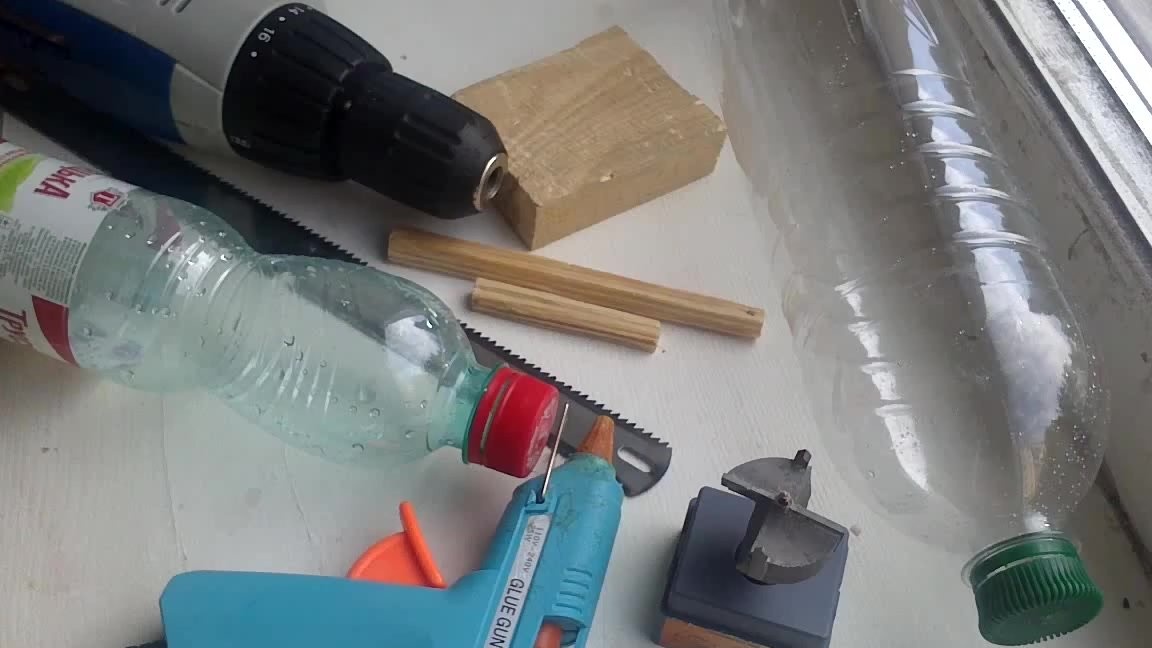
What do we need:
- two plastic bottles;
- large diameter drill;
- glue gun;
- blade for hacksaw;
- wooden pieces;
- a small bar;
- screwdriver;
- sandpaper.
First of all, we need to cut off or, more precisely, cut off the necks of our bottles. For this we will use a blade hacksaw blade. Need to cut under the base of the neck.
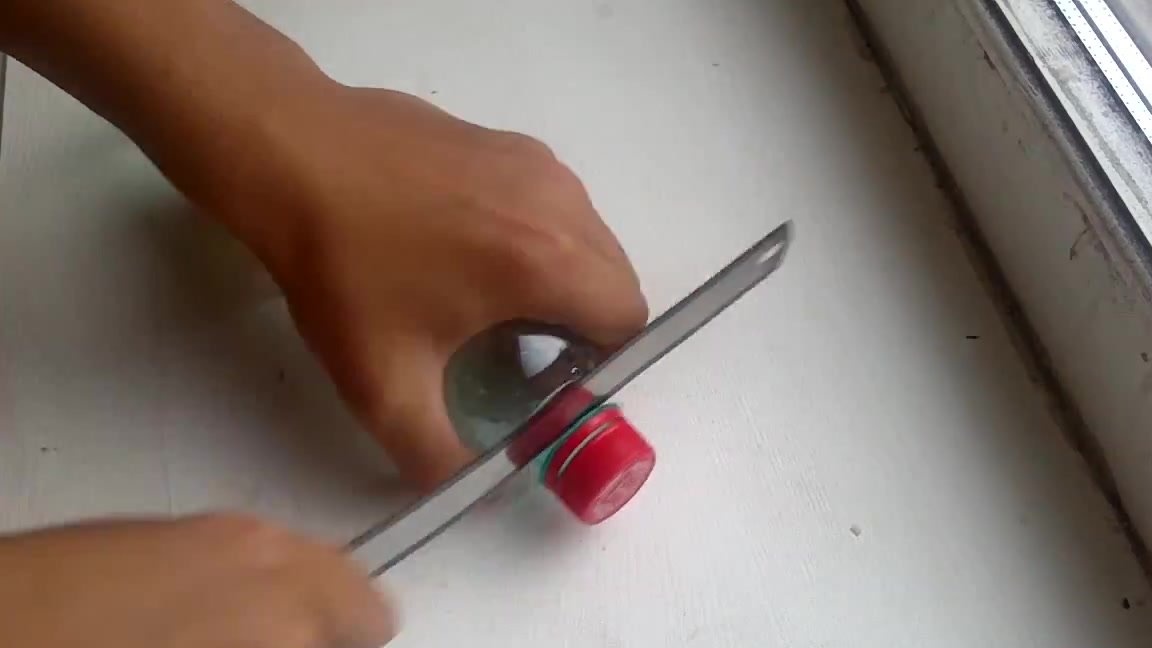
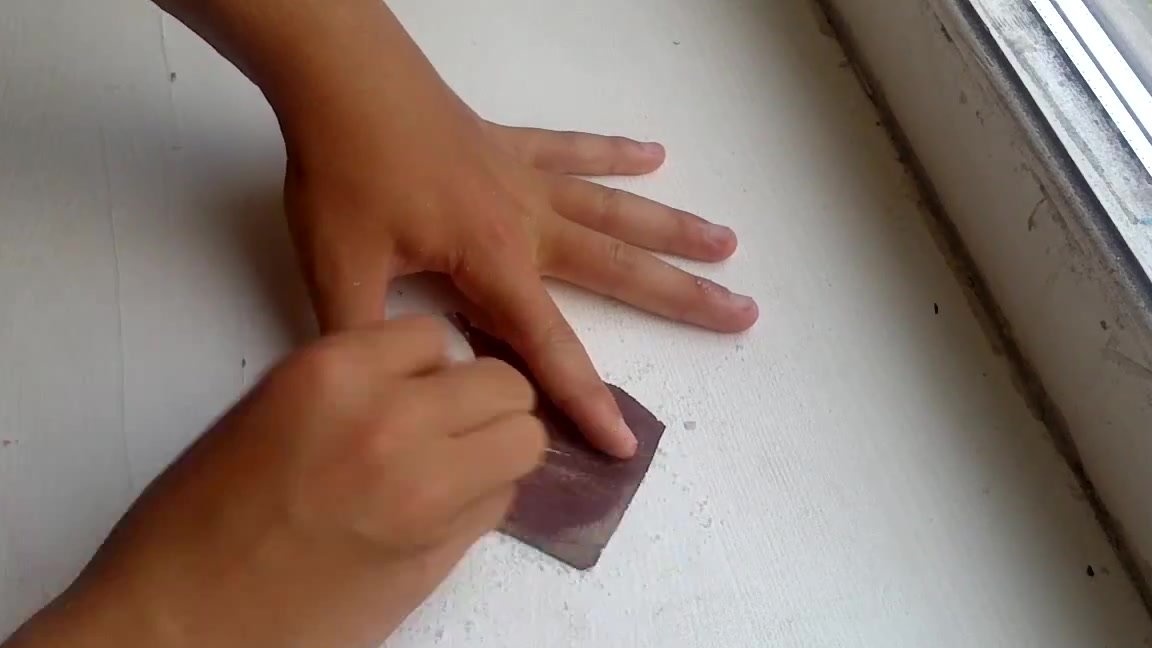
When the necks of our bottles are cut, we gently grind them with sandpaper so that there are no unevennesses left.
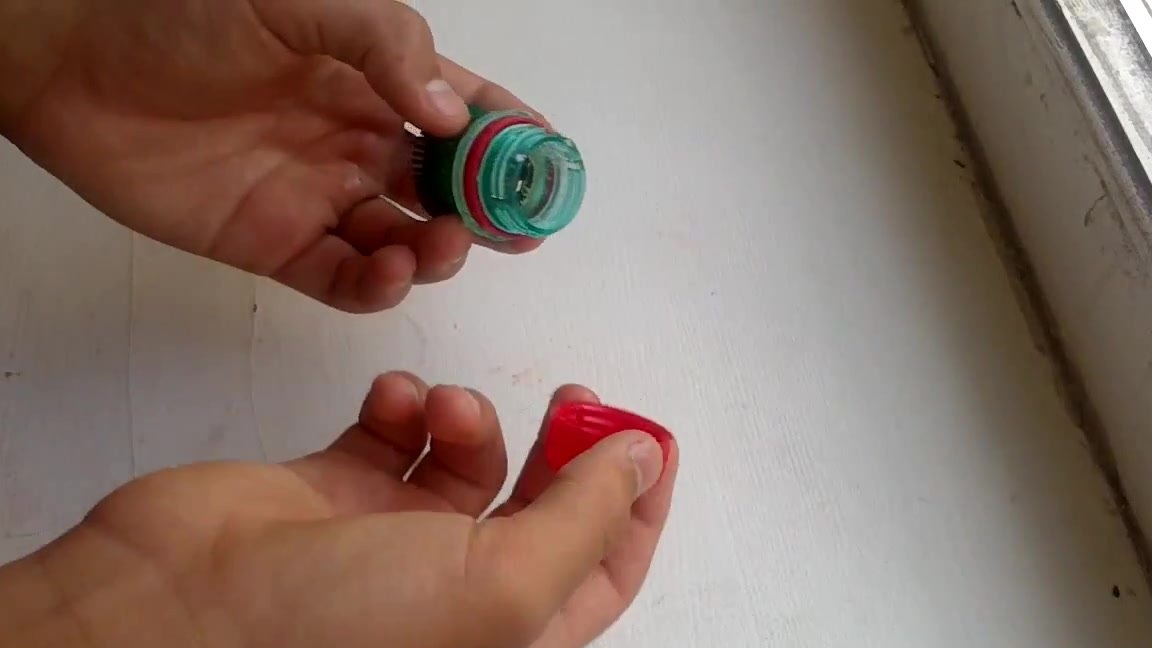
After making sure that the necks fit perfectly on each other, glue them with a glue gun. Using the same technology, you can make a waterproof case for matches, which will certainly be useful to lovers of fishing and outdoor activities.
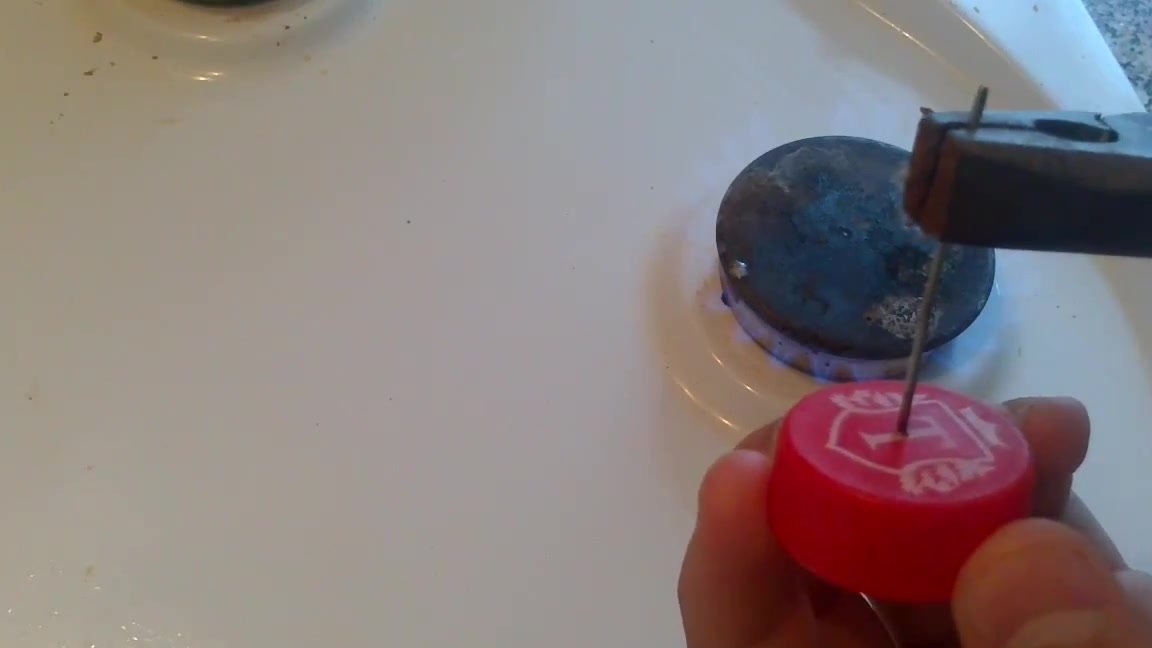
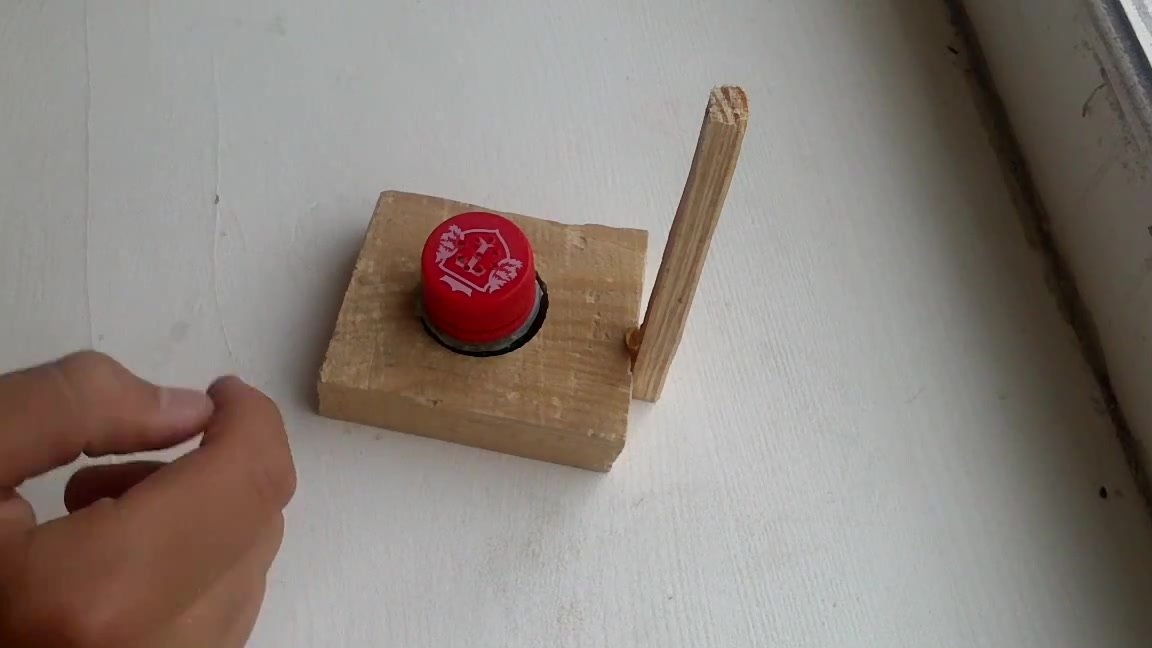
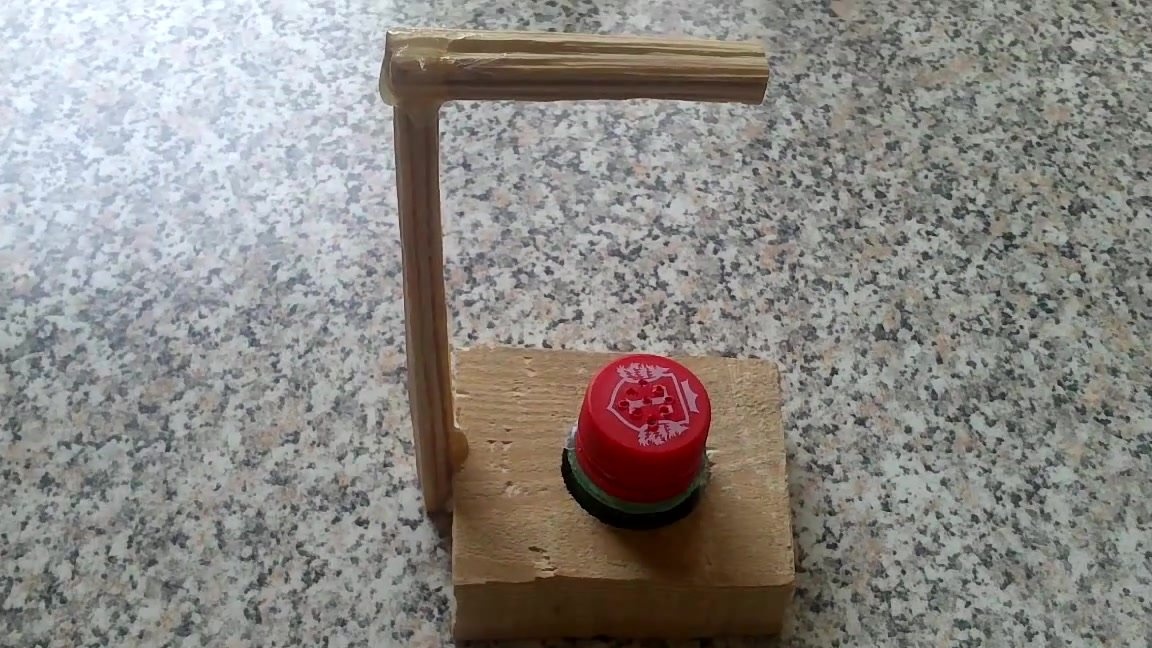
After that, we remove one of the covers from our workpiece, since we have to make several holes on it with a hot thick needle. At this stage, the manufacture of the salt shaker is virtually completed. However, you can think about the aesthetic part of our homemade and make a beautiful stand for her.
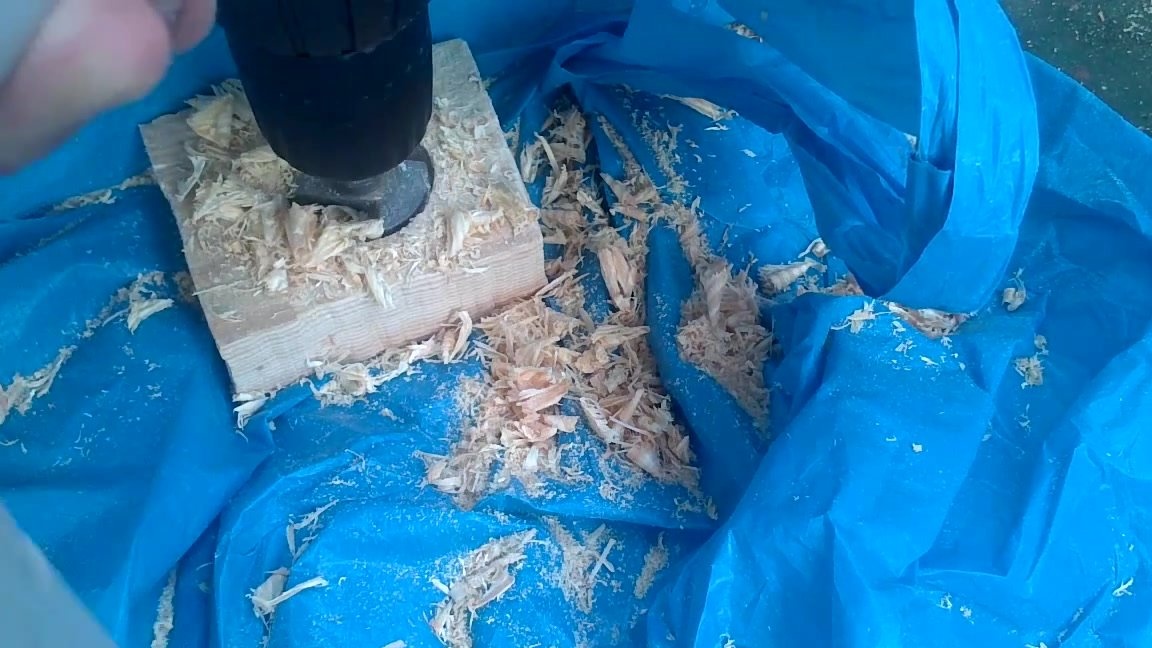

We take a wooden block and drill a recess in it along the diameter of the salt shaker. You can also leave the stand like this, or you can improve it and apply some kind of drawing on it by decoupage, make patterns, and so on. As for the author of the video, he simply glues two small pieces of wood onto the stand, giving it a completely original look. To do this, we glue one wooden piece on the side of the stand, and the second piece on top of the first so that it is parallel to the stand. Thanks to this, we get a stand with a handle. It should be noted that the author of the homemade assures that the glue from the glue gun does its job well and fixes pieces of wood, so there is no need to use screws or nails.