He shoots videos and photographs every second inhabitant of the earth, but not every frame produces the light we need. A home light bulb does not always fit - it simply is not enough, but if you try to make the light yourself, then the frames will be better in an apartment or any dark room.
How to make a softbox yourself, you can watch in the video:
We have to:
- Two PVC pipes, but with different diameters;
- a ruler of 50-70 centimeters;
- protractor;
- 5 corners;
- 2 wooden flat boards for legs;
- a simple pencil;
- glue or glue gun;
- a lot, a lot of cardboard;
- wires;
- plug for outlet;
- bulb for 150 volts;
- transparent tape;
- cartridge;
- nuts and screws;
- bolts (long and ordinary);
- foil;
- plastic squares;
- wooden hanger;
- white cloth and clips.
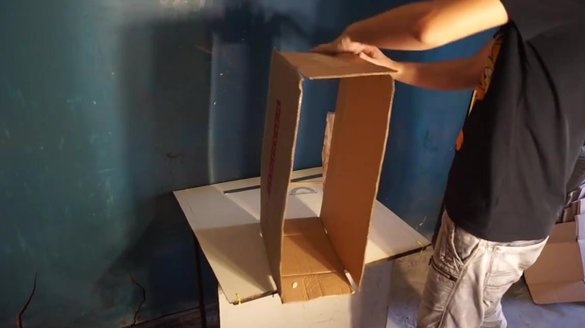
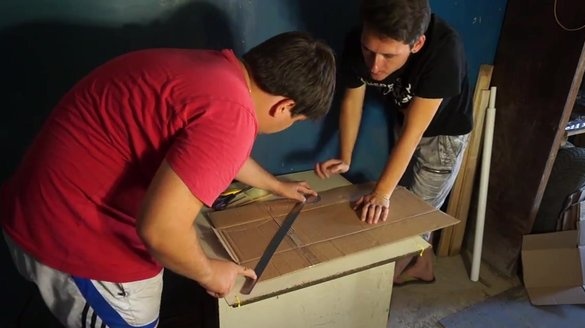
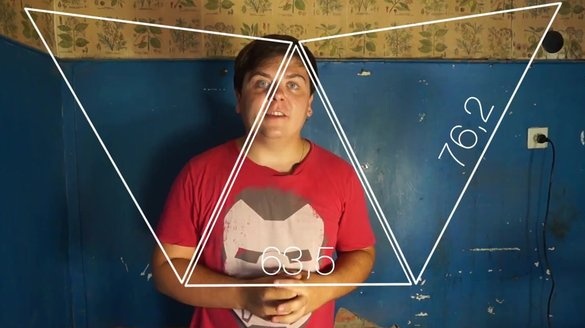
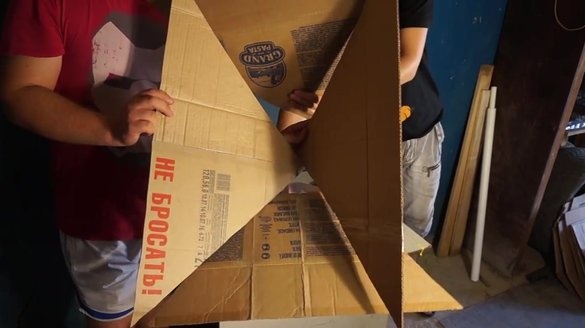
So, the first thing you need to measure and cut the cardboard. We will have two triangles, where the bottom is 76.2, and the sides are 45 degrees.
Then we make two more triangles, but the bottom will be equal to 62.5. The size of the sides remains the same.
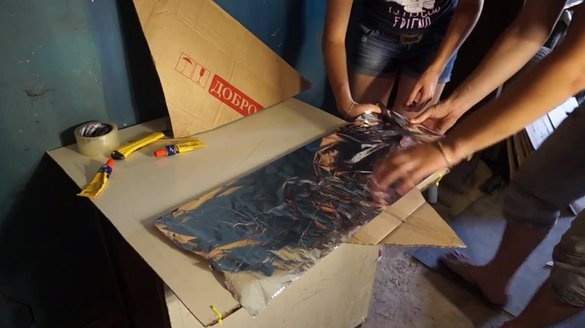
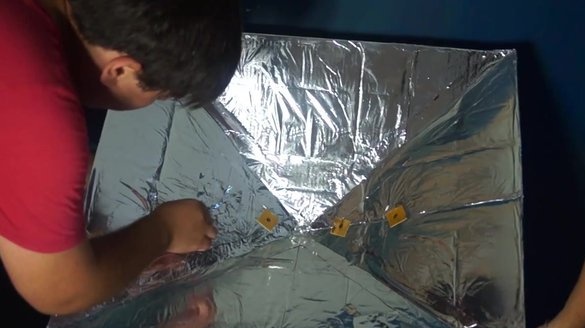
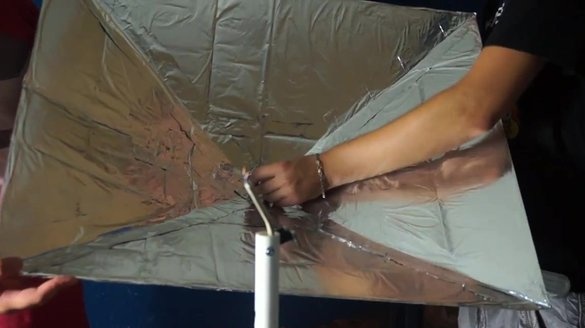
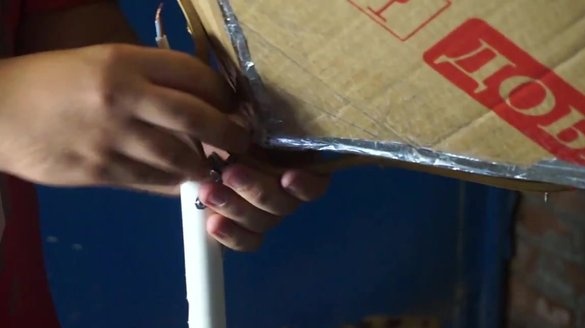
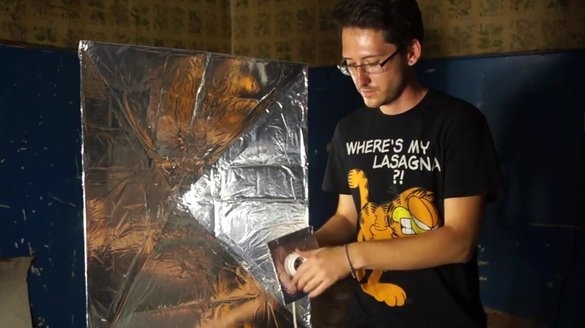
All 4 triangles on one side are glued with food foil.
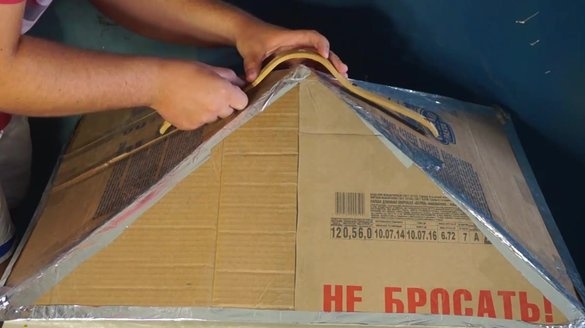
Now we attach each triangle to the edge and glue it together with tape.
On the reverse side we fix everything with tape.
At the junction, additionally glue along the foil strip.
Now from cardboard we make the base under the cartridge with dimensions of 12 and 15.5 cm.
At the base we make a hole for the cartridge and glue it with foil.
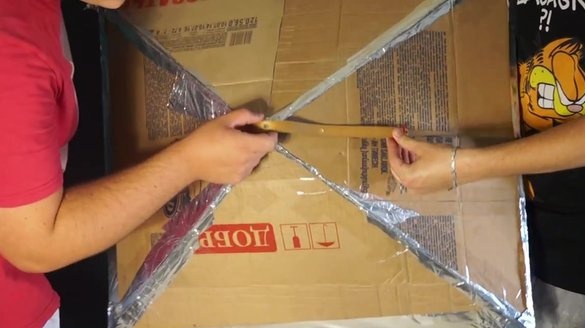
Next, remove the base and the hook from the hanger.
In the middle of each side of the hanger, we screw in the screws and pierce with the screws in the cardboard those places where the fastening will go.
We put plastic squares on the screws on the back.
On the inside, the screws are attached to the hanger.
We hide the squares under the foil.
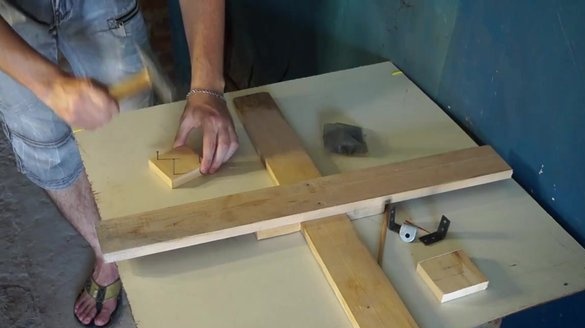
Now the legs. From the stitches we need to saw off 4 identical squares.
2 squares will be legs and 2 squares will be a support.
We fasten everything diagonally with nails.
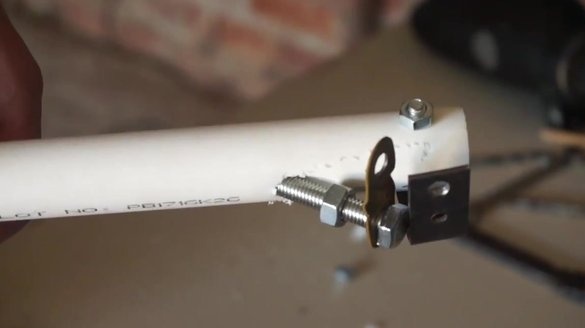
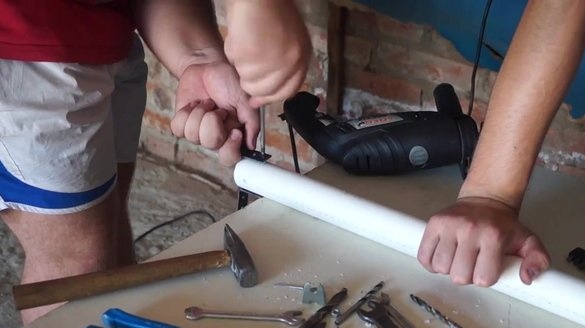
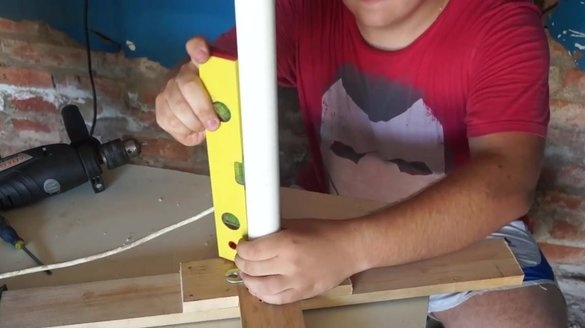
Now stand. In a large diameter drill, we make a non-through hole and screw a bolt into it.
Insert the smaller one into the large pipe.
On the second side of the pipe, we do not make a through hole for the wire. Important. So that the hole is far from the edge.
At the edge of a thin pipe, we need to make a mount for the top.
In the corners we make holes wider for new bolts.
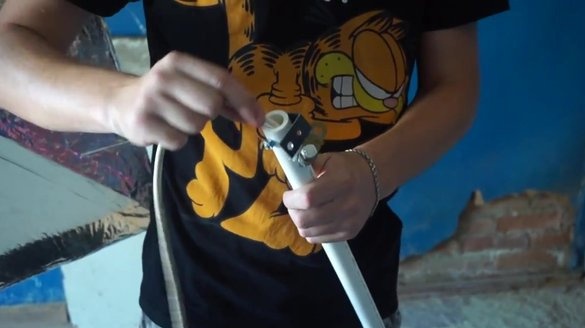
We fix the corner on a thin pipe.
Now we focus. To do this, we drill 2 holes on a thin pipe perpendicular to the corner.
At the end of a long bolt we fix an emphasis. He will hold the top.
Now on the screws we attach the corners to the bottom of the pipe.
We thrust the wire through the pipe.
We fix the thick pipe on the legs.
Now the light. It is necessary to unscrew the back cover of the cartridge and remove the contacts from there.
One end of the wire is exposed.
The ends need to be bent a little.
Pull the wires into the holes on the rear plane of the cartridge.
We fix the first contact on the wire.
We do the same with the second contact. At the end, close the lid of the cartridge.
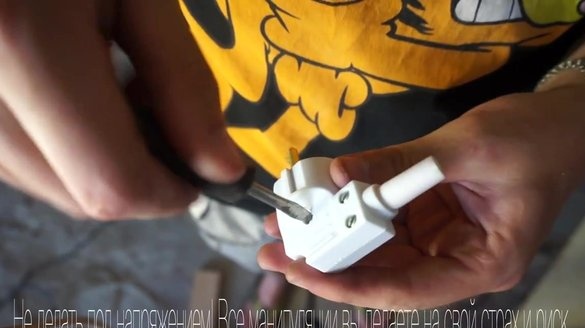
Next, open the plug. Bare the other end of the wire.
At the ends of the plug we fix the wires and close it.
Insert the bulb into the cartridge. If screwed correctly, the bulb will not explode.
We put a bolt through the corner of the upper part and attach the bulb to the corner.
We put emphasis.
We push through the cent to the wire holder.
All joints are sealed with foil.
Softer light will allow you to make a light fabric, which is fixed on the base.
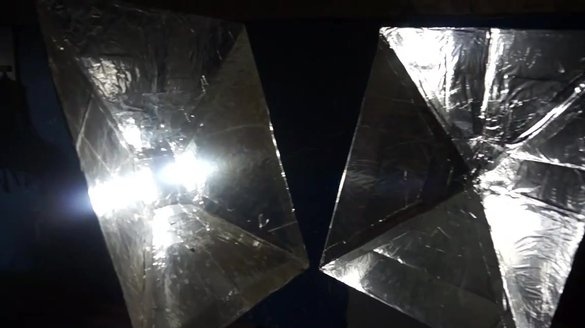
All softbox is ready.

