
Beautifully decorated country a corner or a gazebo can be done with a decorative lattice, it will not be very cheap to buy it, but to make it yourself from improvised materials and at the lowest cost is quite.
In the video you can see the step-by-step creation with a detailed explanation of how to quickly and easily make such a grid.
To create the lattice we need:
- wooden plank;
- milling cutter;
- bar;
- sandpaper;
- slats.
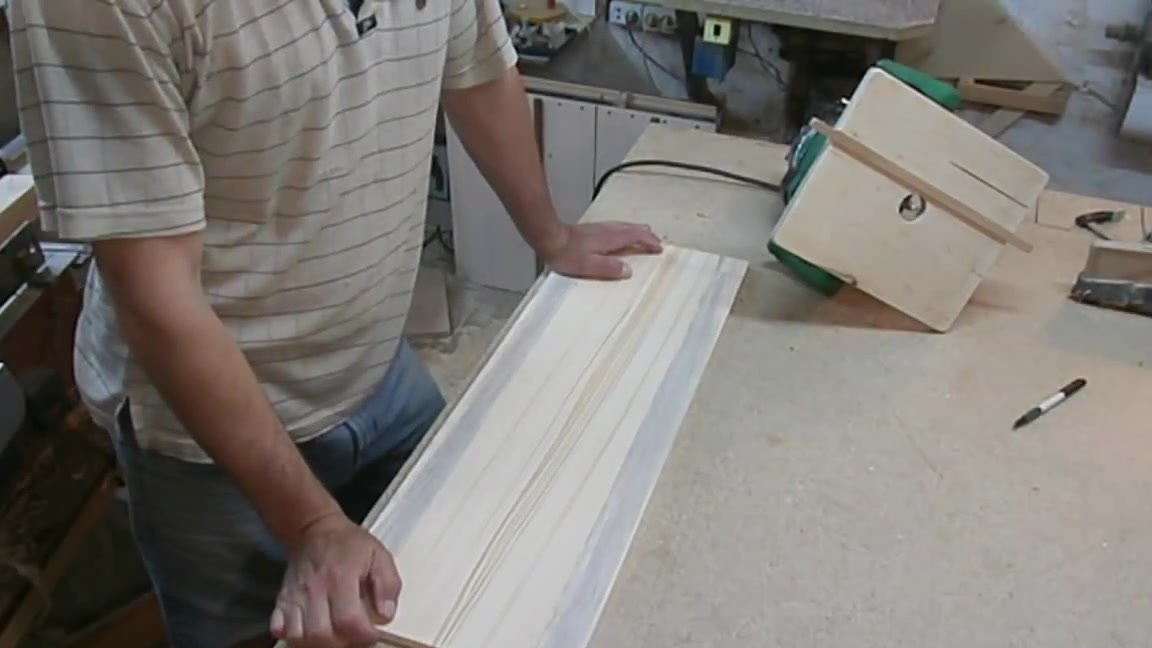
We clean the board prepared in advance as follows. so that it has the same width over its entire area. This will be the thickness of our decorative lattice.
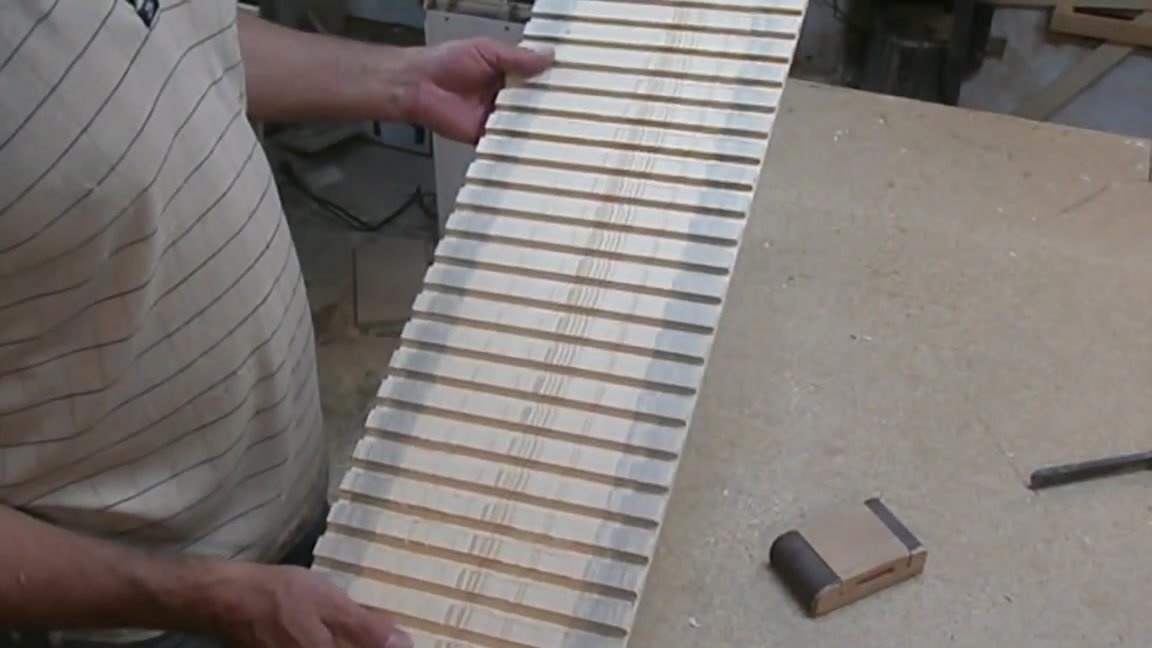
The meaning of the work is to make transverse grooves on this board using a milling cutter for the entire length of the board. After that, we will cut it into slats.
After this, we grind the slats to the same width and fold them crosswise on a cross, groove in a groove.
Getting to work.
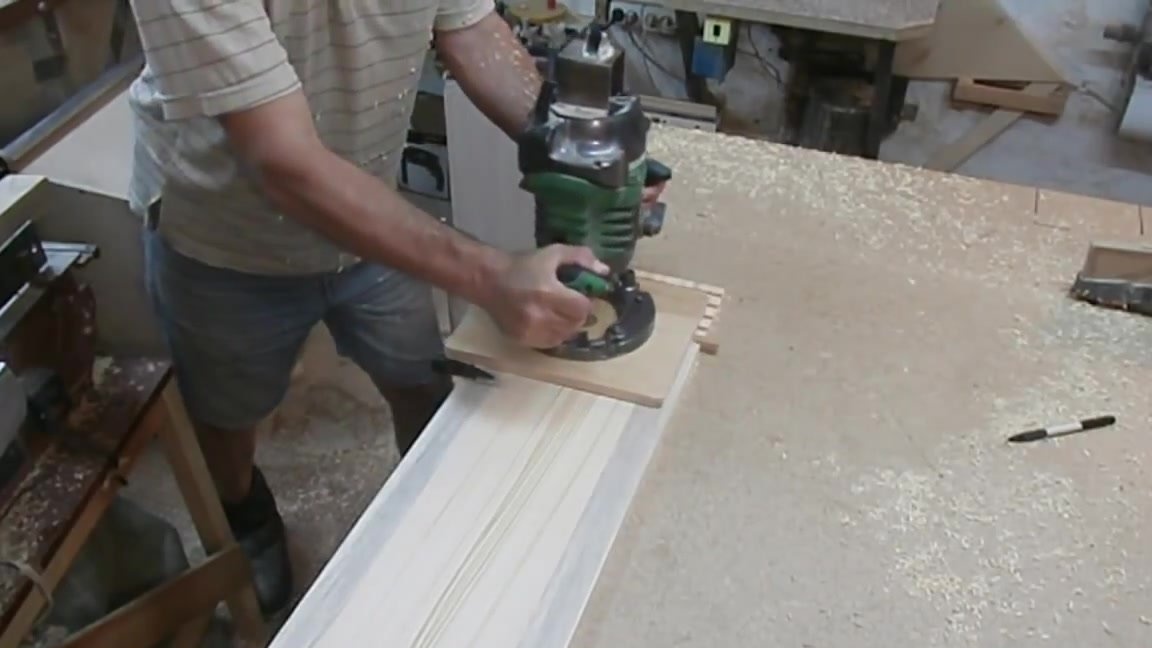
We fasten the board to the milling cutter, to which we glue a strip with a width equal to the diameter of the cutter. From the cutter to the bar, the distance will be equal to the width of our grill.
In order to make the first groove, we fix the board with clamps to the working surface. We begin to mill. The milling depth should be equal to half the depth of the board. This is a mandatory and very important condition.
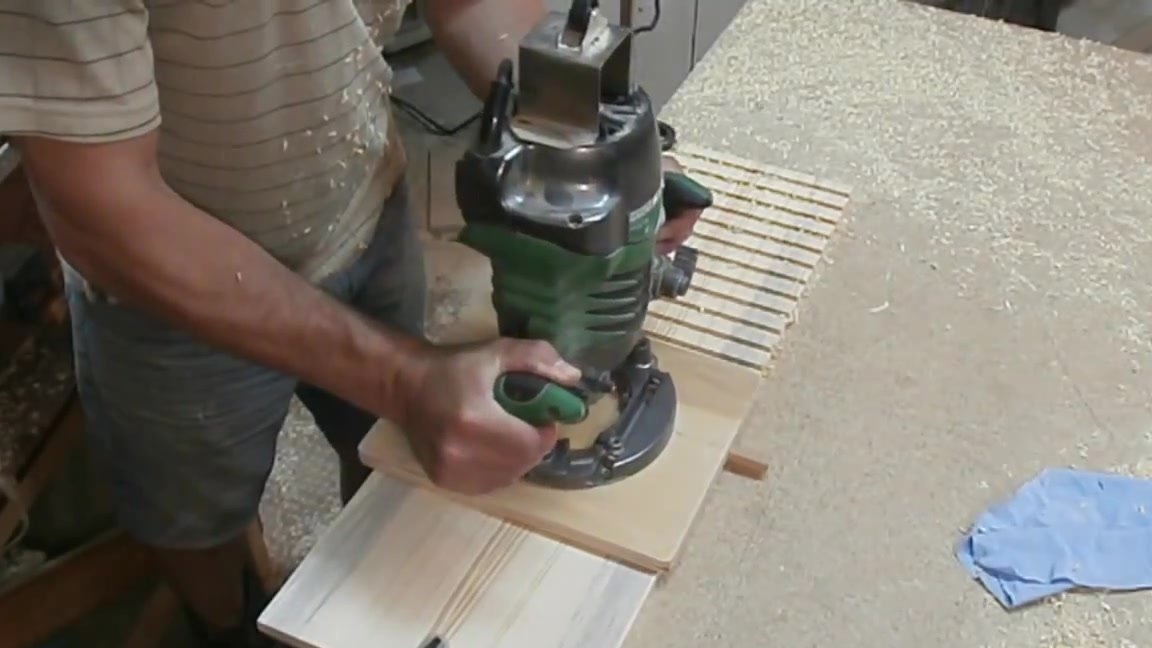
After the first groove is passed, insert the rail into it so that the groove serves as a guide for the next groove. And so, step by step, we make transverse grooves over the entire surface of the board.
If the clamp prevents moving on, we rearrange it and continue to work.
When all the grooves are done. Before cutting into slats, it is necessary to grind the burrs with sandpaper.
Getting to the cut, make it along the entire board.
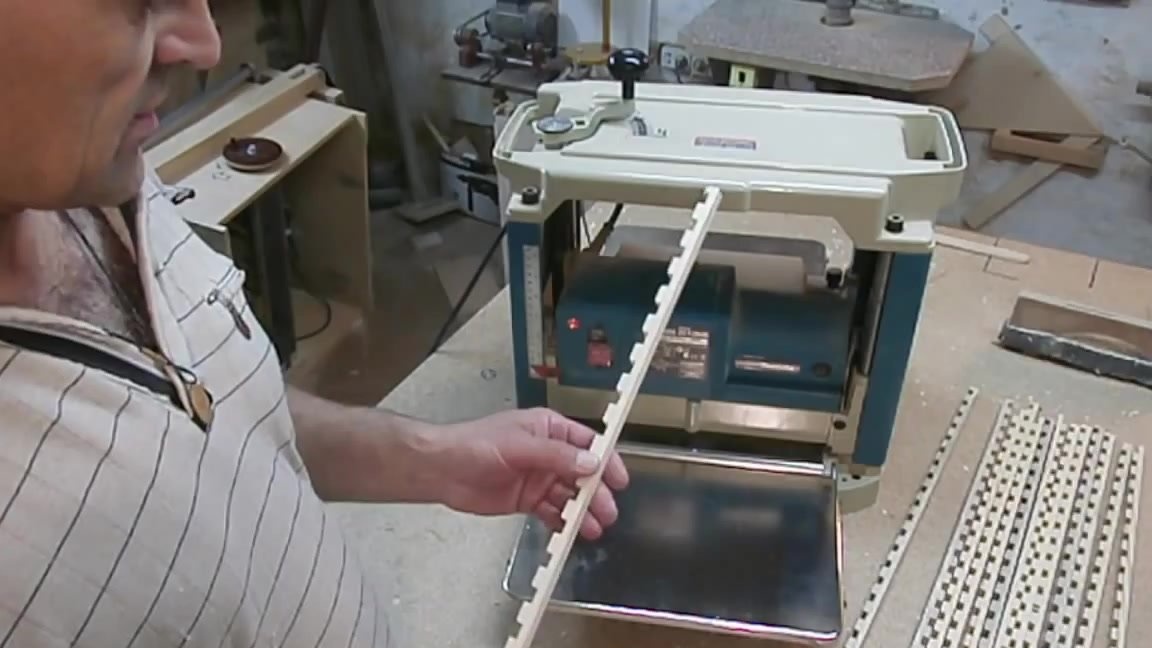
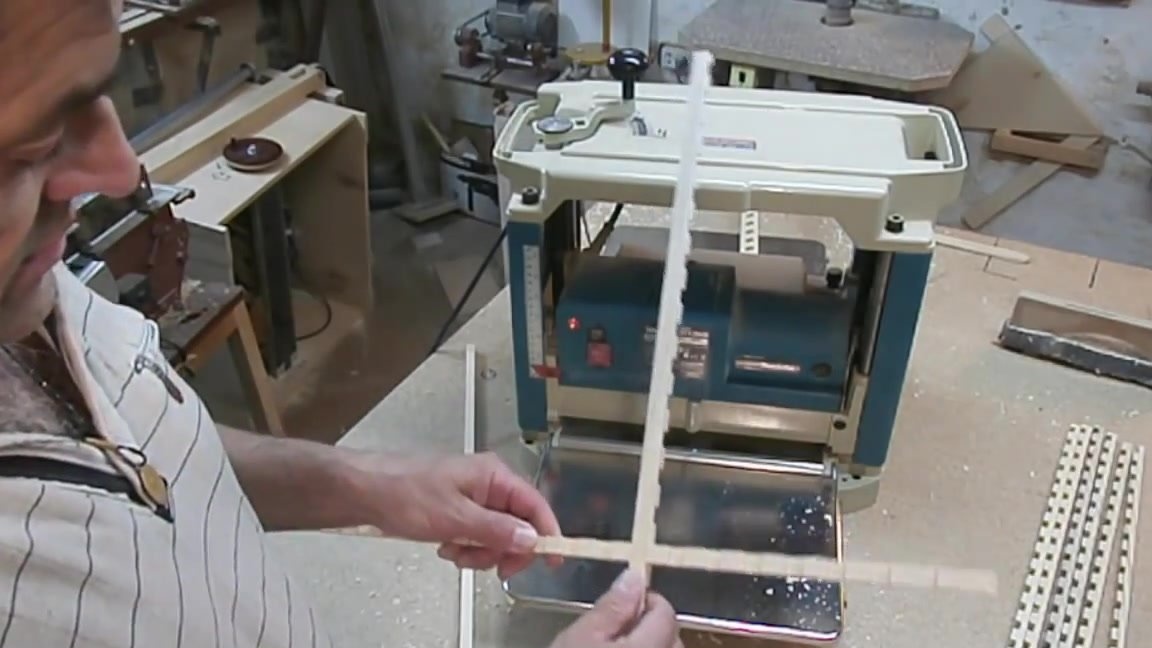
After the slats are cut, we customize them with a thicknesser in one size. You can do this manually, but spend a lot of time and effort on it.
Grinding will also have to be done manually.
Now that the slats are finished, you need to check how well the groove fits into the groove.
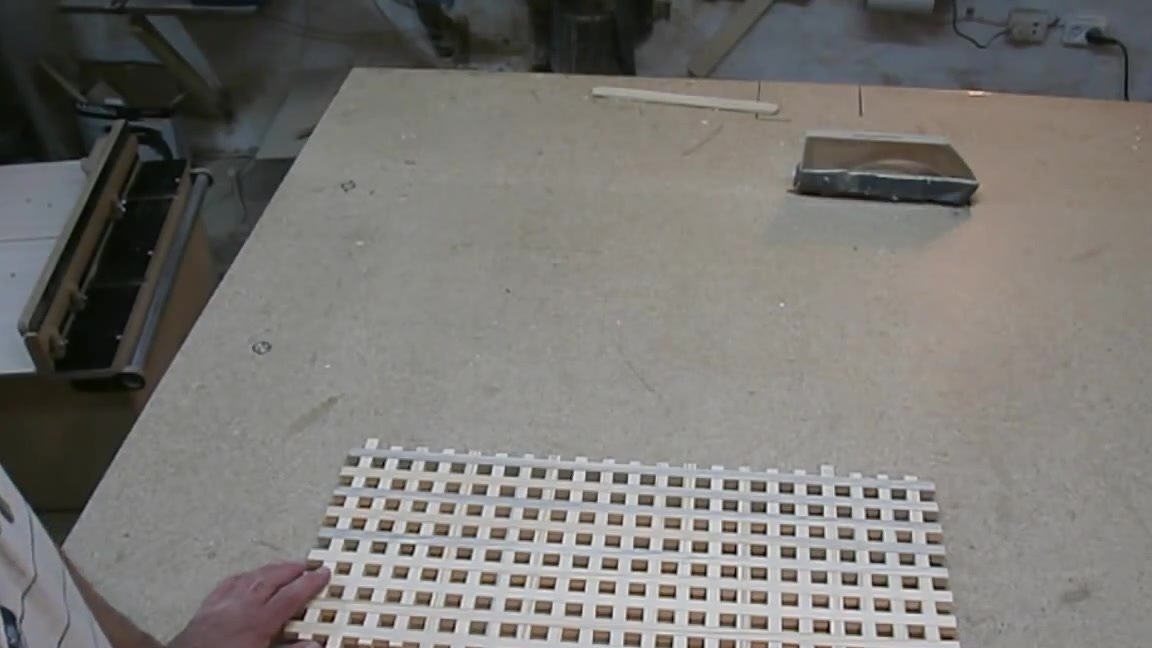
We collect our decorative lattice.We place the sawn rails in parallel at an equal distance from each other and insert small stitches into the grooves that form the grate. We glue the strips into the grooves.
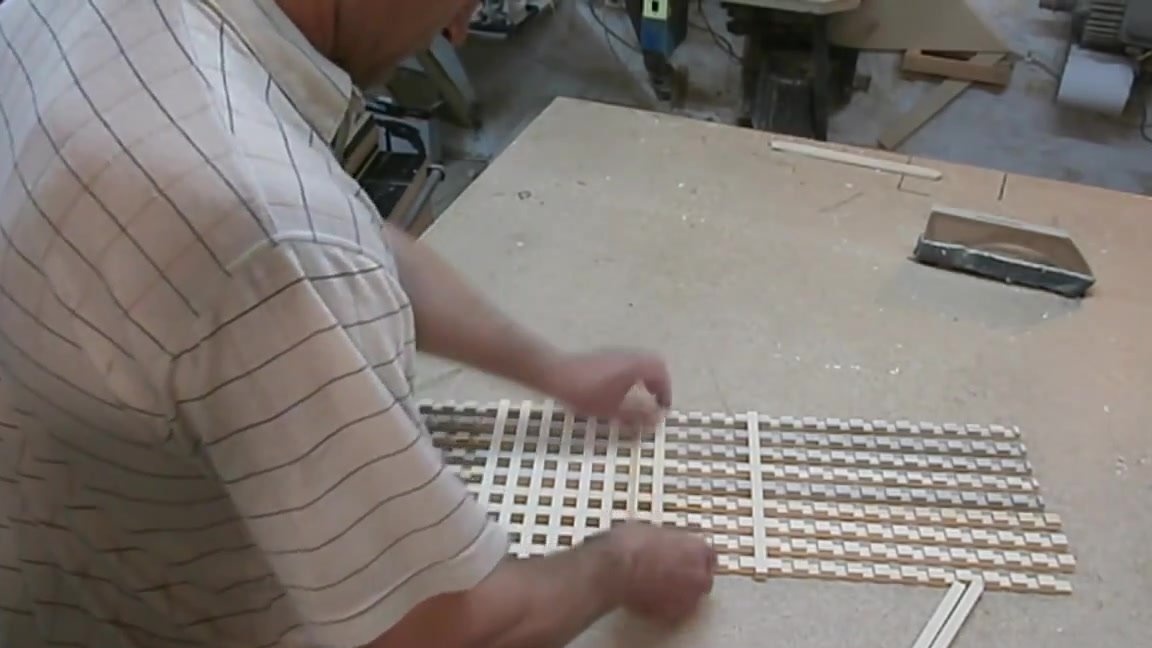
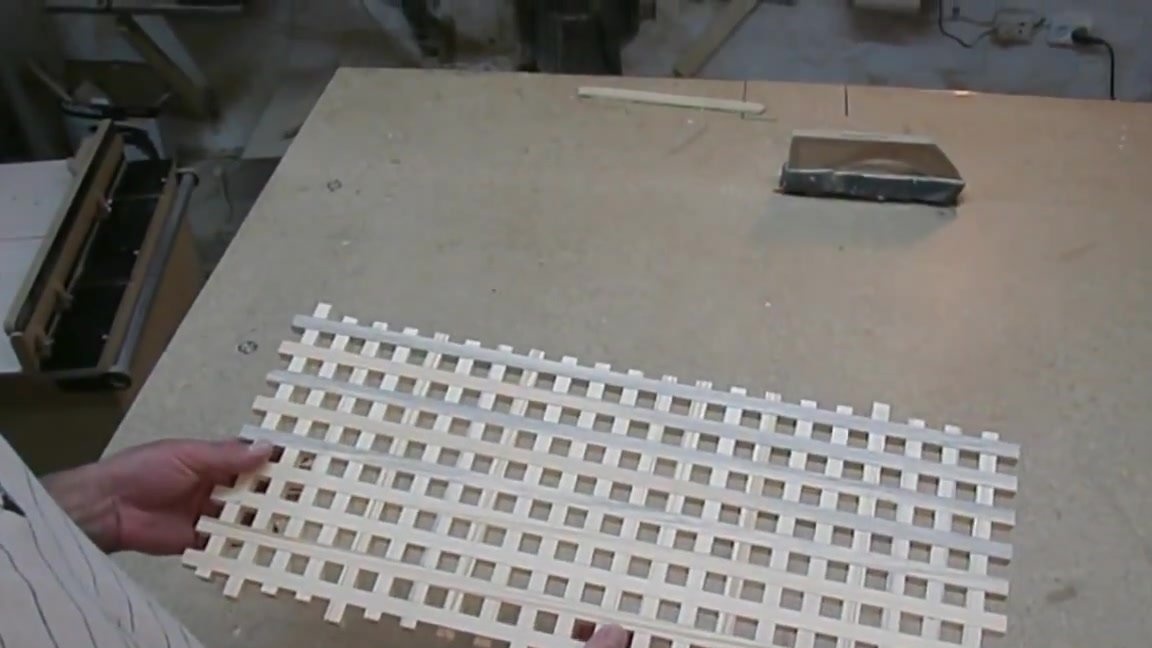
The decorative grill is ready.