
Often, for any kind of outdoor work or even for good lighting of a video recording, high-quality lighting is required, which does not need to be held in hands and which will shine from above, but from somewhere from the side. In order to get the desired result you need a special stand.
If you need a similar stand, but you don’t know how it can be done, watch the video. It shows an example of creating a tripod.
To create a wooden tripod, we will use:
- wooden blocks;
- glue;
- nails;
- staples;
- self-tapping screws;
- telescopic handles;
- saw;
- sandpaper.
As racks of tripods, you can use telescopic handles for paint rollers, the length of which is equal to a meter. They are laid out up to two meters in height. However, the question arose of how to install them.
One of the very first decisions was to make a cross in which these handles would be mounted. And fixed there with the help of two clamps. But this option was not very convenient, the crosspiece was staggering and I wanted to have a more stable design. That is why we preferred the tripod option.
The whole structure is assembled on glue and nails.
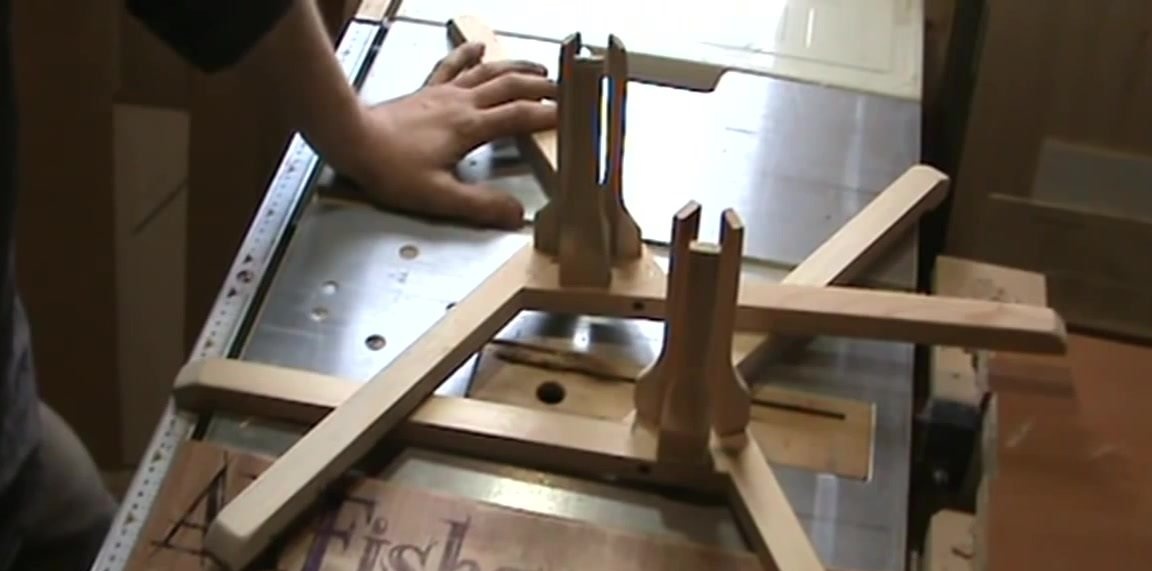
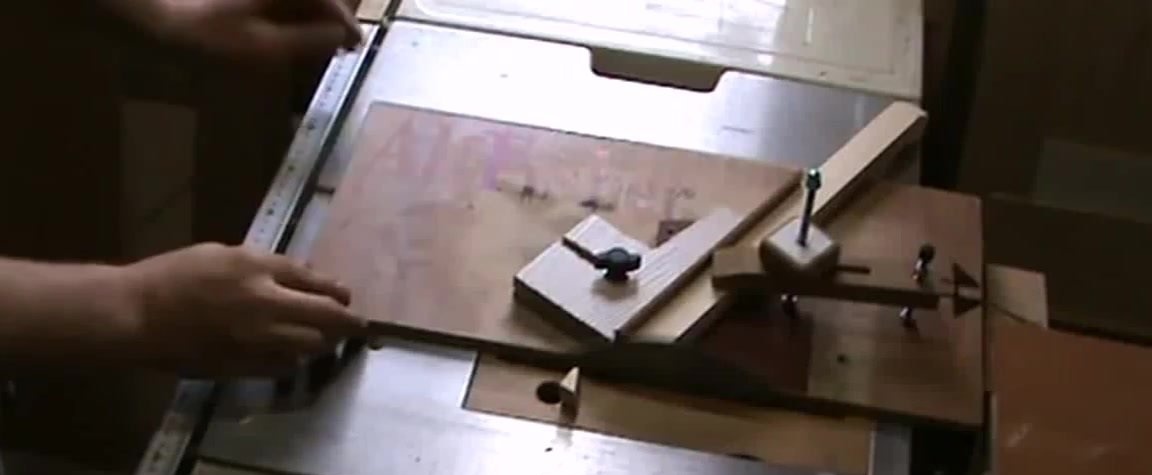
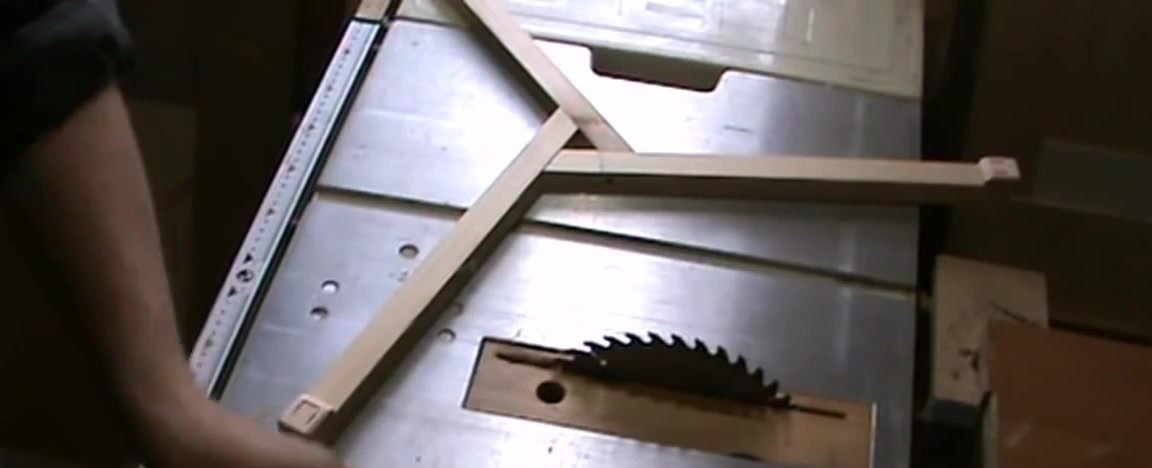
To create a tripod, you need to take a wooden block, which is sawn into three equal parts. Each of them will be a separate tripod leg. We process each leg, removing all irregularities and roughness. For greater stability, we trim at the end of each like a small “heel”. And on the other side of each leg we make a small cut of about 30 °.
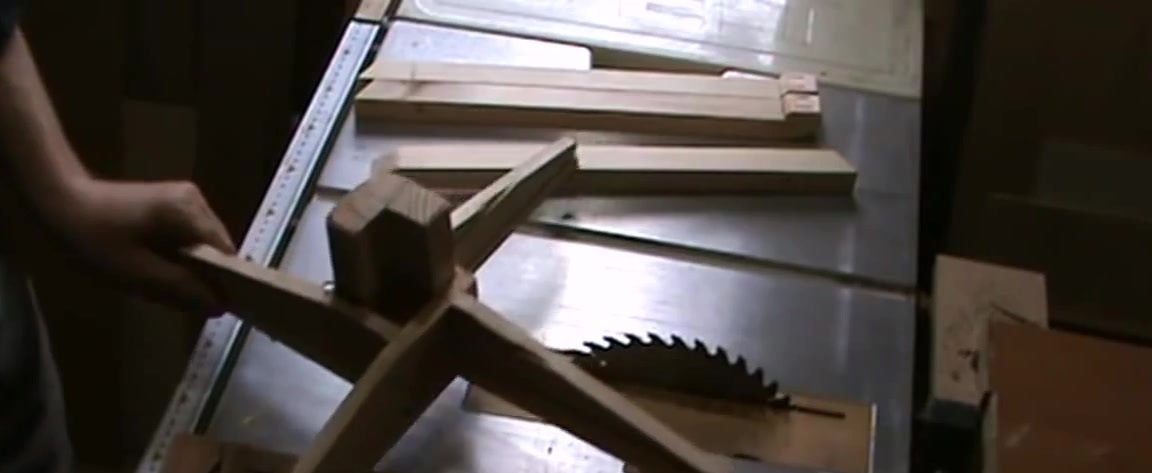
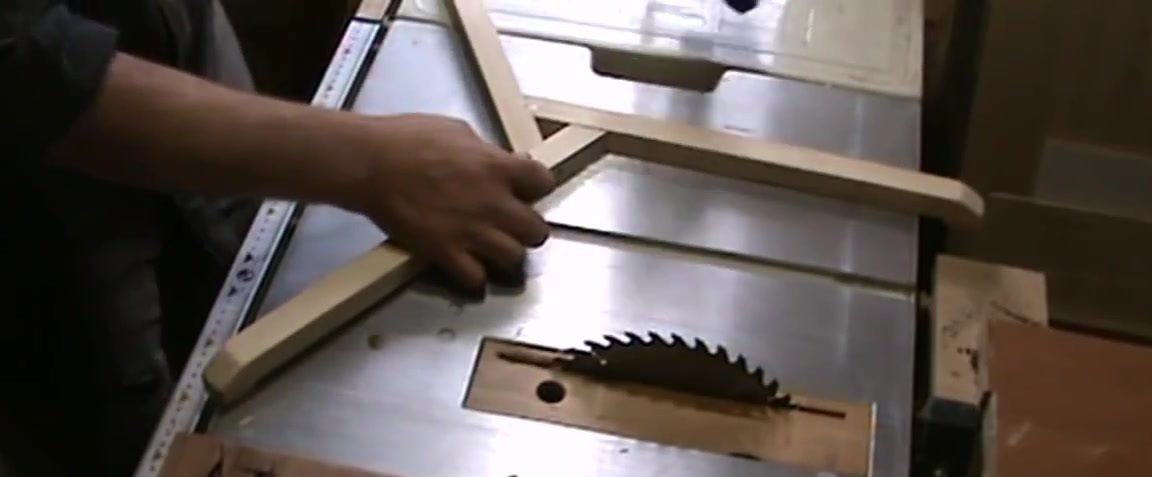
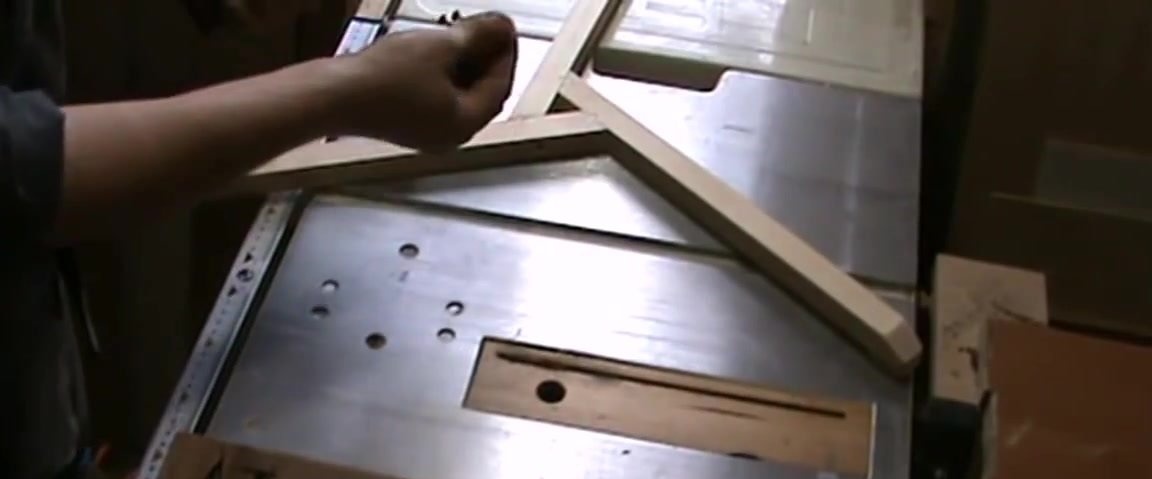
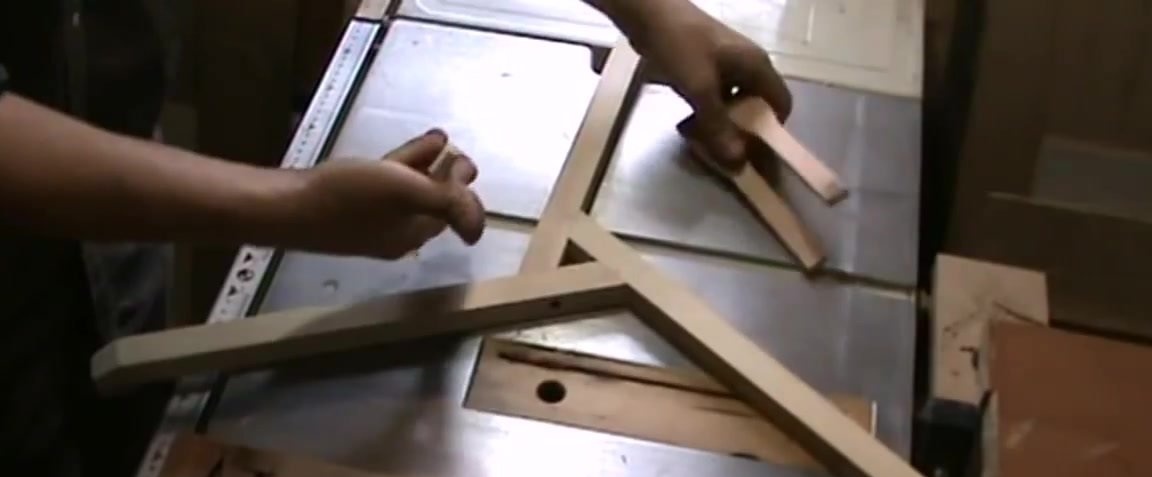
Now we assemble the structure by folding the three legs so that the proposed circle is divided by them into three equal parts. We fix with each other with glue and nails, it is possible with brackets. It is very important to hammer the bracket into the structure so that then, when working, the self-tapping screw does not get into it. After the structure is fixed, we additionally tighten it with self-tapping screws.
We wait until the glue dries and after that we clean the connection.
We install three holders, the ends of which are cut out of the plumbing pipe and are designed so that the rack holds tightly in them.
We fix the holders with glue and staples.When installing the rack, a ring is put on its base, which is then lowered onto the holders, squeezing their ends and fixing the rack.