Every child dreams of an inexpensive and simple camera with an original concept. You can make such a camera yourself. You do not need money or optics for this. Only 20 minutes and your own hands, and the result will exceed all expectations.
You can watch a detailed lesson in this video.
[media = https: //www.youtube.com/watch? v = it_kdaT9sb4]
In order to create a camera without a lens, we need a number of things:
- 2 reels with a film;
- Matchbox;
- PVA glue;
- scissors;
- black insulating tape;
- thin adhesive tape;
- marker;
- a needle;
- ruler;
- stationery knife;
- a piece of a can.
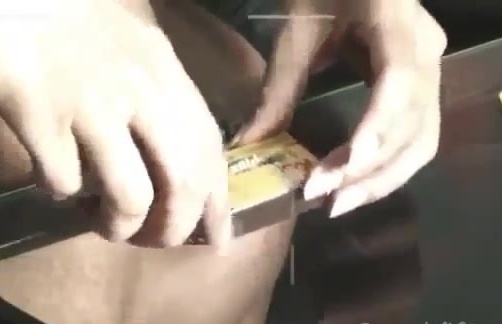
We take the usual box of matches, which can be purchased at any store and remove all the matches from there. We definitely won’t need them.
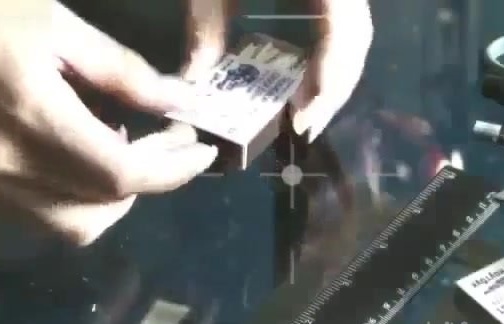
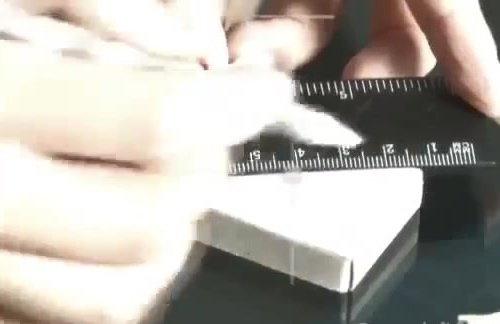
In the bottom of the box, make a small hole 34 mm by 22 mm and paint over the whole with a black marker. The hole should be made exactly in the middle.
In the upper part we will make a small hole of 8 mm by 8 mm.
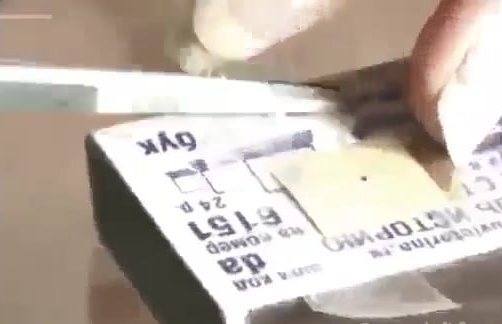
Now we have to make a diaphragm. To do this, we take a small, pre-prepared, square from a can. In the very center we make a small hole with an ordinary syringe.
After that, glue our plate on the boxes with a thin tape. We cut the shutters from the cardboard, which will close the diaphragm. Glue them with PVA glue to the boxes.
Now our box, which will serve as the basis for the camera, is ready. Now we need to make an element that will be connected with the receiving and feeding coil. To do this, we completely remove the tape from one reel, leaving only a small tail, which will be slightly longer than the matchbox in length.
Pass the resulting tail through the bottom of the box and glue it with transparent tape with the tail from the second coil. We insert the main element, which is painted black with us. We twist the coil like this. so that they both snuggled into the box.
To prevent our photos from being lit up, we rewind the almost finished camera with black tape. During gluing, care should be taken to ensure that all of its areas are carefully fixed.
The camera is ready, but it works on this principle.
It is best not to hold in hands, but to put to the surface. You should raise the shutter we made for 5-7 seconds. After that, the shutter is returned to its original position and that’s all, the photo was taken through that small hole that was made with a needle.
If you do not manage to take photos right away - do not despair, a little training and everything will turn out.

