
For most people, the word “repair” causes tremors on the skin. It seems only recently I selected and glued new wallpapers, but today they are already outdated or just tired. Even if after 5-10 years you continue to like wallpapers and by some miraculous coincidence have not gone out of fashion, wallpapers tend to deteriorate (lose color, undergo external factors) in one way or another - they need to be changed again.
We offer you to watch a video where it says where to start repairs
[media = https: //www.youtube.com/watch? v = JGbTznX9BQA]
Where to start the repair?
1. First of all, you need to de-energize the room, just click the switch that goes to the room and that's it.
2. Provide yourself and the children with the necessary protection (hat, gloves, glasses).
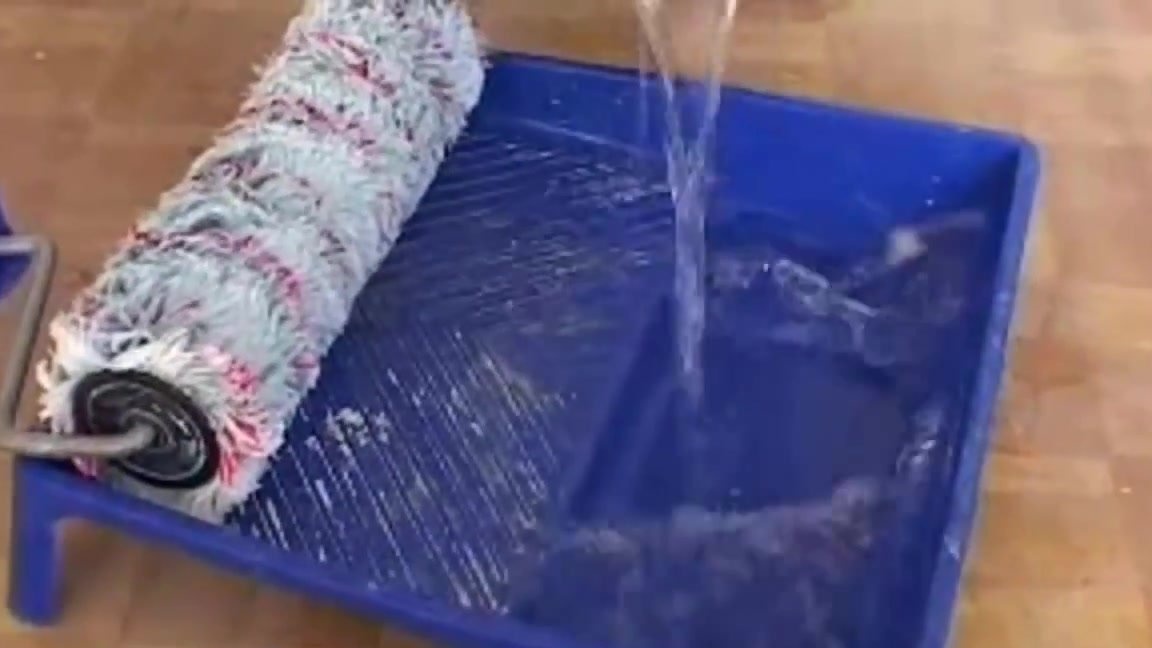
To remove old wallpaper from the wall, we need:
- basin with water;
- paint roller;
- iron spatula;
- stepladder;
- and a great desire to work.
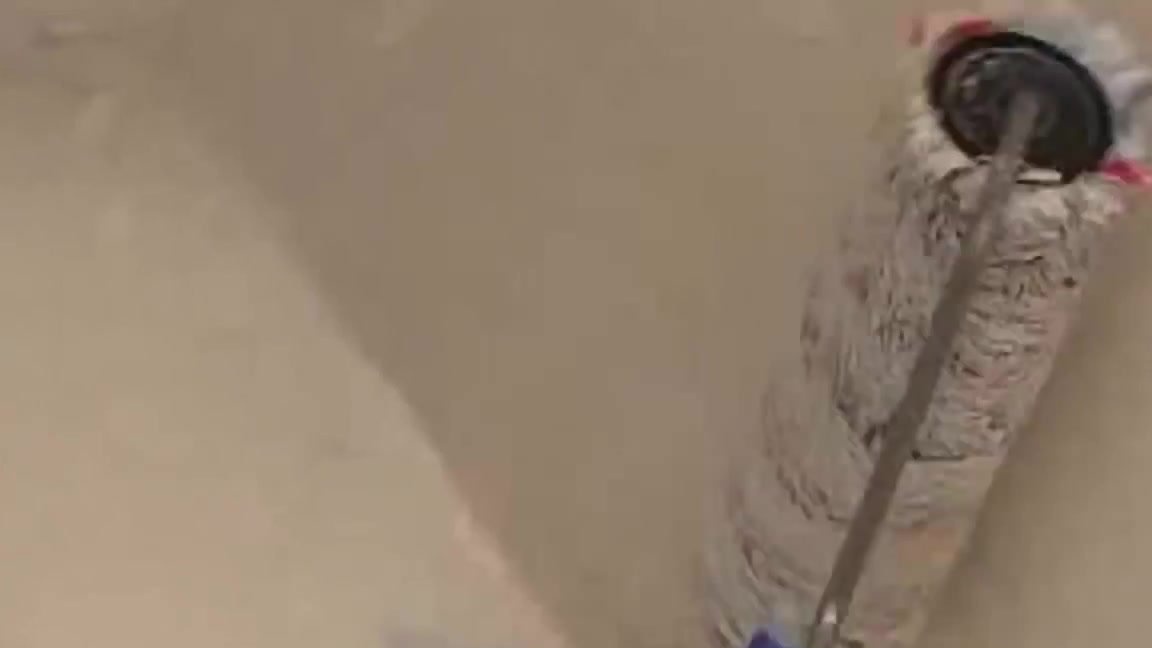
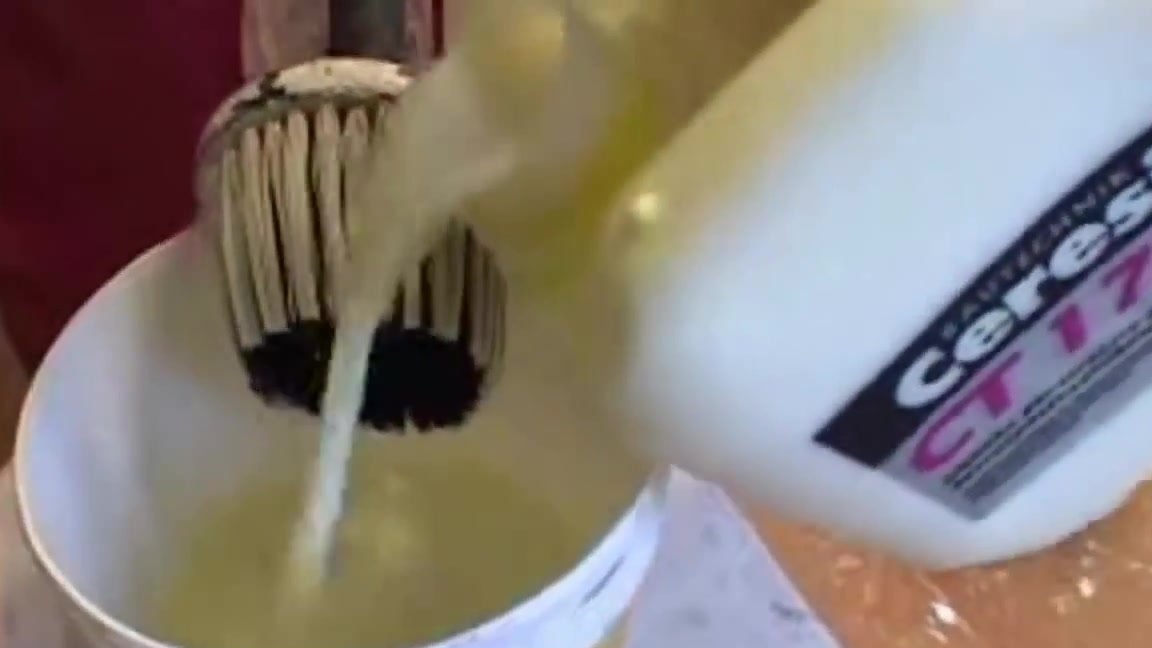
Old wallpaper can simply be liberally moistened several times with water and wait until they themselves begin to fall off, but modern technology does not sleep. You can purchase a special tool, mix in the required proportion of water and apply to the wall. You will save yourself time and facilitate your work.
When the wall is wet and smeared well, you can shoot whole canvases of wallpaper, and if the wallpaper is still poorly shot, it means that multilayer wallpapers, such as vinyl or silk-screen printing, are very poorly saturated.
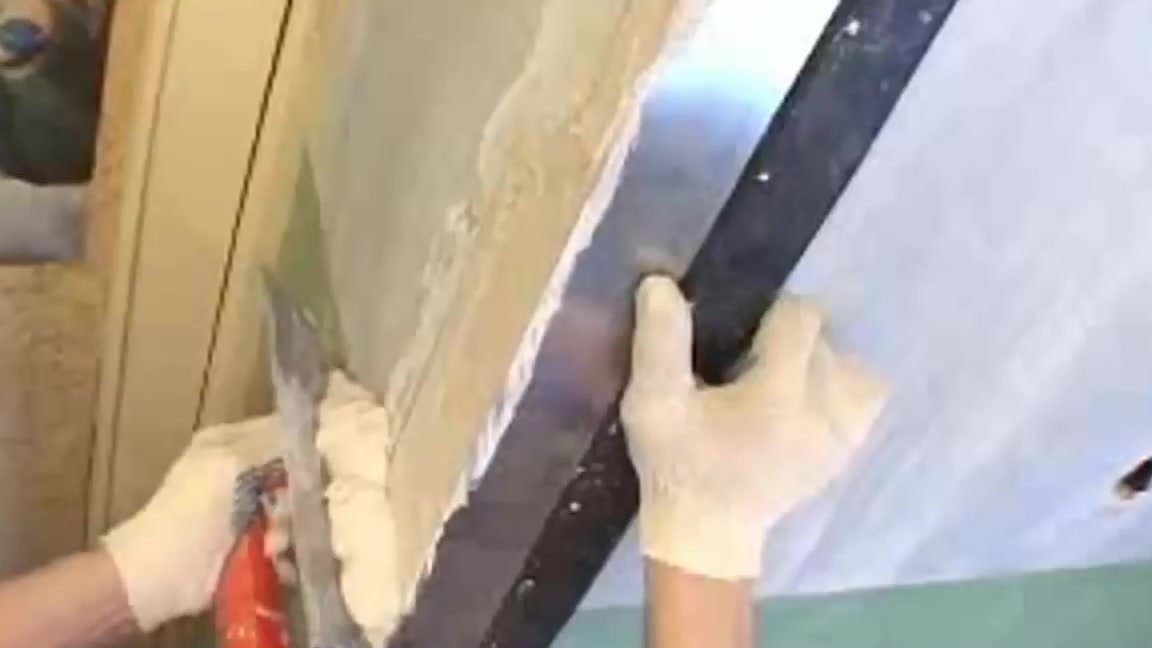
In this case, you need to remove the top layer of wallpaper with a spatula, the second layer that remained on the wall again to smear with water and peel off with a spatula again. It is impossible to make a good repair if the remains of wallpaper remain on the walls, and the plaster is already starting to fall off.
When the old wallpaper is removed, do not rush to glue the new ones right away, it is important to do 3 more mandatory operations: primer, plaster, wall putty.
The first step is to apply a primer. In those places where the primer dries instantly, we apply it to the walls several times. In hard-to-reach places, the wall is primed with a brush, in the rest - with a roller.

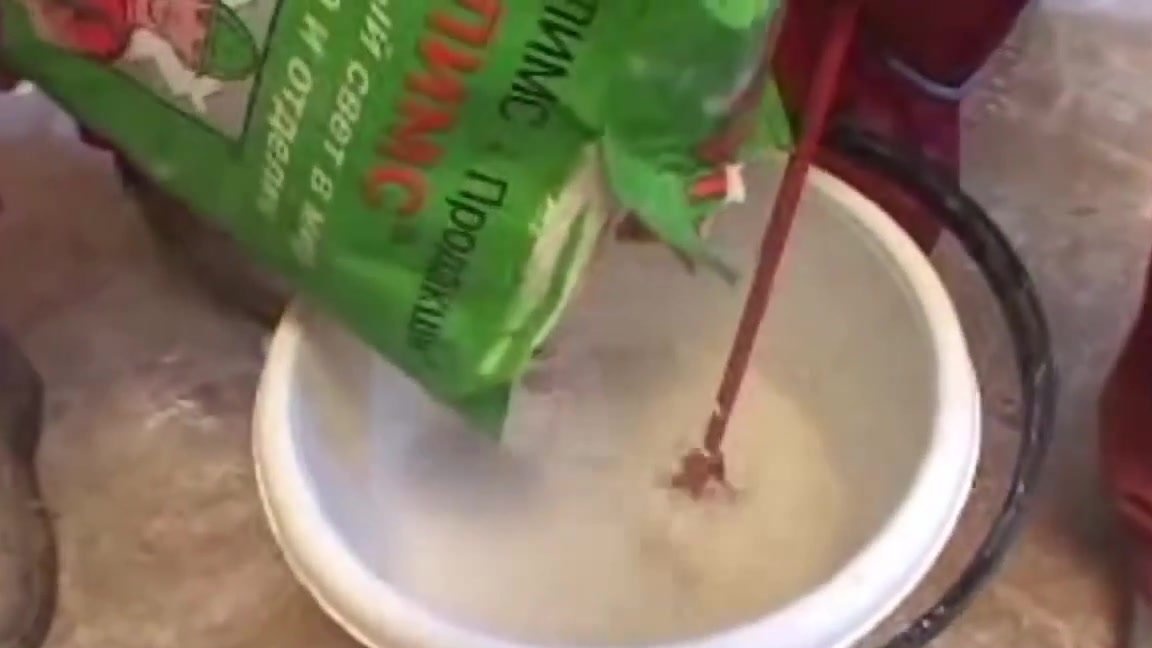
Now it’s the turn of plaster.We carefully follow the instructions and breed it in a bucket in small portions. To make the solution well mixed, use a low-speed drill with a mixer nozzle.
The solution should be applied on the wall with a thin layer, if the layer is thick, then it will crack when dried.
Let the plaster dry. Drying time depends on the thickness of the layer you have applied.
Now proceed to puttying. You can buy a dry mixture, which must be diluted with water or a ready-made putty in jars or buckets and immediately get to work. Hard putty is not applied in a thick layer.
Now we fix everything with a primer again. Also, the primer serves as an antiseptic.
Everything can now be glued wallpaper, lay down tiles or even paint the wall.