
We continue to use the old 12 gram CO2 cans for making homemade. We bring to your attention a new material that smokers and collectors will especially like, since we will produce a lighter.
As always, the first thing to watch is the author’s video on making homemade products, after which we will try to repeat the whole process with our own hands.
So, what do we need:
- used spray can of CO2
- file;
- sandpaper;
- a wheel from a lighter;
- flint;
- wick.
We take one can of CO2, which we will use as the basis for our lighter. First, we need to make threads on the top of the can to ensure maximum tightness and reduce the loss of gasoline in the lighter. To do this, the author uses the machine, but if it is not, you can use thread-cutting tools.
The thread is slightly corrected with a file and sandpaper.
The next thing we proceed to manufacture the cap for our lighter. To do this, simply cut off the bottom of the can.
It is also necessary to make a thread on the lid of the lighter so that the lid is screwed onto the base, and we have achieved the desired effect.
At this stage, it is advised not to rush and periodically check the correctness, as well as the conformity of the thread, so as not to do it all over again. If the thread fits, but the lid is screwed tight and not completely, then you need to slightly deepen it. The reason may also be shavings, which often do not immediately come out after cutting.
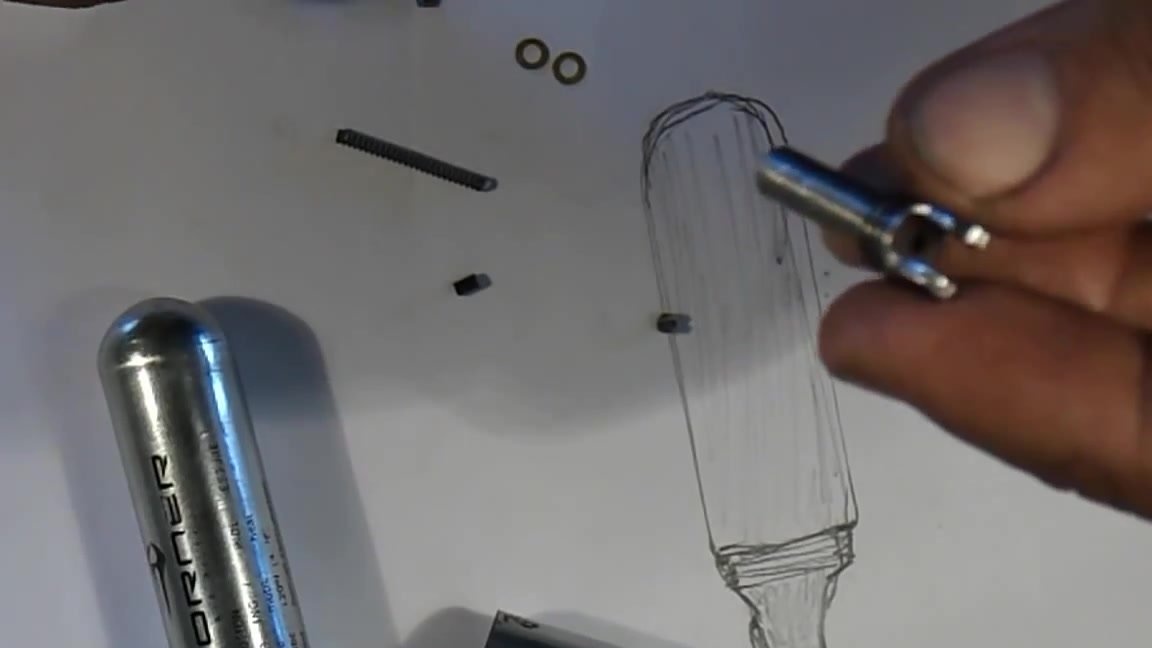
The next step we need to make a mount for the lighter wheel, as well as install the wick.
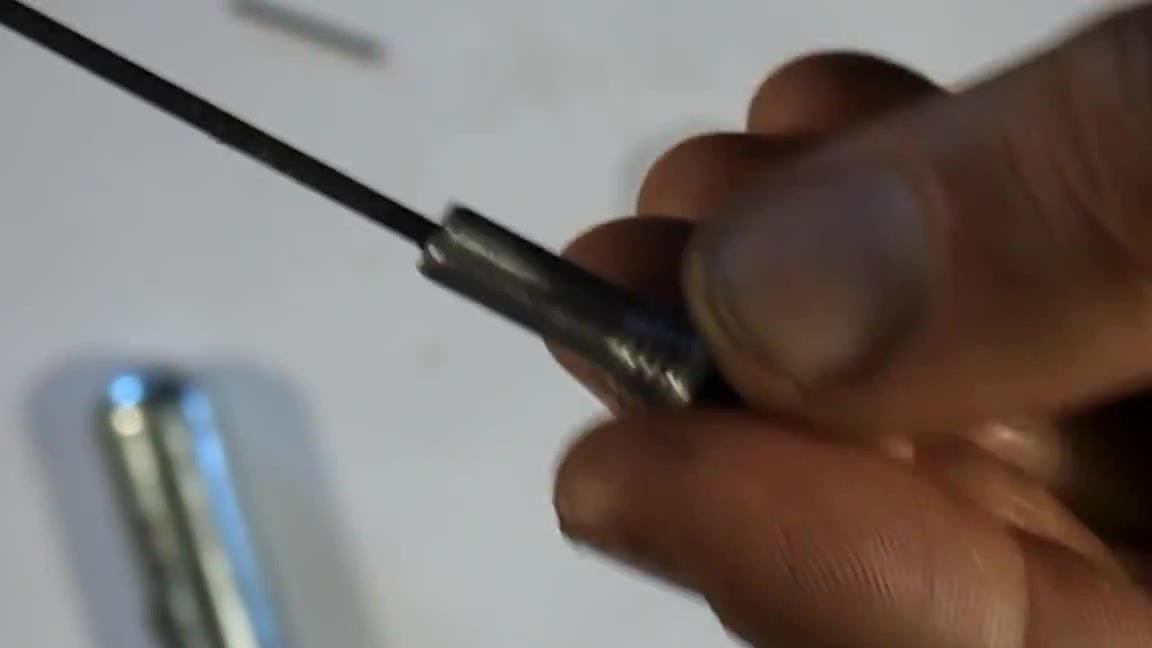
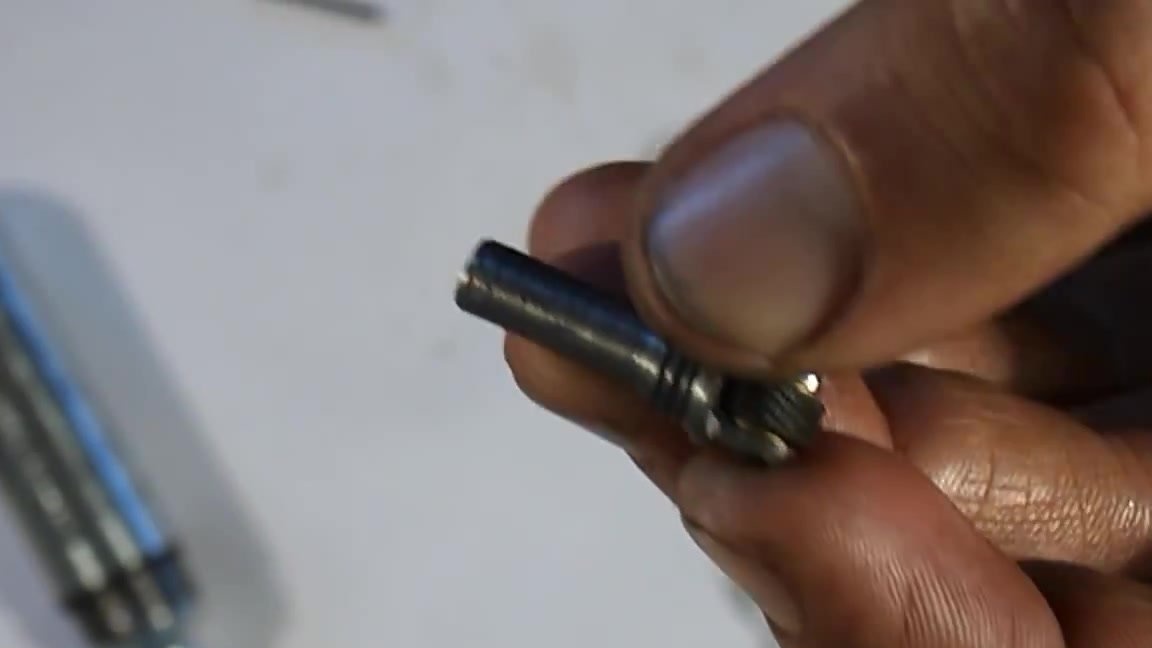
Take a blank for the diameter of the neck of the can. A wheel and flint will be attached to this blank. To ensure that our lighter is not disposable, and we have the opportunity to replace the old flint with a new one, the author also recommends making a thread on the workpiece, as well as making a through hole for flint on it.
The next step is to cut the thread on the spray can, so that you can wind the structure with a wheel and flint there.
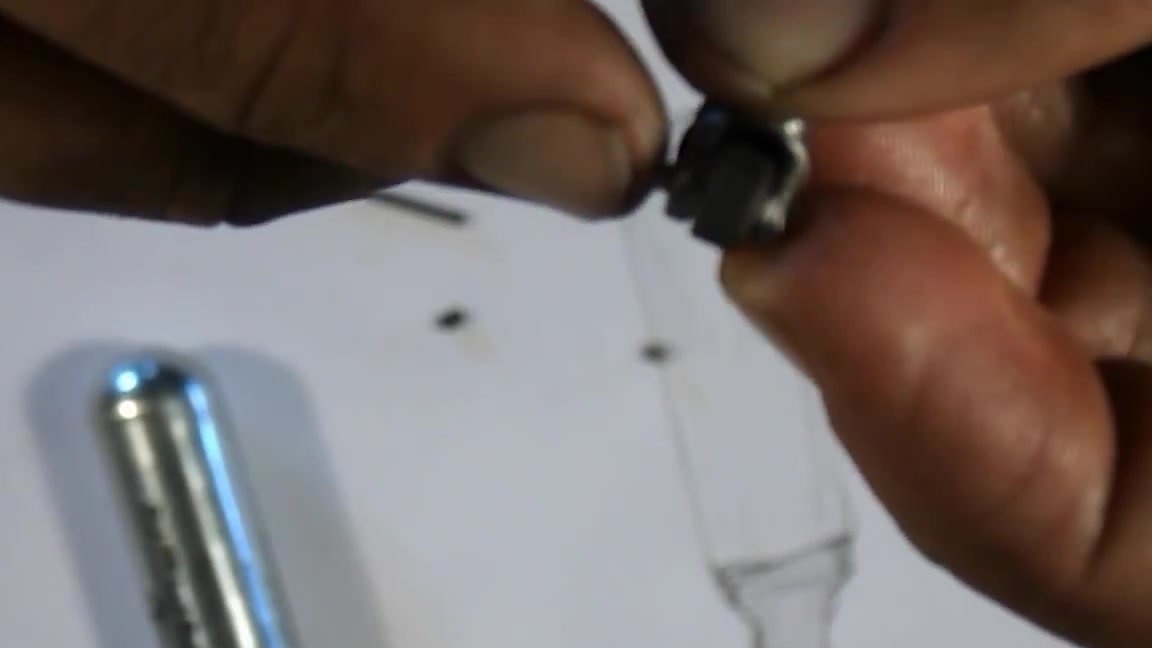
All blanks are ready, which means that you can start assembling our lighter. We insert the wheel in its place and splint it. Between the wheel and the design, the author puts two gaskets so that the wheel spins smoothly and without the need to use force.
Since a through hole has been made on the structure, flint can be installed from the bottom without having to remove the wheel. We insert flint and spring and fix it with a plug.
Next, we install a gasket based on the lighter to provide even greater tightness.
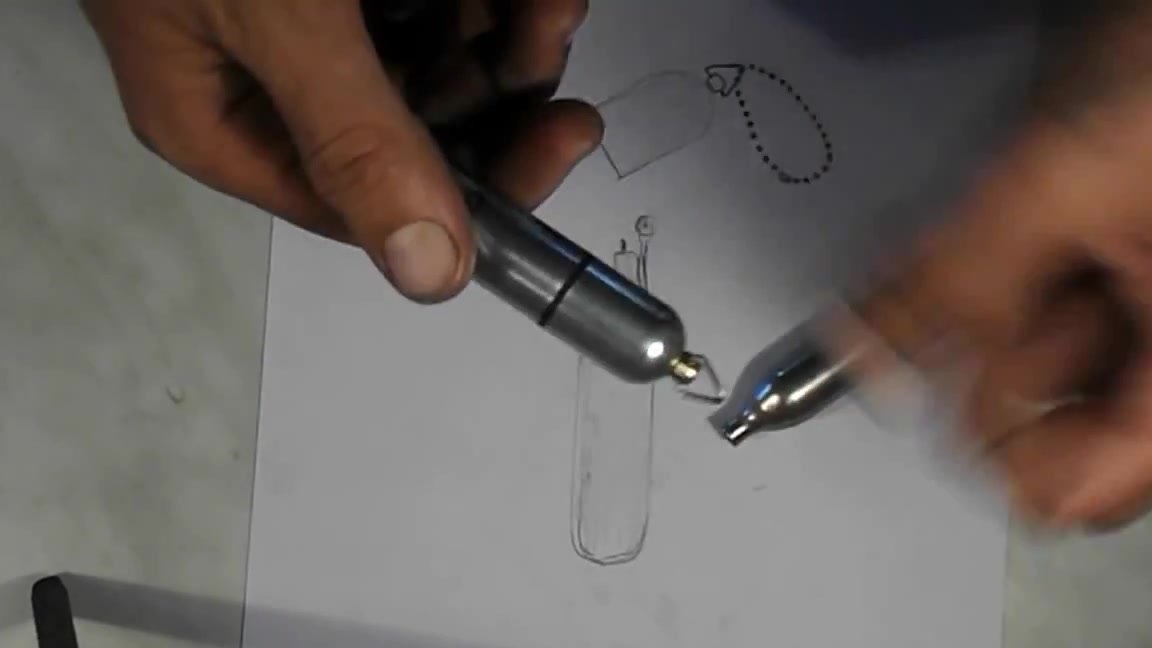
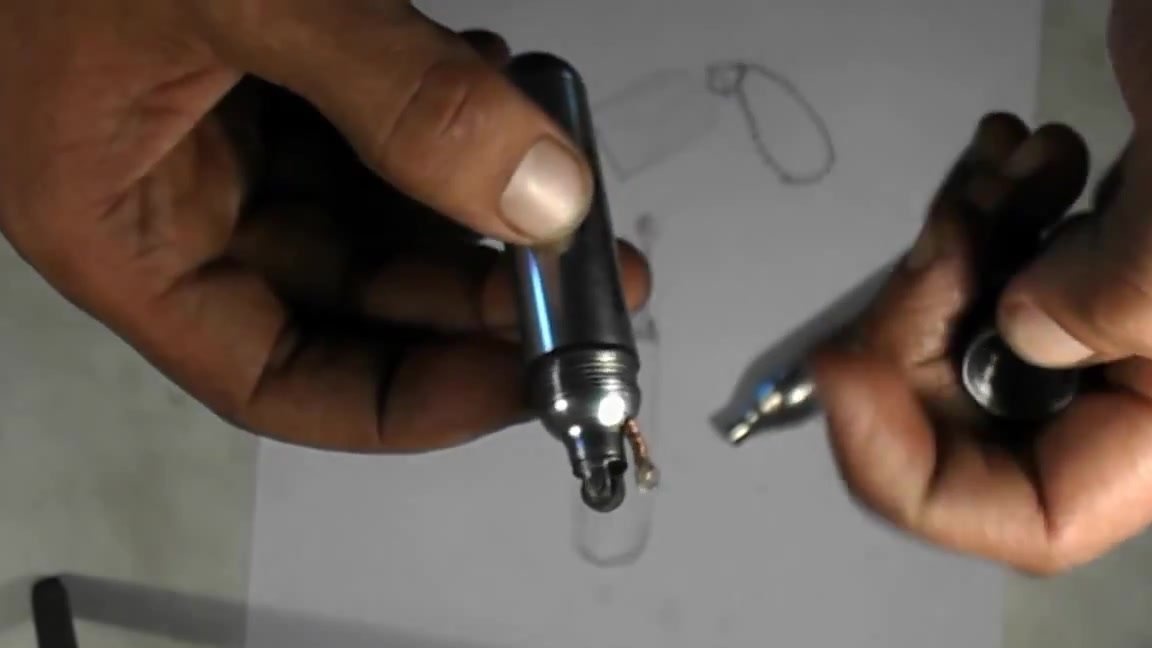
Finally, we make another hole on the top of the lighter base to push the wick through it. We wind a copper wire on the wick.
On the roof, you can install the eyelet for the chain, which will give the lighter a more beautiful look.
For refueling, you just need to unscrew the upper part with flint and a wheel.
Our lighter is ready. It remains only to fill it with gasoline and enjoy your own work.
