Laptop owners often face a problem in the hinge shaft area. Over time, it loses its factory appearance and simply collapses. It would seem that the only way out of this situation could be a trip to the service center, but we will consider a video in which the entire process of laptop restoration is described in detail and we learn how to do this in home conditions.
So, let's see how the author of a useful video material does it, after which we will repeat everything ourselves
What do we need:
- a metal plate 0.7 mm thick .;
- cardboard for the manufacture of the template;
- epoxy adhesive;
- epoxy resin;
- screwdriver;
- paint;
- silicone;
- plasticine;
- acrylic;
- toothpicks.
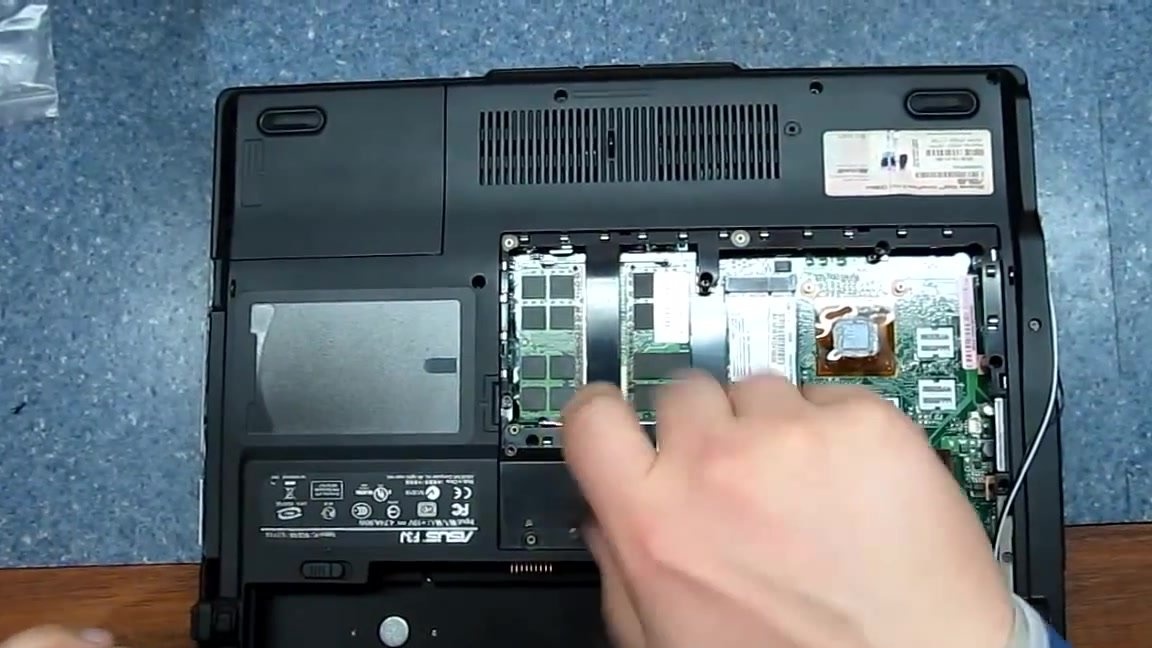
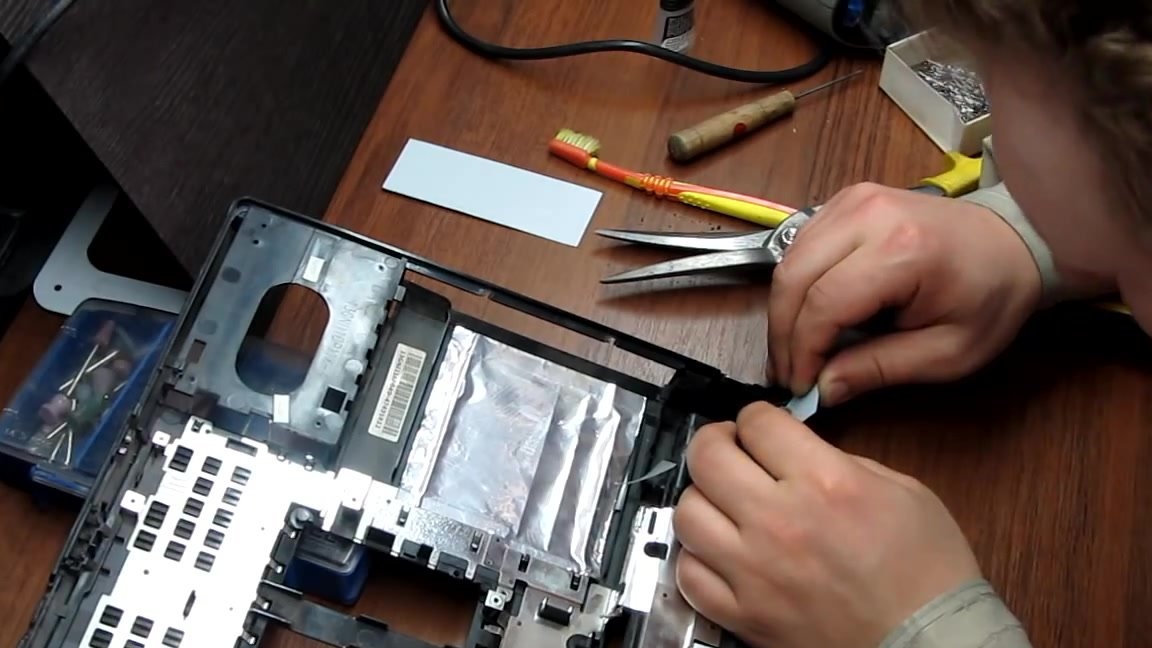
First of all, we need to disassemble the laptop and remove its lower part.
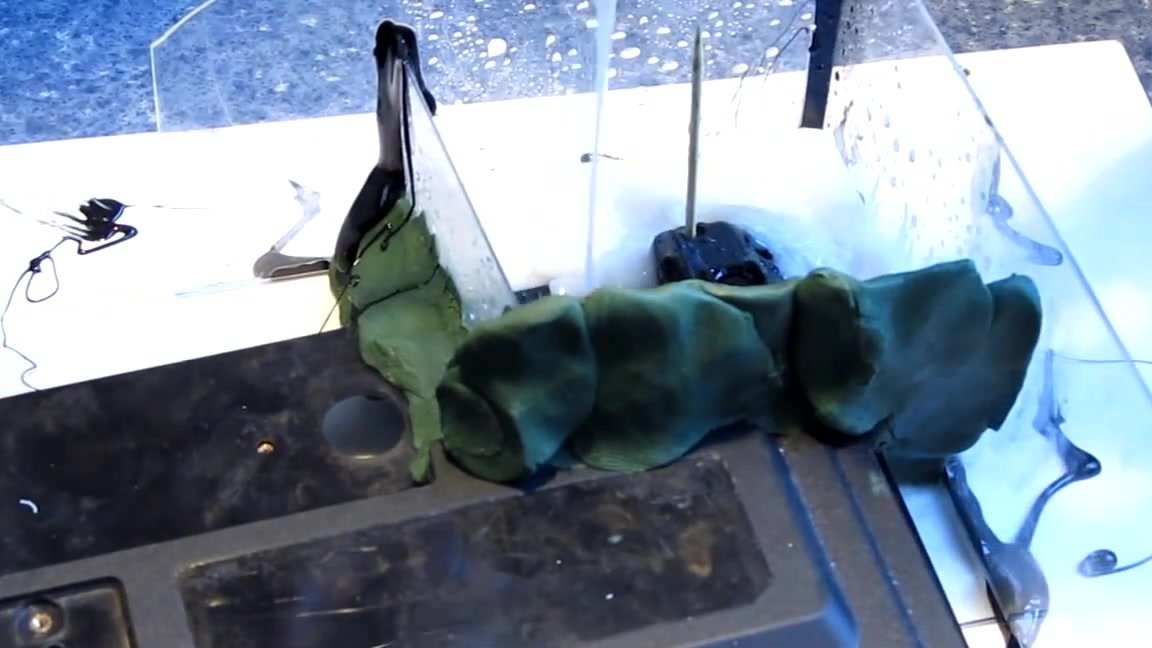
Next, we take the silicone and take an impression from a more or less integer part of the laptop case. To do this, we take plasticine and acrylic, which we use to make molds. We close all openings with toothpicks.
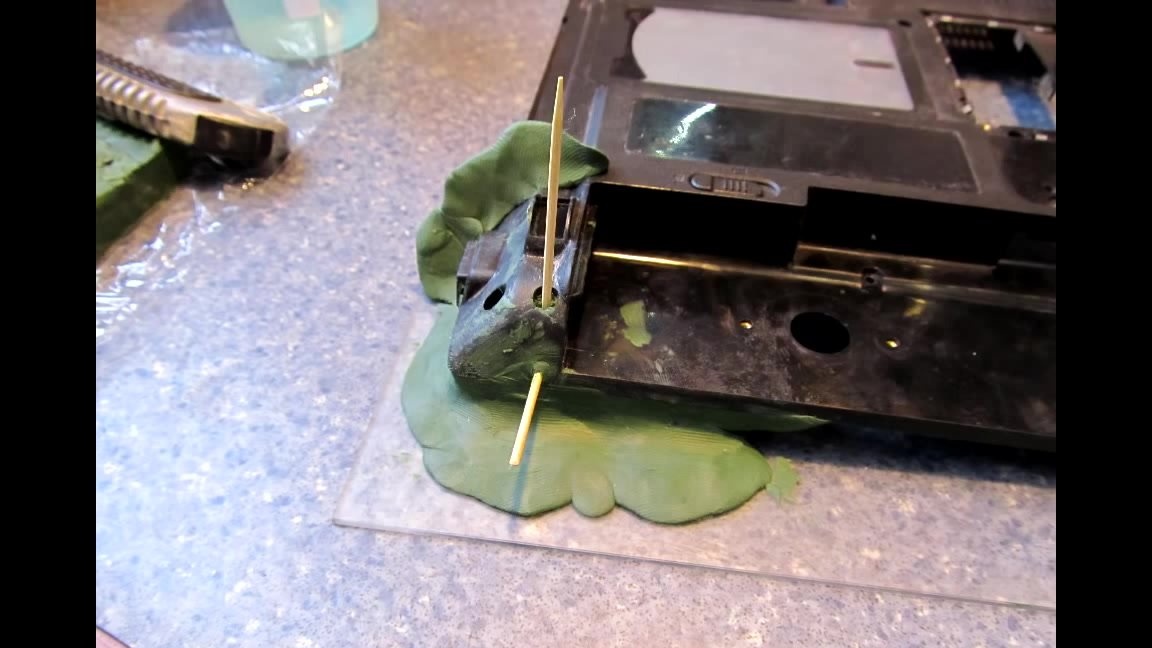
Before pouring silicone, the walls of the mold and the case of the laptop must be lubricated with medical glycerin so that it is possible to separate the case from the silicone. Silicone is poured in three sets with an interval of 60 minutes.
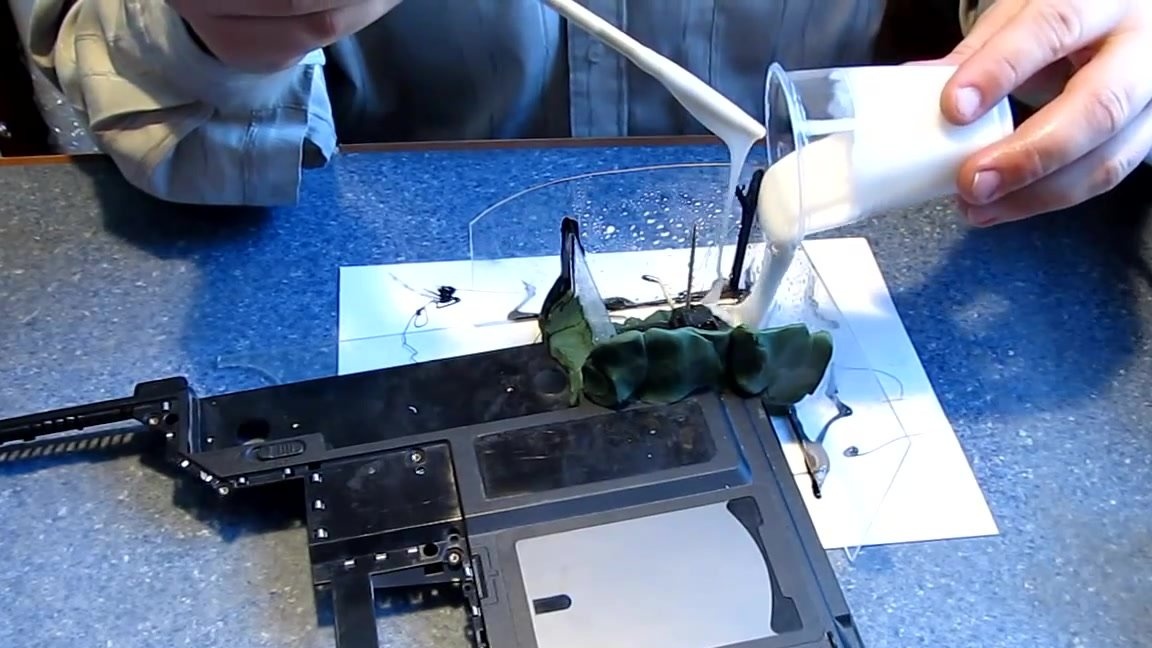
When the silicone has cooled, release the resulting mold.
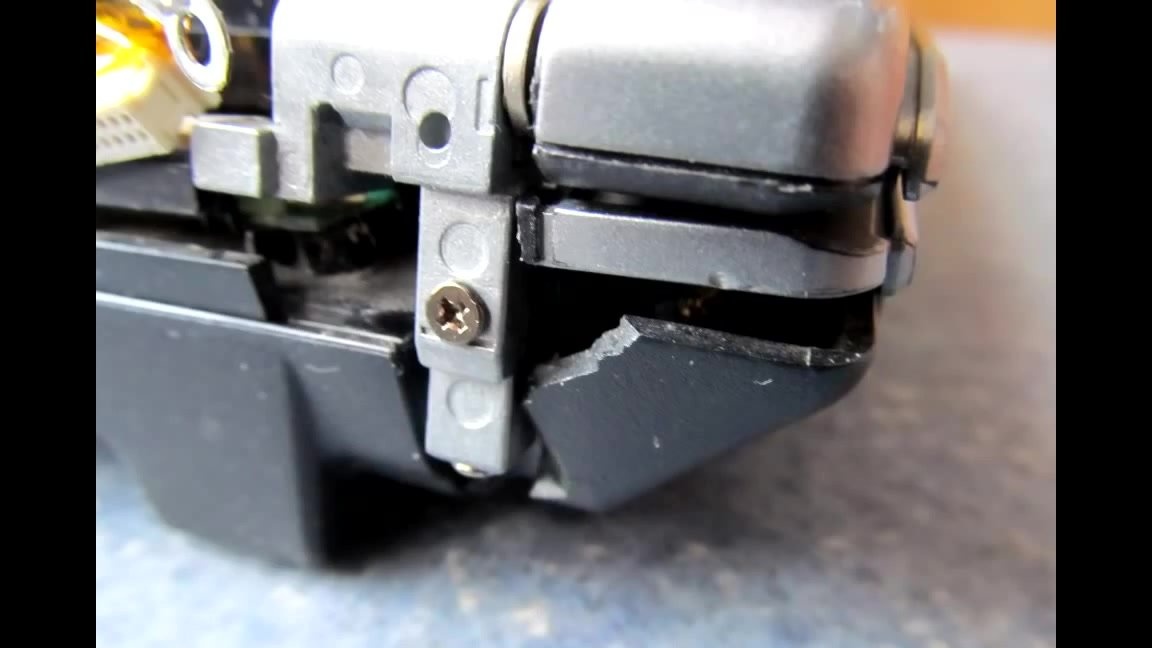
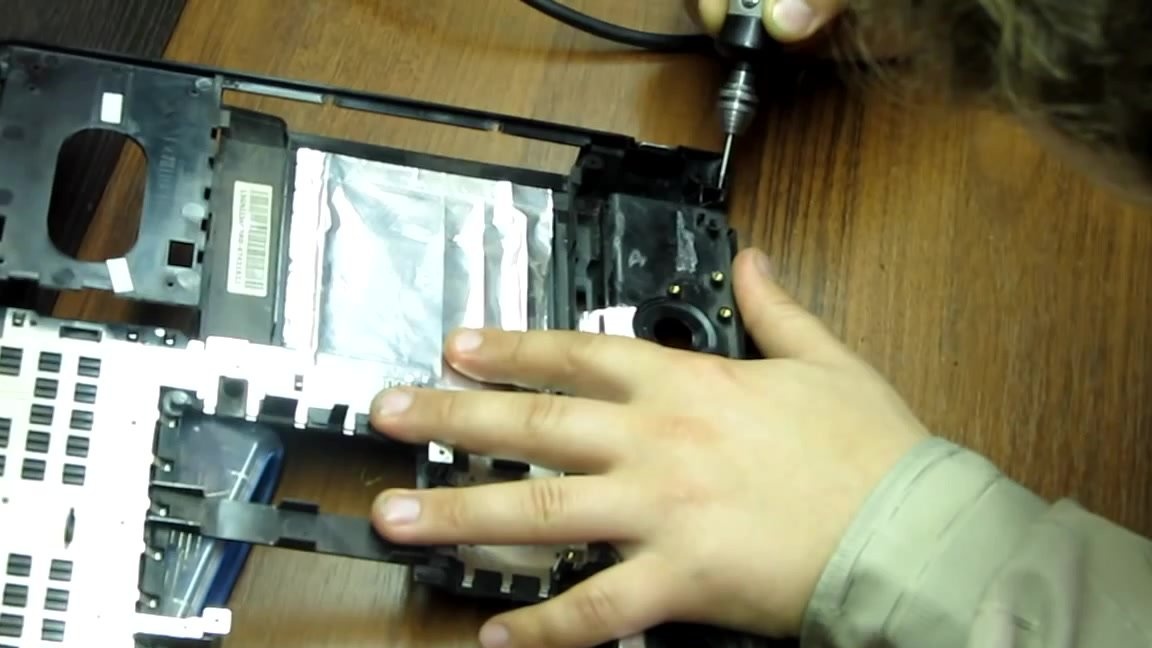
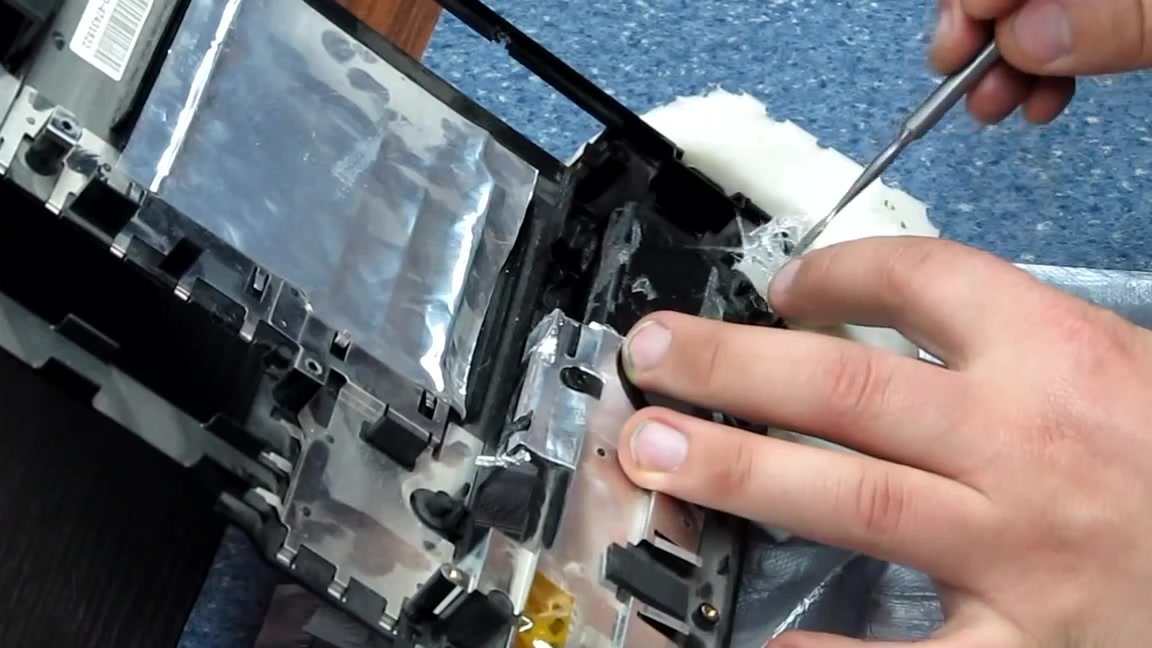
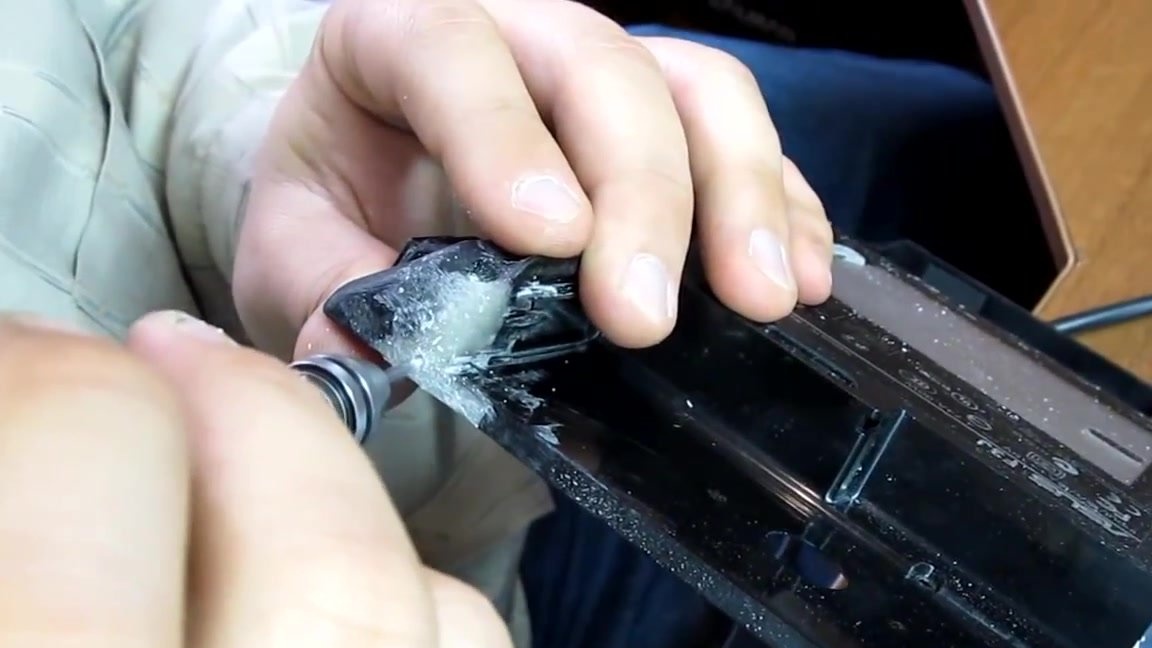
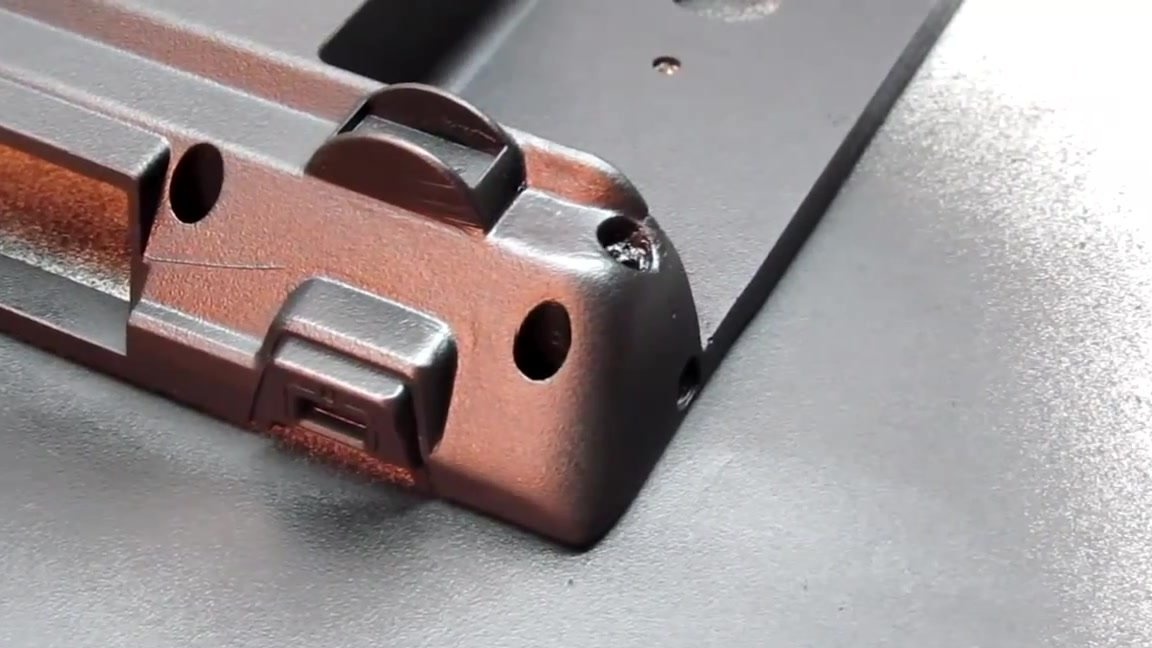
After taking the impression, we can begin to prepare the laptop case for gluing. To do this, we grind the side wall of the loop shaft with a dremel. Instead of this wall, we will get a metal plate, which we will later produce by cast. It will also cover the missing part of the back wall of the loop shaft.
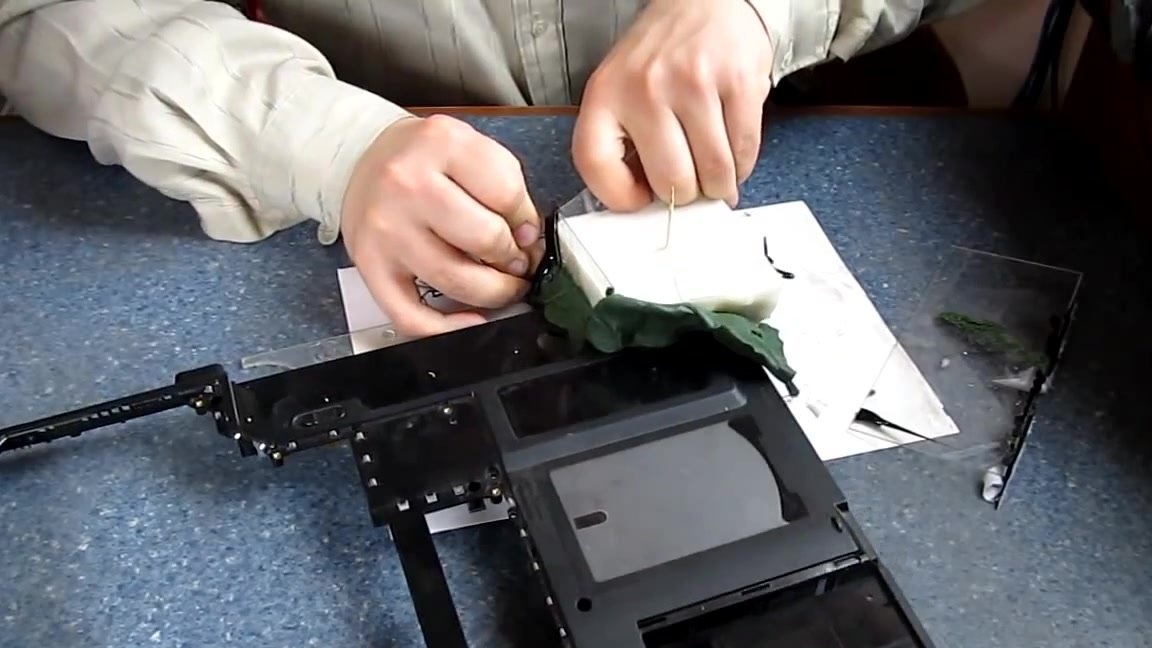
Next, we glue the cracks in the plastic using cyanoacrylate glue, so as not to be distracted by them later, when we glue with epoxy glue.
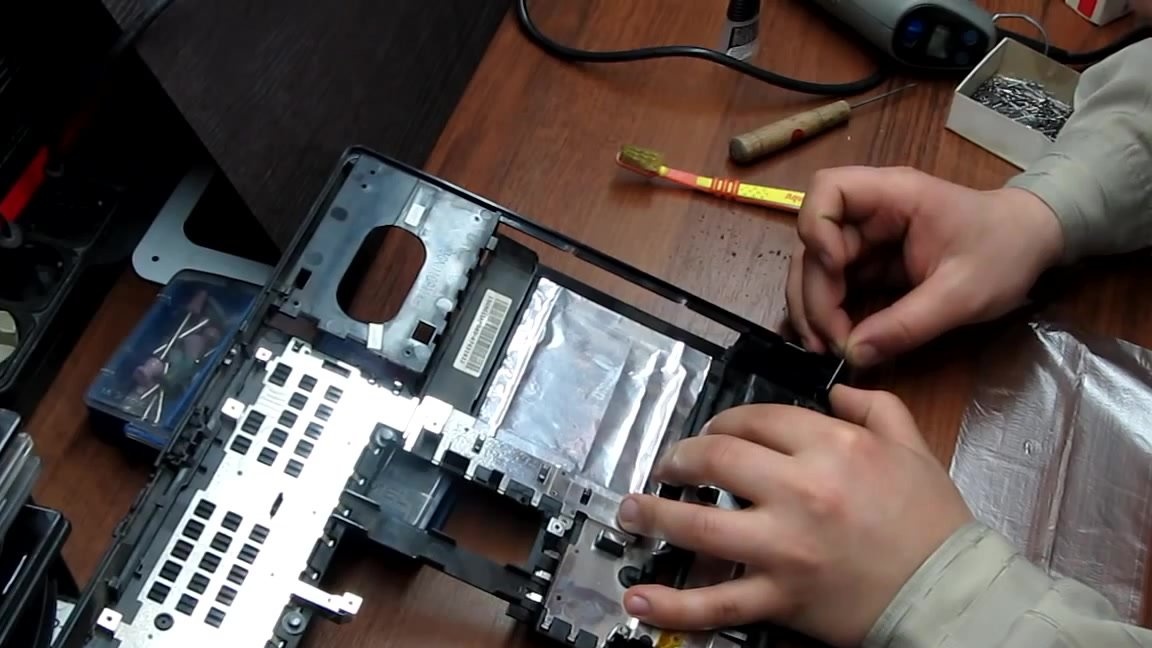
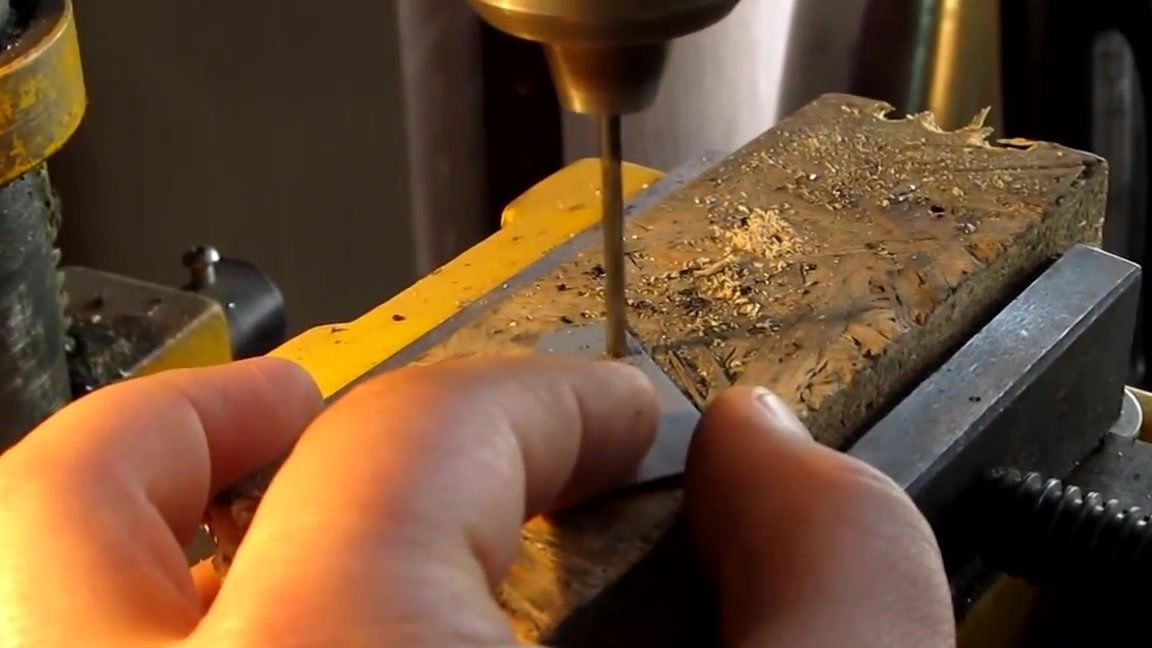
Next, we cut out the metal plate according to the template and adjust it to the shape of an angle. Also, be sure to check for coincidence of the plate and the loop of the shaft. The metal plate should be marked for drilling holes through which a fixing screw will be screwed into the back.
We drill a hole in a metal part.
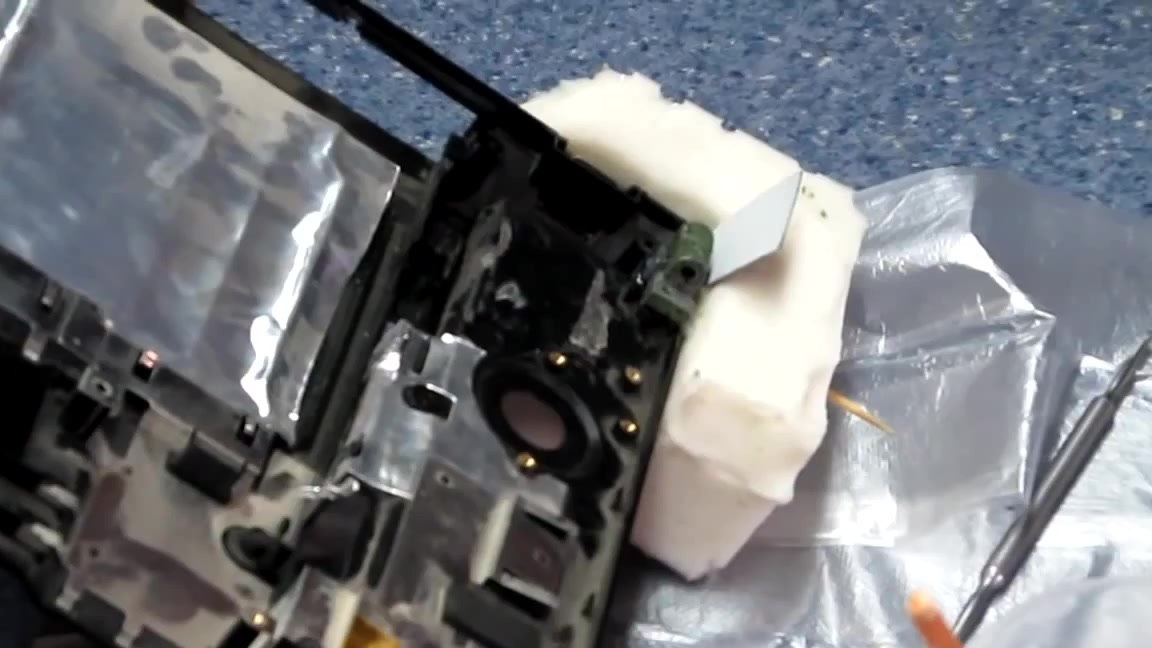
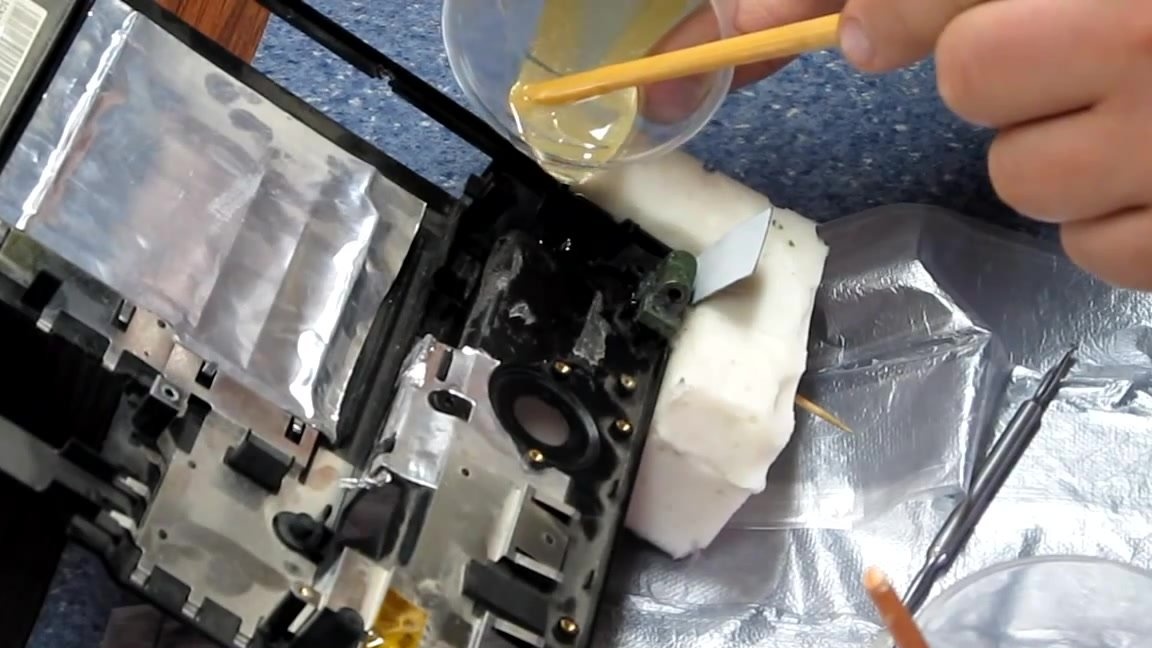
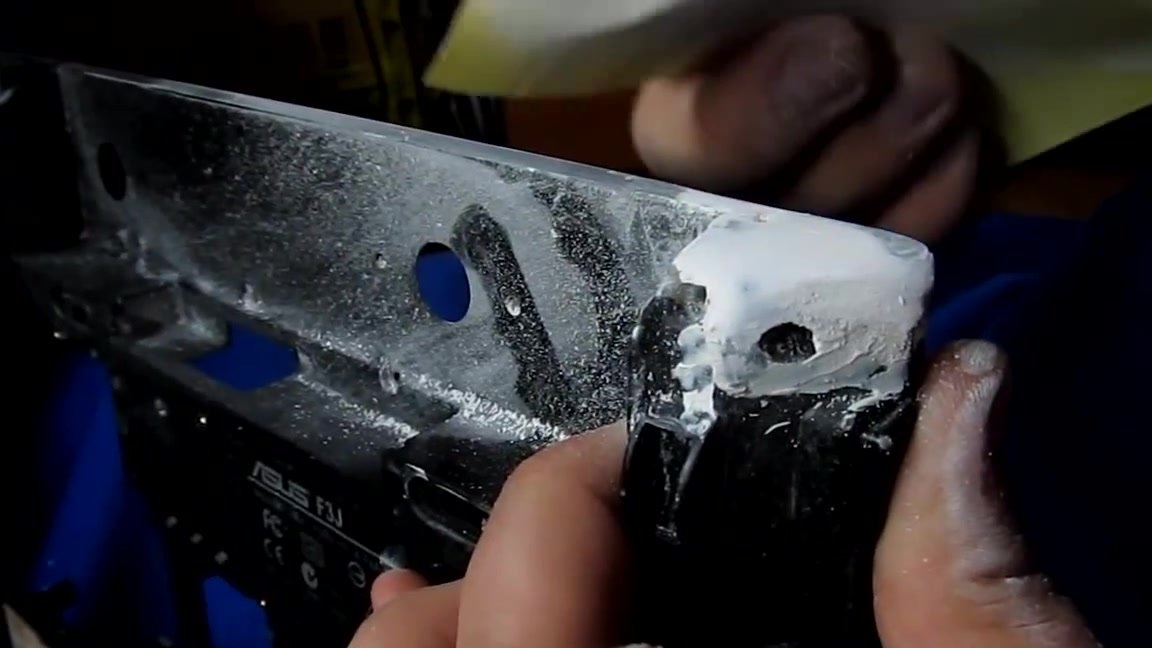
We insert our silicone mold and see how much plastic is missing on the case.The missing part of the plastic can be filled with a mixture, which is obtained by mixing epoxy resin and fiberglass. The mixture must be thick so that it can be accurately distributed throughout the body.

When the glass fiber is distributed, a metal plate can be inserted.
Next, insert the loop, which is pre-lubricated with silicone resin so that it does not stick to the epoxy. We penetrate the loop through the through hole in the metal.
After all that has been done, fill with epoxy glue. The case must be placed at such an angle so that the epoxy glue can fill the entire corner.
After 24 hours, remove the form.
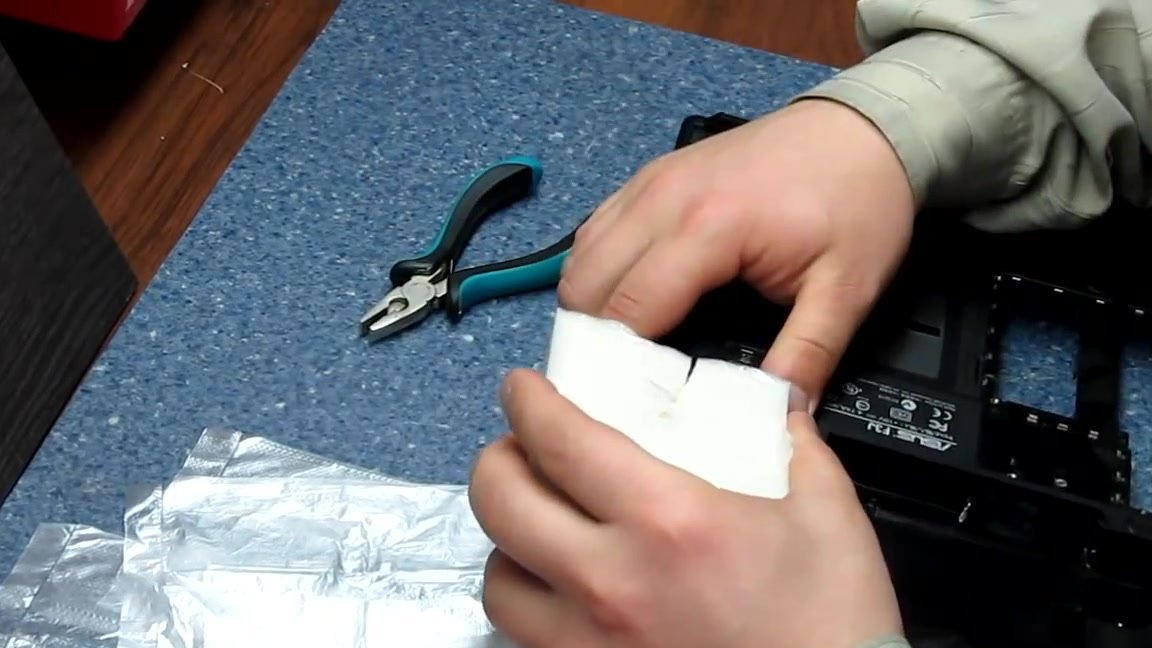
Using a dremel and a cutting disc, we cut off the excess part of the metal plate.

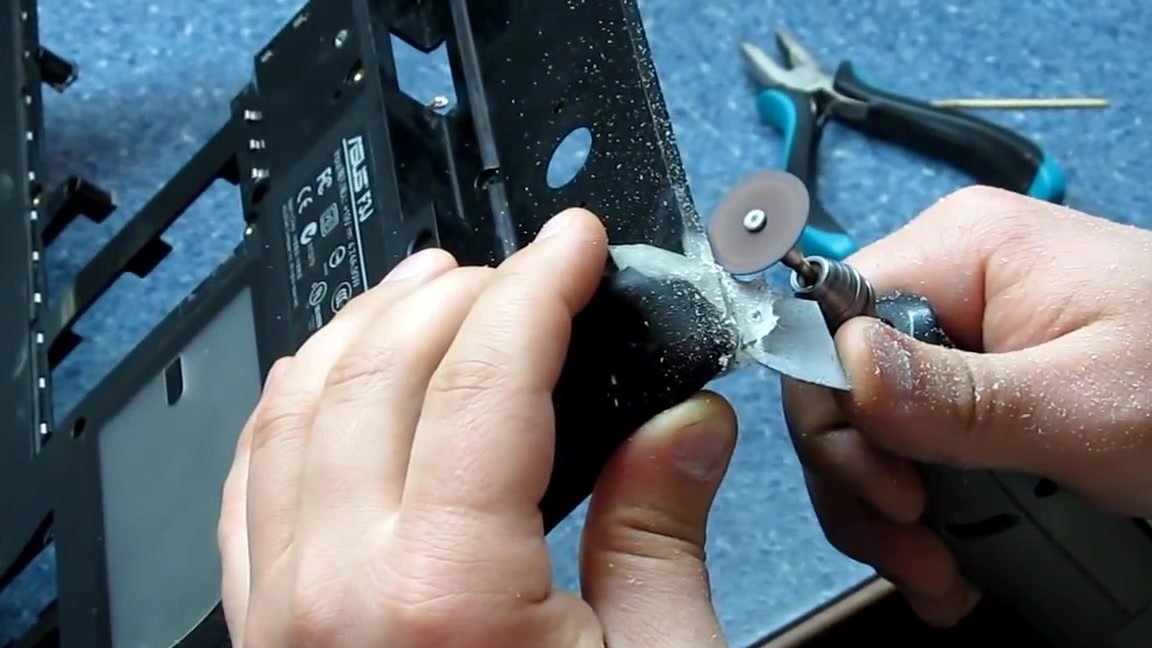
Next, align the body with a dremel and an emery head.
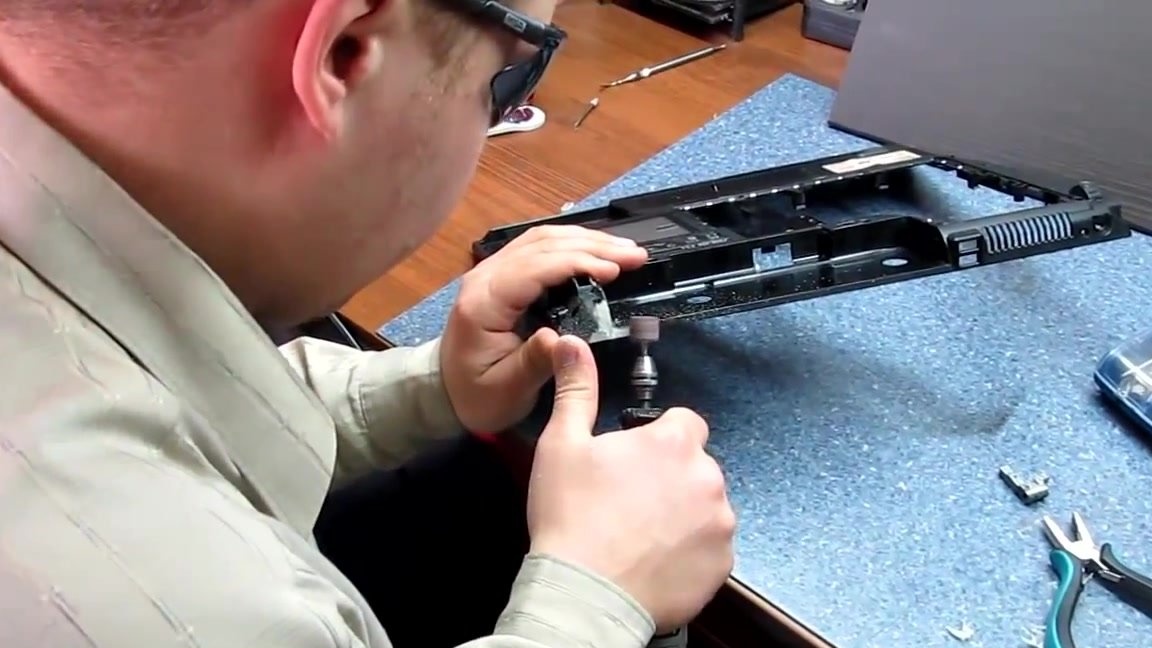
We level the case with putty and process it with sandpaper.
Next, degrease the part and prepare it for painting.
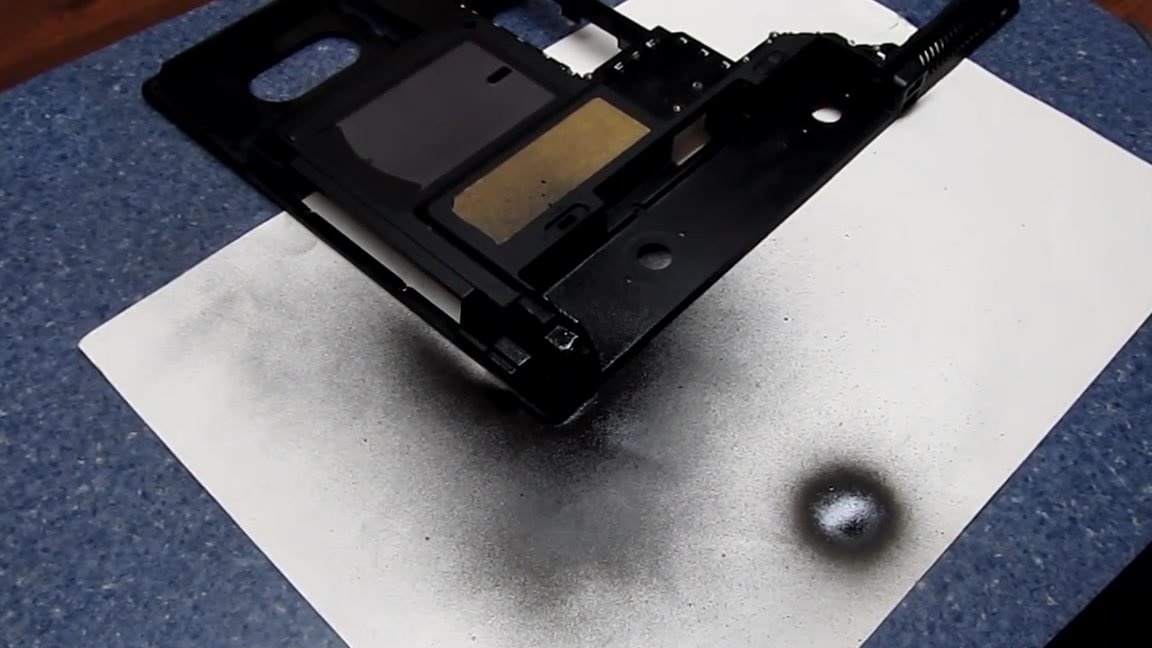
We spray paint with two layers with an interval of 20 minutes.
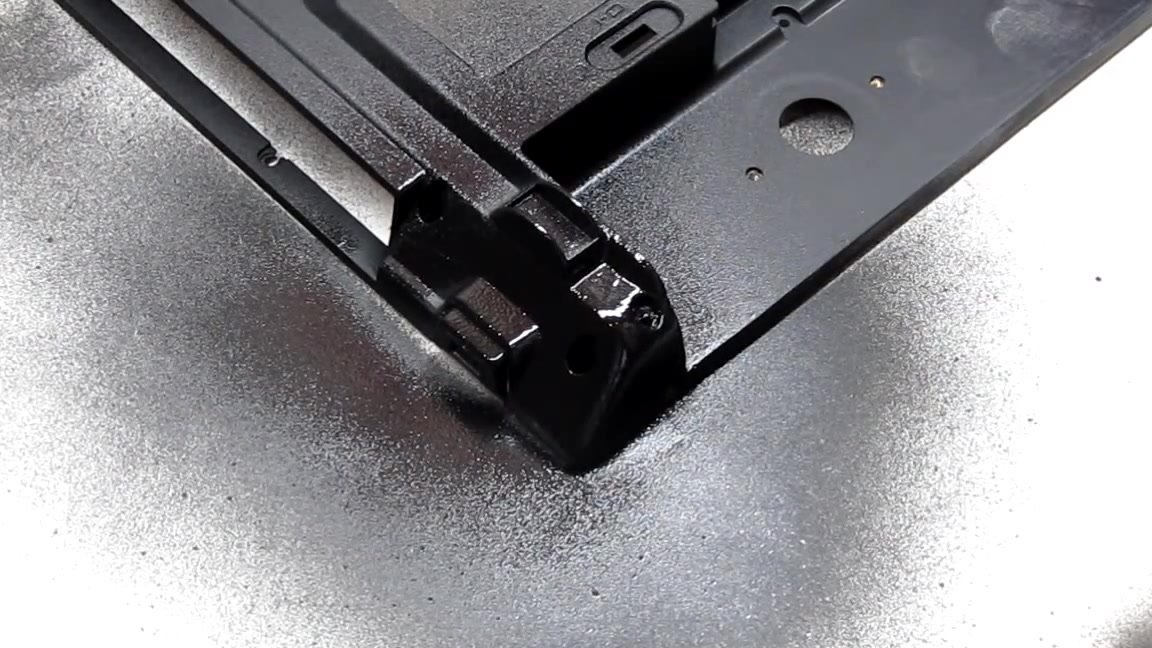
Next, paint the third layer, which is applied from a distance, so that the texture of the plastic is obtained.
Now you can build a laptop.