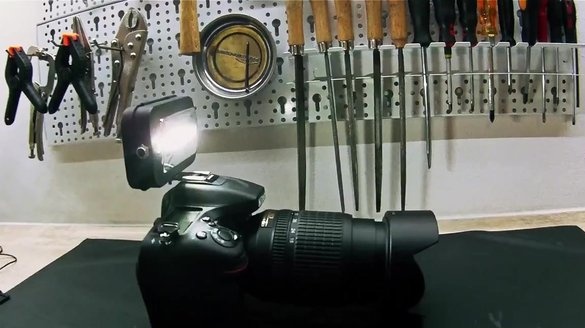
Video enthusiasts often encounter a problem when they want to shoot video at night and in places where there are no spotlights and light sources, for example, in nature. For such cases, on-camera spotlights are designed that mount directly to the cameras and allow you to shoot video even in poor lighting conditions and even in its complete absence. Fortunately, we found material that shows the process of making on-camera light in home conditions.
First of all, we suggest you familiarize yourself with the process of manufacturing an on-camera spotlight in a video
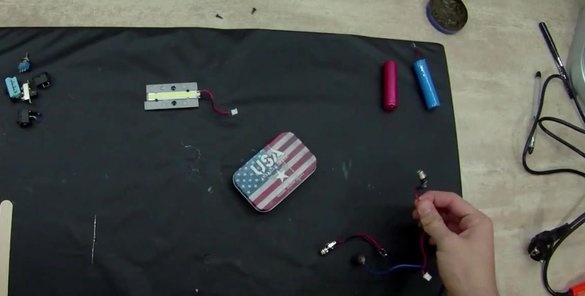
We will need:
- LED COB 3.7 in .;
- battery 3.7 v .;
- switch;
- digital voltmeter;
- 10 ohm resistor;
- box of Altoids;
- wooden spatula.
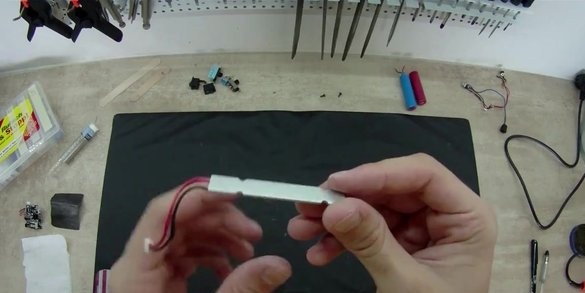
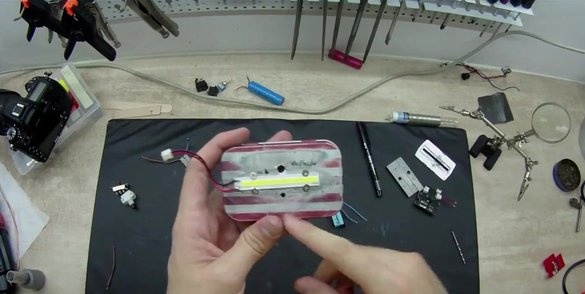
We will use a wooden spatula as a stand under our mini spotlight. As for the LED, the author uses the so-called COB Led, which is a long LED in the form of a tape. Everything is clear with the materials, and this means that you can begin to manufacture a searchlight.
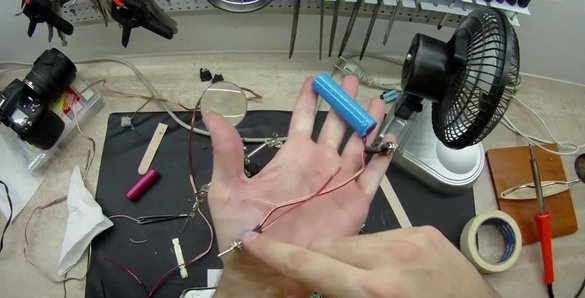
First of all, you need to deal with the first problem: the essence of this problem is that the batteries that we will use for our searchlight, although they are 3.7 volts, however, when fully charged, the voltage in them reaches 4 volts, which is a lot for our LED. The problem can be solved with just one 10 ohm resistor.
We remove the LED from its metal shell. Such LEDs, as a rule, are produced on metal boards, and this, in turn, indicates their heating.
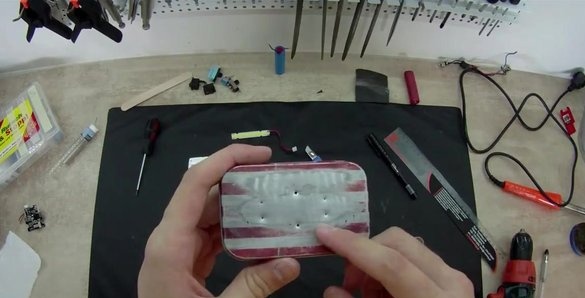
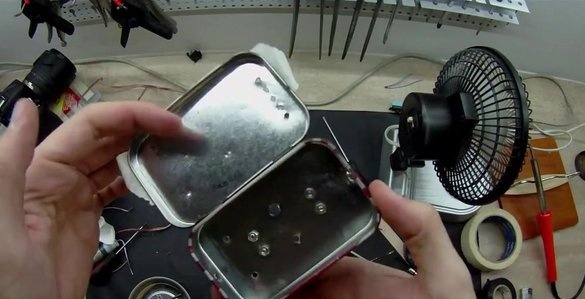
Next, we prepare the box for installing the LED. To do this, we erase the paint from it and mark the places for drilling holes for the mounting bolts.
We drill holes and install a reflector on the bottom of the box to improve the glow.
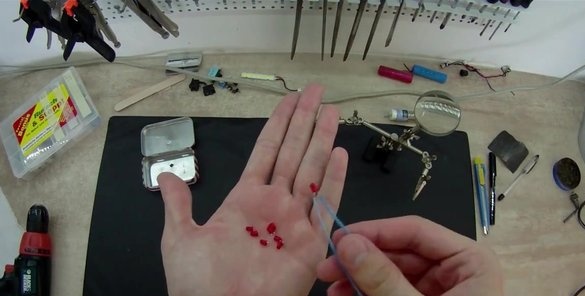
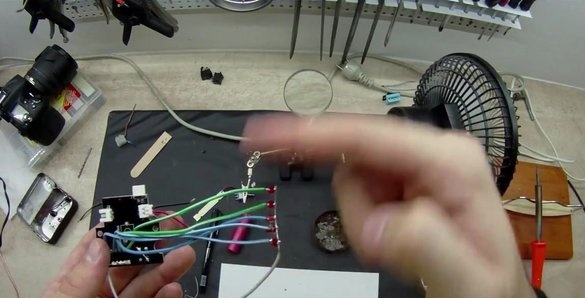
For aesthetics, the author also installs 5 small LEDs on the multimeter, dropping factory LEDs from it. By connecting the battery to the voltmeter and closing its button, you can get information about the battery charge.
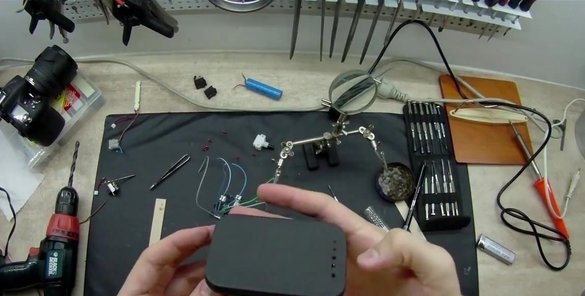
We make a hole for the button on the box, five holes for the LEDs and paint the box according to the color of the camera, that is, most likely in black. Do not forget to leave an unpainted place for mounting the LED.
The batteries that we use for our spotlight have the ability to charge, so if you wish, we can install an input for charging on the box.
The connection sequence is as follows: the wires from the charger go to the battery, from it to the switch, from the switch to the voltmeter, and from it to the resistor and LED.
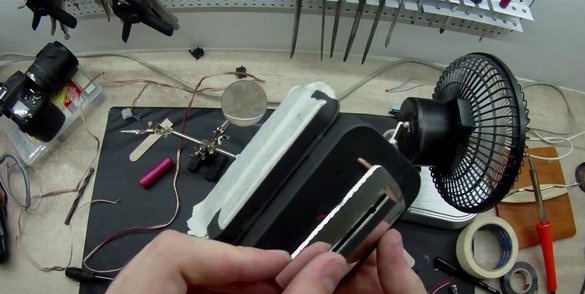
Before attaching the LED to the box, you need to cover the place of attachment of thermal grease, since the LED of this power produces a considerable temperature.
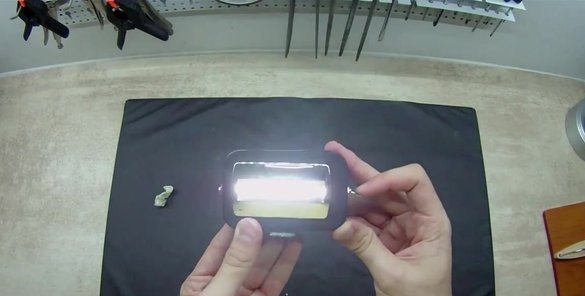
Finally, take care of fixing our spotlight. We take a wooden spatula and cut a piece from it. We drill a hole on it, through which we draw a bolt coming from the box. A searchlight can also be used as a flashlight.

