
Together with you, we managed to consider several ways of manufacturing fixtures. Basically, we used materials quite standard for this business - LEDs, bulbs. This time we decided to present you material on the manufacture of a lamp from something original, namely from a laptop matrix.
We offer you to watch a video, then consider everything in detail
So, what will we need for the manufacture of the original lamp from the matrix:
- The old matrix from the laptop;
- stationery knife;
- soldering iron.
The main job is to properly disassemble the matrix, so as not to damage the cables. To do this is not as difficult as it might seem at first glance, so we will not pull and get to work.
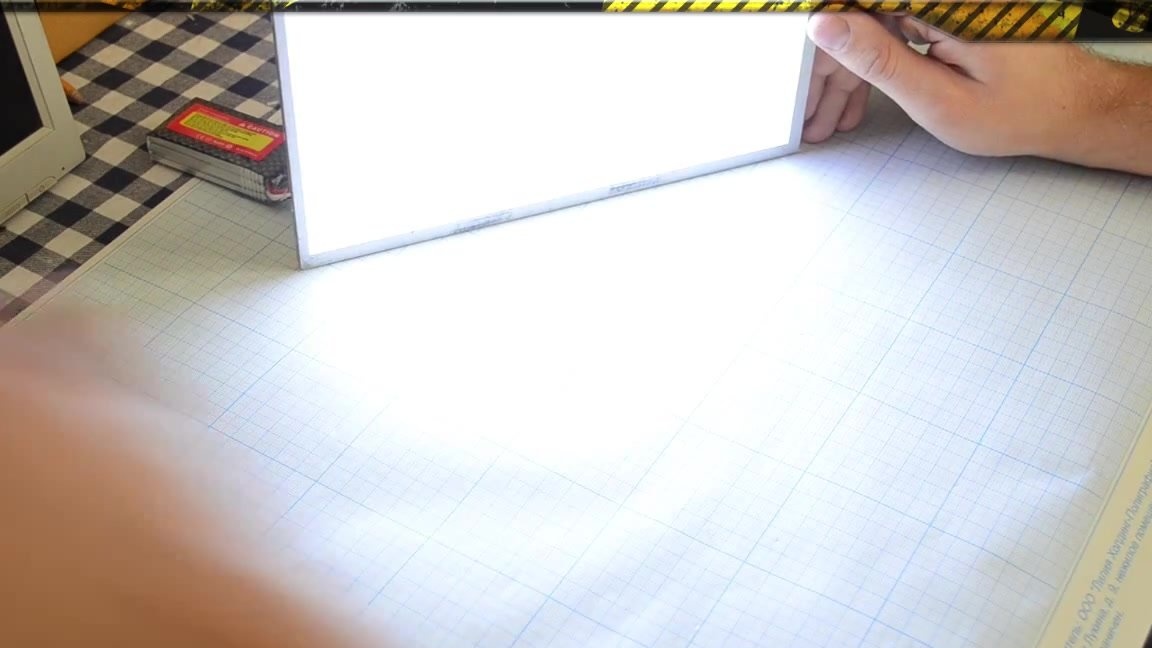
First of all, remove the back film of the matrix. You can not shoot completely.
Next, go to the removal of the front frame.
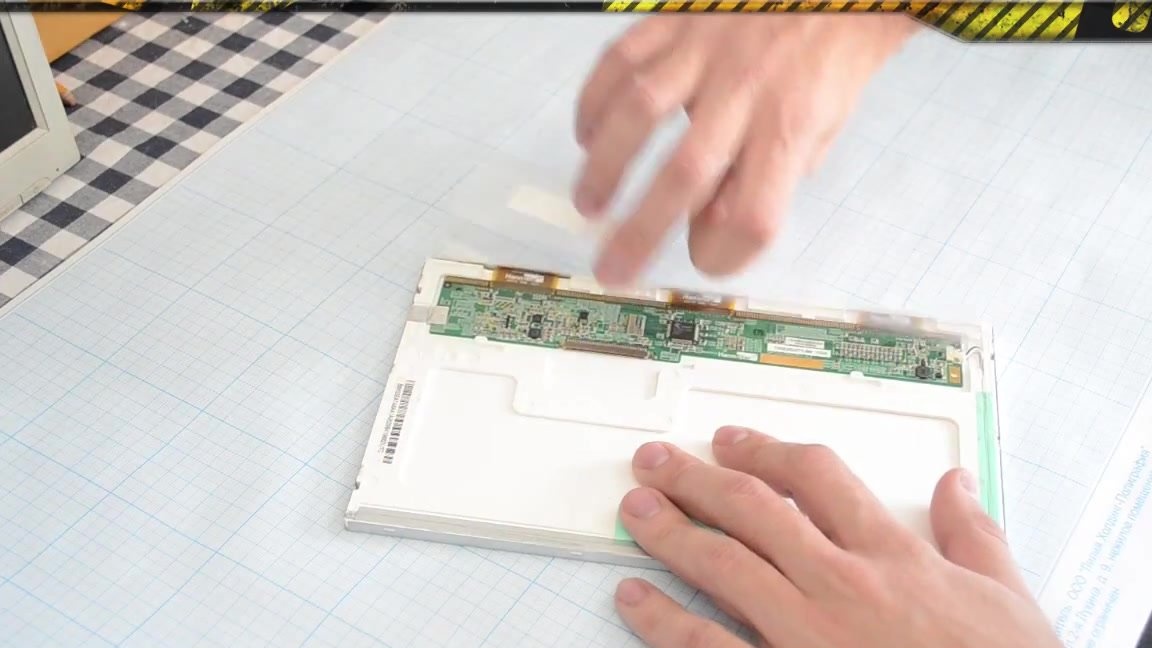
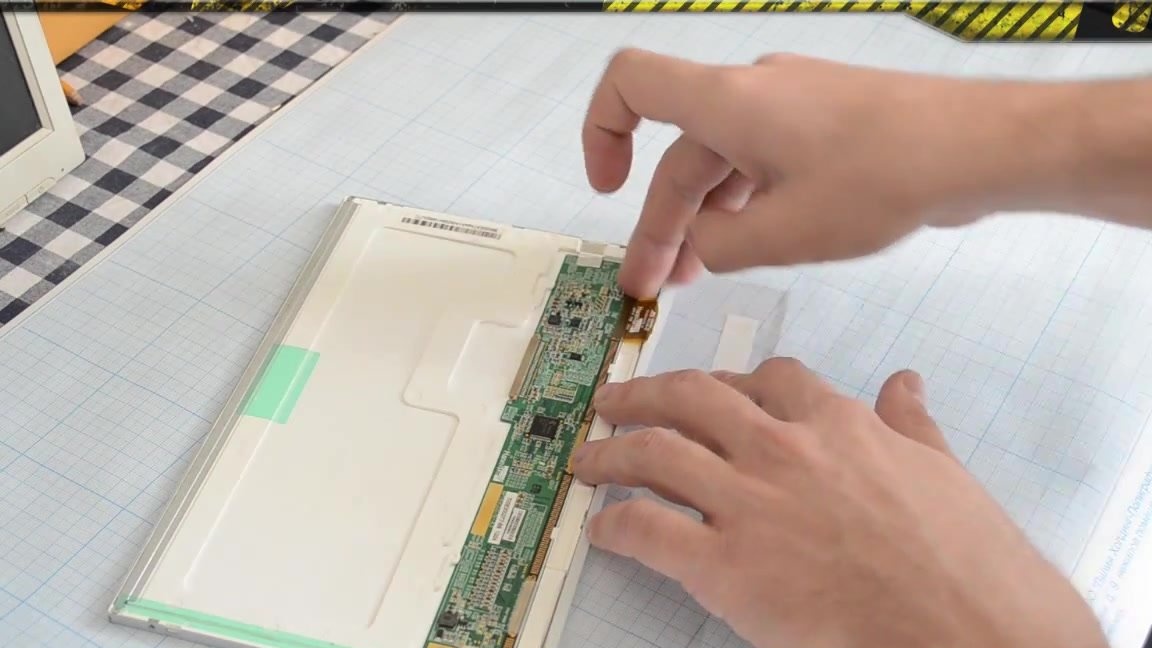
On the back of the matrix, we see a board with a control controller and a driver for the LED strip, which is located inside the structure and provides illumination of the matrix. The matrix itself is connected to the controller via three loops.
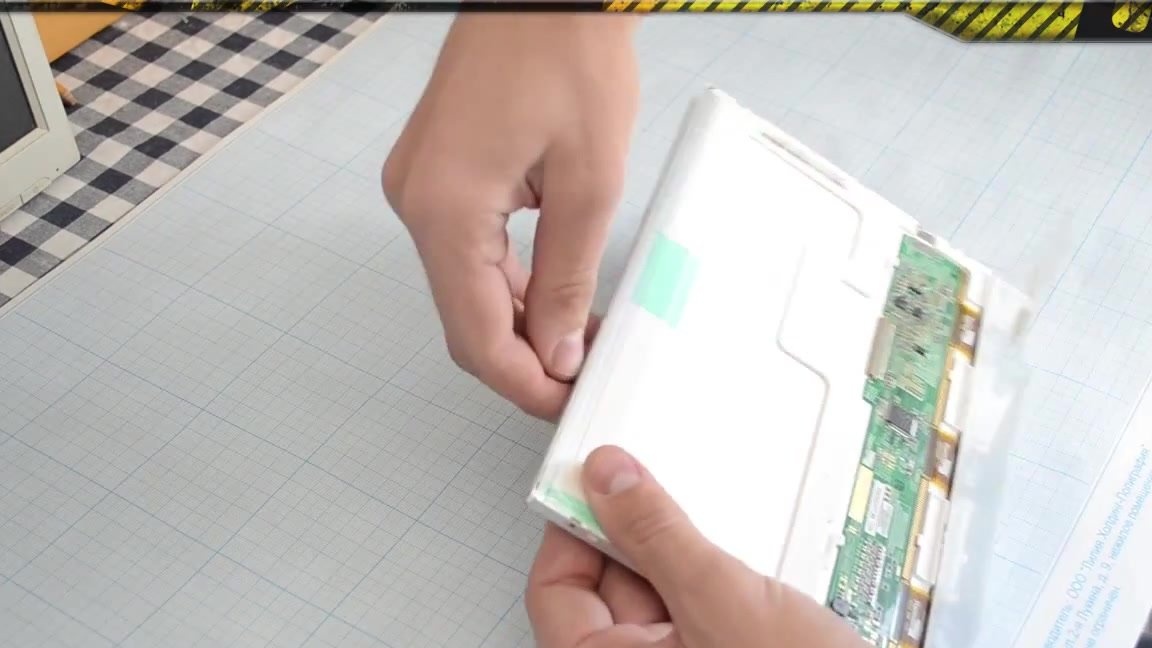
We continue to disassemble. We release the matrix itself, on which two polarizers are glued on both sides.
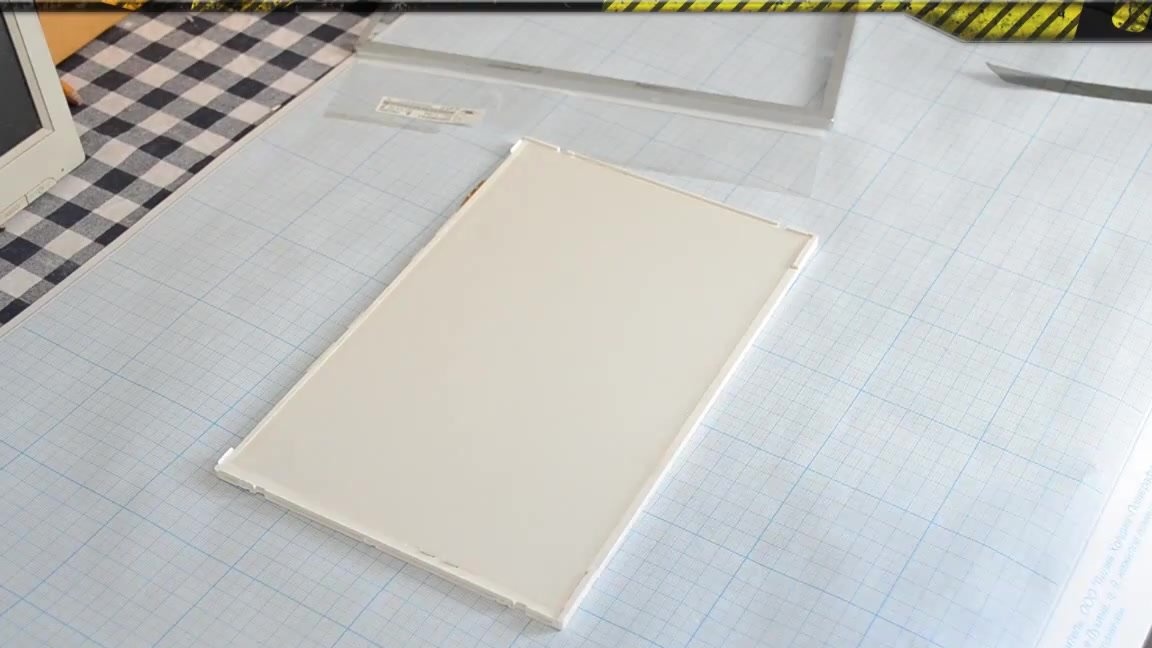
Under the matrix are light scattering films. Many people mistakenly believe that the films under the matrix are polarizers, but this is not so. These films are made according to the principle of Fresnel lenses. They are also comically called reality-distorting films.
Under all the films is a diffuser made of organic glass, which is illuminated by the LED.
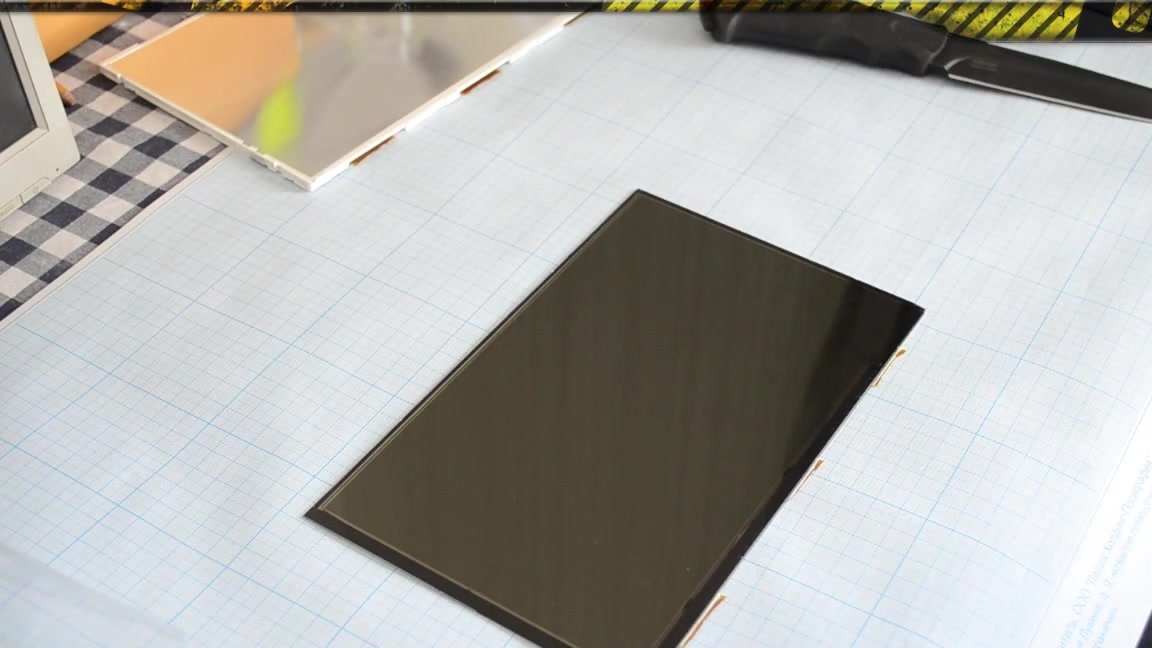
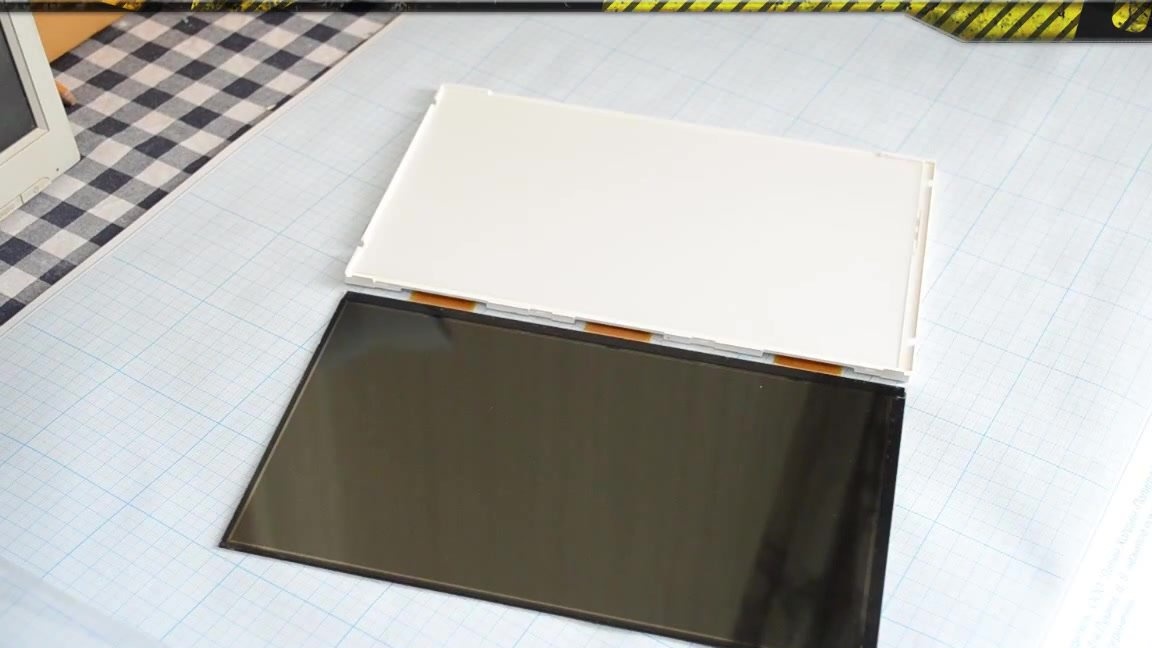
We put the films in place and separate the matrix, cutting off the cables with an office knife.
Next, we need to remove one of the polarization films. This is done extremely easily with the help of a clerical knife blade.
We take the matrix and fix it on the back cover with tape.
Put the frame back.
We tear off pieces of loops.
Now we warm up the soldering iron and prepare the wires for soldering.
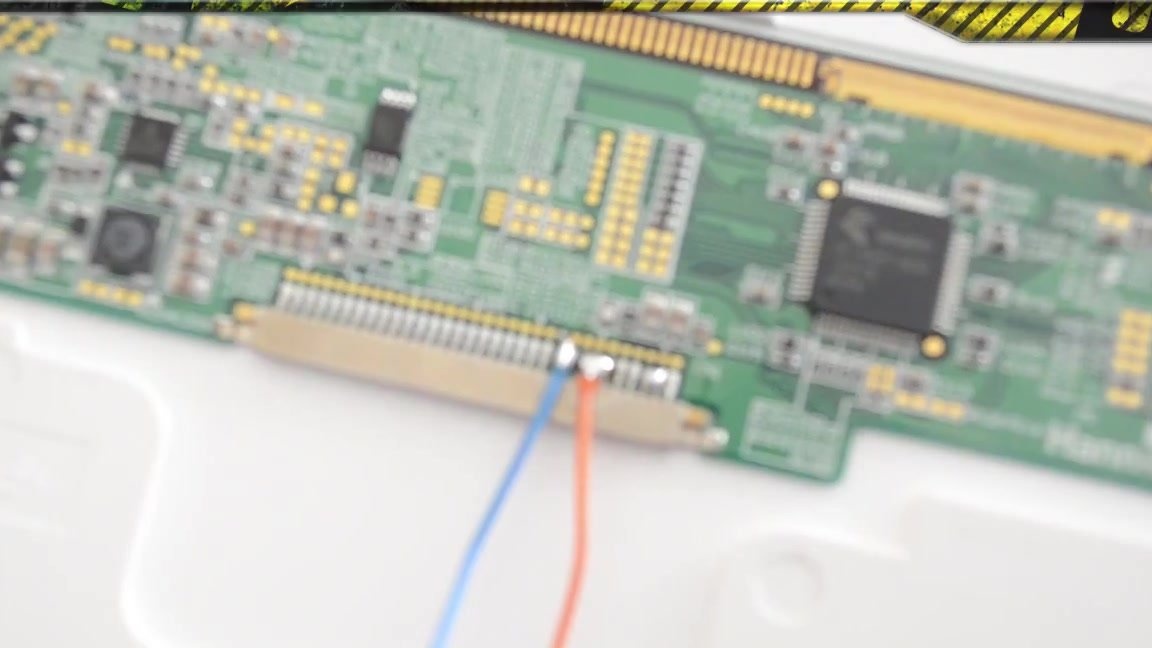
You need to solder directly to the connector, as shown in the figure below.
The lamp is ready. It remains only to connect it to a power source.