

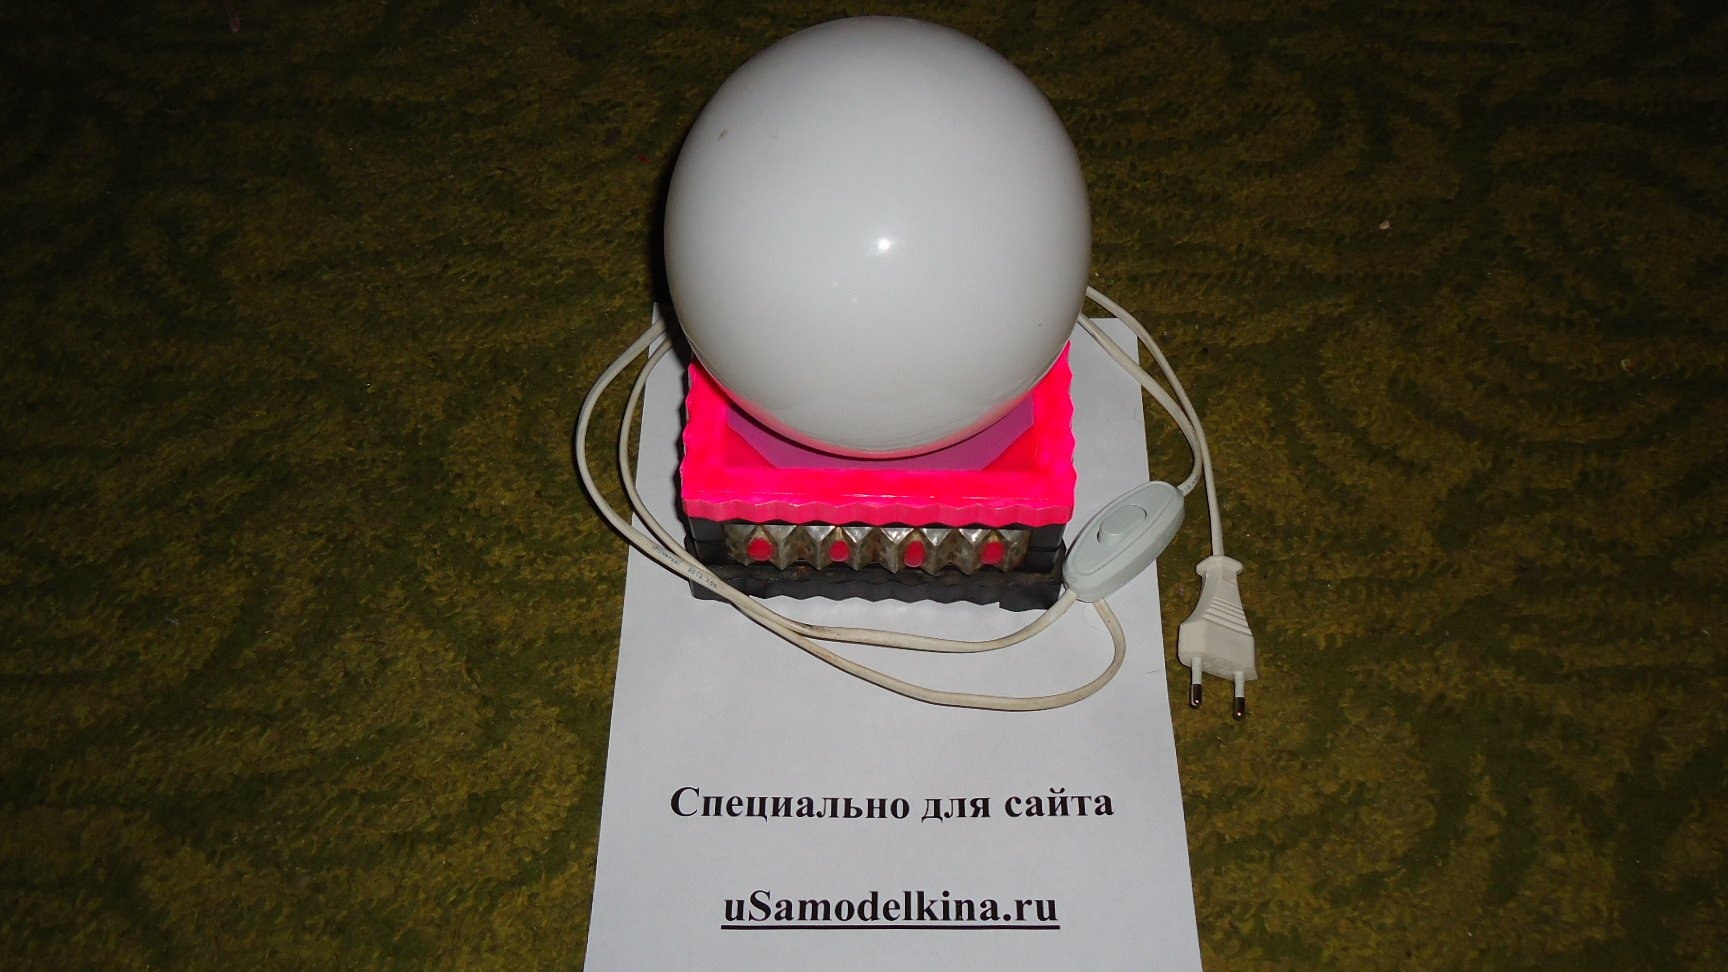
Such a small, animating atmosphere, the lamp will look great in the country or in a private house.
Once at my disposal were some unnecessary things: a lampshade from a burned-out chandelier and a base from an old lamp from the time of the 90s. Of course, these details didn’t really fit together, but I decided to make a hand-made lamp from them all the same.
The first thing I did was to assemble the improvised elements of the electric filling: a wire with a 1.5 meter plug, a switch, a standard E27 lampholder, an energy-saving lamp (incandescent lamps would not work), 2 iron lids for preserving cans.
From the tools I needed:
- screwdriver,
- medium-sized universal drill,
- a drill of 3-4 mm for metal,
- screwdriver indicator
- pliers
- scissors for metal (ordinary scissors also quite cope with the task),
- 4 screws with a thickness of 3 mm. with nuts
- thick film 12 * 12cm.
Initially, it was necessary to cut a hole in the base of the lamp under the base. To do this, I drilled several holes in the middle of the base and evenly bit the hole for the base and clamps with a diameter of 4 cm with pliers. Since the base turned out to be a bit tall, the same thing had to be done with the bottom of the base, but having cut a hole with a smaller diameter (about 3.5 cm) so that it would not fall through, but was fixed.

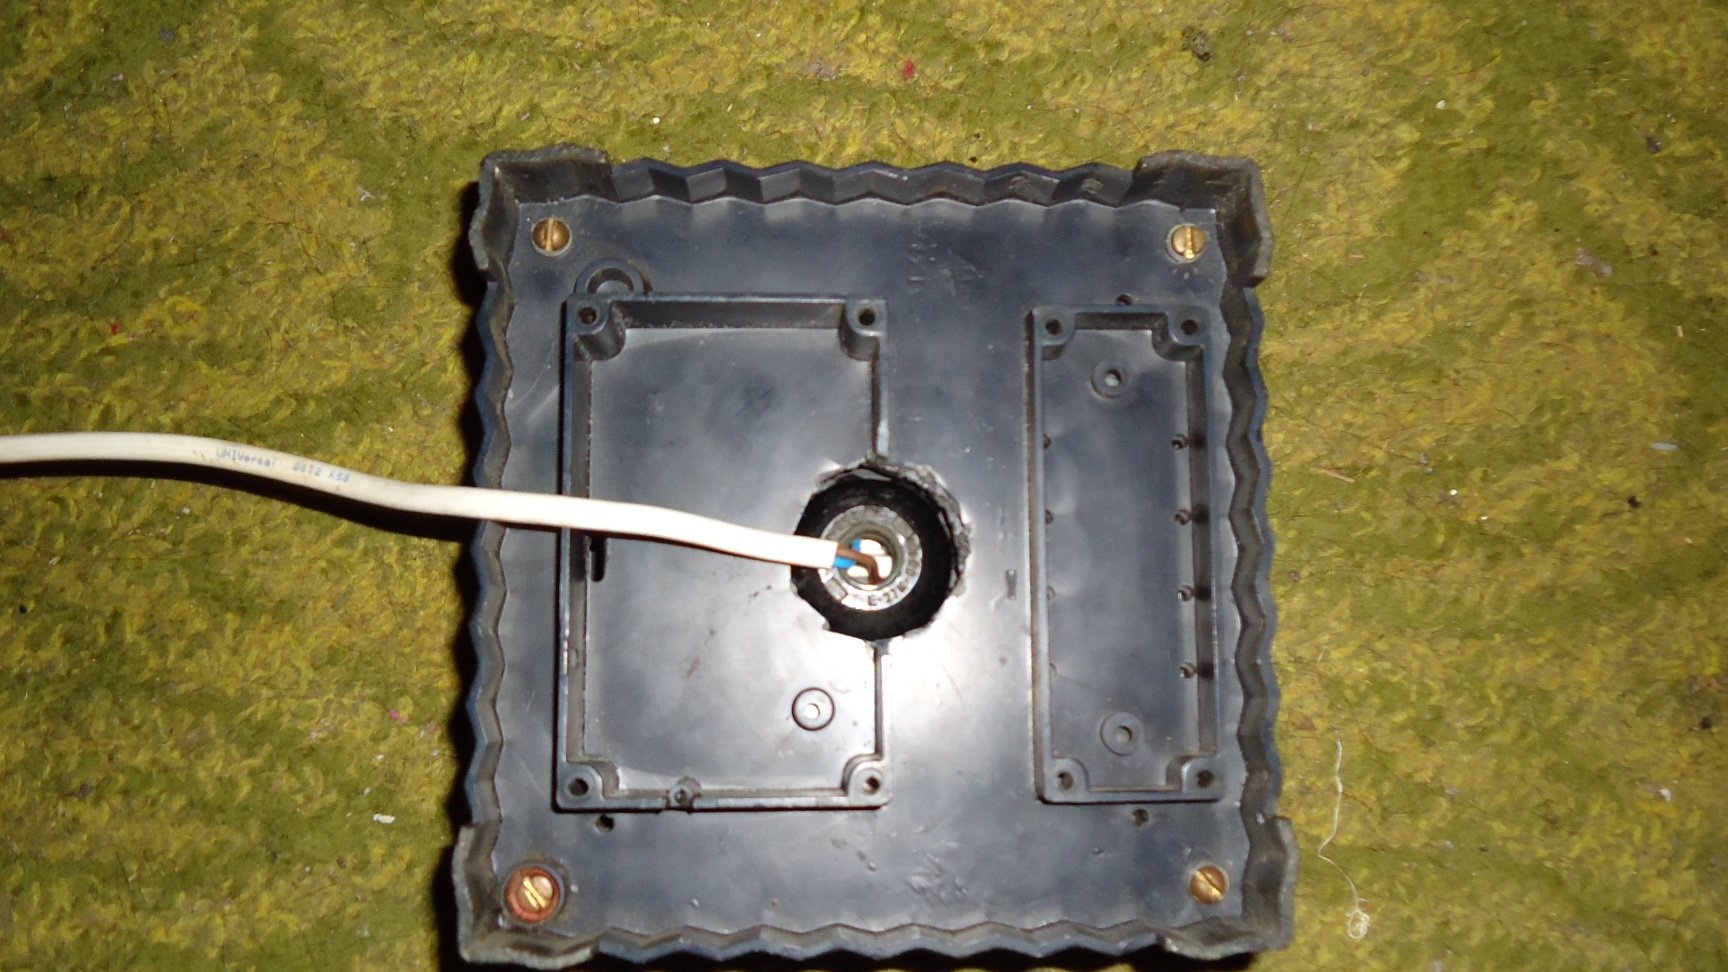
Further, so that the ceiling can be safely fixed on the base, it is necessary to cut out from 2 covers 4 clamps measuring 4.5 * 1.5 cm. Then, in the flat part of the clamps, it is necessary to drill a hole for the screws. The same should be done with the upper part of the base, having drilled 4 holes at a distance of about 1 cm from the edge of the hole for the base. Then you need to fasten the clamps from the wrong side of the upper part of the base and bend out through the hole of the base to the outside, as shown in the photo.
Then cut a hole with a diameter of 8-8.5 cm in the film. Glue the resulting square on the frame of the upper base. When the glue dries the film together with the base, you can paint it with ordinary nail polish. In my case, two varnishes with expired wild pink and glamorous purple turned out to be on hand.
Next, we collect the electrical part of the lamp.To begin, cut the wire in half approximately in the middle and mount the switch. Next, connect the base. First, we check the entire system for operability using an outlet and an indicator. If everything works, then insert it into the base of the lamp and screw in the lamp.
Next, slightly raise the iron clamps and put in place the ceiling.
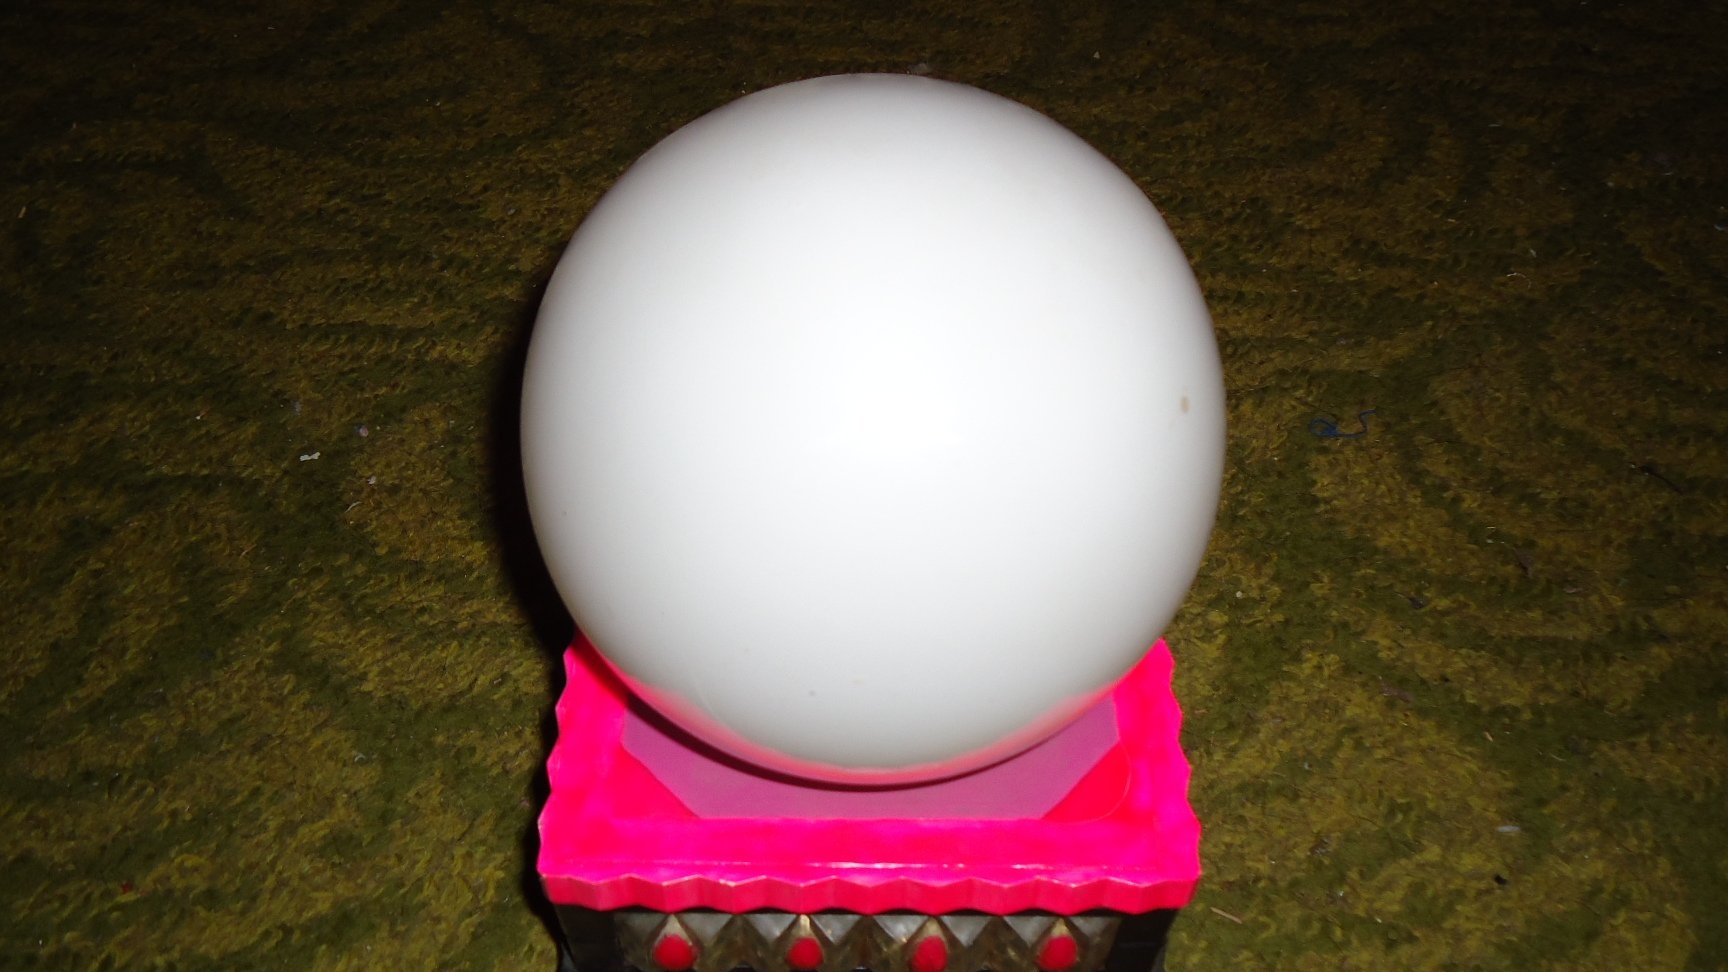
That's all.