
Do you have difficulty parking in reverse? You often carry car to the master to repair the rear bumper? Then it's time to install parking sensors or parking sensors on your car. You can, of course, entrust this work to specialized craftsmen in service centers, but why pay extra money if you can install parking sensors on a car without any problems home conditions.
We bring to your attention a video on installing parking sensors on a car
[media = https: //www.youtube.com/watch? v = _zBcXjKt1Wo]
So what we need:
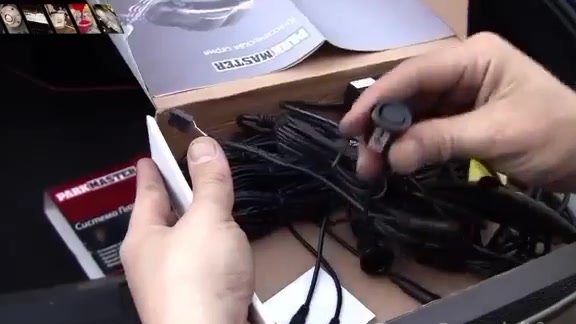
- a set of pacrtronics;
- drill or screwdriver;
- knife;
- masking tape.
It should be noted that the installation of parking sensors on the car has some subtleties. According to the instructions, parking sensors must be installed at a height of 45 centimeters to 65. It should also be noted that parking sensors must be installed strictly at right angles. Let's get started.
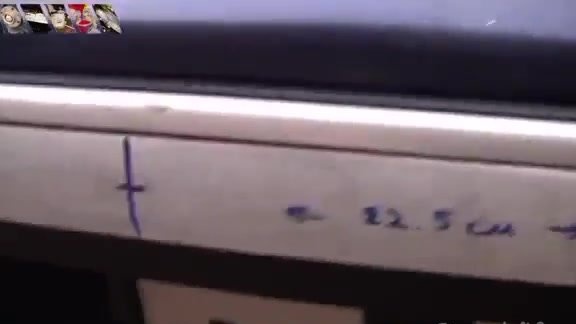
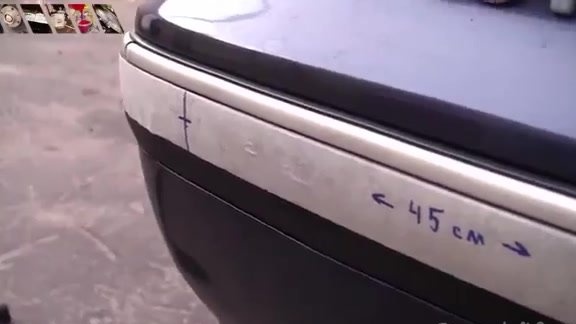
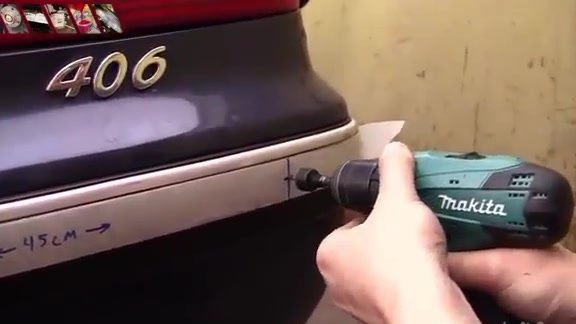
First, glue a paper tape on the bumper of the car, on which we draw the drilling locations. Here you need to pay attention to the fact that between the two parking sensors there is 45 cm left. Thus, we find the center and mark 22.5 cm on both sides and mark the drilling sites.
Next, we note another 45 cm from the two middle ones.
Now we take a drill or a screwdriver and put on a crown, which comes complete with parking sensors. Parktronics themselves are slightly larger than the crowns, which must be taken into account during installation.
Separately, you can imagine an easy way to remove a piece of bumper from the crown. To do this, take a knife, put a screwdriver in the opposite direction and pick out the pieces with a knife.
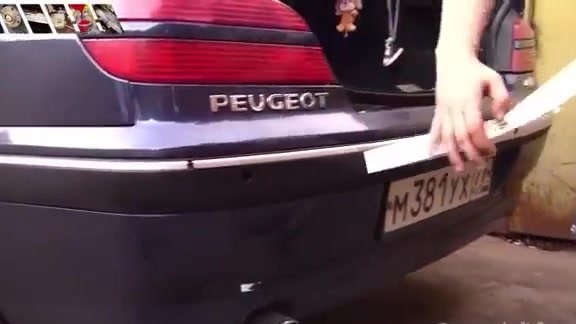
When the holes are drilled, masking tape can be removed. And we process the holes with a file.
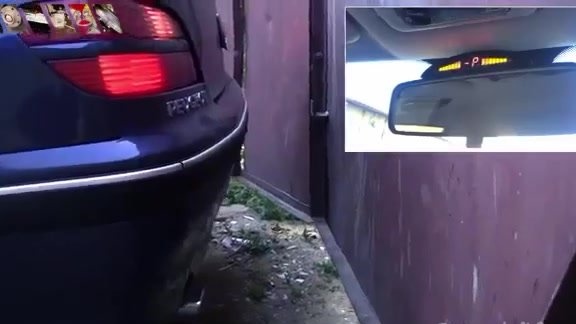
Now let's move on to installing sensors. We remove the rear-view mirror, wipe it and glue the sensor display to the mirror.

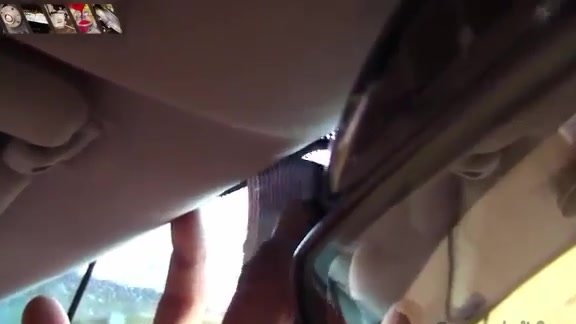
Next, we pull off the ceiling lining with a usual plastic card and push the wire from the display under it.

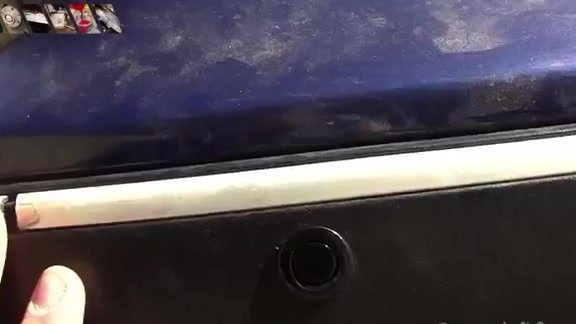
Next, we draw the wire into the racks and the threshold.
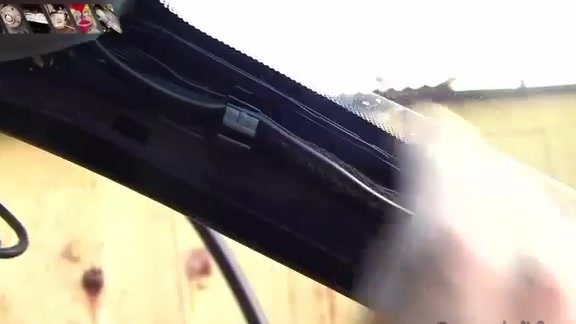
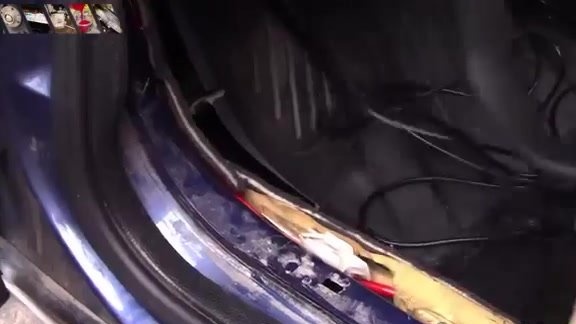
Next, remove the back seat to push the wire into the trunk.
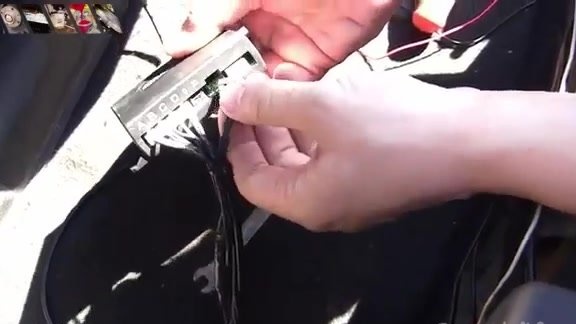
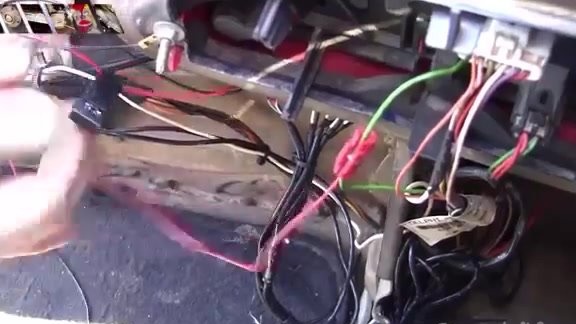
We install sensors in the drilled holes and again we push the wires into the trunk. It is important not to confuse the wires coming from the sensors, since they are marked with the letters A, B, C, D.

We take the power supply that comes with the kit and connect the wires from the sensors to it. We also connect the wire coming from the display, as well as the power wire.
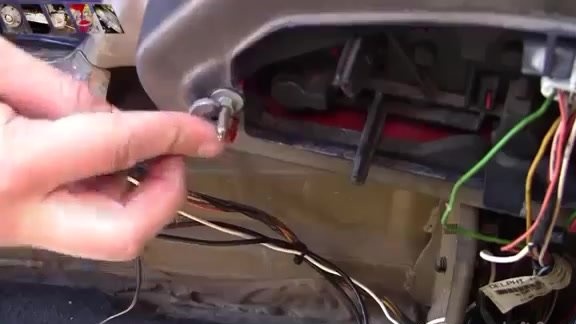
The power cable itself is two-wire. We must connect one wire to the ground, and the second to the wire from the reverse gear.
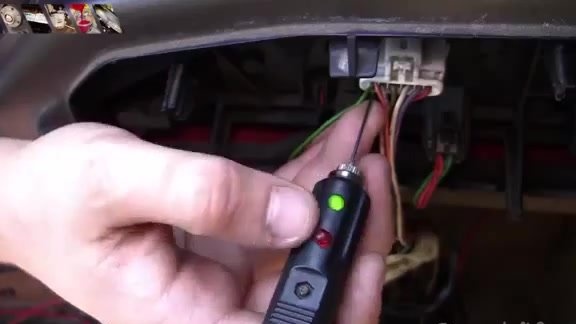
In order to find the wire from the reverse gear, you need to turn on the ignition of the car and put it in reverse gear. Thus, one of the wires becomes a plus.