
This article will focus on zero-generation night vision devices. What exactly are these devices? Zero-generation night vision devices are the simplest types of the family of these devices that have active backlighting. These devices operate in the near infrared range. It should be noted that remotes from televisions and household appliances operate in the same range.
We finish this introductory part and proceed to the assembly of the device, but before that, we suggest watching a video
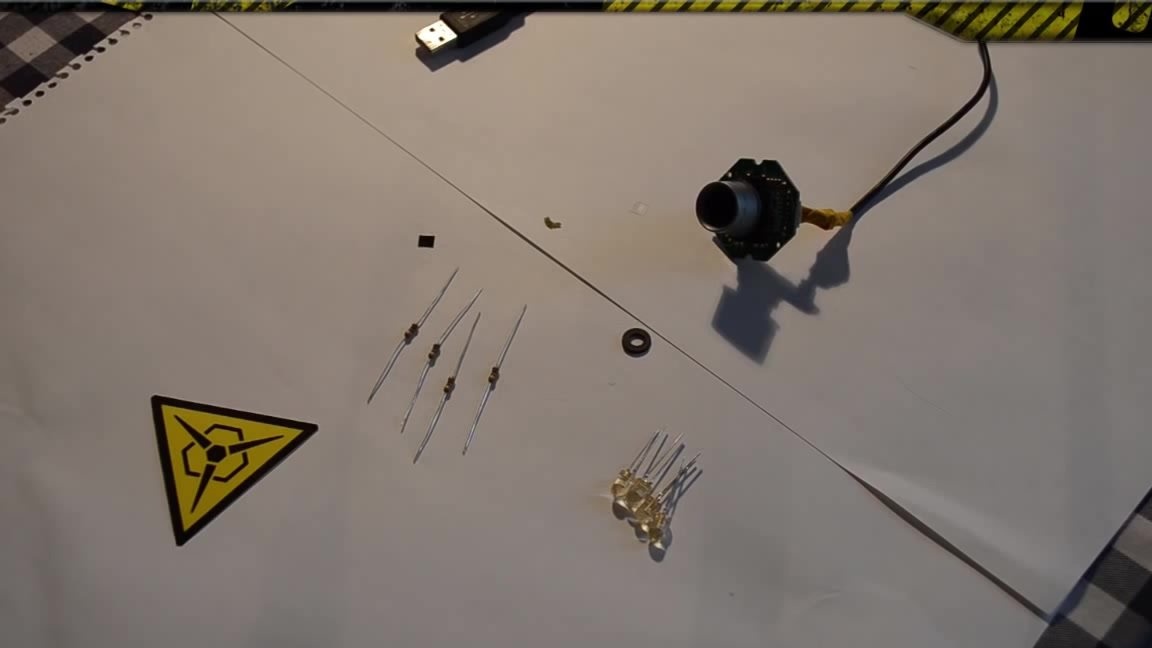
What we need:
- old webcam;
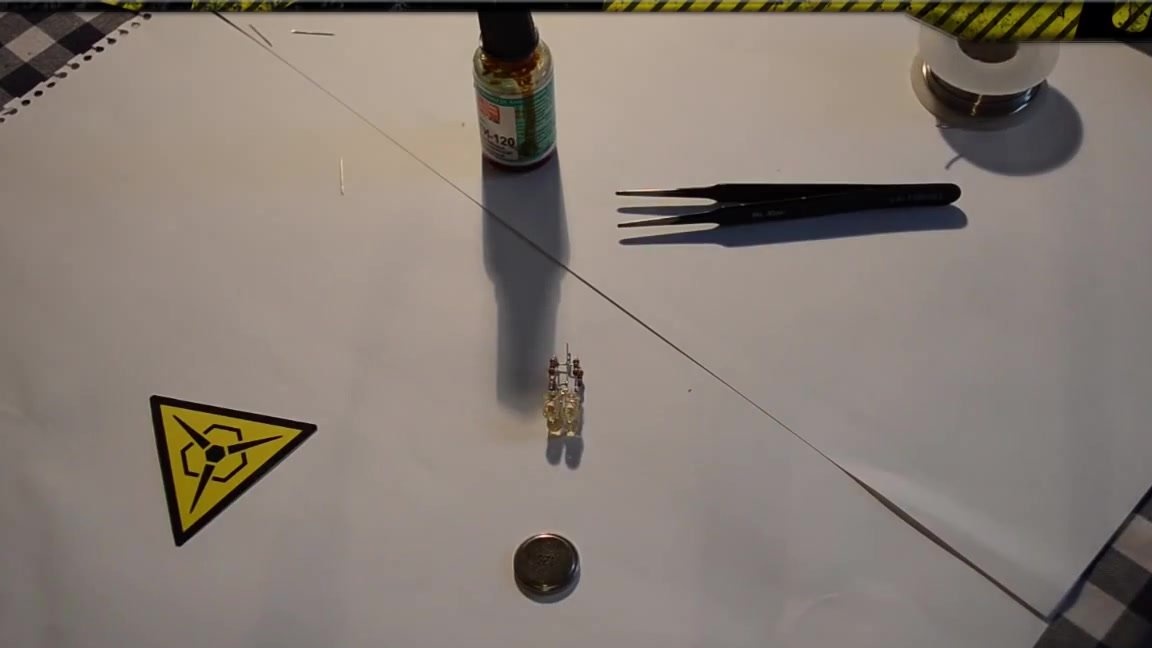
- 4 infrared LEDs;
- 4 resistors of 50 ohms;
- a piece of plastic;
At the very beginning, the features of some materials should be clarified. Infrared LEDs can be removed from old remotes. The author does not recommend using more than four LEDs. And the plastic that we will use in the assembly must be illuminated with infrared rays, but not illuminated with ordinary light. The best option would be lighted film. In its absence, you can simply connect the camera and look through different pieces of plastic. According to the author, the soft black folders of Erich Krauser are excellent. Let's get started.
First of all, we disassemble our webcam and unscrew the lens from it.
Next, we look where exactly the filter is located in the cameras. Sometimes the filter we need is in the lens holder and can be installed inside. That is, in order to remove it, you need to unscrew the two screws on the back side, remove the holder, remove it or simply break the filter and screw the holder back. The author has a filter installed in the lens.
To do this, he simply lifts the upper retaining ring and pulls out the light filter itself. This filter transmits only the visible part of the light and blocks infrared rays, which is not acceptable if we want to use infrared radiation.
Now, instead of the old filter, we need to put our new one and assemble the webcam back.
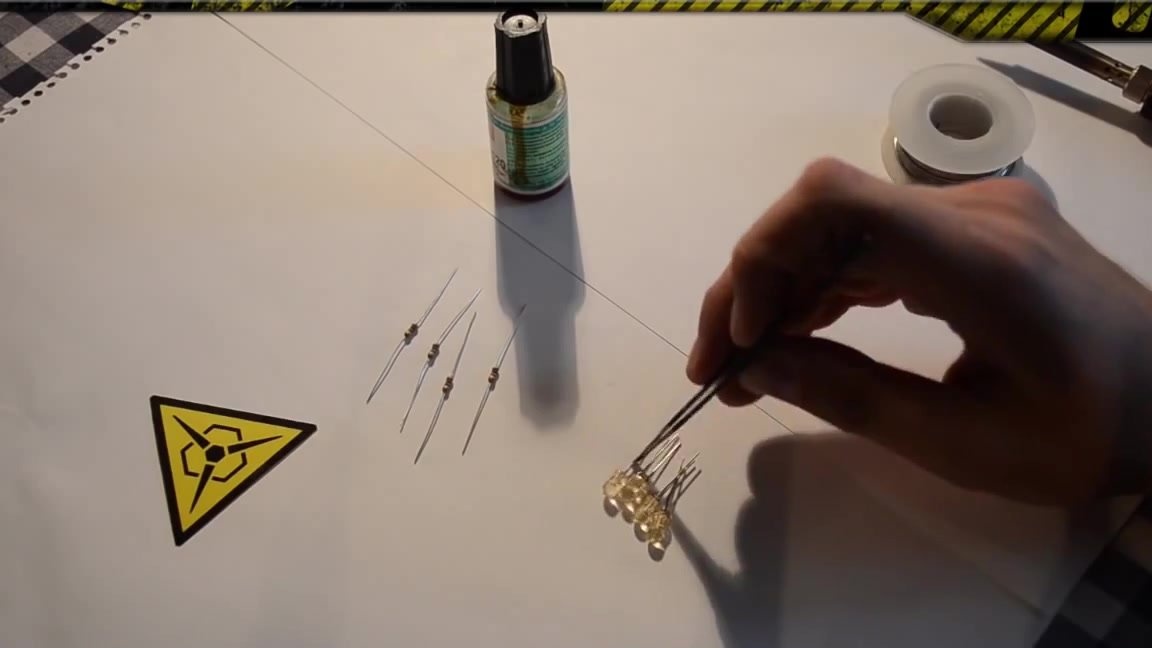
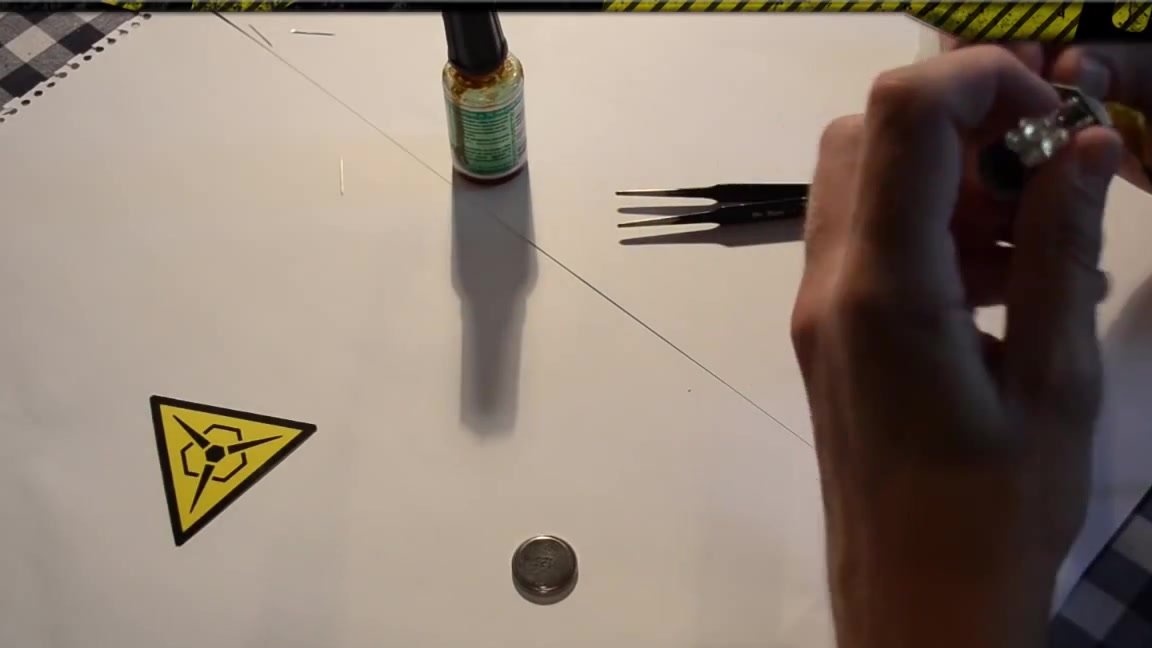
Each LED has two outputs. We need to combine their cons.
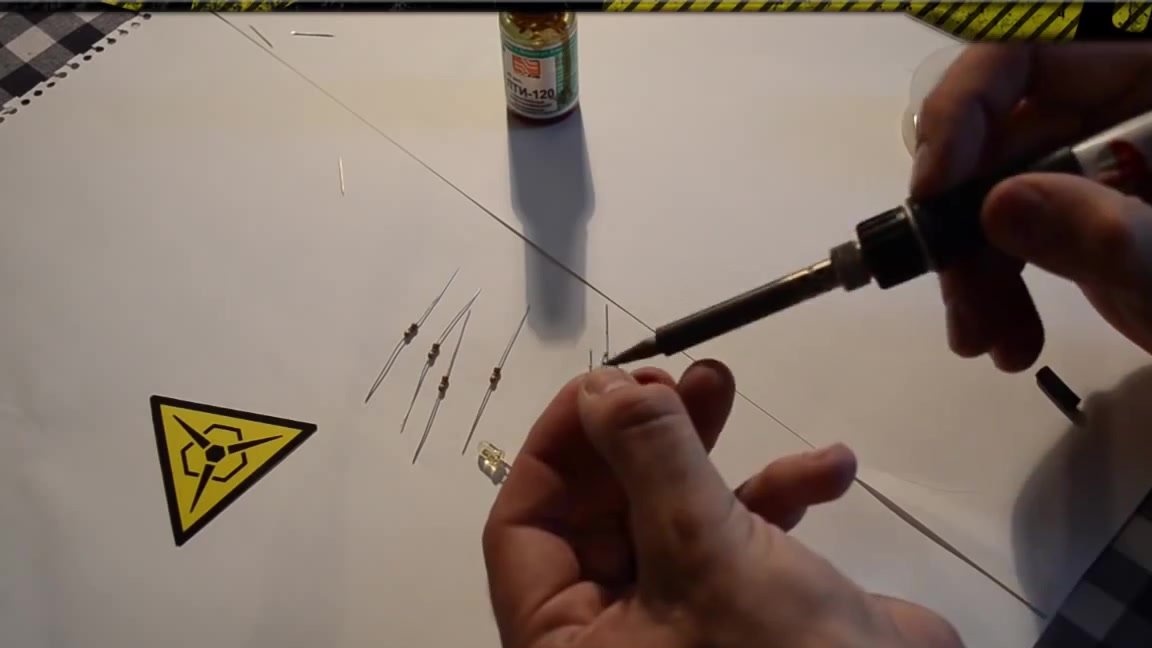
Now we need to connect a resistor to each plus.
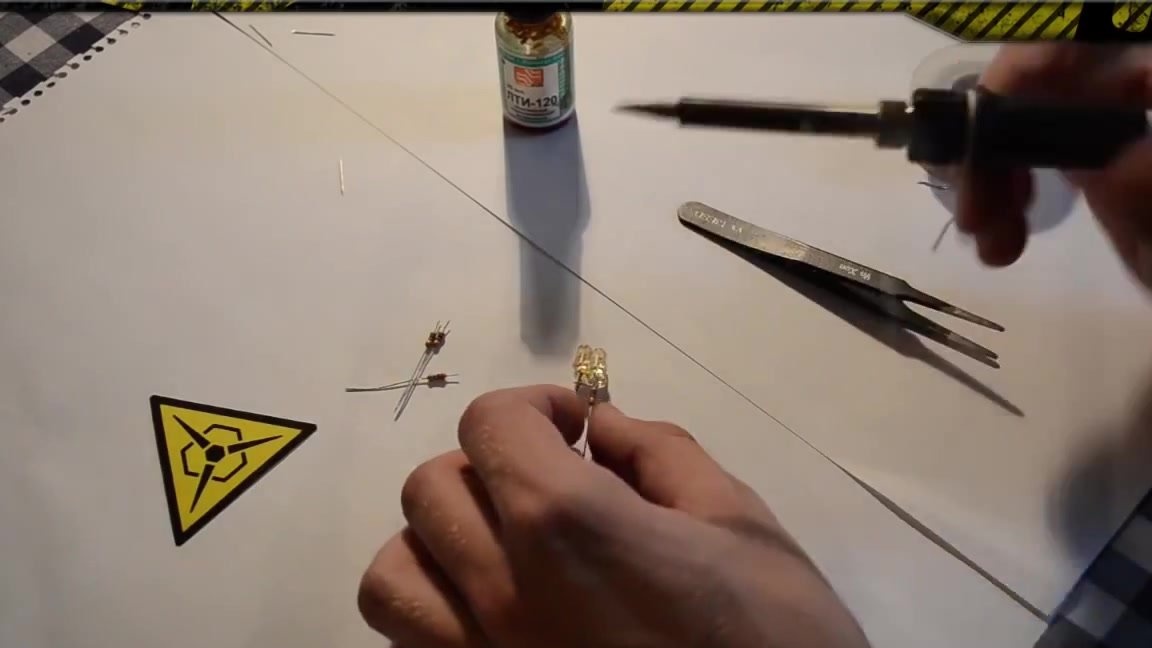
The free ends of the resistors are interconnected.
Now it remains to connect the received block to the webcam. We connect the minus to the black wire, and the plus to the red.