Different people perceive key chains differently. For some it’s jewelry, for others it’s device for storing keys, for others - a beautiful souvenir that you can replenish your own collection or give to friends and relatives. In this material we will consider a method of manufacturing a keychain from 10 ruble coins.
We present you a video on the manufacture of a keychain
What we need:
- 10 ruble coin;
- mini drill;
- paper;
- a pen;
- water;
- bearing;
- double sided tape;
- hammer;
- file;
- soldering iron;
- soldering acid.
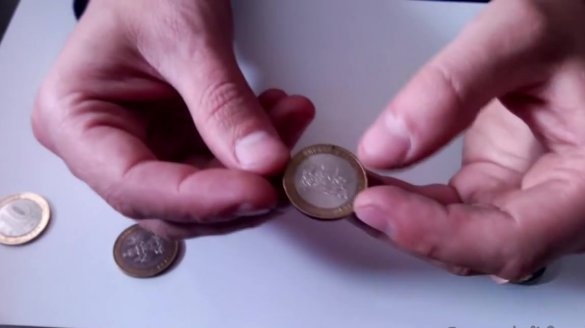
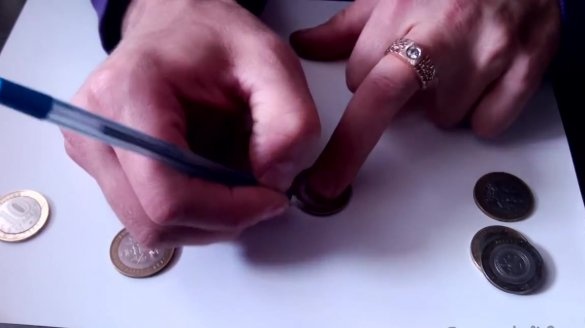
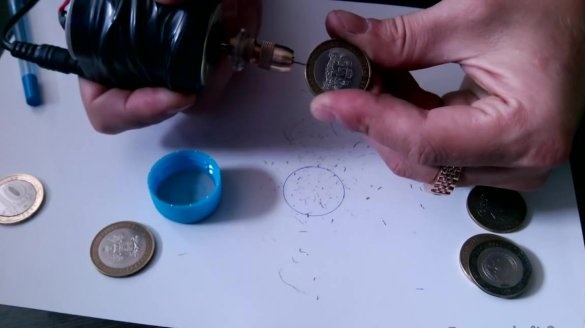
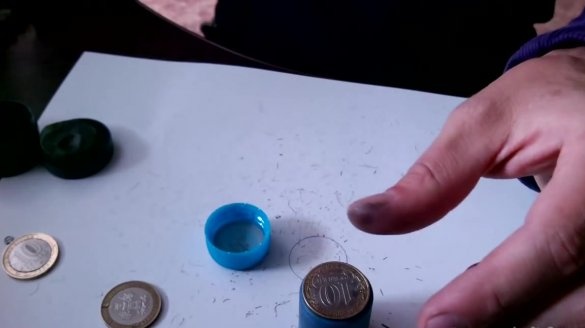
Since our keychain will consist of two parts, the inner of which will spin, we need to drill a through hole. And for this you need to measure two points strictly in the center. On the sides of the coin there are two stars that are located exactly in the center. You can drill these stars, but since they are on the axis, the keychain will not look so beautiful, however these very stars can help find the center and mark it on a coin. To do this, we need to put a coin on paper and make a simple template. Circle the coin with a pen.
We find stars and make marks on paper.
Next, put the coin exactly and draw these marks on the coin.
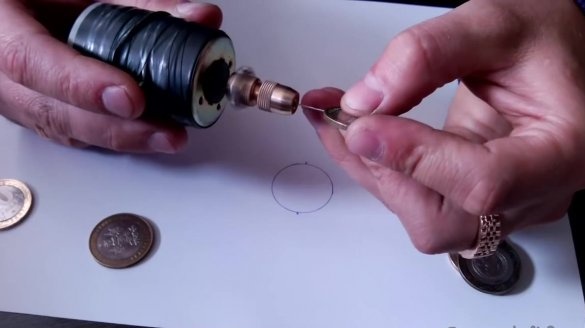
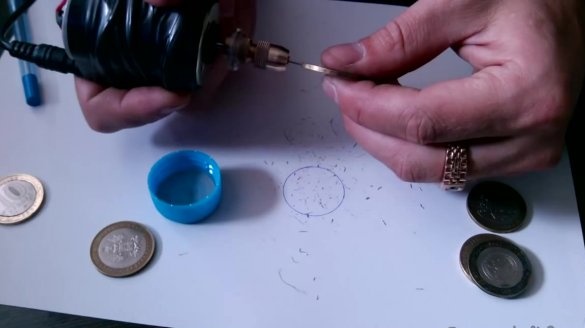
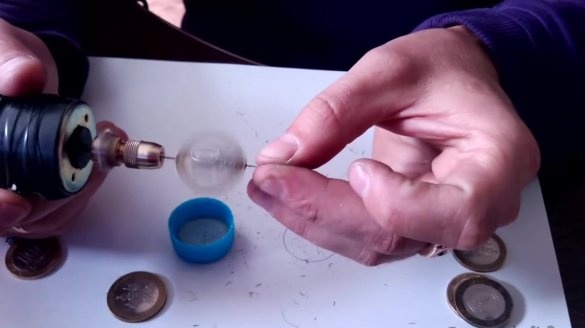
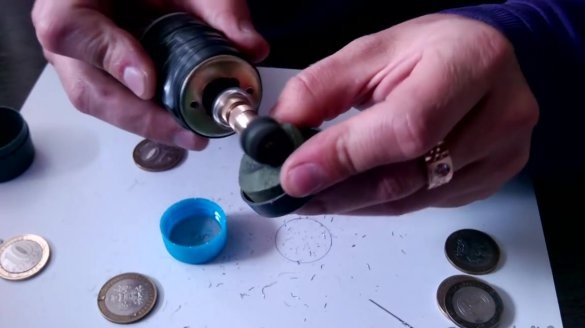
After that, take a mini drill and make holes. It should be extremely accurate so that the hole passes exactly in the center and is straight. The author also advises using water in the drilling process, which will help to make work faster and better.
Also, during the drilling process, it is important to turn the coin from time to time to avoid possible irregularities and curved lines.
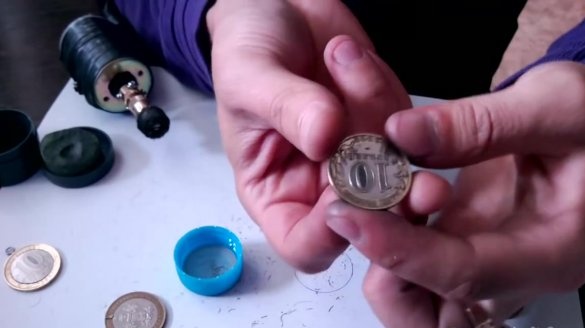
When the hole is drilled, check whether it turned out even. If everything is fine, you can proceed to the second stage.
If desired, you can immediately polish the coin with GOI paste.
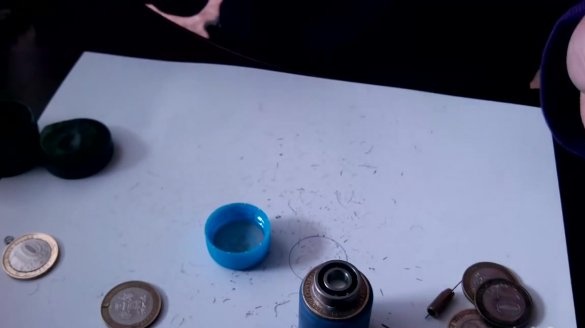
Now we need to knock out the core. To do this, take something larger in diameter of the core. It could be some kind of cap or piece of thin pipe.
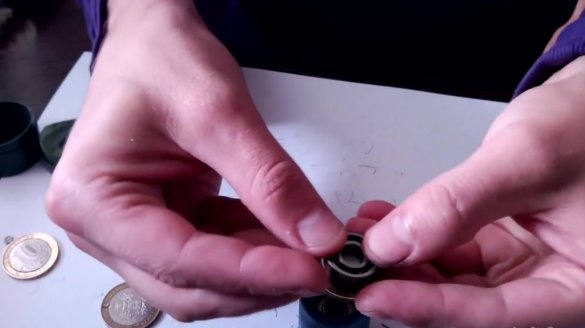
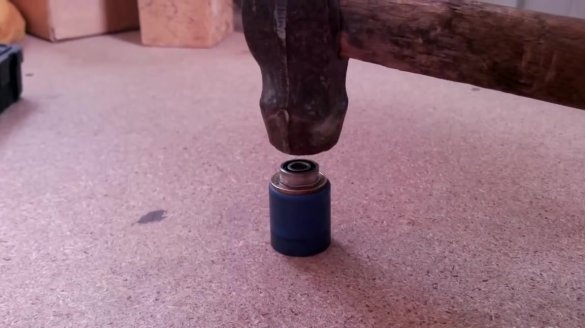
We will knock out the bearing. We glue a thick double-sided tape on one side of the bearing, and the other side glue on a coin. Here you also need to be careful that the bearing is glued strictly in the middle.
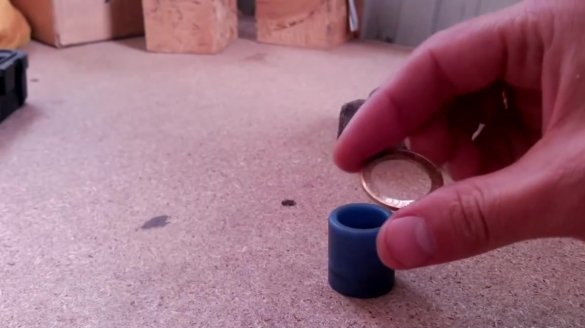
Next, we take an ordinary hammer and with one sharp blow we hit the bearing. As a result, the core of the coin is easily separated from the frame.
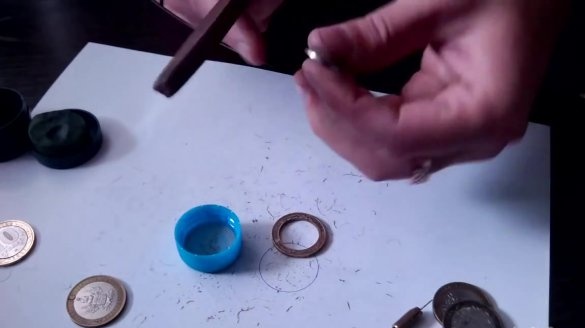
Now we need to remove all the irregularities and hone the edges of the core so that it rotates freely in the frame. You can do this with a file.
You also need to process the frame.
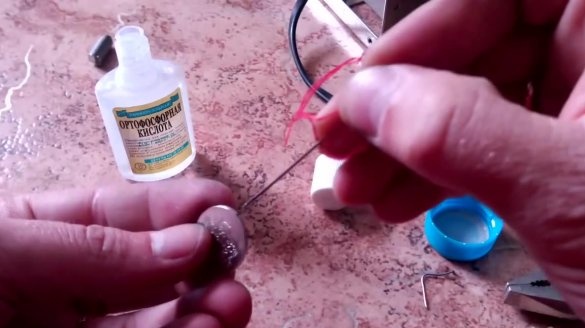
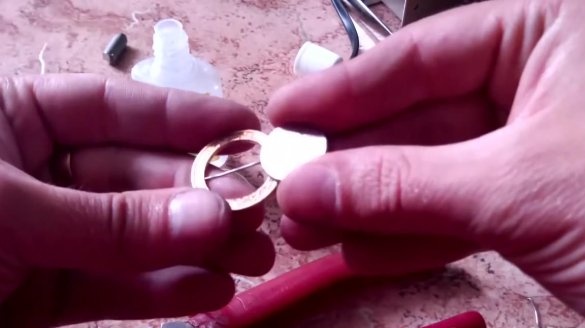
For the next action, we need a soldering iron, soldering acid and a rigid wire along the diameter of the hole on the coin. First, treat the hole with acid. You can use a needle for this.
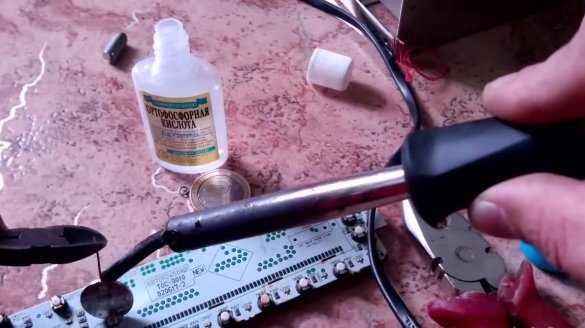
Now we take the wire, heat the surface of the coin and insert the wire into the hole.
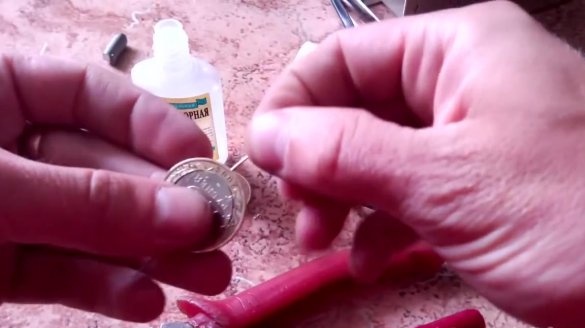
Then we draw the free end of the wire or axis through the hole in the frame.
Another wire must be placed at the bottom of the coin.
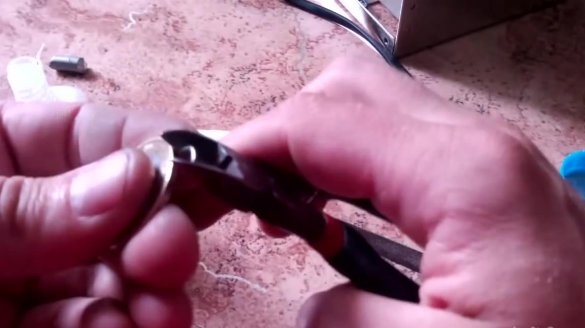
Cut off all unnecessary.
On the upper part we make a ring.

