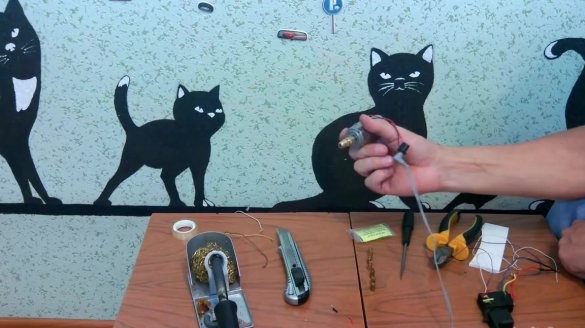
Our resource has already published material on the manufacture small hand drill. However, this drill cannot be used for drilling small holes with a diameter of 0.1 to 4 mm, such as holes on a coin in the manufacture of a keychain. To facilitate your task, as well as the funds that would be spent on buying a mini drill in a store, we decided to bring to your attention material that is dedicated to its manufacture in home conditions.
First, we present to you two parts of the drill manufacturing process, after which we will consider the whole process with you
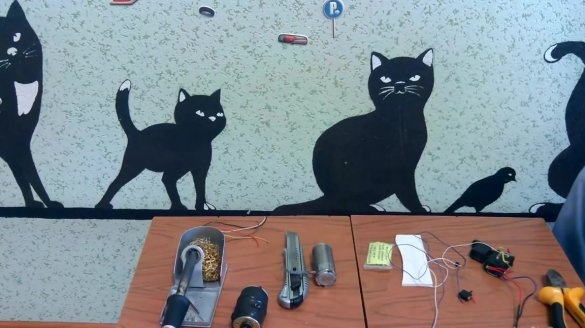
What we need:
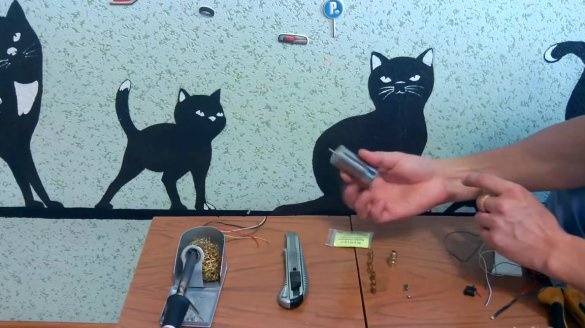
- motor DPR-52-N1-07A;
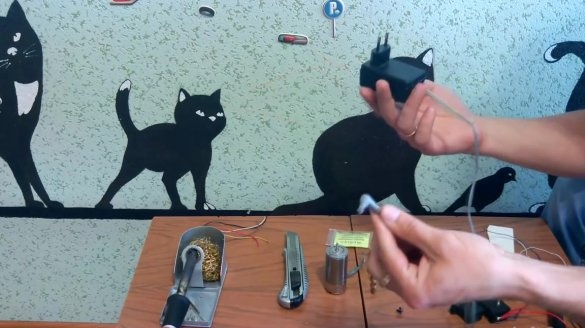
- Power Supply;
- connector from the plug of the power supply;
- button;
- stationery knife;
- soldering iron;
- nippers;
- wires.
Our mini drill will run on a 12 volt power supply. The author uses a power supply that comes with LED strips and soldered a plug to it. Let's get started.
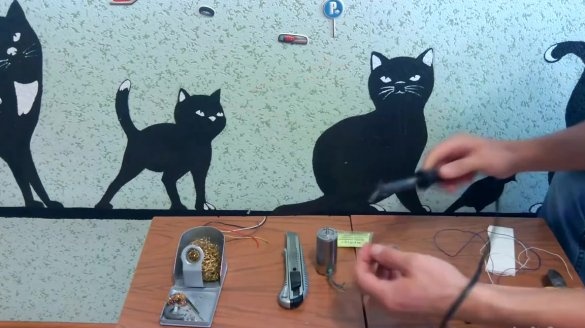
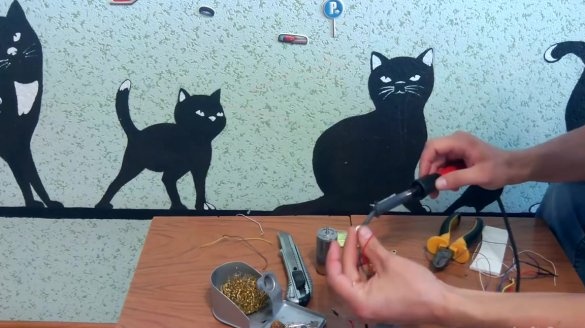
We take two wires and clean them with a clerical knife. Then solder them to the positive and negative contacts, which are located on our plug.
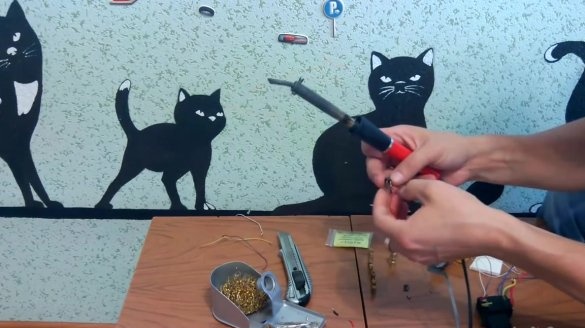
Next, take the button and solder the negative wire to it. In order to check whether we soldered the wires correctly, it is enough to connect the positive contact from the plug to the positive wire from the motor, and the negative contact of the button to the negative wire from the motor.
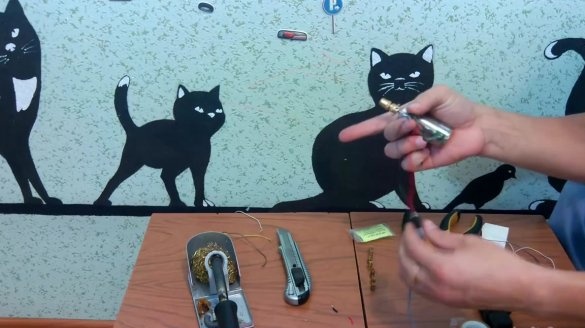
Finally, we wind the adhesive tape or electrical tape on the motor, while attaching the wires and the button to it. Thus we get a completely high-quality and functional mini drill. It remains to install a collet chuck on it and boldly drill small holes.

