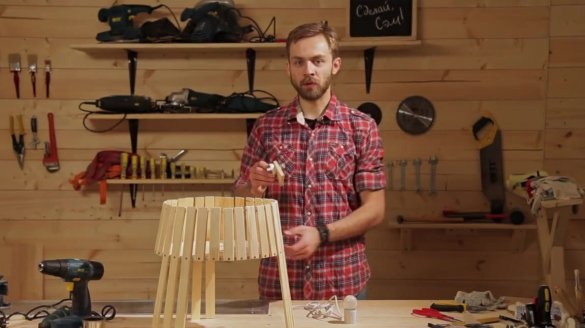
A table lamp is not only a source of light, but also a beautiful decorative element. The stores sell a wide variety of lamps made of various materials and offered at different prices. However, a truly original and unique lamp can be made exclusively with your own hands, so we advise you not to rush to the store, as this material is dedicated to making a table lamp in home conditions.
First, let's get acquainted with the manufacturing process in the video
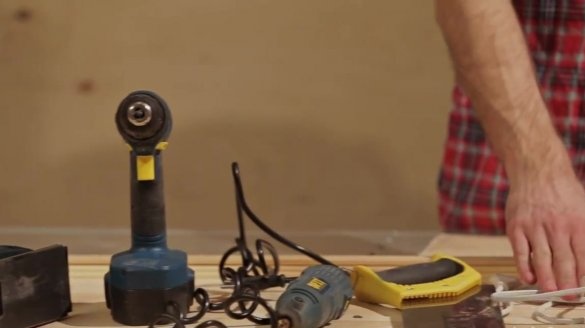
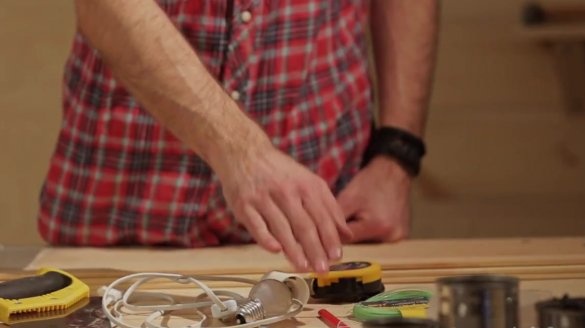
What do we need:
- plywood;
- thin wooden slats;
- electric jigsaw;
- screwdriver;
- mini drill;
- saw;
- cord with a cartridge;
- lamp;
- small screws;
- bolts and nuts;
- a pencil;
- a nail;
- thin fishing line;
- roulette.
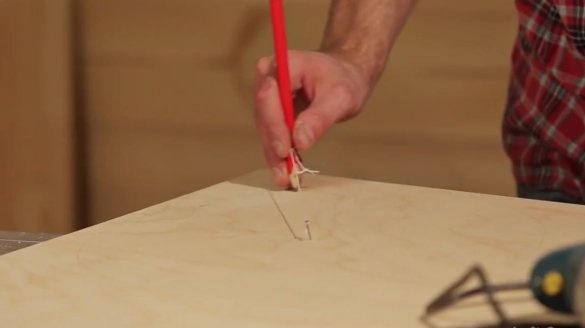
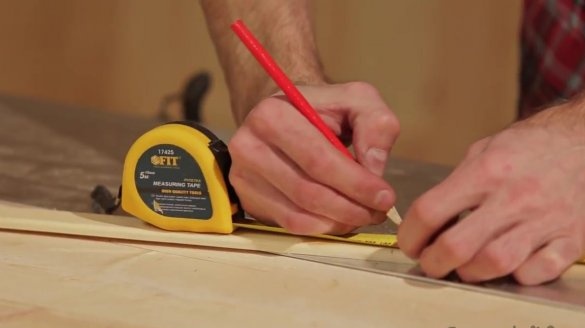
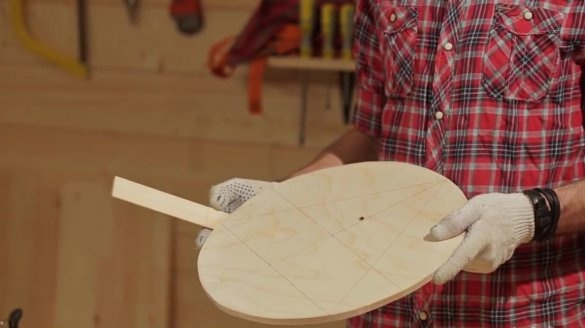
Let's get started. First of all, we need to draw a circle on the plywood with a pencil.
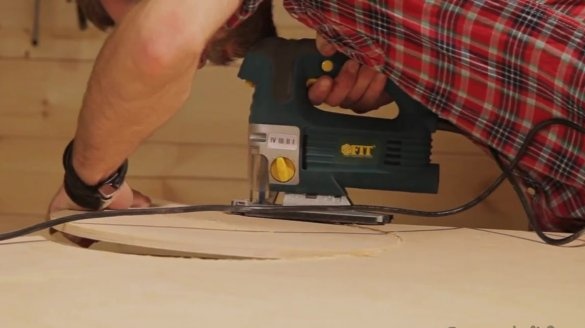
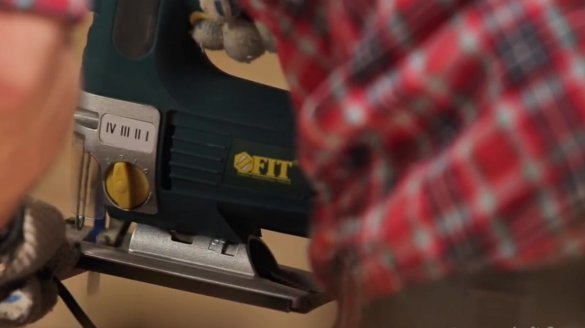
We cut out the electric jigsaw drawn by us.
Thus, we get the base of our table lamp. After that, we need to make a hole for the cord on the base.
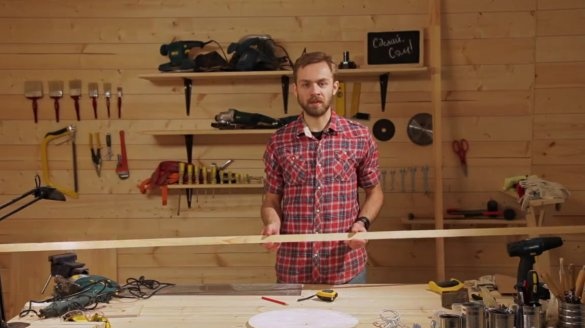
Next, we take a wooden rail, from which we will cut out the legs and side walls for our lamp.
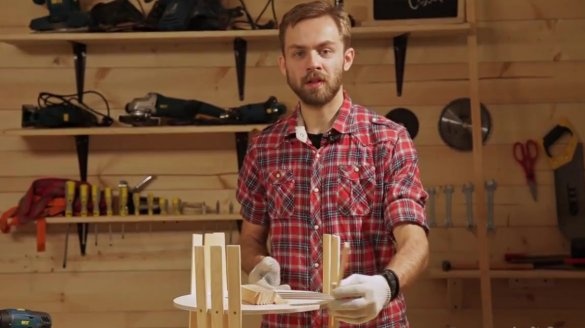
The author of the video cuts out legs 40 cm long and side walls 15 cm long. We should get 9 long pieces for legs and 24 short pieces. These pieces will be fastened in groups - three long pieces, then 8 short ones, so that we get a design with 3 legs consisting of three rails and three sides consisting of 8 rails.
The next thing we need to clean the resulting pieces of wooden slats with sandpaper.
At this stage, we have to fix the legs and side walls to the base of the lamp. We will mount on the sides of the round base. For accurate mounting, you must first make marks in the form of a triangle.
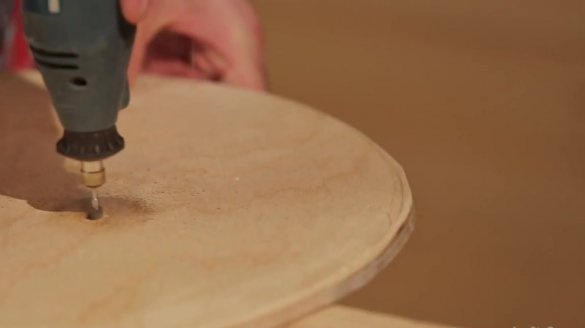
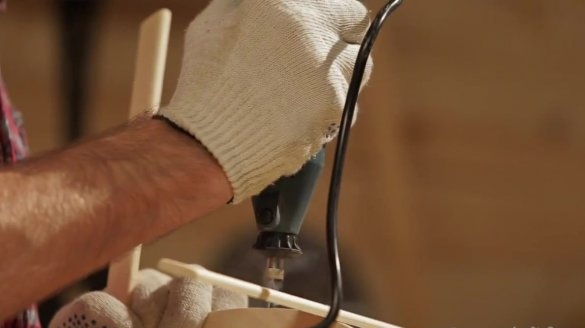
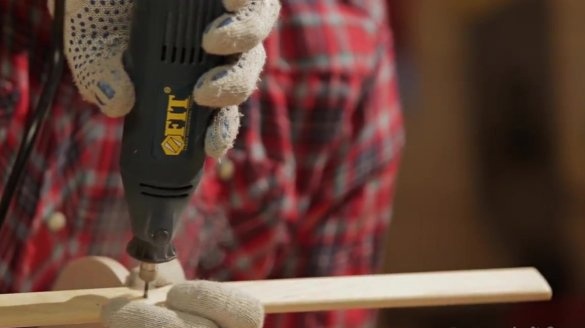
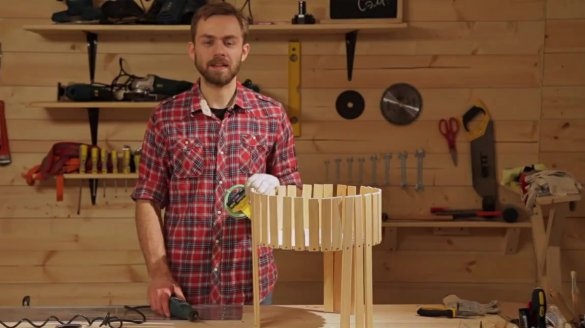
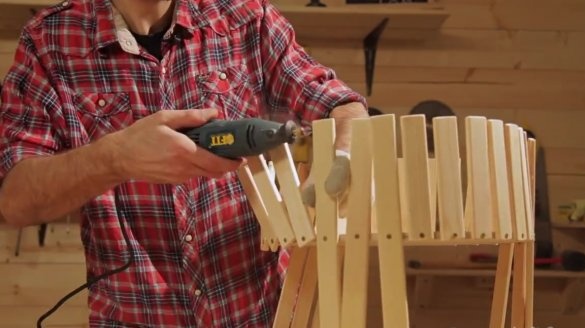
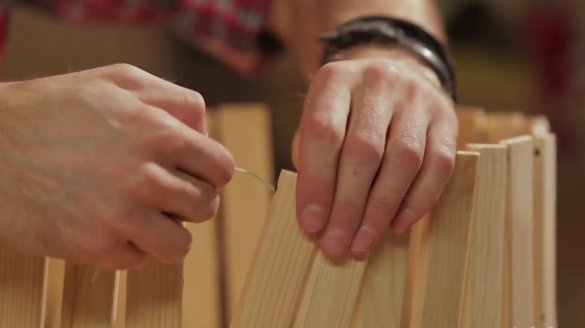
When all slats are fixed on a round base, care must be taken to ensure that they are also fixed to each other. To do this, take a mini drill and drill holes through the rails.
After that we thread the line through the holes.
The housing is assembled. Now install the stand for the cartridge inside the lamp.As a basis, the author of a home-made lamp uses a triangular piece from plywood, which fastens with self-tapping screws.
Our lamp is ready. It remains only to install a light bulb and connect to a power source.

