Rainy weather can cause illness if you don’t dry your shoes properly after leaving the house. In order for the shoes to dry quickly, you can put it on the heater, in the microwave in the end, which we do not recommend in any case, or you can make a real shoe dryer for yourselves, especially since this will not require very expensive materials and special knowledge.
Before you start the manufacturing process, we present you a video on the manufacture of dryers
[media = https: //www.youtube.com/watch? v = _FV_K1cVFdM]
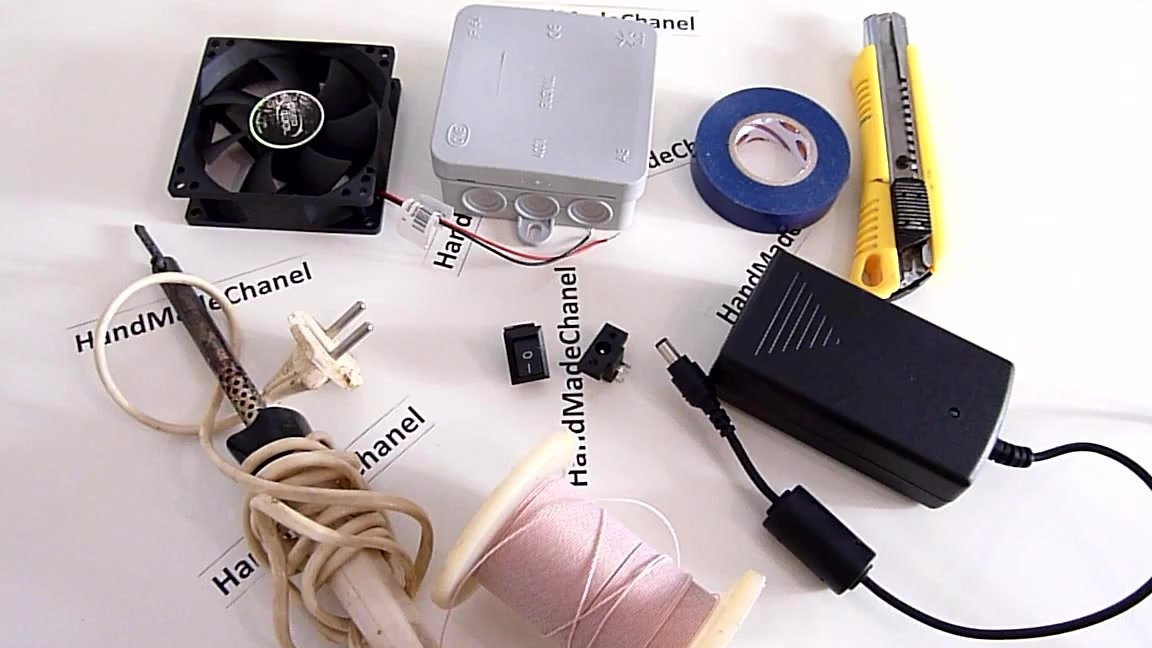
What do we need:
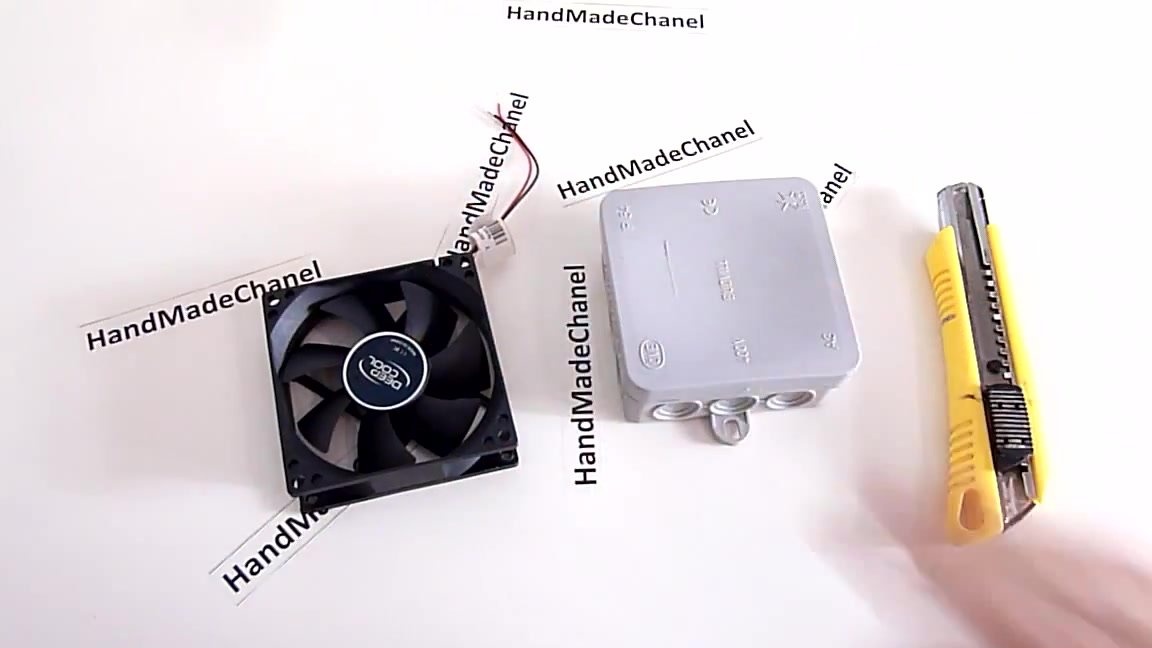
- cooler;
- junction box for electricians;
- electrical tape;
- stationery knife;
- 12 volt power supply;
- connector for the power supply;
- toggle switch;
- wiring;
- soldering iron;
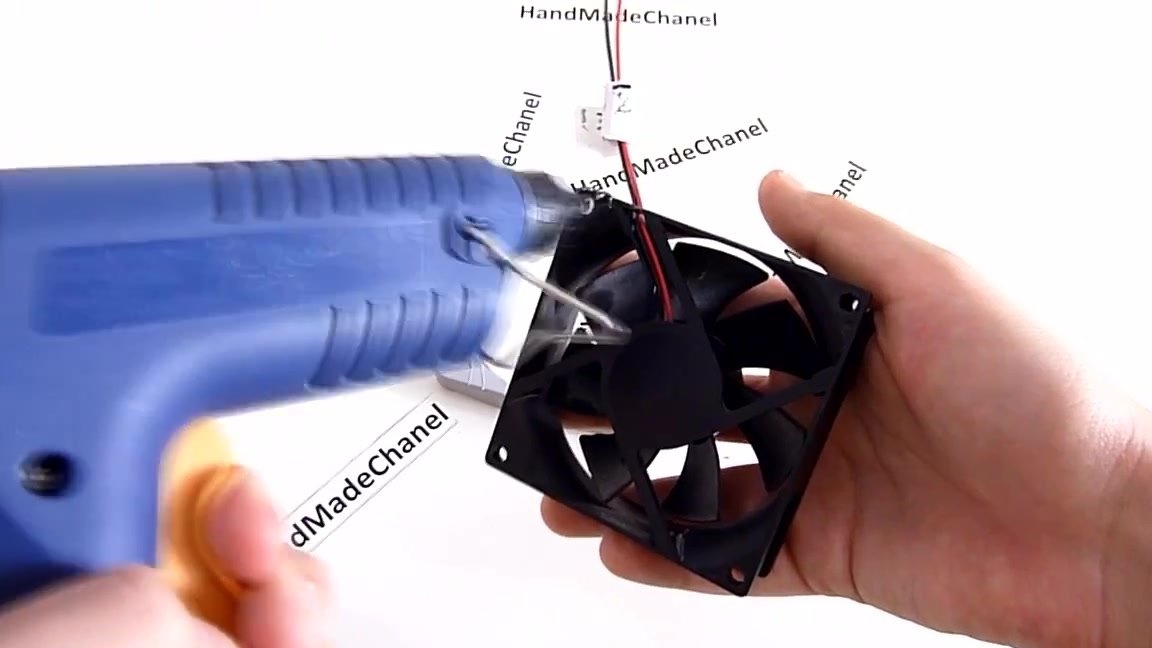
- glue gun;
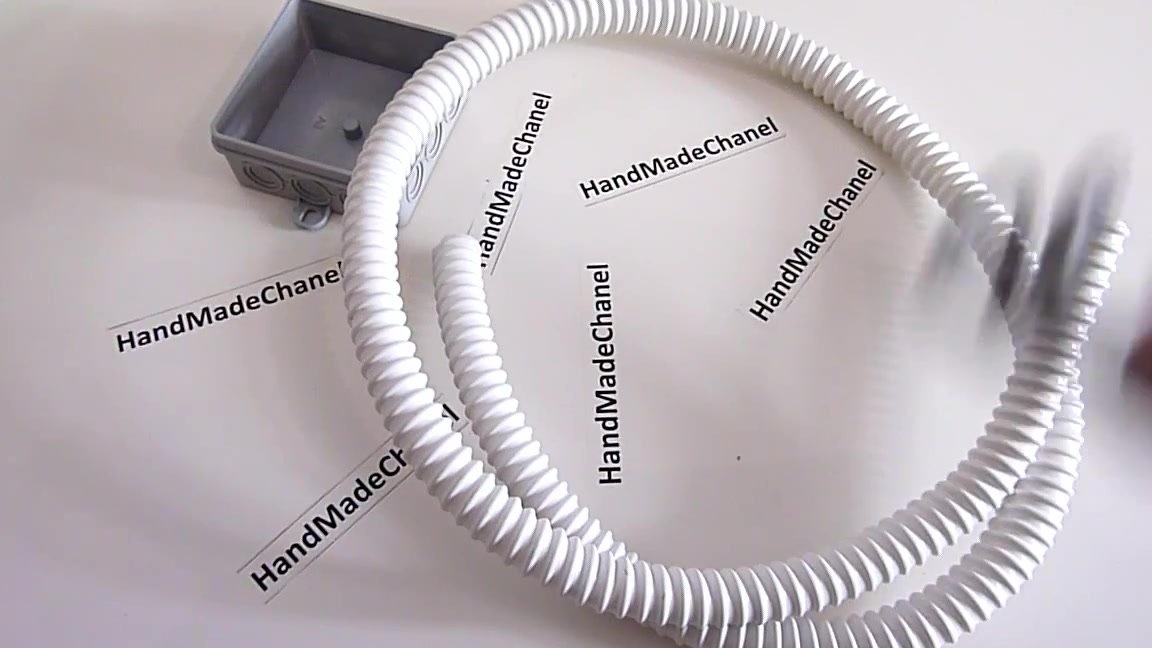
- flexible corrugated tube.
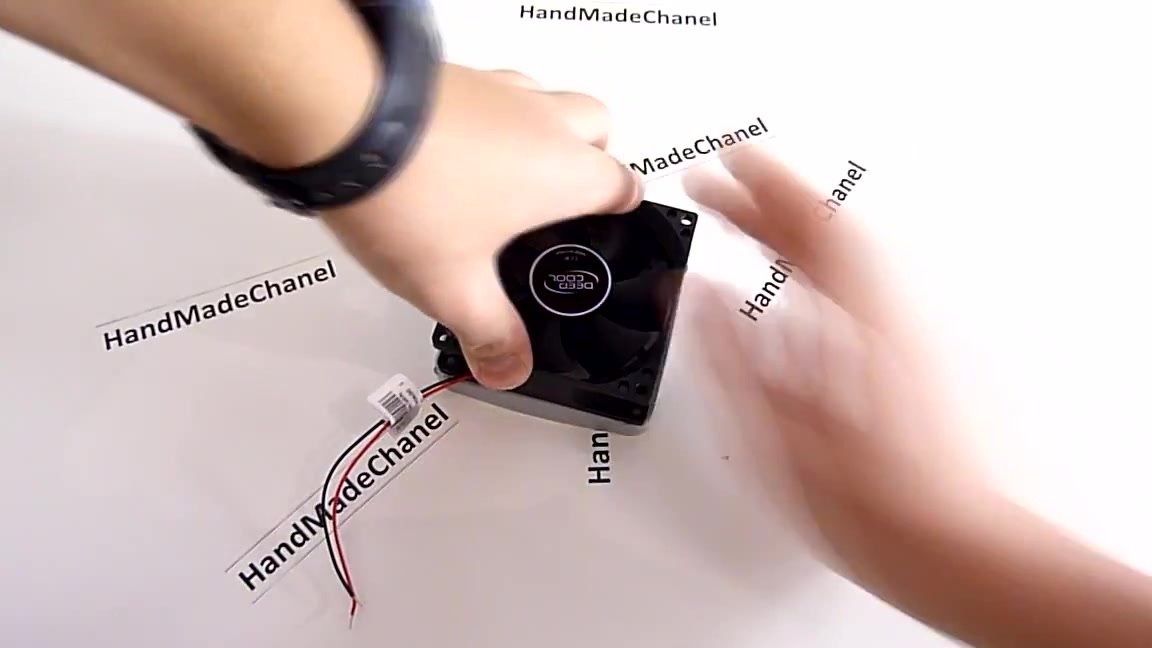
Let's get started. First of all, we need to cut a round hole on the diameter of the junction box along the diameter of the computer cooler. We will do this with a clerical knife.
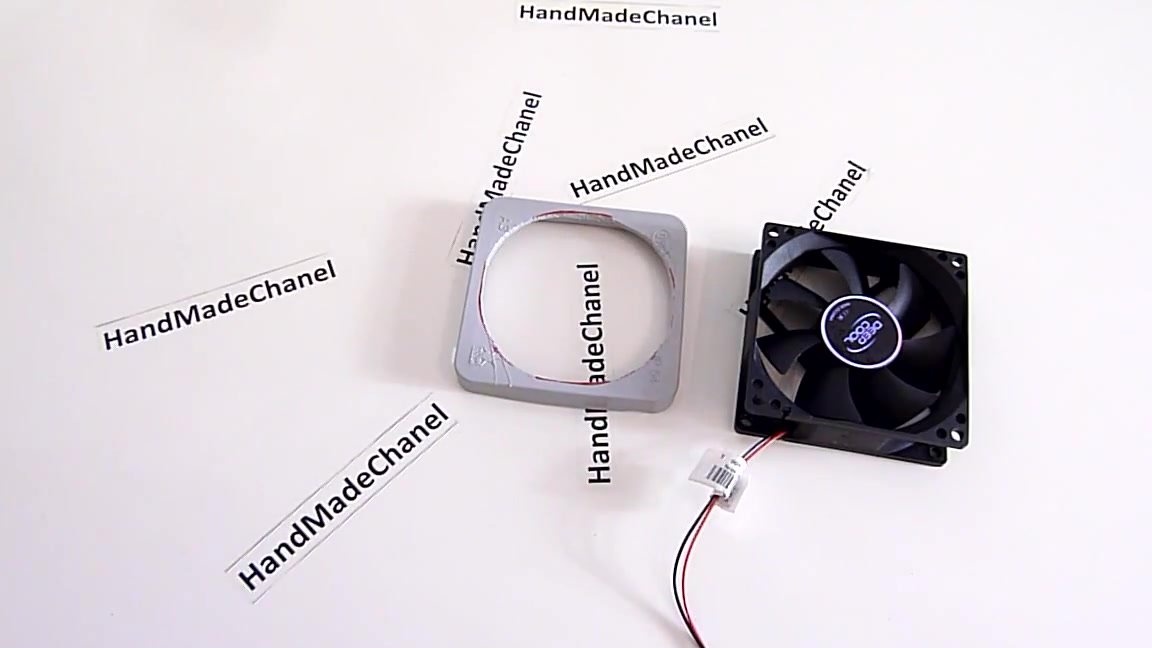
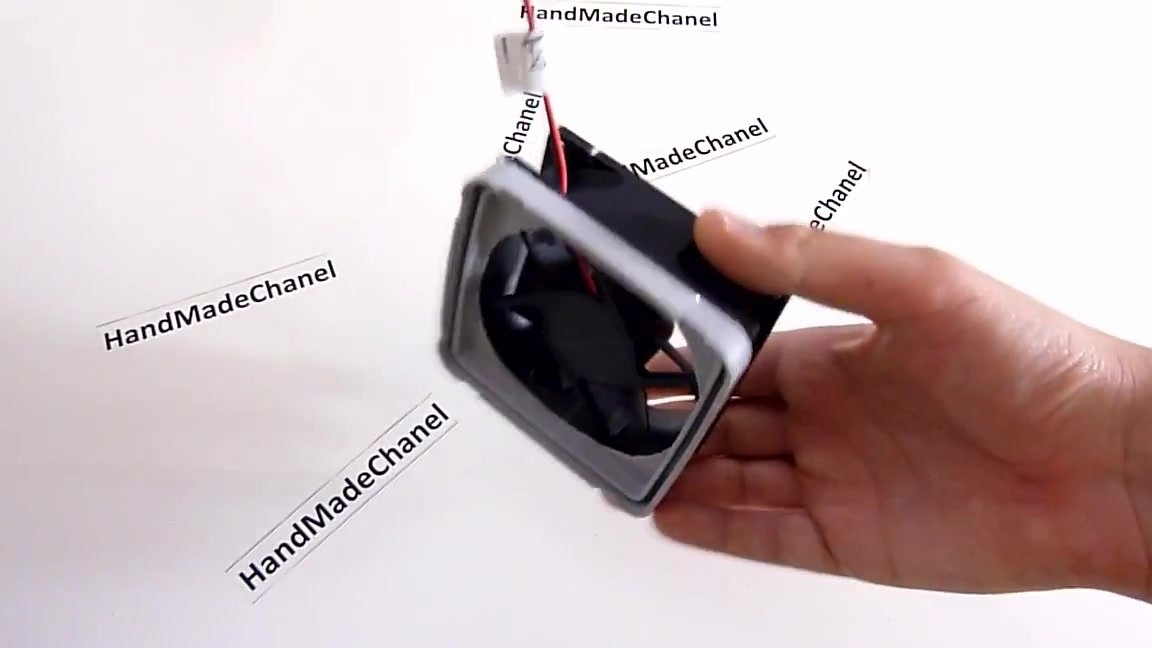
After we cut a hole, you can glue the cooler to the lid. It should be noted that after gluing, the side with the inscription of the manufacturer is on the top.
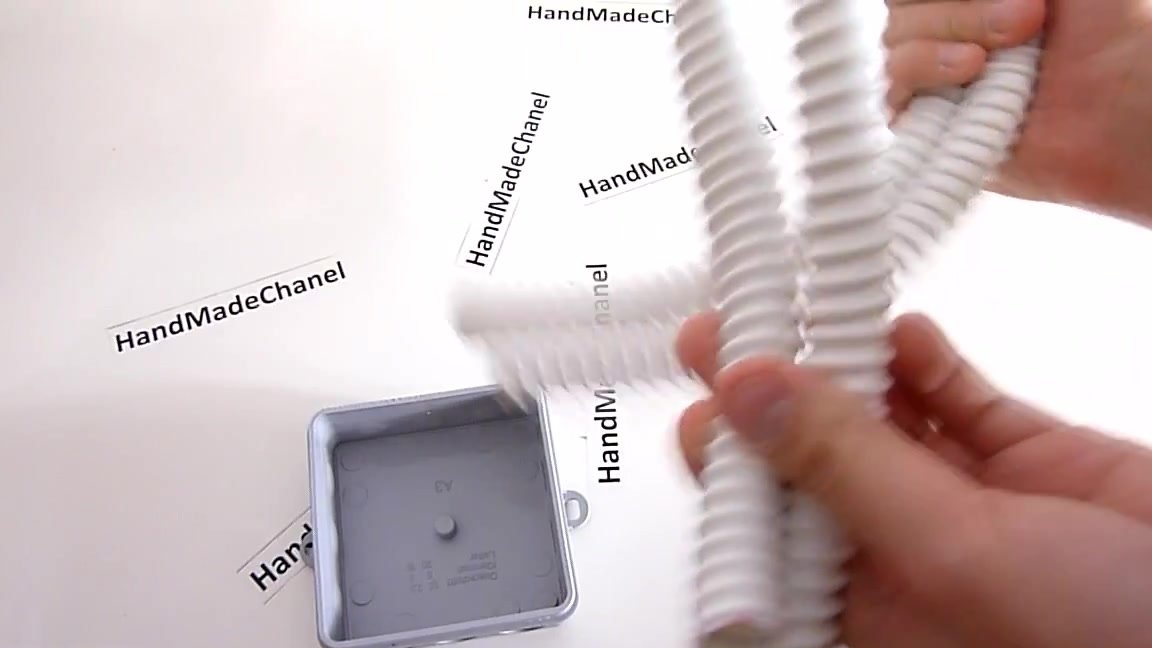
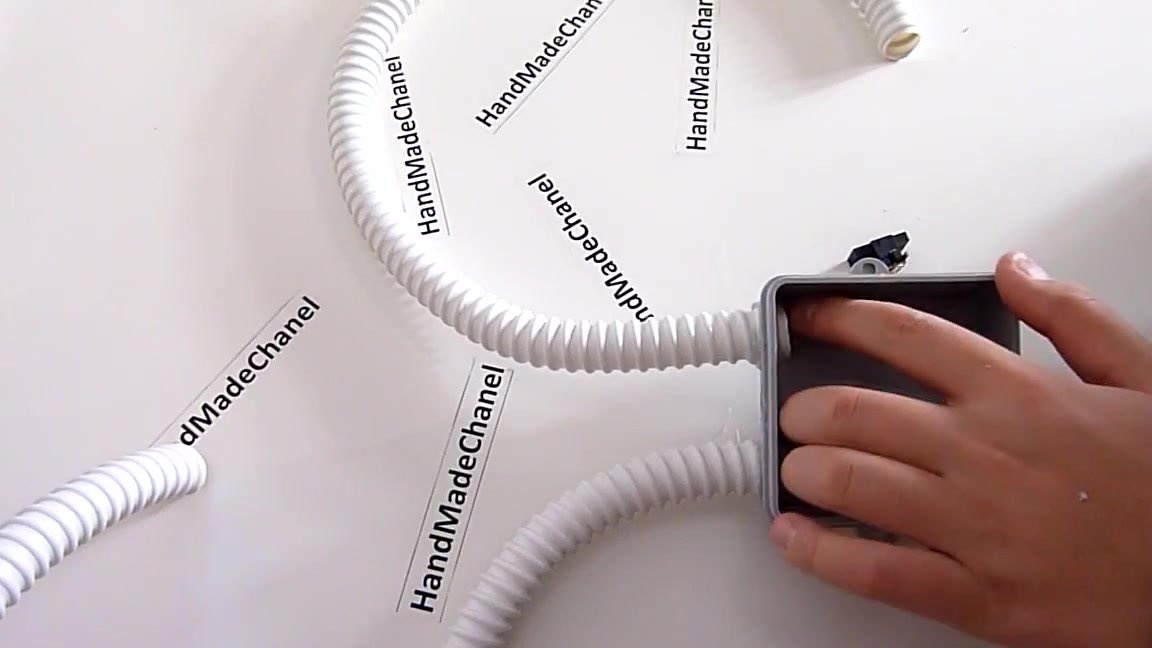
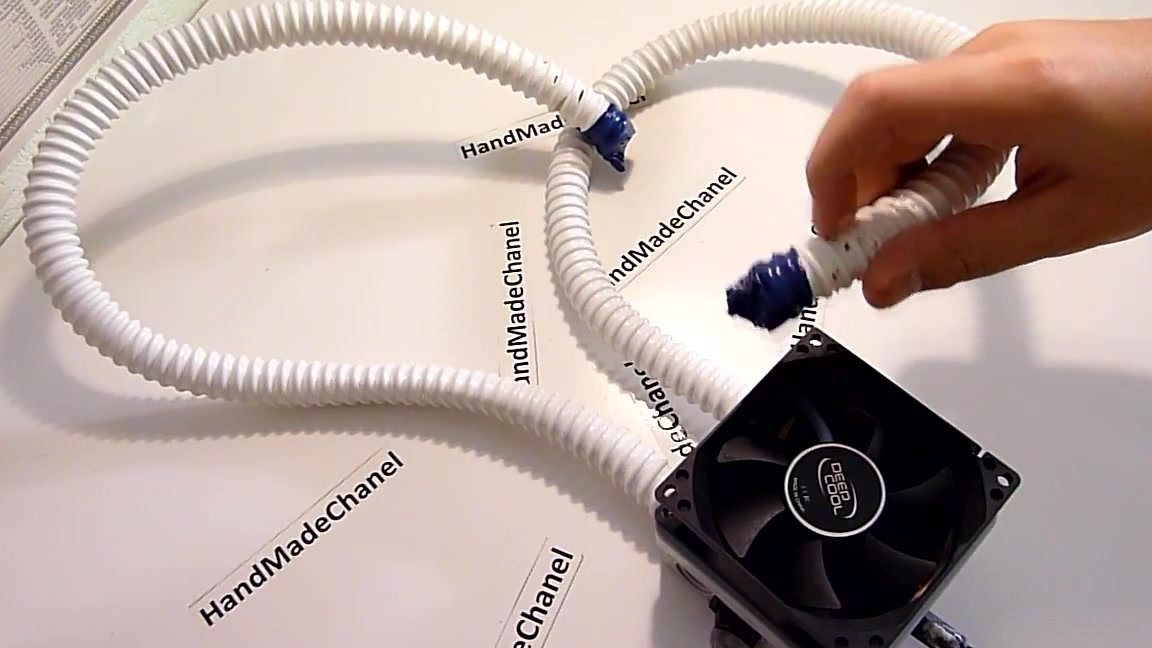
Now we put it off for a while and proceed to the manufacture of the following components. To do this, take the corrugated tube and cut it in half.
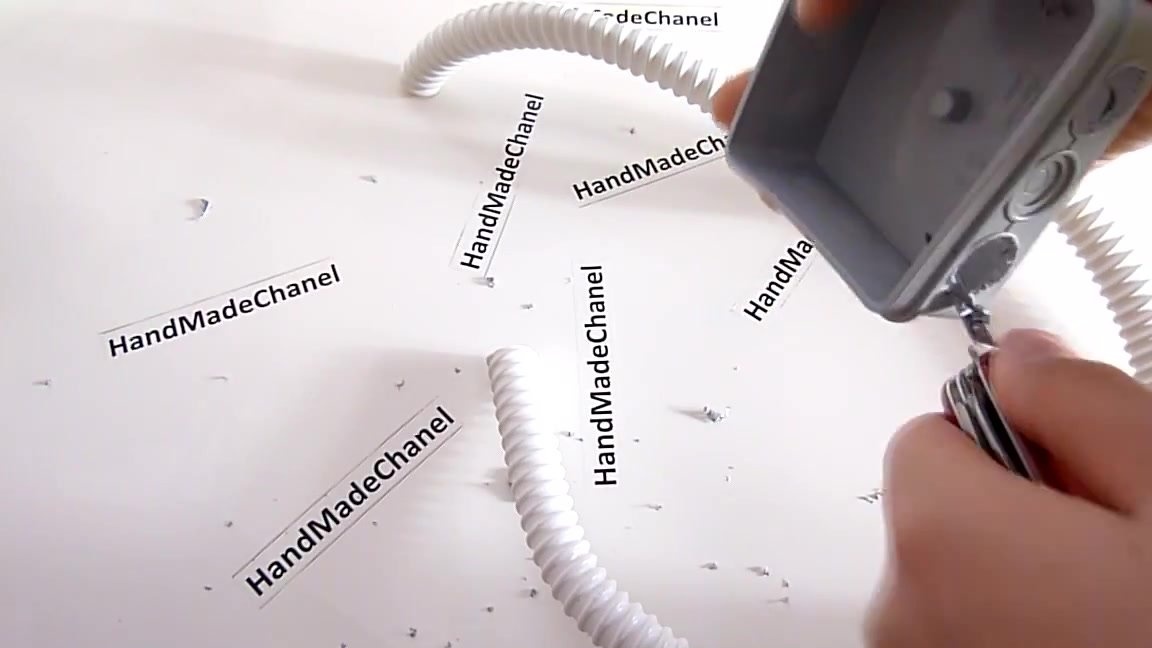
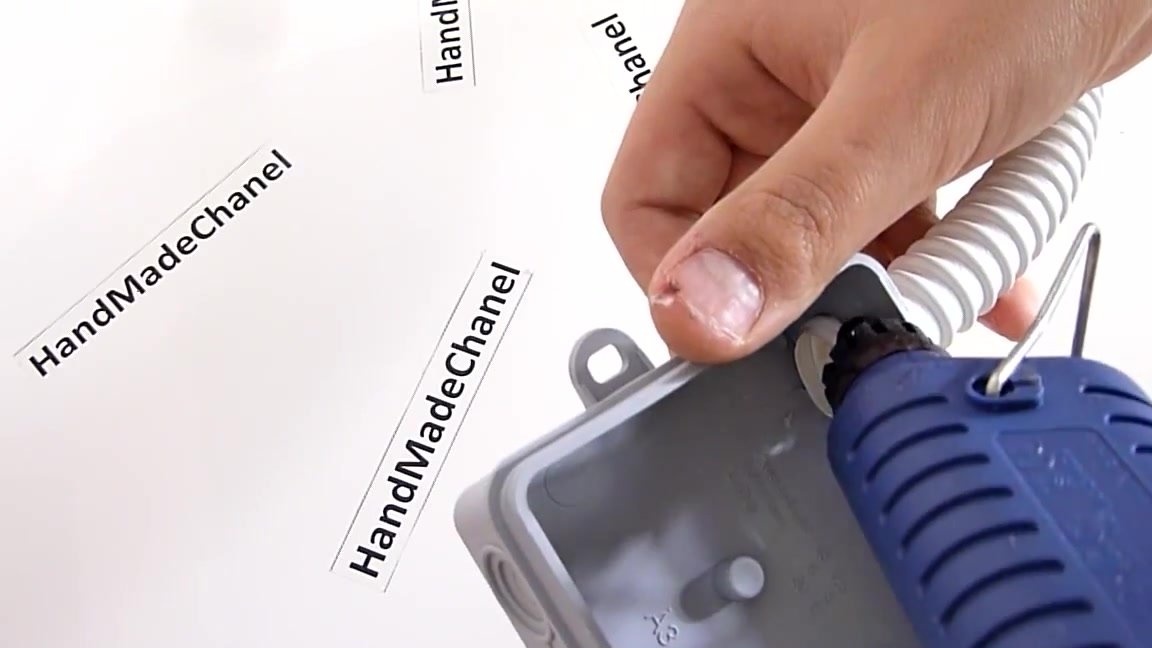
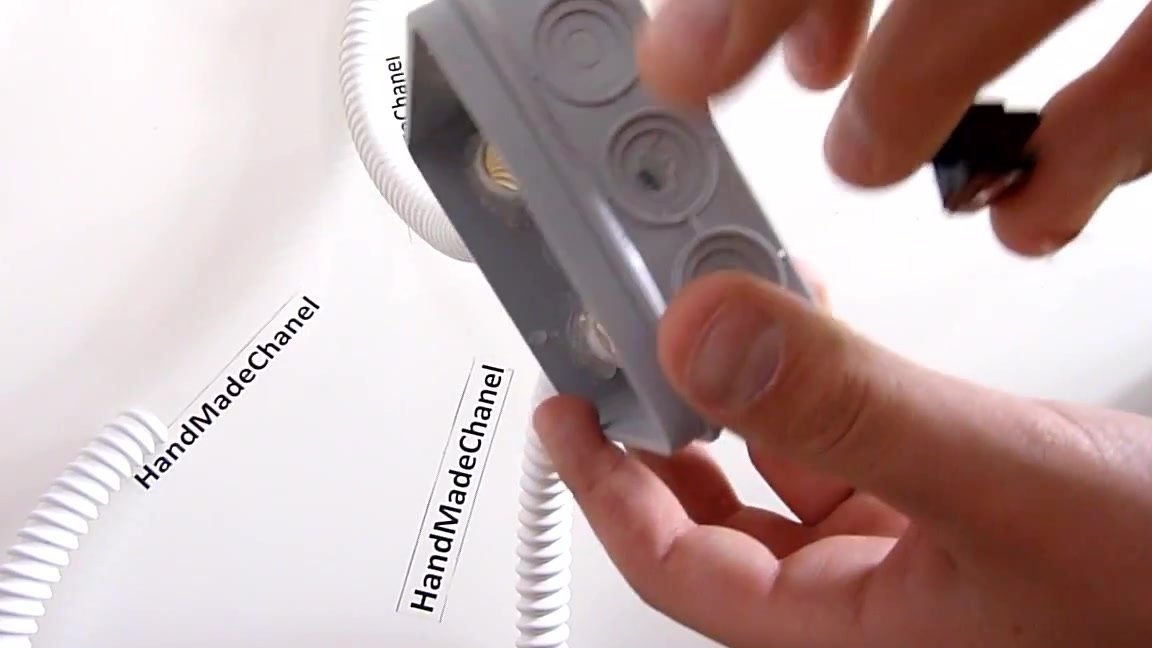
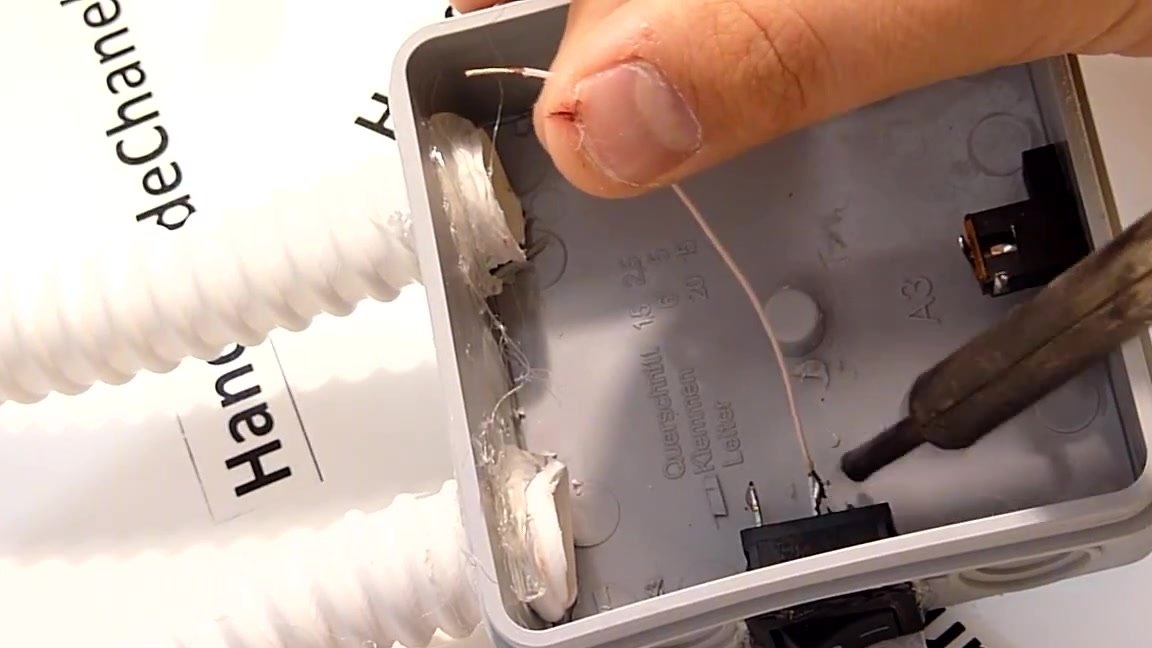
On the dispenser box there are special holes that need to be cut and glued into the tube.
On the same box on the reverse side, we make a hole for the power supply connector.
Glue the connector from the inside with a glue gun.
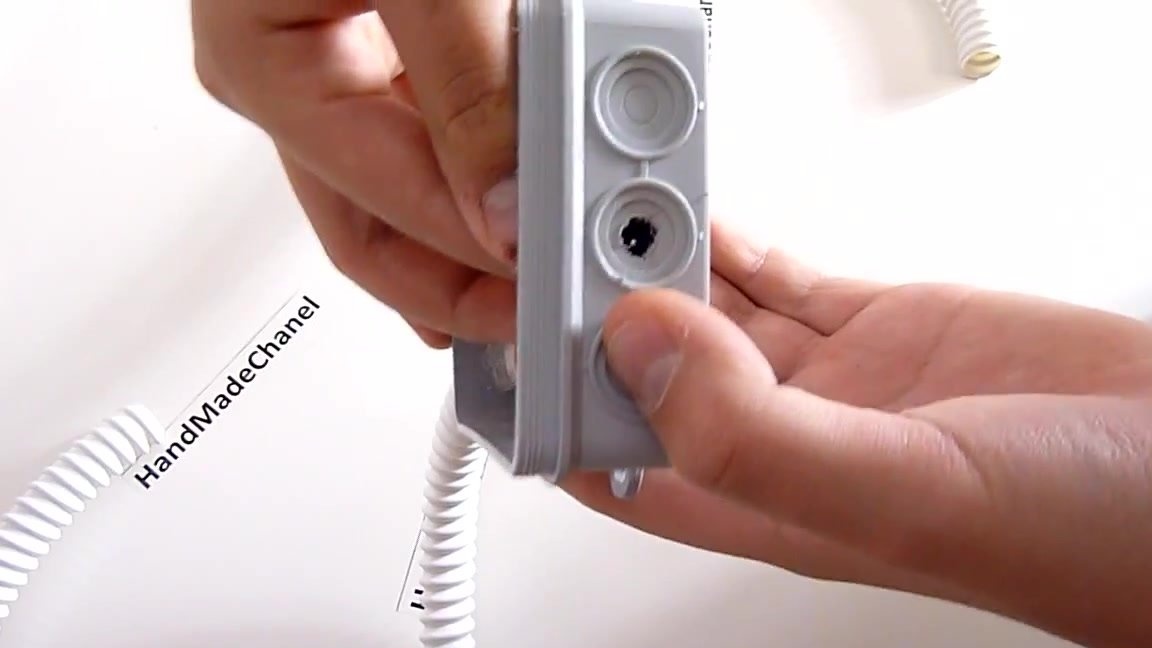
Next, we need to determine the location of the switch. The author, for example, put the toggle switch on the side. Again, cut a hole for the size of the switch and glue the toggle switch from the inside with a glue gun.
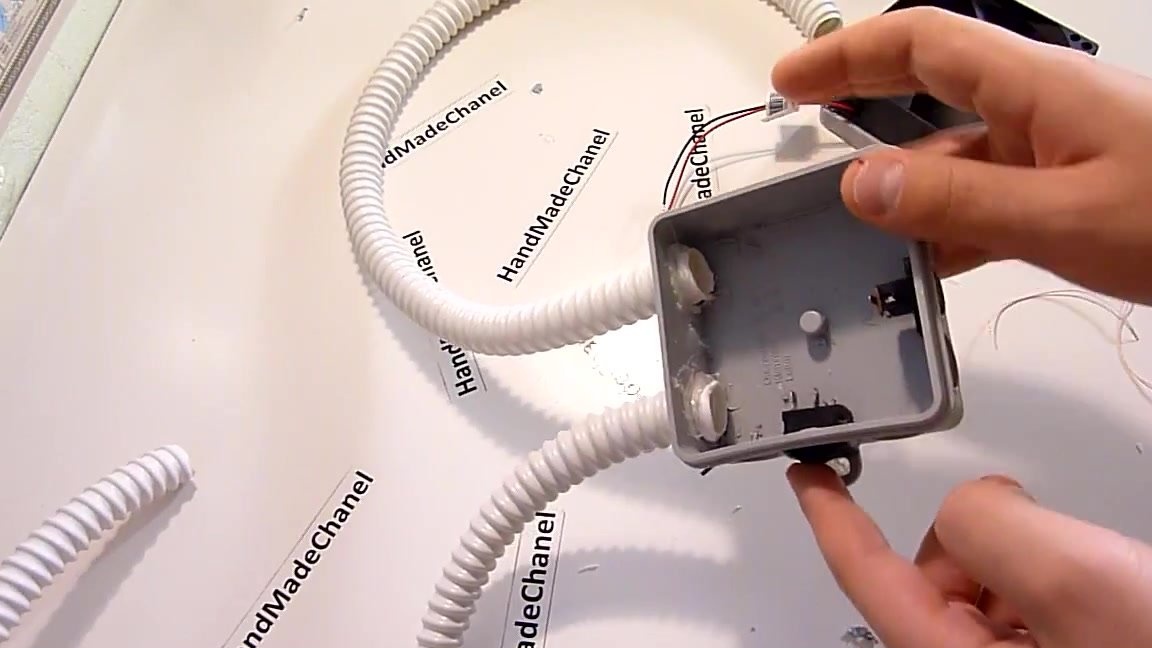
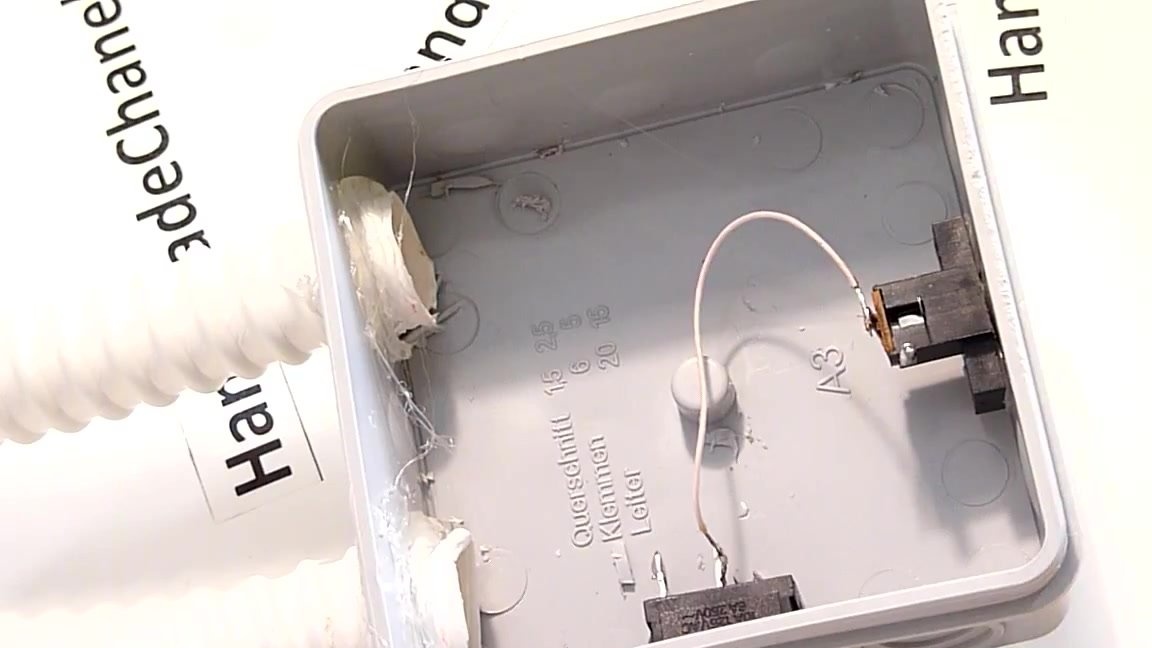
Now we need a little wiring to solder our circuit.
We take the wiring to solder to one of the contacts of the switch already installed in its place.
The same wiring at the other end is soldered to the central pin of the power supply connector.
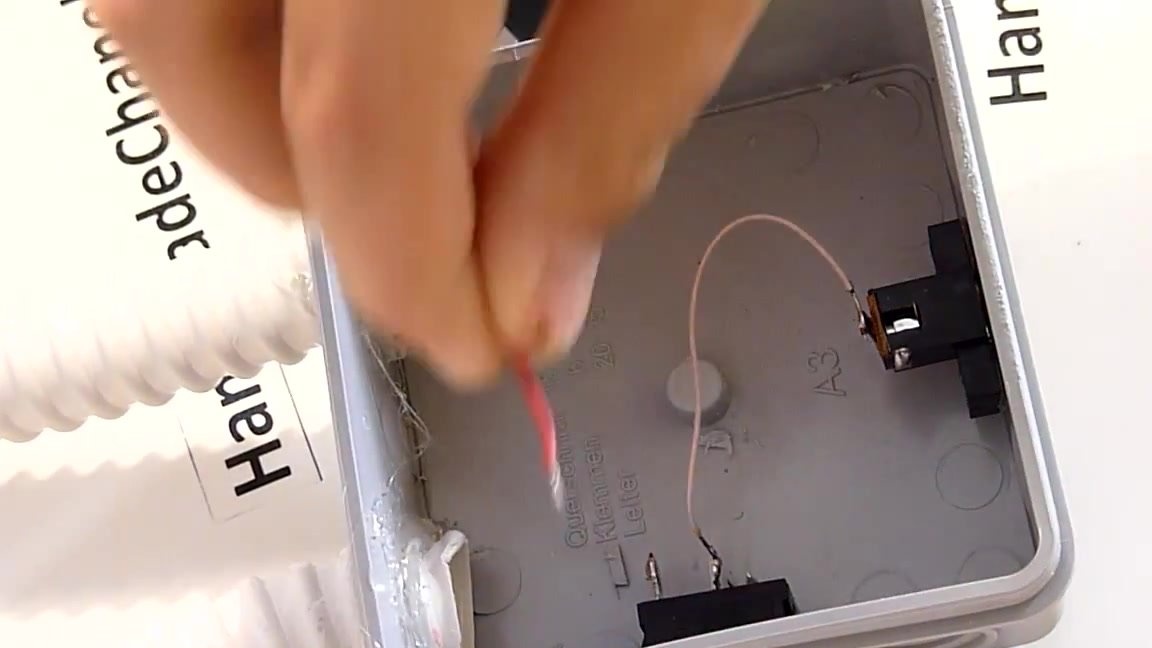
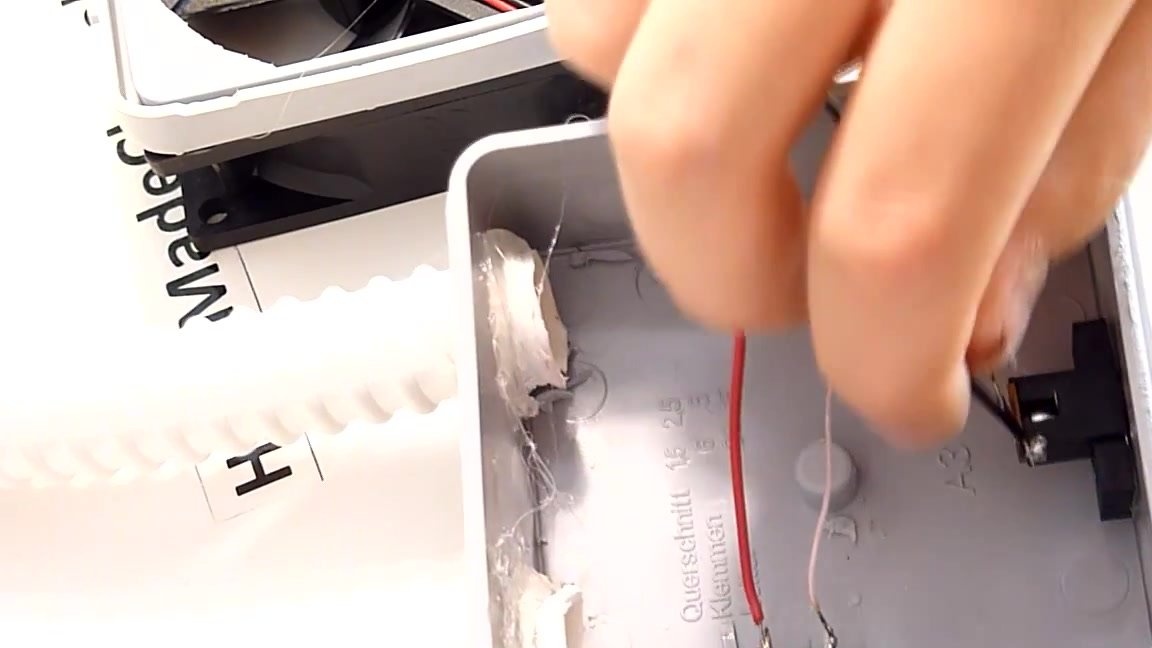
Next, we take our lid with a cooler. The red wire coming from the cooler is a plus. We solder this wire to the second contact of the toggle switch, which is still free.
Solder the black wire from the cooler to the extreme end on the power supply connector.
Now we need to close the lid, after ensuring complete isolation of the contacts.
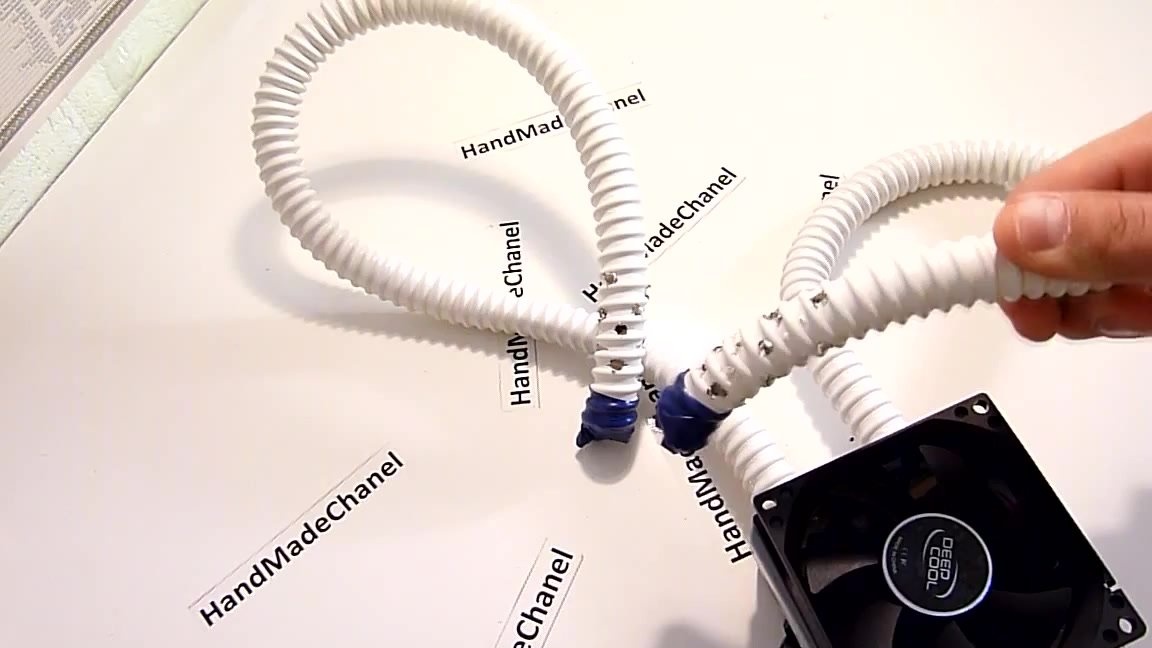
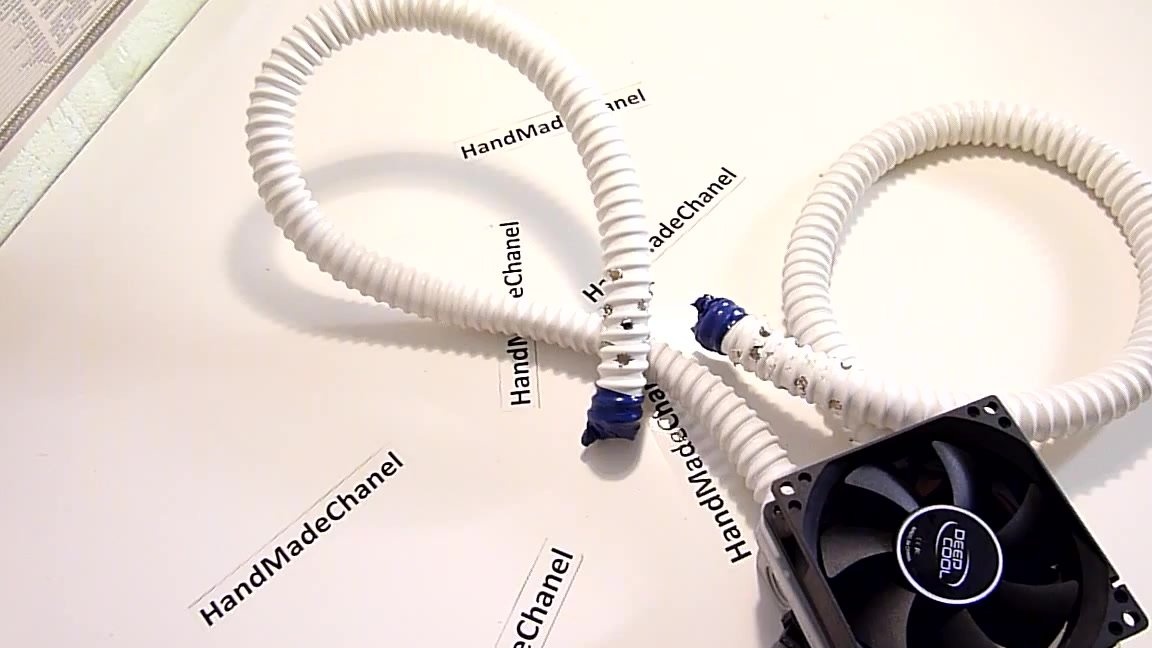
The next thing we need is to close the holes on both hoses with tape, wrapping the ends of the hoses.
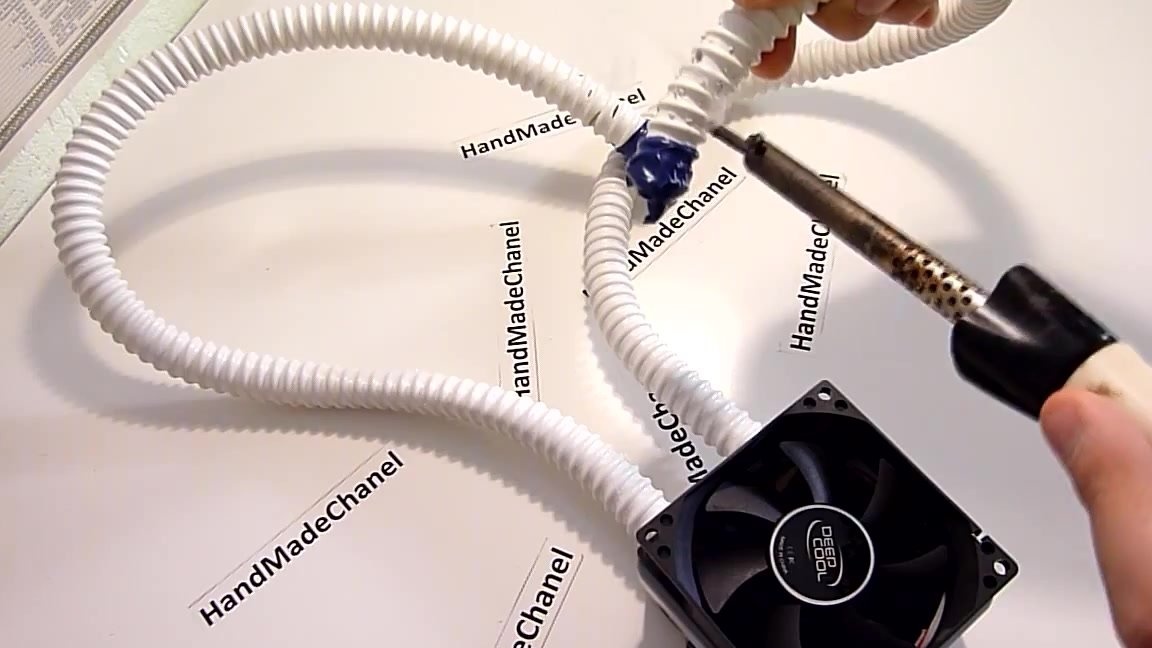
Using a soldering iron, we must make holes on the sides of the hose so that the air exits through these holes.
The dryer is ready. If there are any gaps between the cooler and the cover, they must be sealed with a glue gun or wound with electrical tape so that the air does not disappear.