
[media = http: //www.youtube.com/watch? v = 6g61YGo5AE0]
Many modern tools use backlighting for greater convenience. They help to illuminate a certain part of the surface that will directly undergo the operation of this tool. But such modern tools are quite expensive, and I don’t really want to spend money on a new tool if you have your “favorite” old and reliable unit. But there is no backlight in your tool. You ask: "Why not shine on the surface with which you have to work with an ordinary flashlight?" I will answer: "yes because it is not convenient!" I just want to share with you a way to upgrade the tool in home conditions by making a home-made backlight. Moreover, the backlight will be modern - LED!
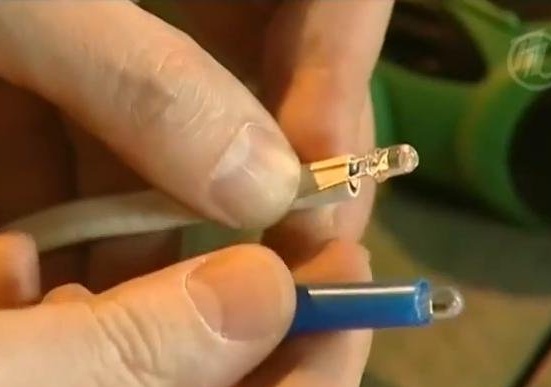
As you understand, for our backlight we need a diode. It can be purchased at the store or pulled out of an unnecessary LED flashlight.
It looks like this:
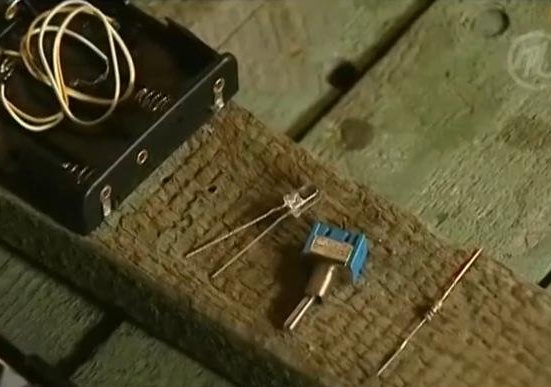
In addition to the diode, we will need a resistor, a battery, a two-wire copper wire that does not straighten, a switch and the box itself for this all:
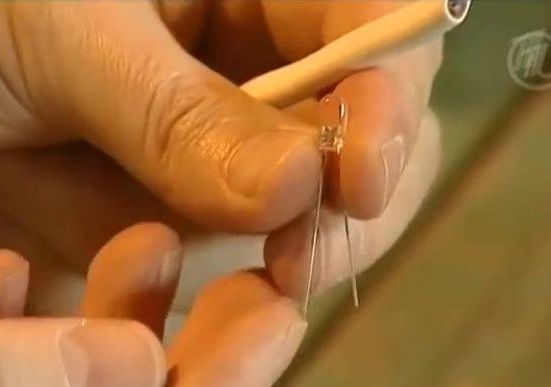
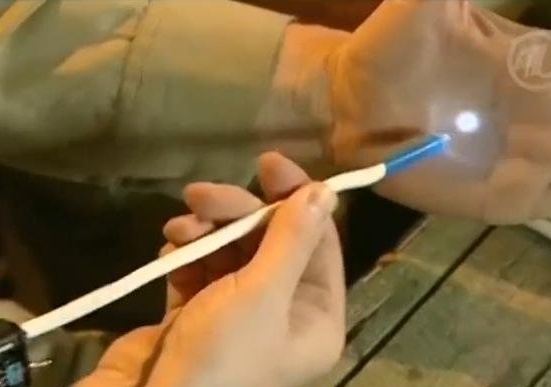
So, as you know, a wire that is longer on the diode is "+". It needs to be connected to our two-core copper wire. This can be done simply by inserting the "positive" diode wire under the insulation or soldering it, as we did:
Now you need to assemble the mechanism itself, that is, the electrical circuit. We connect the copper wire through a resistor to the switch and then to the battery, which will be the power source.
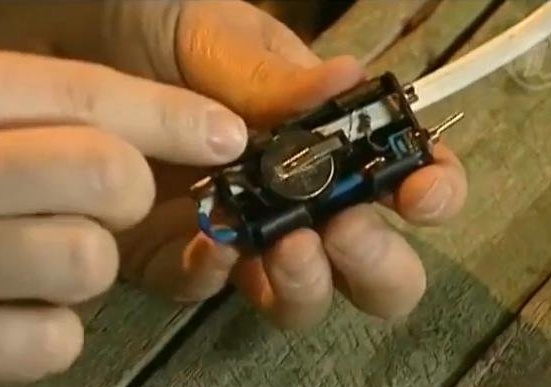
We check the design we have assembled. As you can see, everything works:
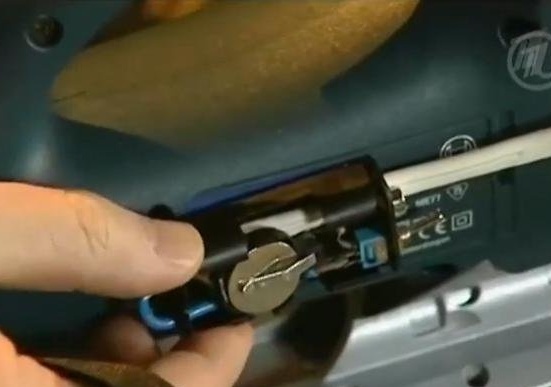
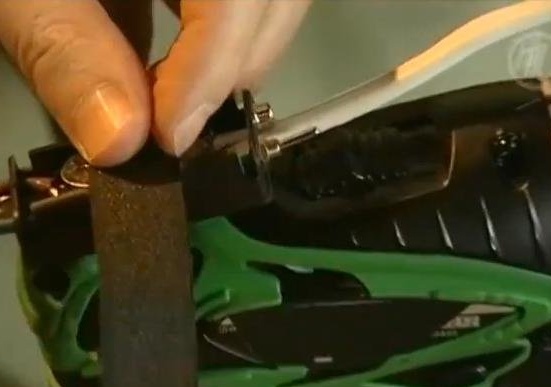
That's all! Now we take the tool we need: for example, a jigsaw. We fix our box with the "insides" in a convenient place with our tool using tape or Velcro, as shown in the photo:
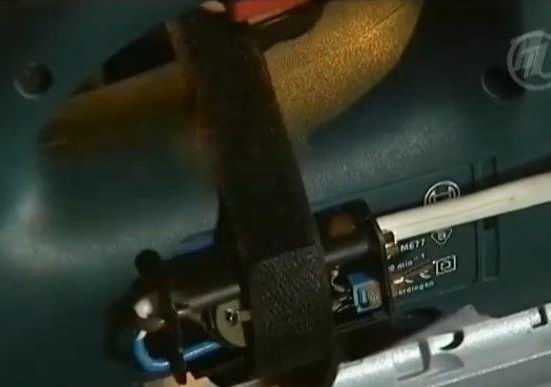
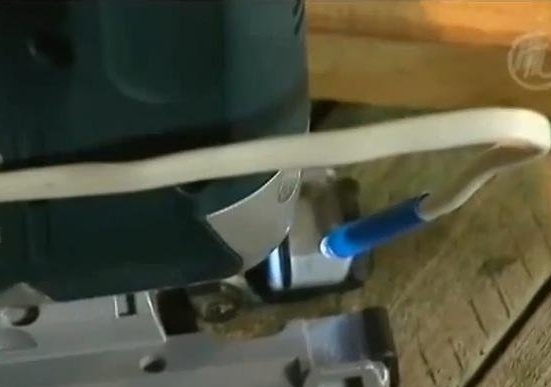
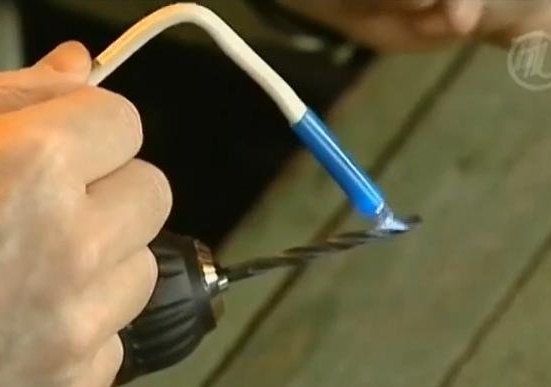
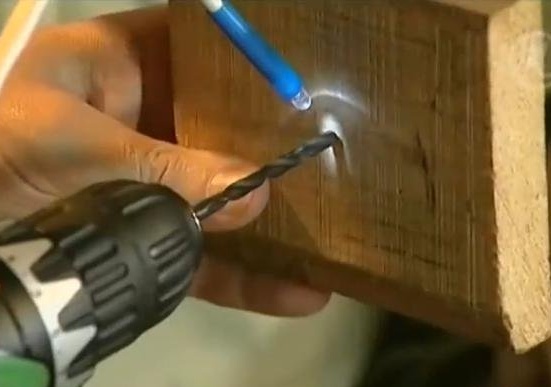
Now, due to the fact that our two-wire wire is copper and does not straighten, we can direct it to any surface without any problems:
We can do the same with a drill (and indeed with any tool).In the same way, we fix the structure to the drills and direct the LED to a place on the surface with which you will have to work:
Now you can easily use your favorite tool, but already having a backlight that will make your life easier.