
[media = http: //www.youtube.com/watch? v = r9aLUGQwfeE]
Many houses have preserved old negative films with photographs. In the old days, people used to take pictures in this way (when there was no modern technology, such as digital cameras, etc.) But time goes on, various modern means appear that make life easier. But today I want to go back to those days and tell you about how you can take photos that are stored on your negative film almost for free and quickly.
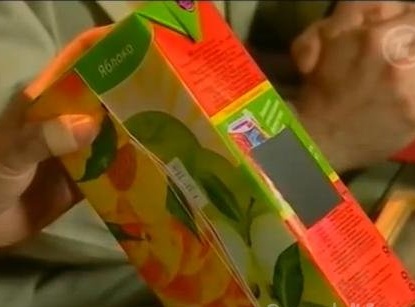
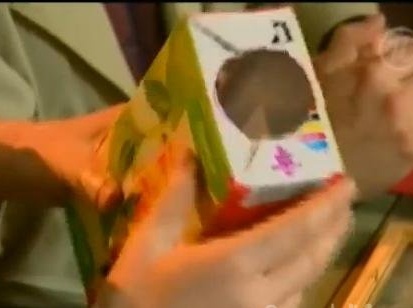
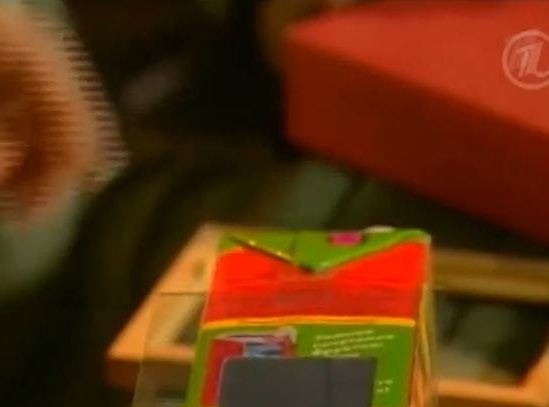
We will come in handy used cardboard box from juice or milk with a volume of 2 liters. We make two holes in it: one in the end part is rectangular, and the other in the bottom of the box is round (we make this hole according to the size of your light source, we made an ordinary incandescent bulb).
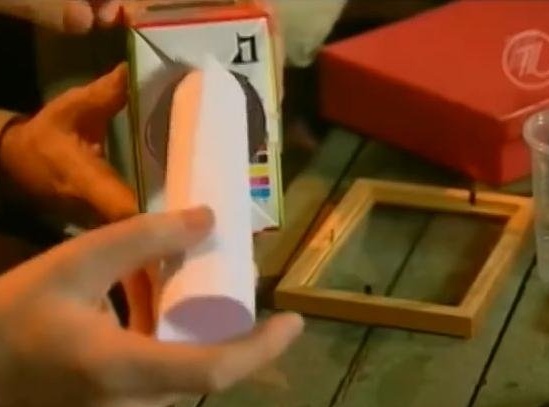
We take an ordinary white sheet of paper, twist it into a tube and put it in a cardboard box through the hole we made. The leaf is straightened inside the box and now the light entering the box will be "white, uniform and soft."
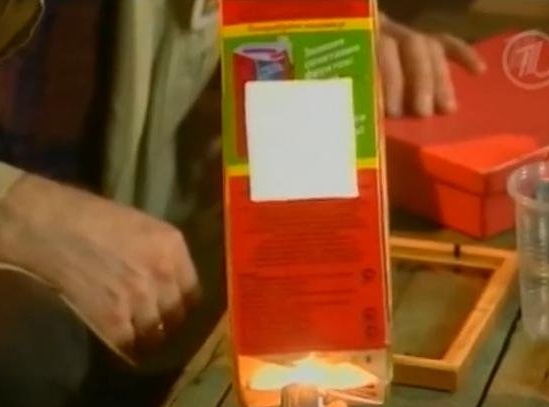
Take glass (a small piece that will cover a hole in the end of the box). Glass can be taken, for example, from a stand for photographs or a transparent plastic box from under the disks. We are in this homemade just took the glass. We attach this glass to the box using tape or adhesive tape, as shown in the photo:
We make such a “holder” for the film, which will easily move around in the negative (it can even be made from cardboard):

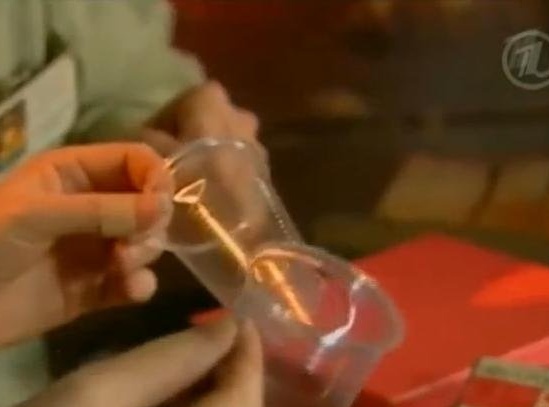
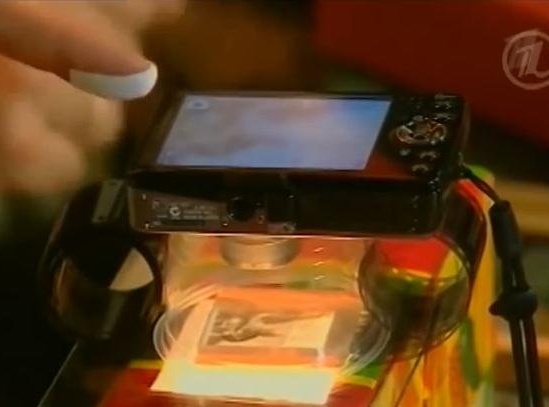
Now we need a regular disposable plastic cup (cut the bottom so that the lens of the digital camera fits into the glass).
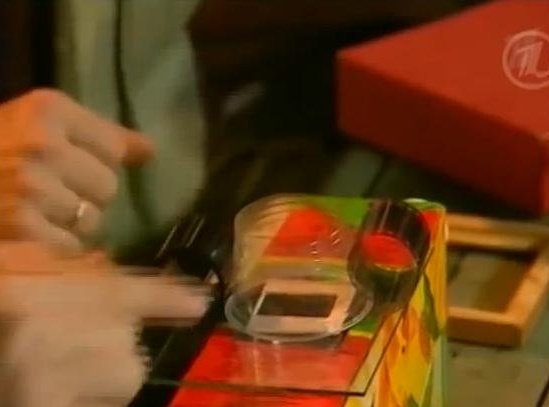
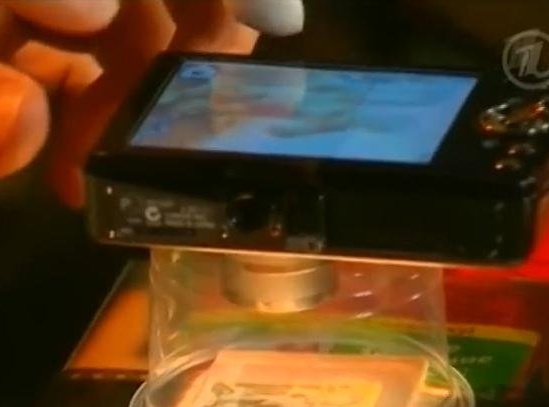
We put a film with a “holder” on the fixed glass and install a cut glass on top. Next, put the digital camera in macro mode and put it on top of the glass with the lens down:
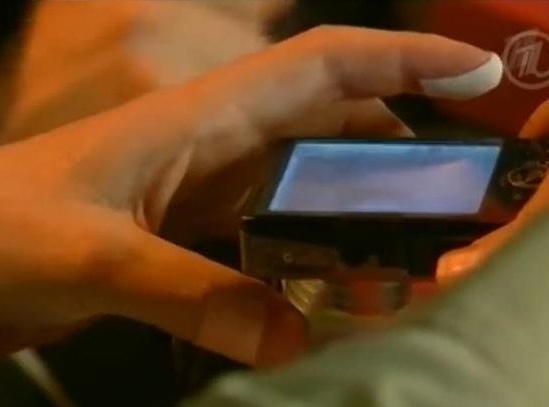
Turn on the color:
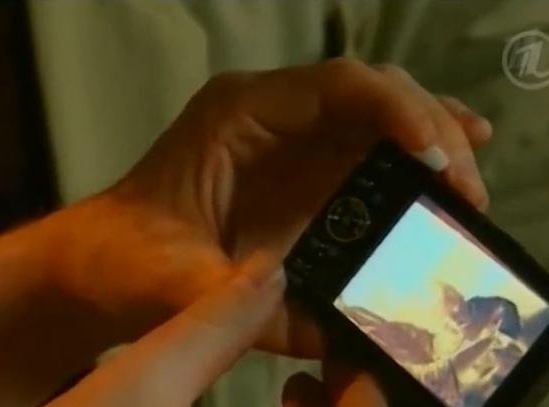
We carefully take a picture with our digital camera. We get a negative image. We make such photos from all over the film.
Next, we connect the digital camera to the computer and transfer from the "camera" to the "computer" all the photos taken by us.
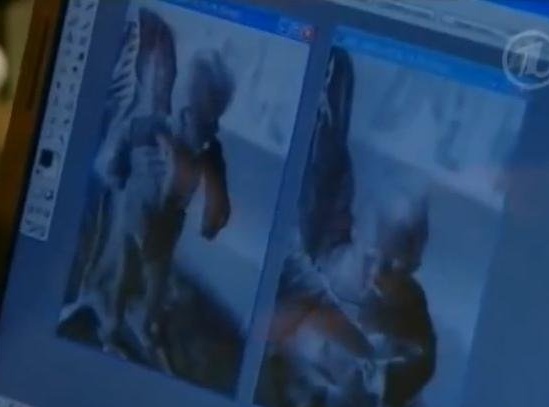
When negative photos are in the computer, they need to be inverted, that is, from the negative turned into ordinary photos, which we do:
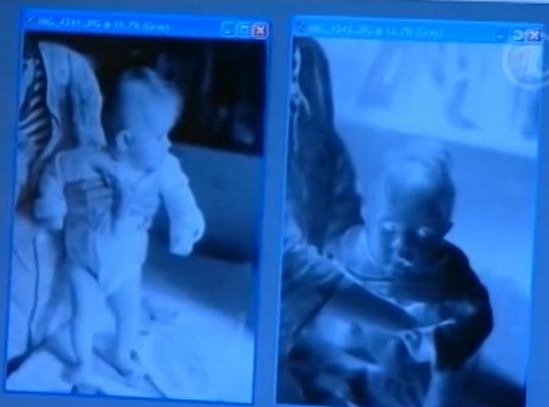
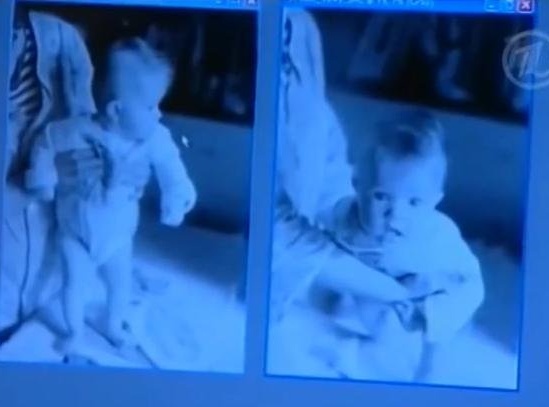
The result is ordinary photos that you can leave on your computer, or print using an ordinary printer and you will have photos.
So, today in this article I told you how you can "update" and "re-make" photos from the past using home fixtures!