

The advantage of home-made color music is the ease of assembly. If desired, anyone can create such beauty.
We will need:
- 3.5 wire from the headphones;
- 5 mm LEDs;
- transistor KT817 (you can find a similar analogue);
- network adapter 12V;
- wires for connection;
- plexiglass;
- sandpaper nulevka;
- glue.
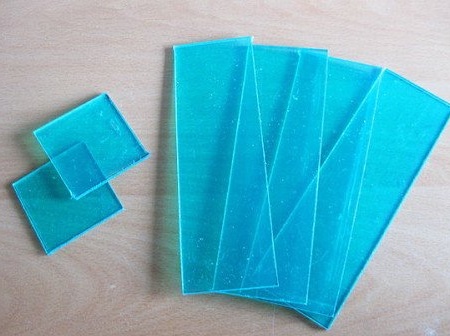
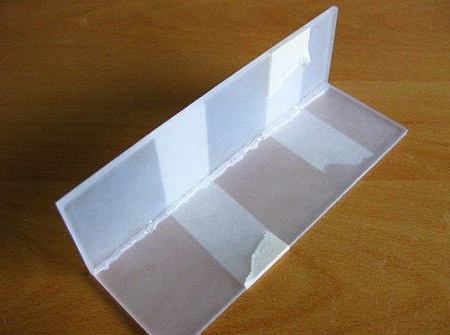
Step 1

Prepare the parts for the enclosure. Take plexiglass for this. You can make color music boxes of any size. Only make mistakes when marking up, especially when the necessary materials are not so much at your disposal. In the photo you see the markings as follows: side walls 15x5 cm, end walls - 5x5 cm.
Step 2
Now cut out parts of the future case. Do this carefully so that no cracks appear. Otherwise, beautiful color music will not work. This work can be called quite thin, there is no need to rush.
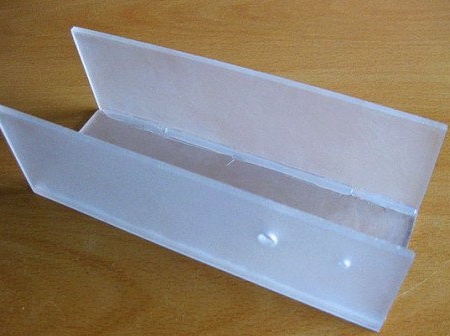
Step 3
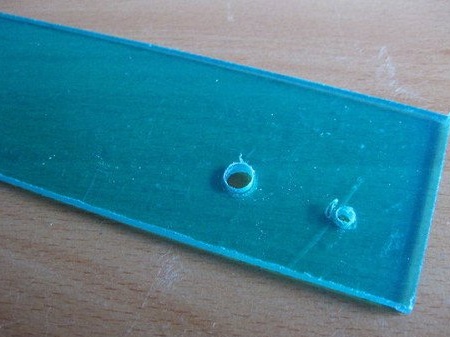
Hole one of the four parts in two places. This is necessary so that you can connect headphones and power.
Step 4
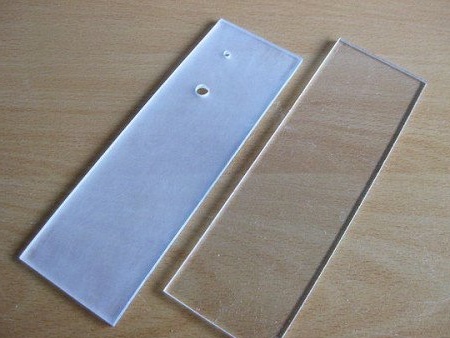
Now sandpaper the cut pieces of plexiglass. Then you get the effect of dispersing the color music inside the box.
Step 5
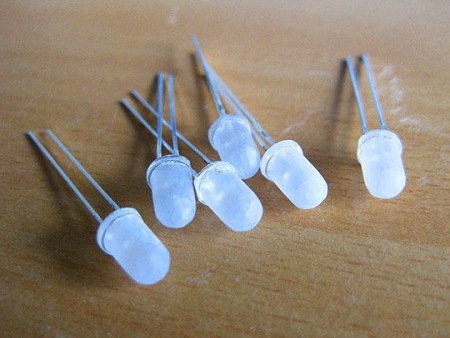
With LEDs, do the same procedure with sandpaper.
Step 6
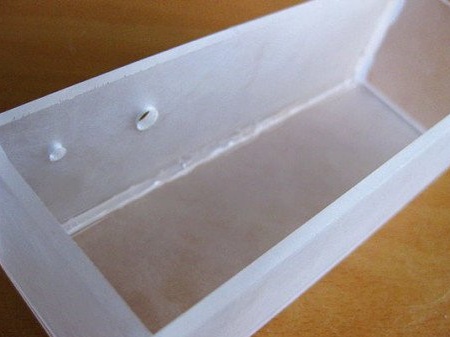
Next, start gluing pieces of glass into the body.
Step 7
Next, count the number of LEDs needed. Use the following formula: adapter operating voltage output / nominal operating voltage of a single LED = required number of LEDs.
In this particular case, we get a 12V network adapter, so the equation goes as follows: 12/3 = 4 LEDs.
Step 8
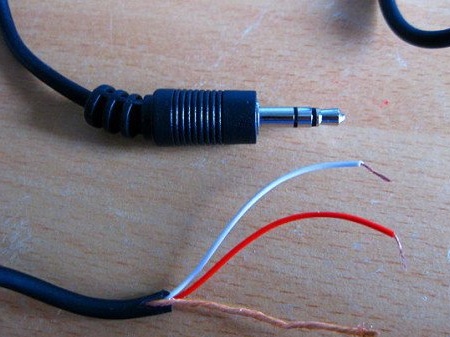
Cut off the headphones, open the wires, get three internal wiring. We need a common (copper) wire and one red or white (not essential).
Step 9
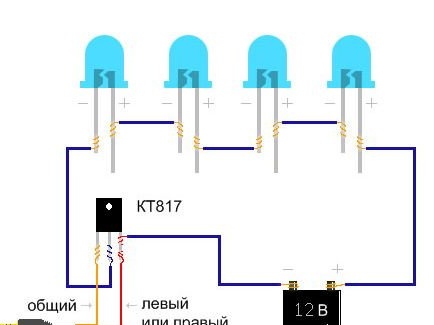
Here is a diagram of the connection of color music on LEDs. We recommend that you familiarize yourself with it.
Step 10
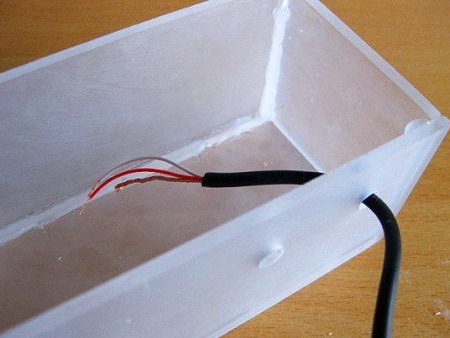
We continue to collect color music. Insert the wire into the prepared holes in the housing.
Step 11
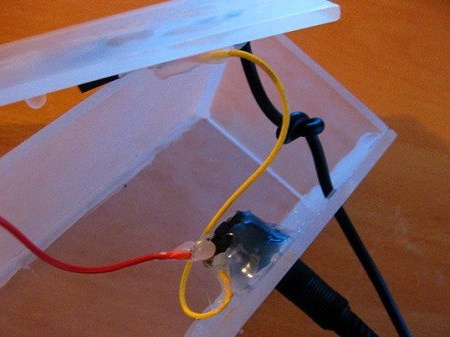
Strictly according to the scheme, it is required to solder the LEDs, transistor, connection cable and 12V network adapter into a single circuit.
Step 12

Now check the design for performance.Glue the last part of the body.
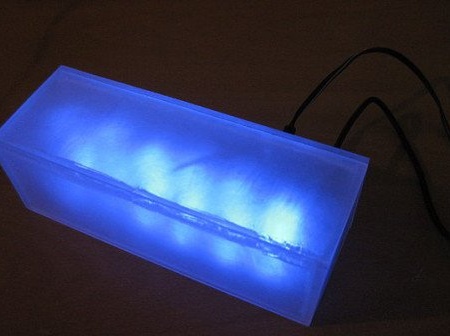
Color music do it yourself ready, thank you for your attention! And wish you success!