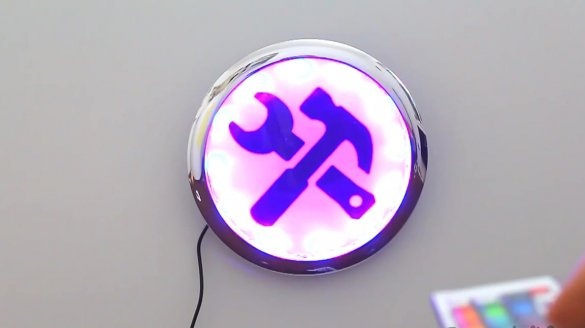
Many who have their own store or publish videos from homemade may think of a beautiful backlit logo. We decided to help you if you also thought about getting such a logo. So, we present the logo creation material.
First, check out the video
[media = https: //www.youtube.com/watch? v = gMRJCArdaaA]
Now consider what we need:
- LED strip with power supply;
- Wall Clock;
- screwdriver;
- paper;
- a printer;
- glue gun;
- Super glue;
- PVA glue.
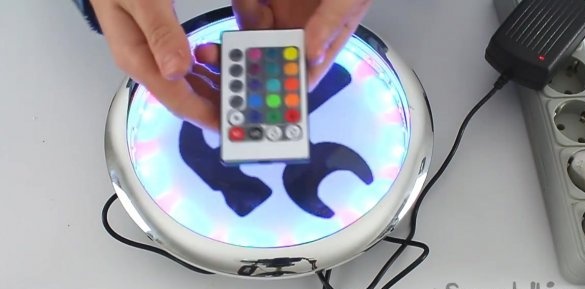
First, we note that the author of the homemade product uses the so-called RGB LED strip, which comes with a control panel that allows you to adjust the color rendering of LED bulbs.
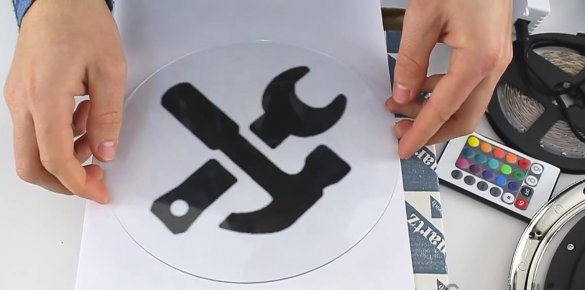
Let's start by creating a logo. To do this, you need to draw it in any graphics editor on your computer and print it to a printer. You can use plain A4 paper for this. As for the printer, depending on the logo and your own preferences, you can use both color and regular black and white.
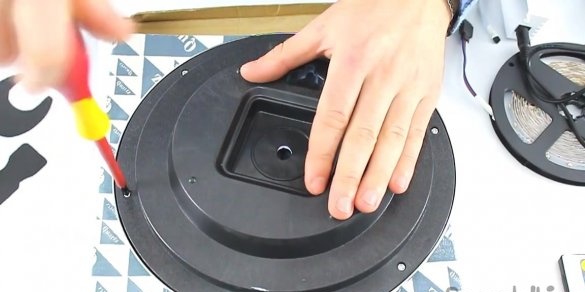
After that, we take a screwdriver, since it is necessary to unscrew the screws on the back of the watch box.
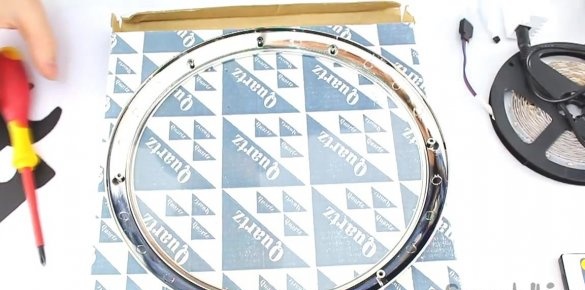
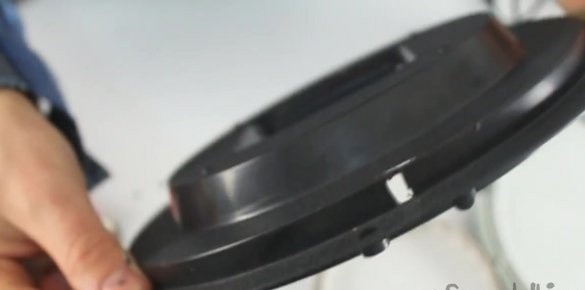
We disassemble the box. We remove the back plastic cover, after which the protective glass and go to the logo.
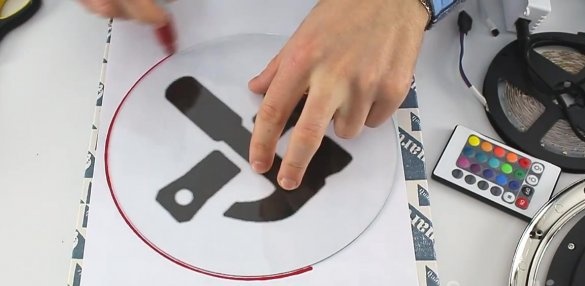
We put the glass exactly in the center of the logo, and then circle the marker or pencil.
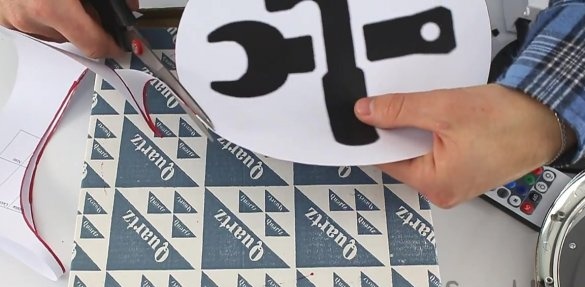
Cut out the circled logo with scissors.
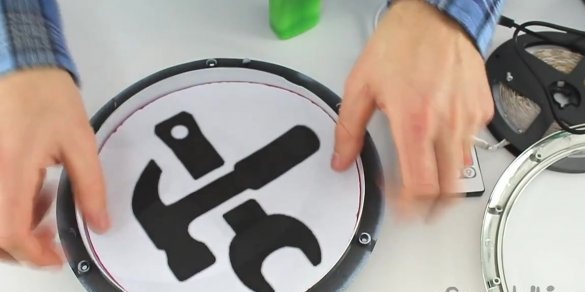
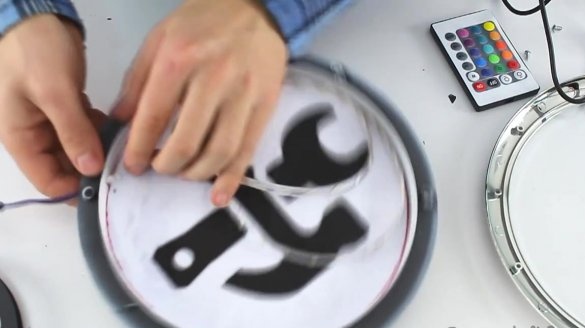
Apply PVA glue to the watch dial and glue the logo.
Now you can go to the LED strip. First of all, measure the approximate length in the inner part.
Cut off the resulting piece.
We take a clerical knife to make a small hole on the side of the watch box under the wires.
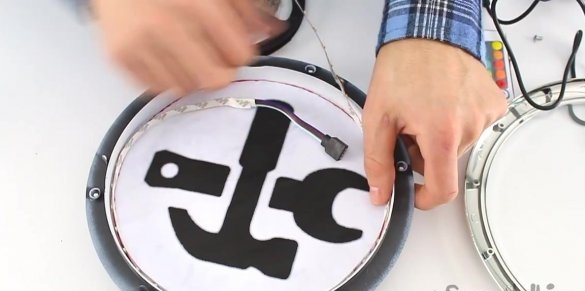
We insert an LED strip through this hole.
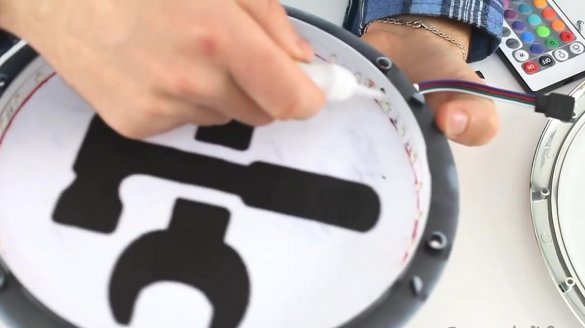
Glue the tape on the inside.
Since over time, at some places, the LED strip will peel off, since the double-sided tape used in the manufacture of such tapes is not very reliable. Therefore, it is best to use super glue, with which we additionally glue the tape after 2-3 cm.
In the end, we neatly collect everything back. Screw the screws into place.
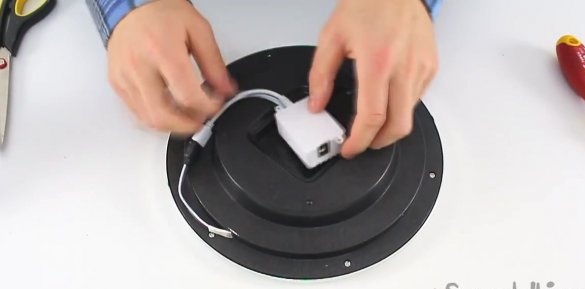
We connect the LED strip controller and glue it in place of the batteries with a glue gun.
Backlit logo is ready. It remains to connect the power supply and plug it into a power outlet and enjoy your own work.

