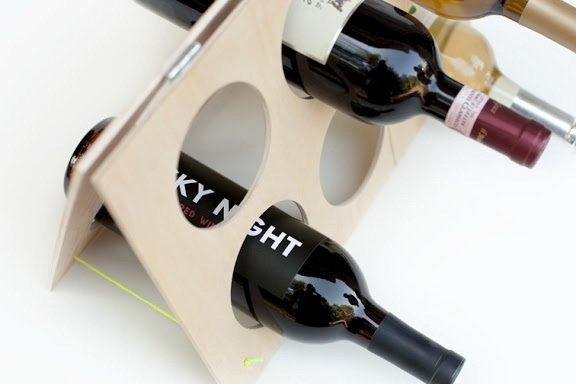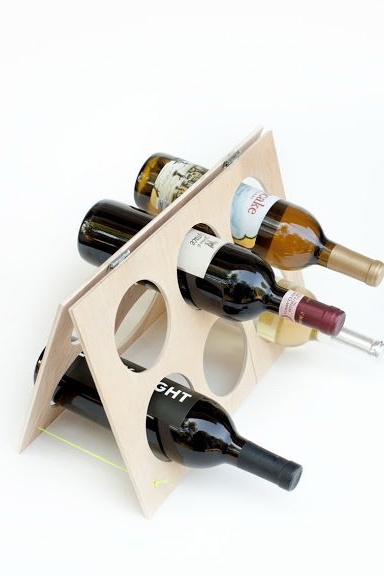
We bring to your attention a unique wine table. You can set this table option at home or in the country, whenever and when necessary. After the holidays, it can be easily assembled and hidden in a closet. It does not take up much space, but it looks spectacular.
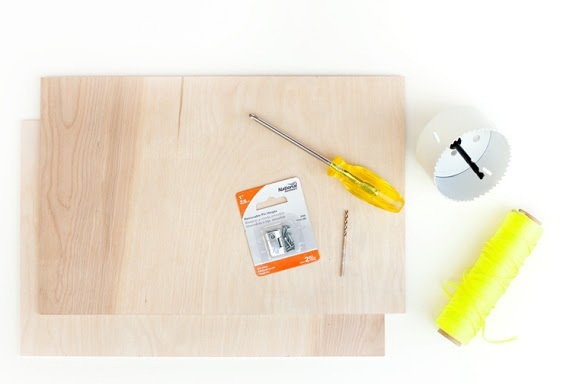
So, to start making a wine table, we need:
• Plywood
• Drill with a nozzle for drilling round holes
• Screws
• screwdriver
• Ruler or tape measure
• Pencil
• Sandpaper
• Piano loops
• Twine or decorative ribbon
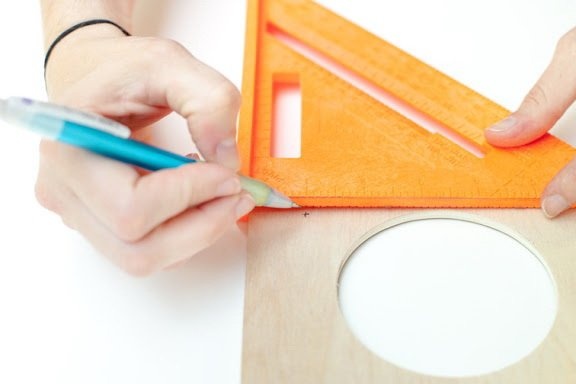
Step 1
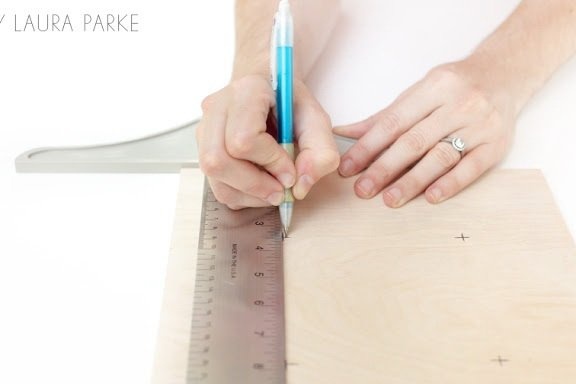
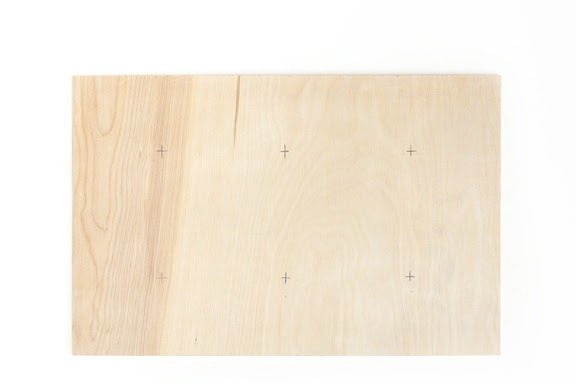
First of all, we need to take plywood and on it with the help of a ruler and a pencil mark the places where we will cut round holes for the bottles. There should be six holes. Accordingly, you need to make uniform alignment.
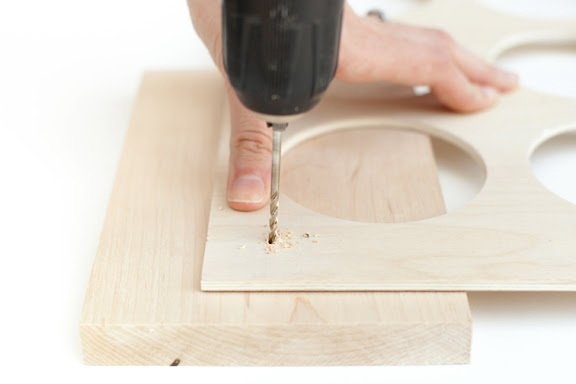
Step 2
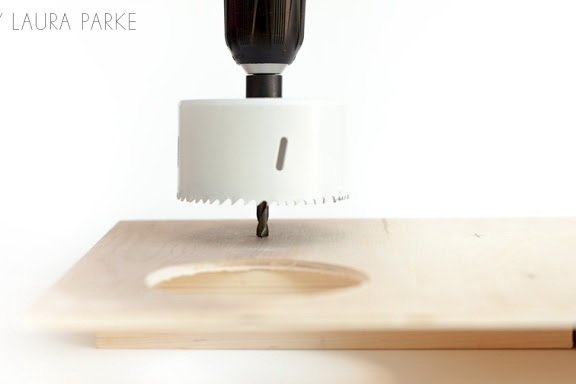
We take a drill with a special round nozzle and proceed to drill holes. This must be done carefully so that our plywood does not crack and does not give chips.
Before you start drilling, set the center of the drill to the place you marked (to the center of the marking). This way you get a uniform cut out of all the holes.
Step 3
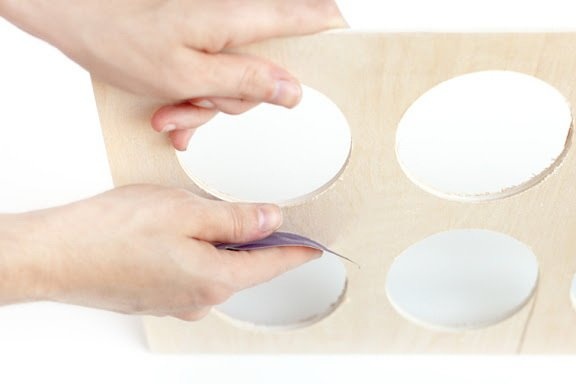
After all six holes have been drilled, you need to sand them with sandpaper, as the edges have burrs. Take a small piece of sandpaper and walk with light smooth movements around the entire perimeter 3-4 times. Do the same with all holes cut out.
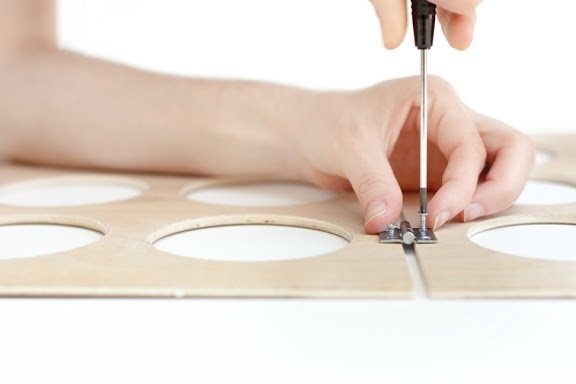
Step 4
After the drilled holes are machined. We should go to the collection of our wine table. To do this, you need to fix the piano loops on the sides of the plywood.
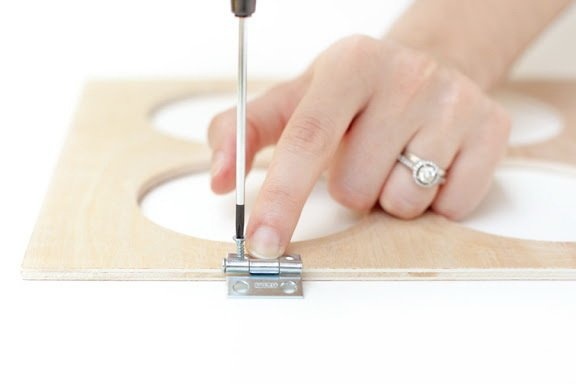
With a screwdriver and screws you can do it with ease. We recommend that you pre-mark and measure out the places where you attach the loops. So that they are evenly located to each other.
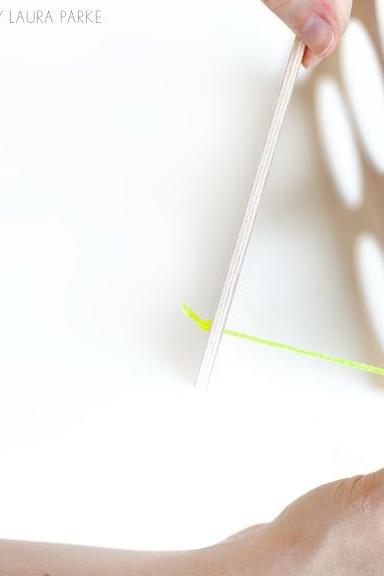
Step 5
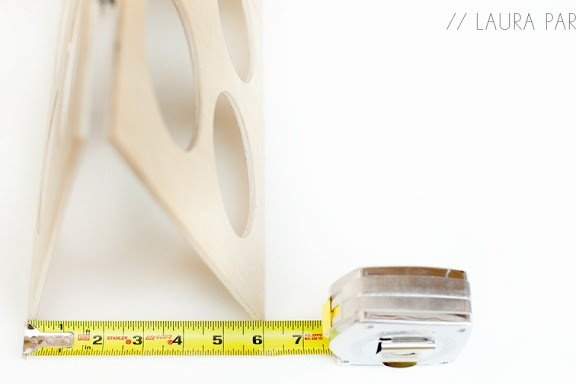
The resulting design should be expanded in order to put bottles there. The recommended width is 6 cm. Take a ruler or tape measure and measure this distance.
Step 6
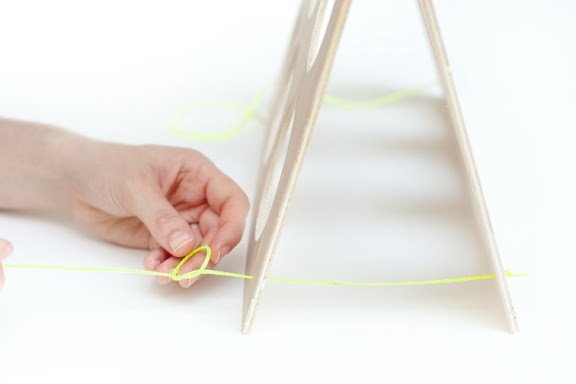
Now you need to make the lock of our wine table. It will be twine or decorative ribbon. It is she who will restrain our table from further opening.
Step 7
Using a drill and drill, drill a hole in these places.
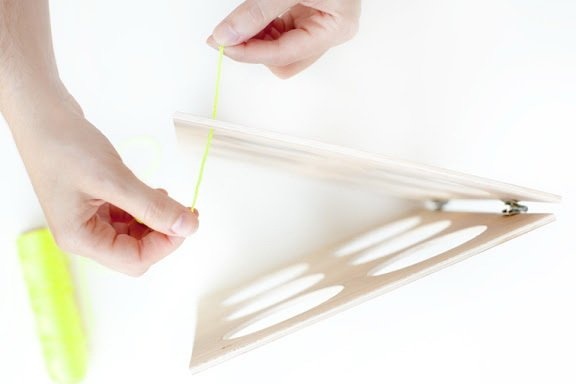
After this, it is necessary to thread a twine or decorative ribbon there and fasten them together.

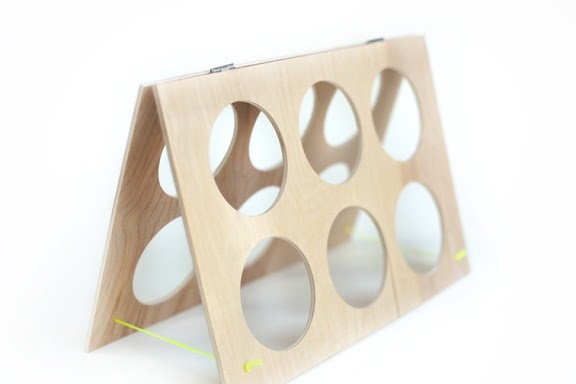
That's all. Our wine table is ready. If you show imagination, then with the help of paints or a spray, you can decorate it, or you can leave it in such a classic version.