

This article will talk about how to etch a circuit board in home conditions using hydrogen peroxide. Everything is very simple and does not require much effort.
To work, we need the following list of tools:
- Program-layout 6.0.exe (another modification is also possible)
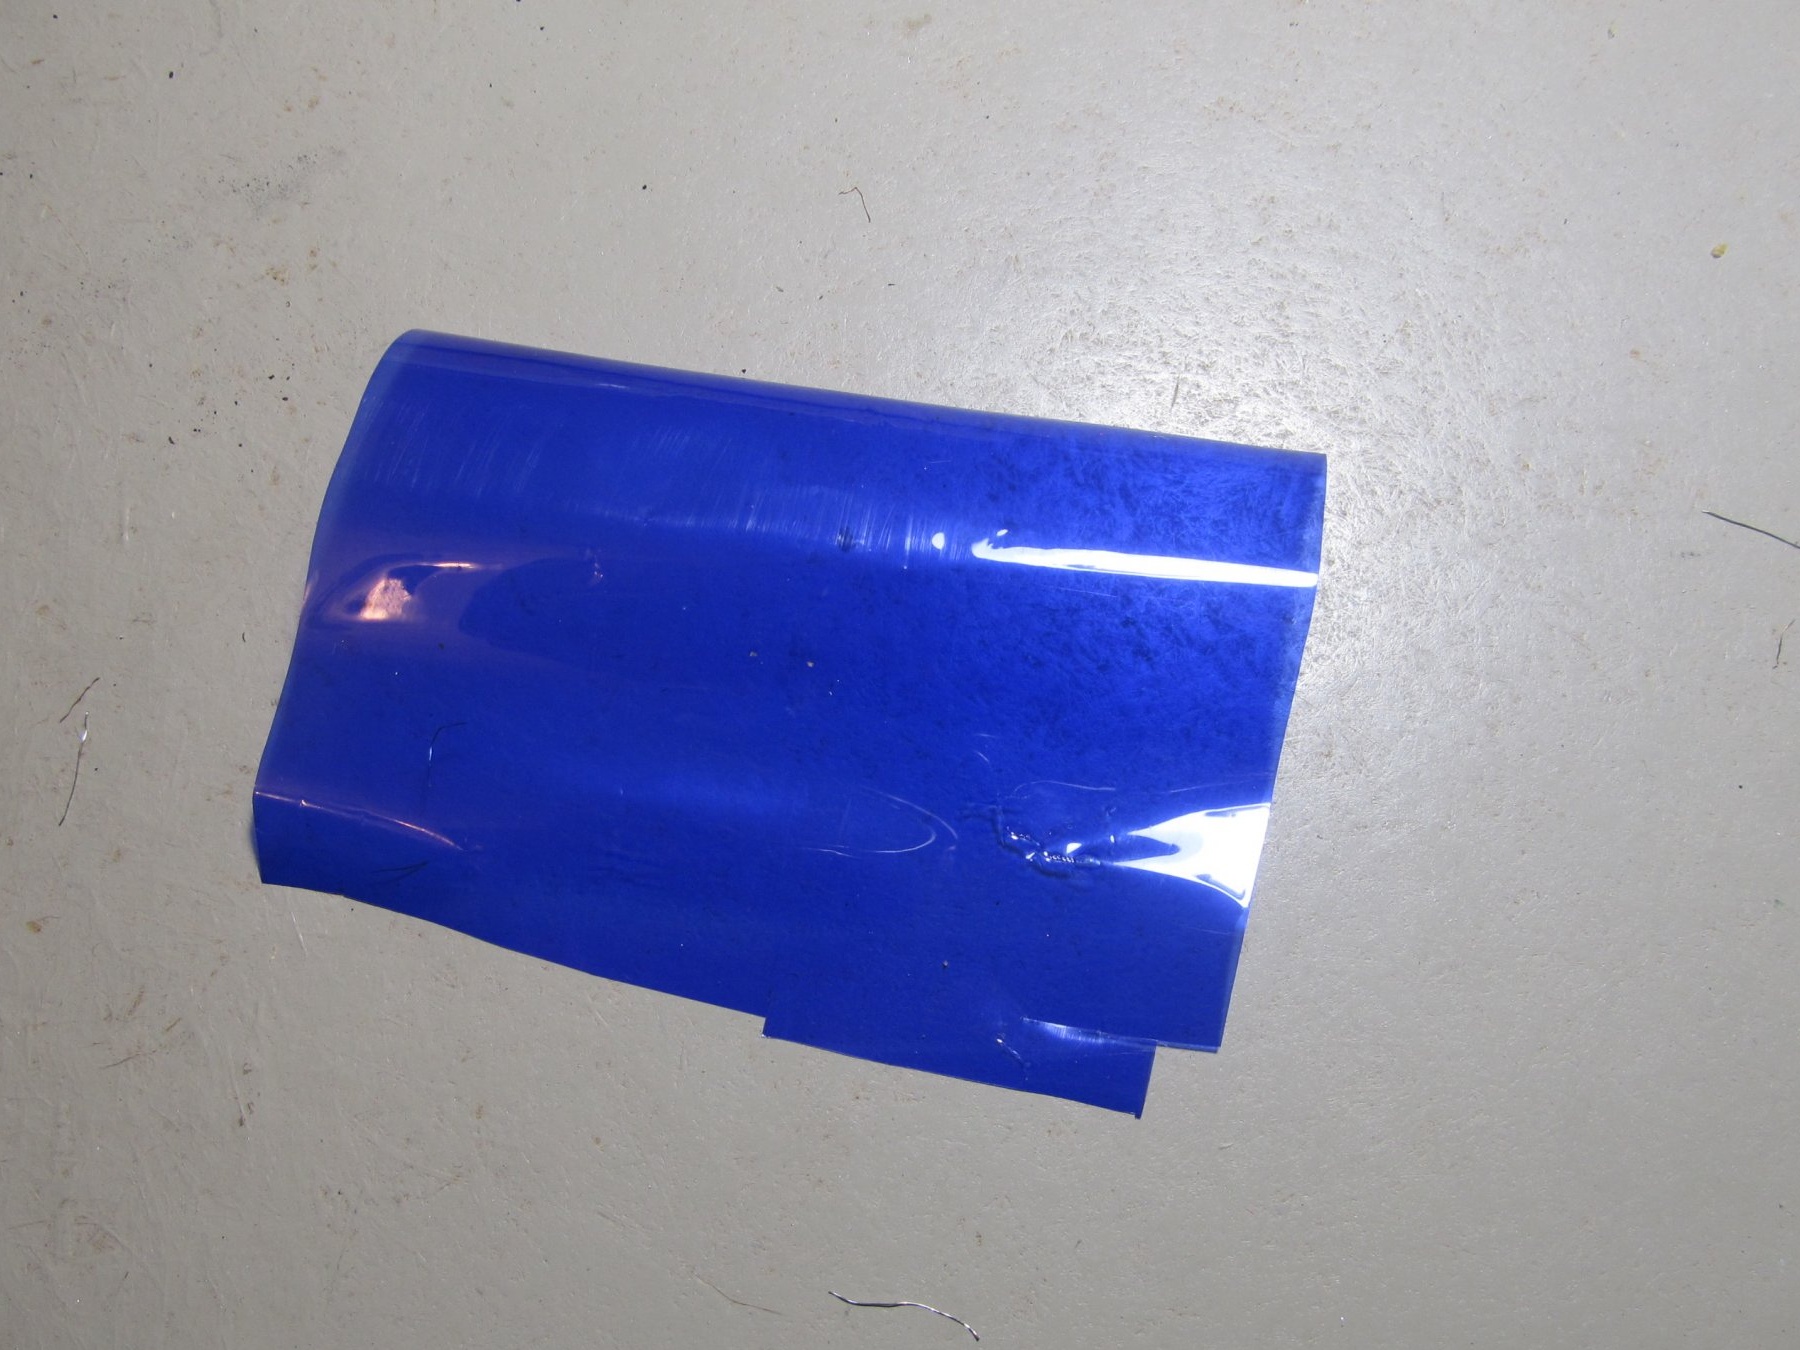
- Negative photoresist (this is a special film)
- Laser printer
- Transparent film for printing
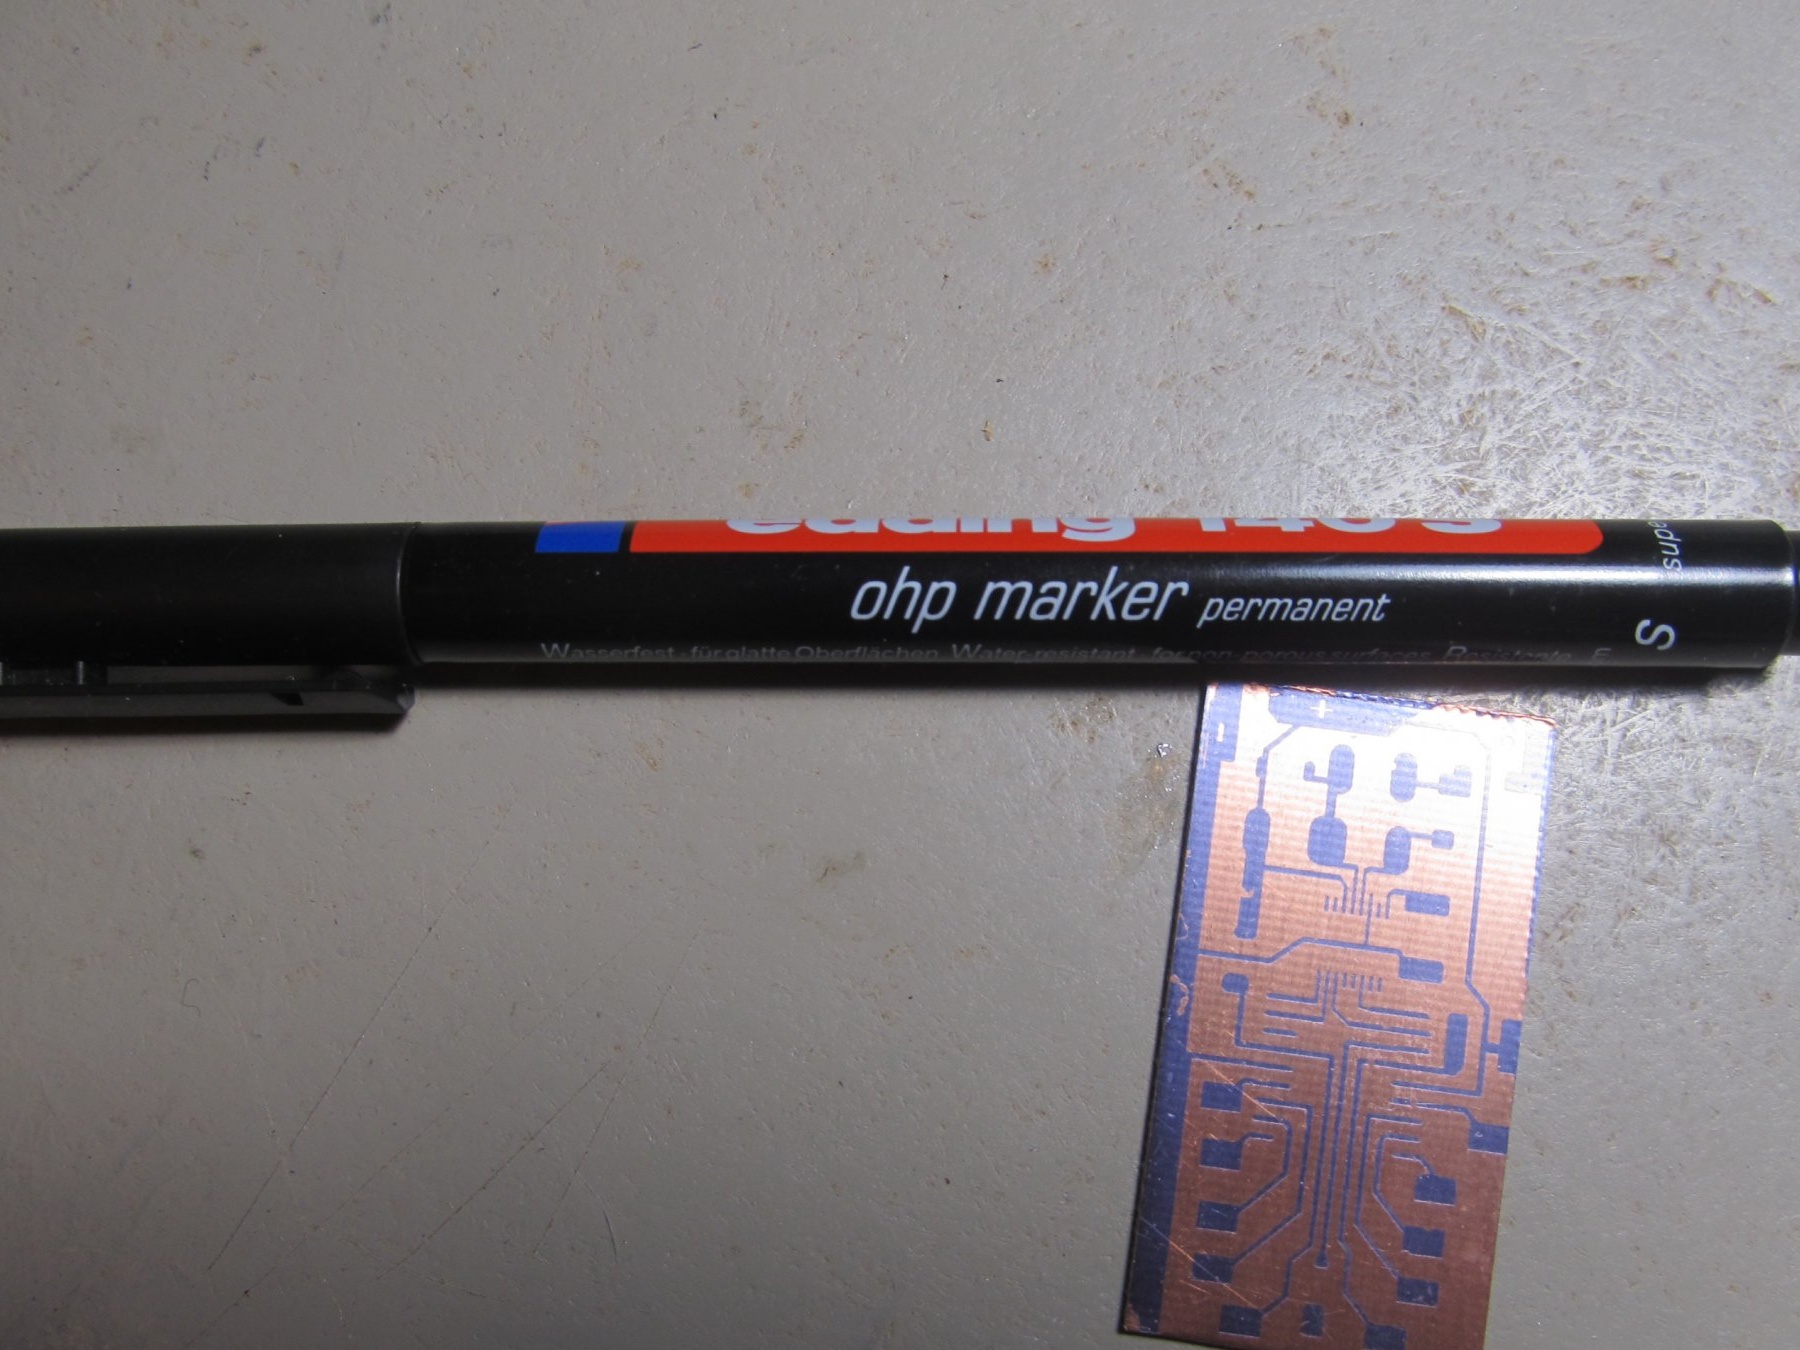
- Marker for printed circuit boards (if not, you can use nitro-varnish or nail polish)
- Foil textolite
- UV lamp (if there is no lamp, wait for sunny weather and use the sun's rays, I have done it many times, everything turns out)
- Two pieces of plexiglass (you can have one, but I made myself two). You can also use a box of CDs
- Stationery knife
- Hydrogen peroxide 100 ml
- Lemon acid
- Soda
- salt
- Equal hands (this is required)
In the layout program, we make the board layout
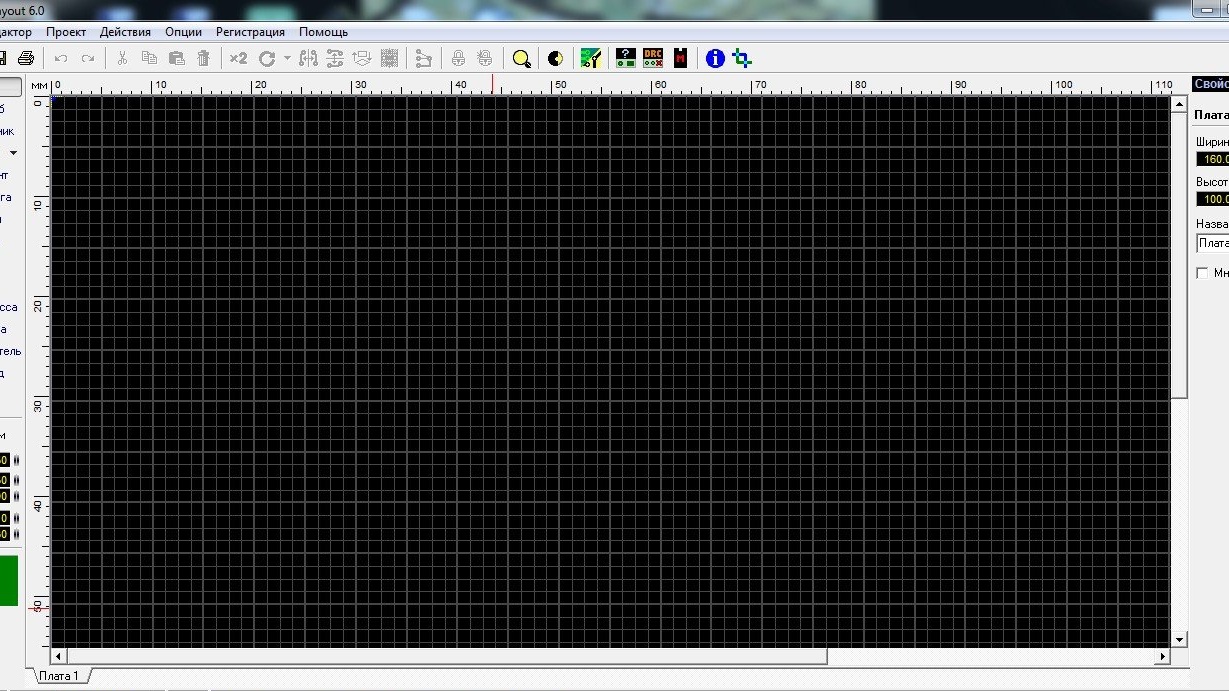
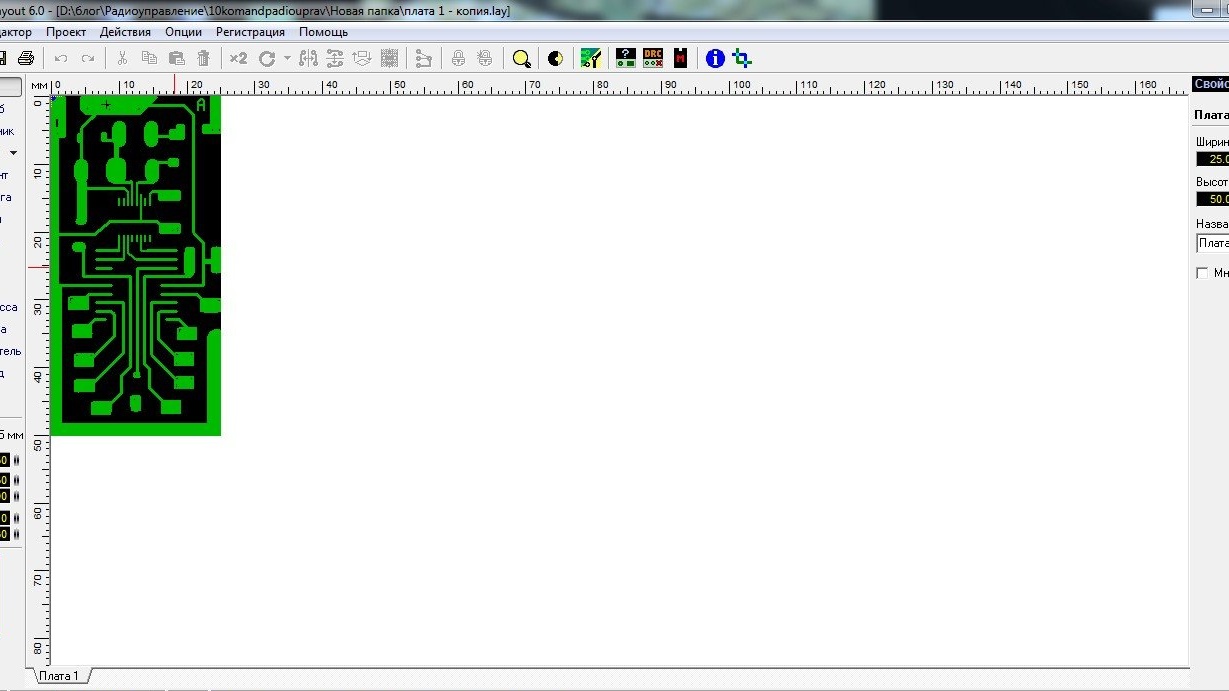
We carefully check it, so as not to confuse anything and put it on print
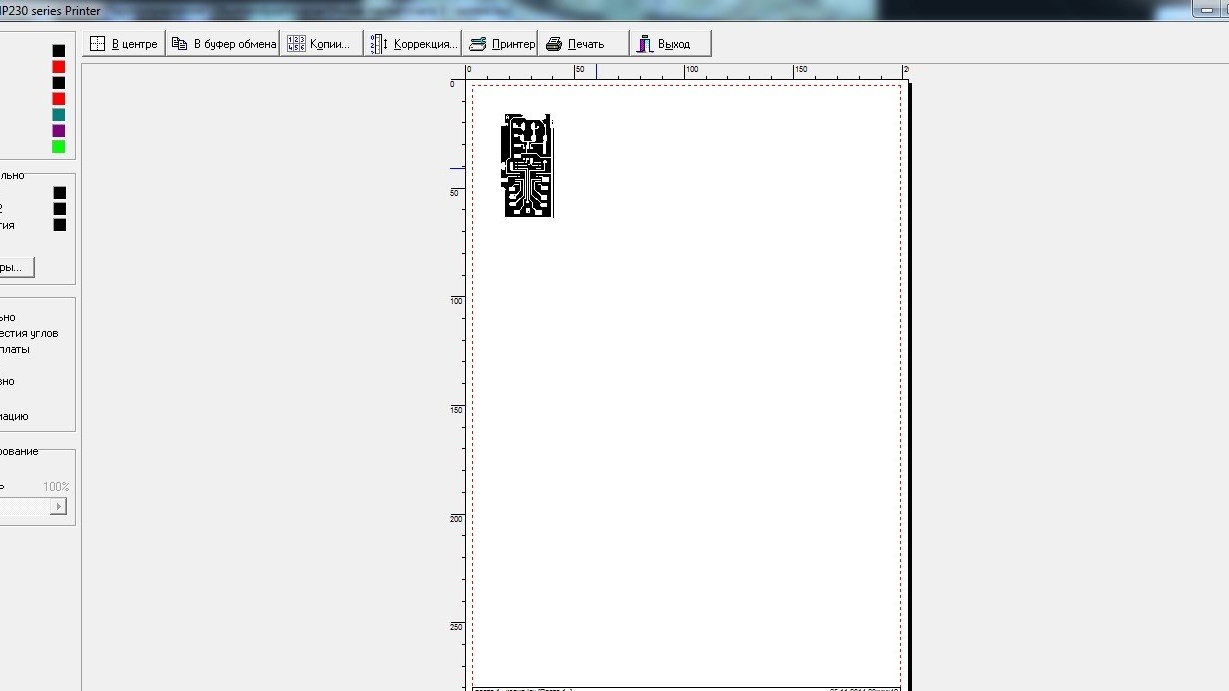
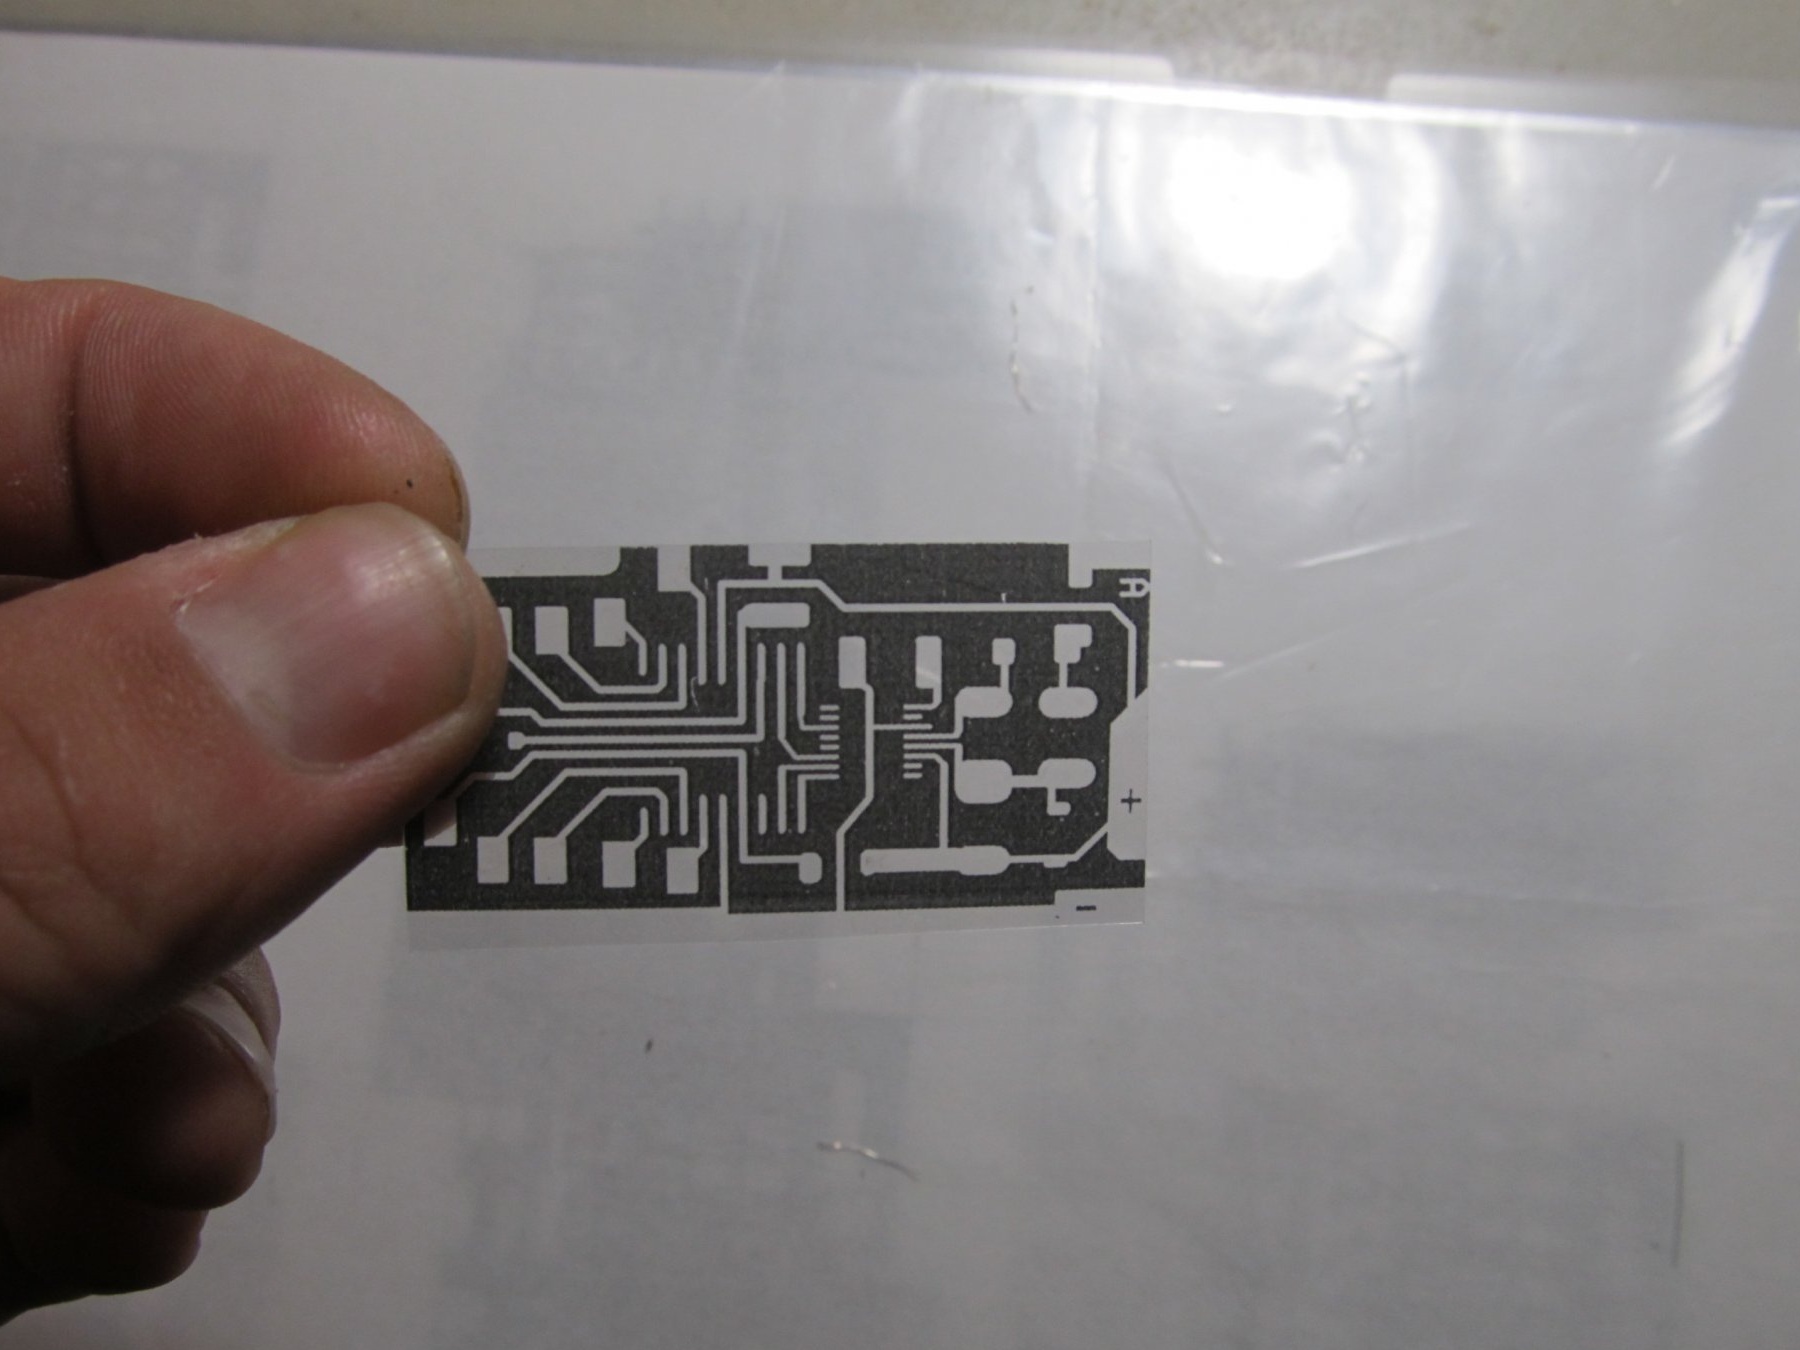
Be sure to put all the checkmarks on the left as in the photo. It can be seen in the photo that the picture is in a negative image, since we have a negative photoresist, those areas where UV rays will fall and will be paths, and the rest will be washed off, but more on that later.
Next, we take a transparent film for printing on a laser printer (available for sale), one of its sides is a bit dull and the other is glossy, so we put the film so that the picture is on the dull side.
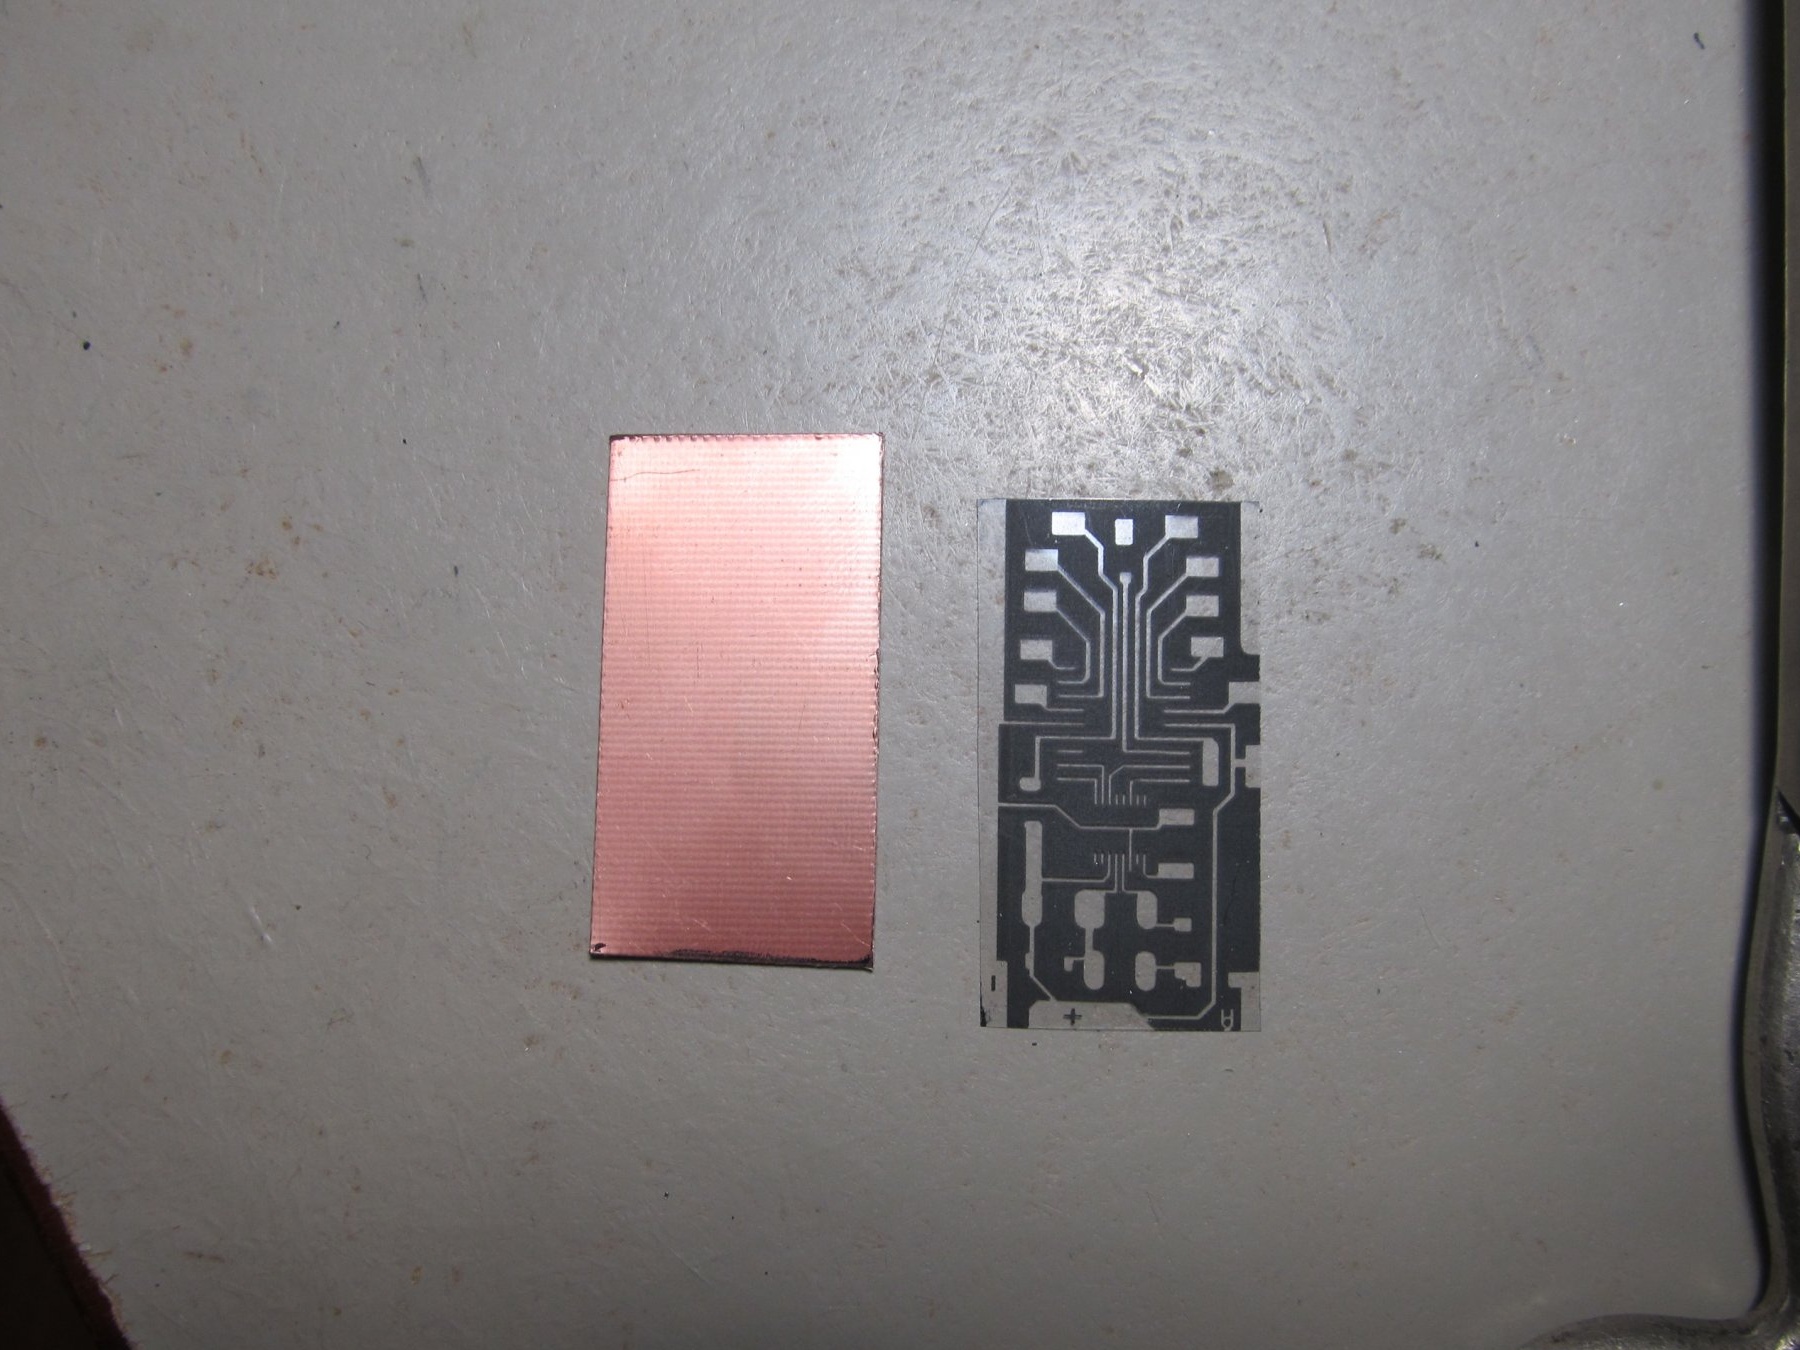
We take textolite and cut it to the size of the required board
Cut the size of the photoresist (when working with the photoresist, avoid direct sunlight, as they will ruin the photoresist)
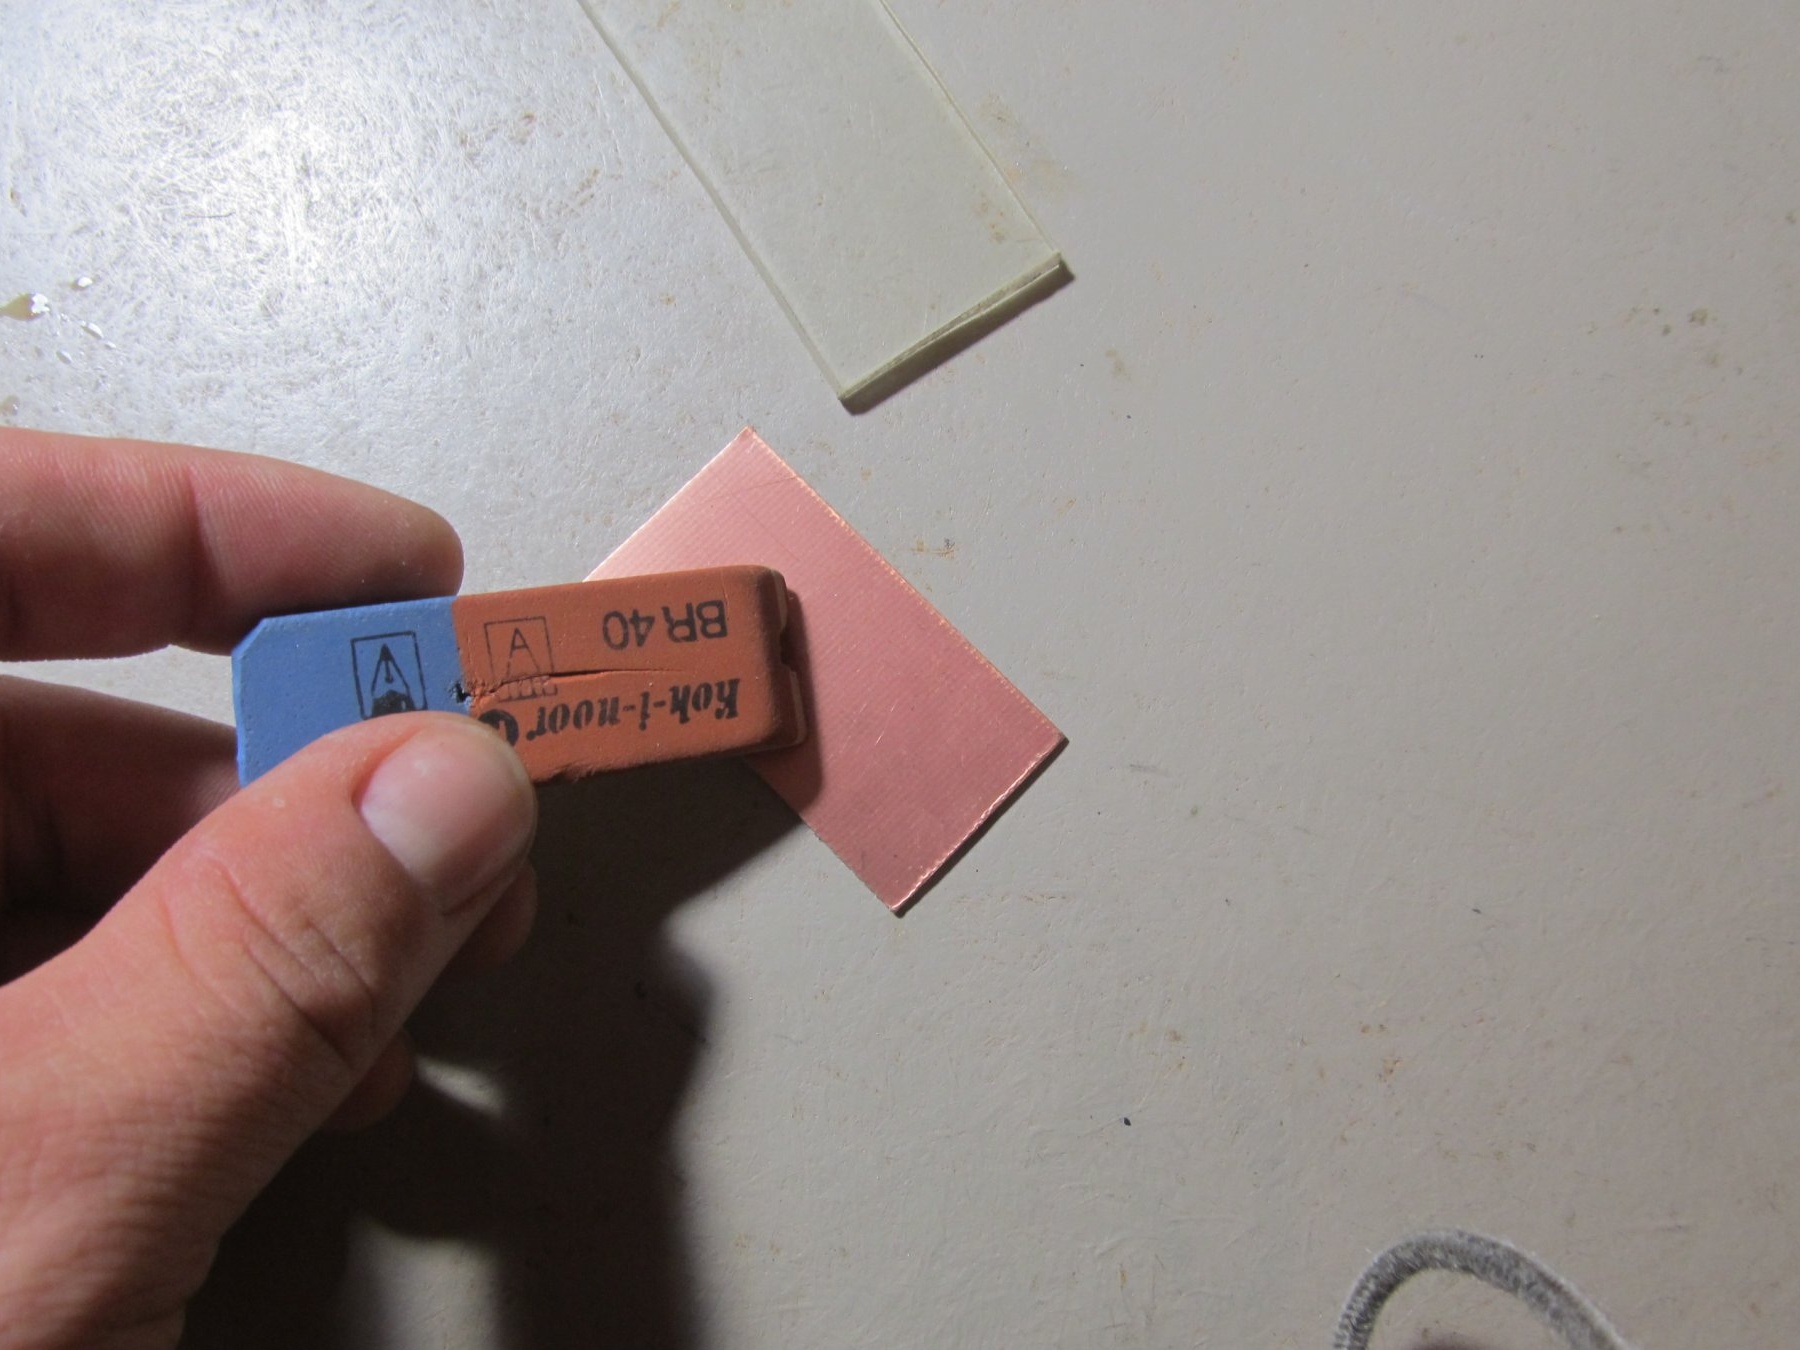
We clean the textolite with an eraser and wipe so that no debris remains
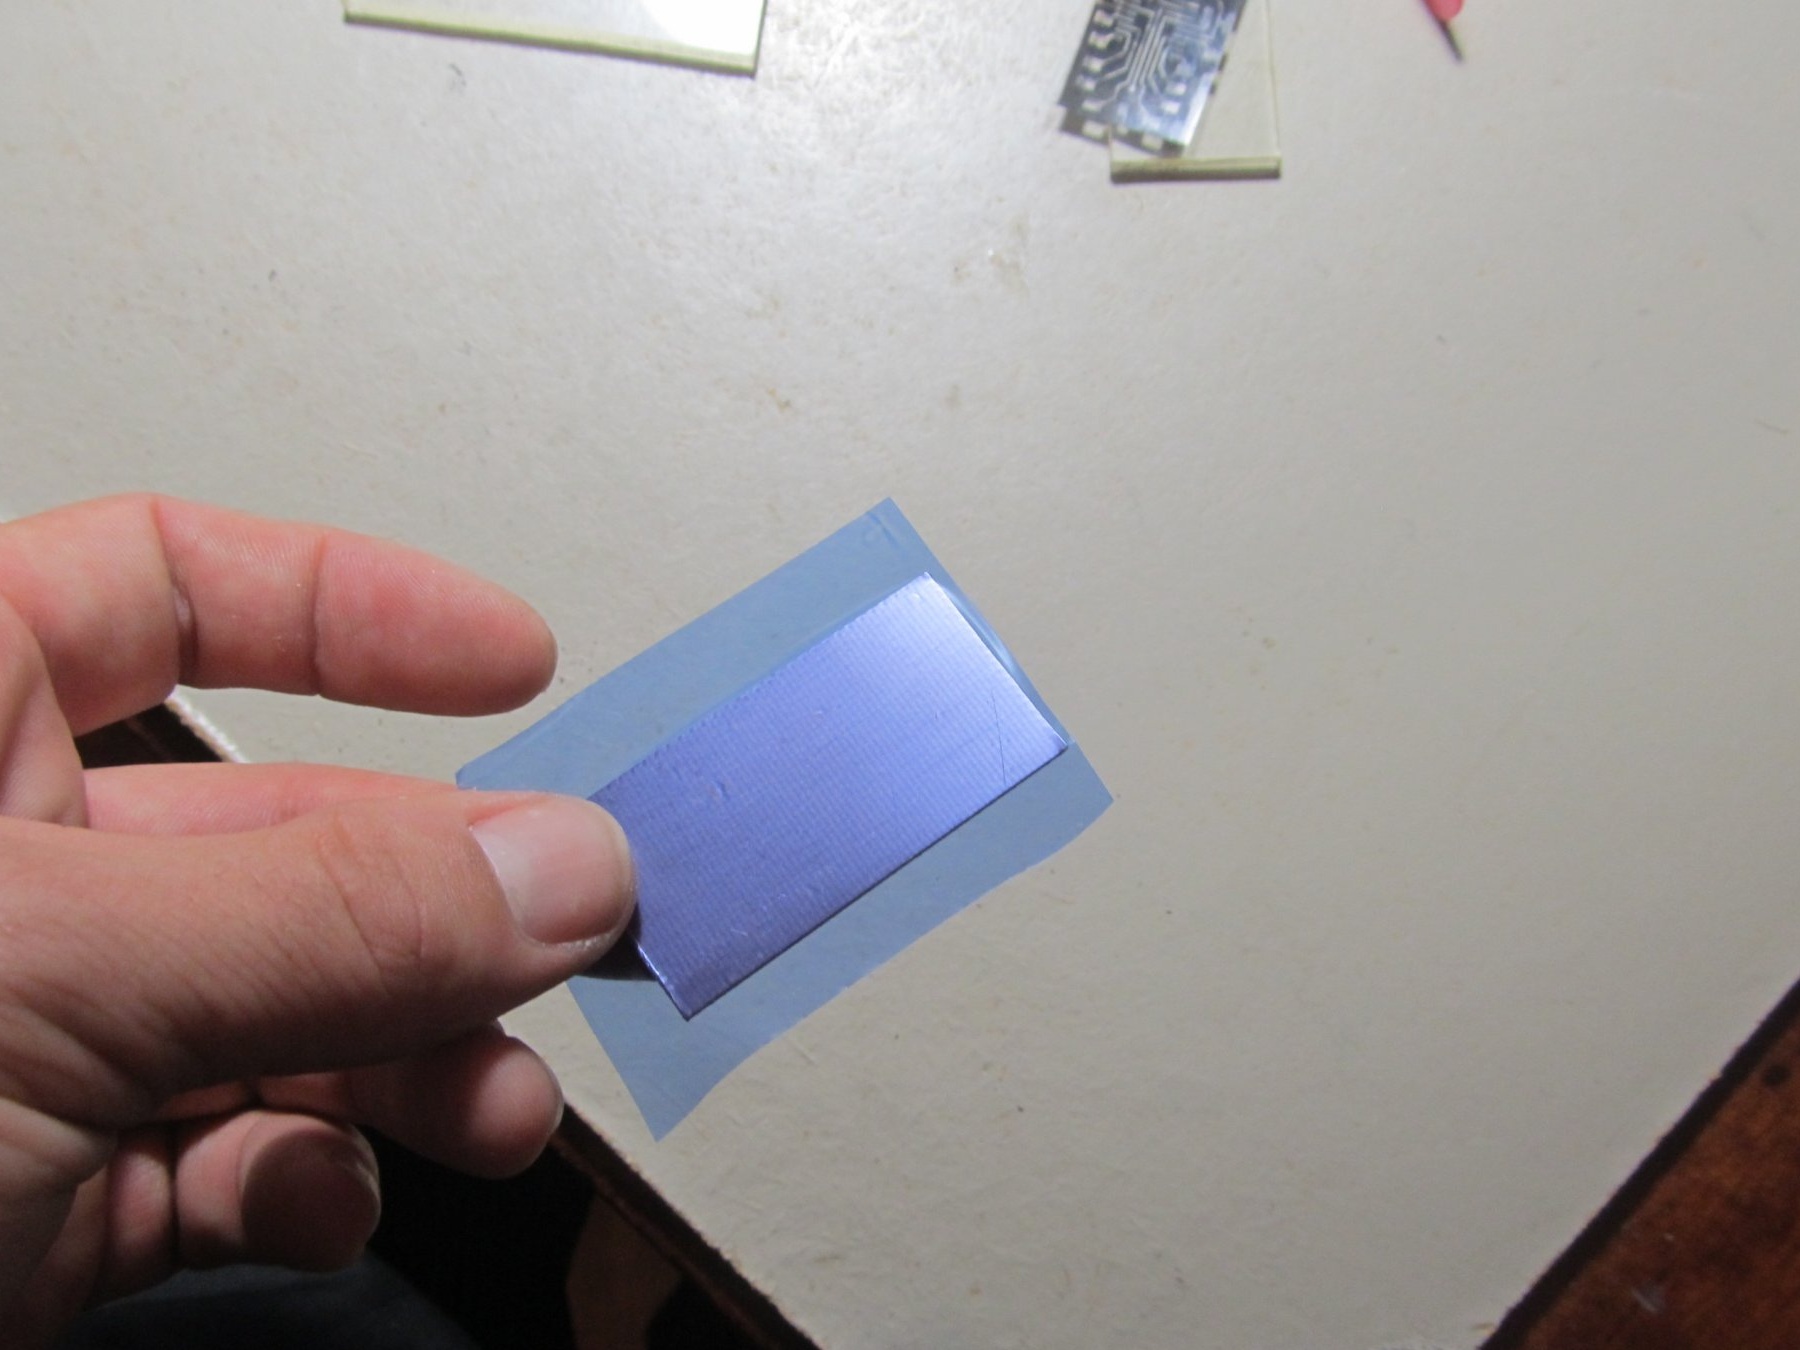
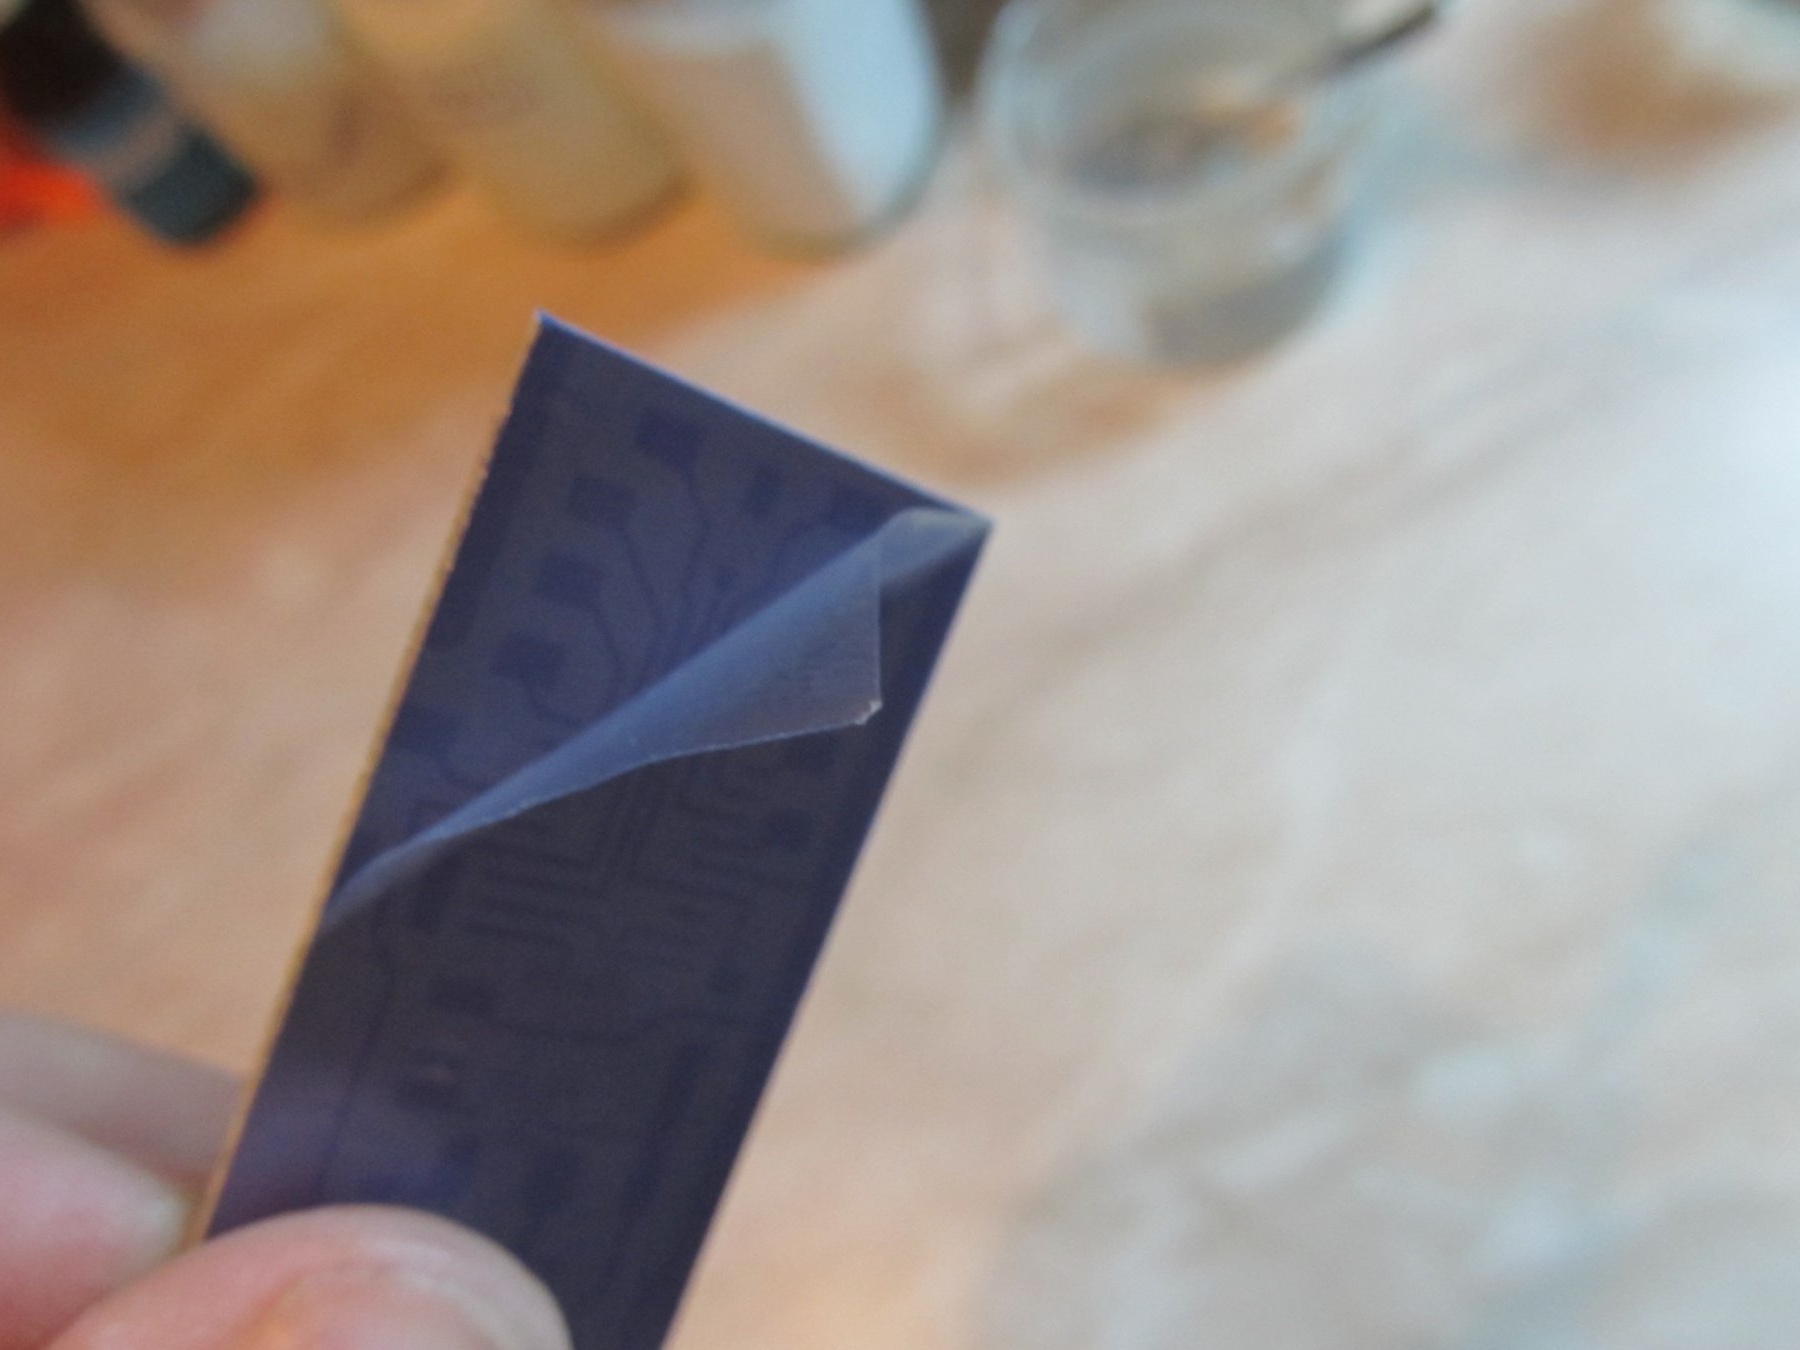
Next, on the photoresist, tear off the protective transparent film

And gently glue to the PCB, it is important that there are no bubbles. Iron well so that everything sticks well
Next, we need two pieces of plexiglass and two clothes pegs, you can use the box from the CD-ROM
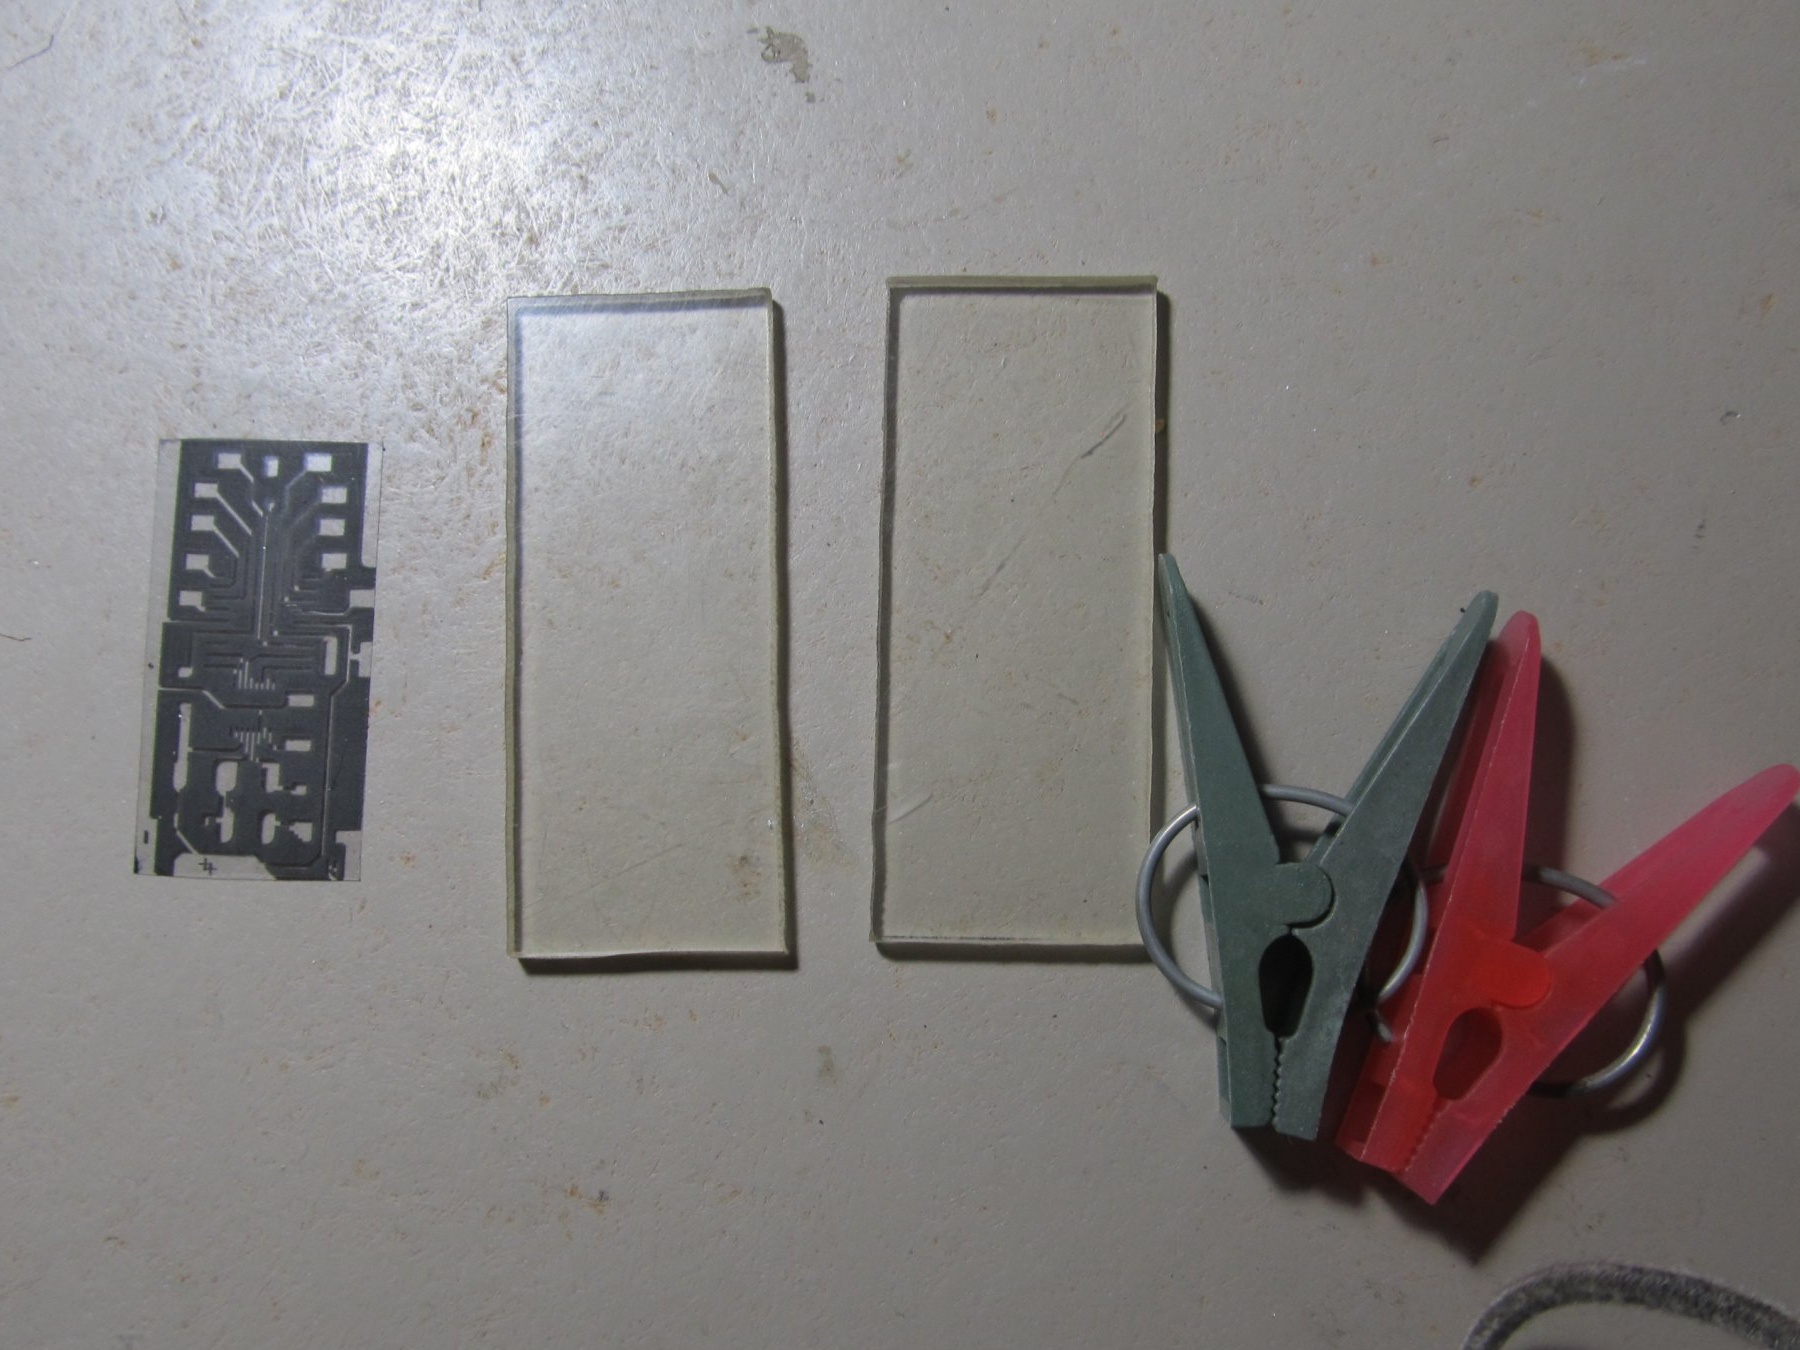
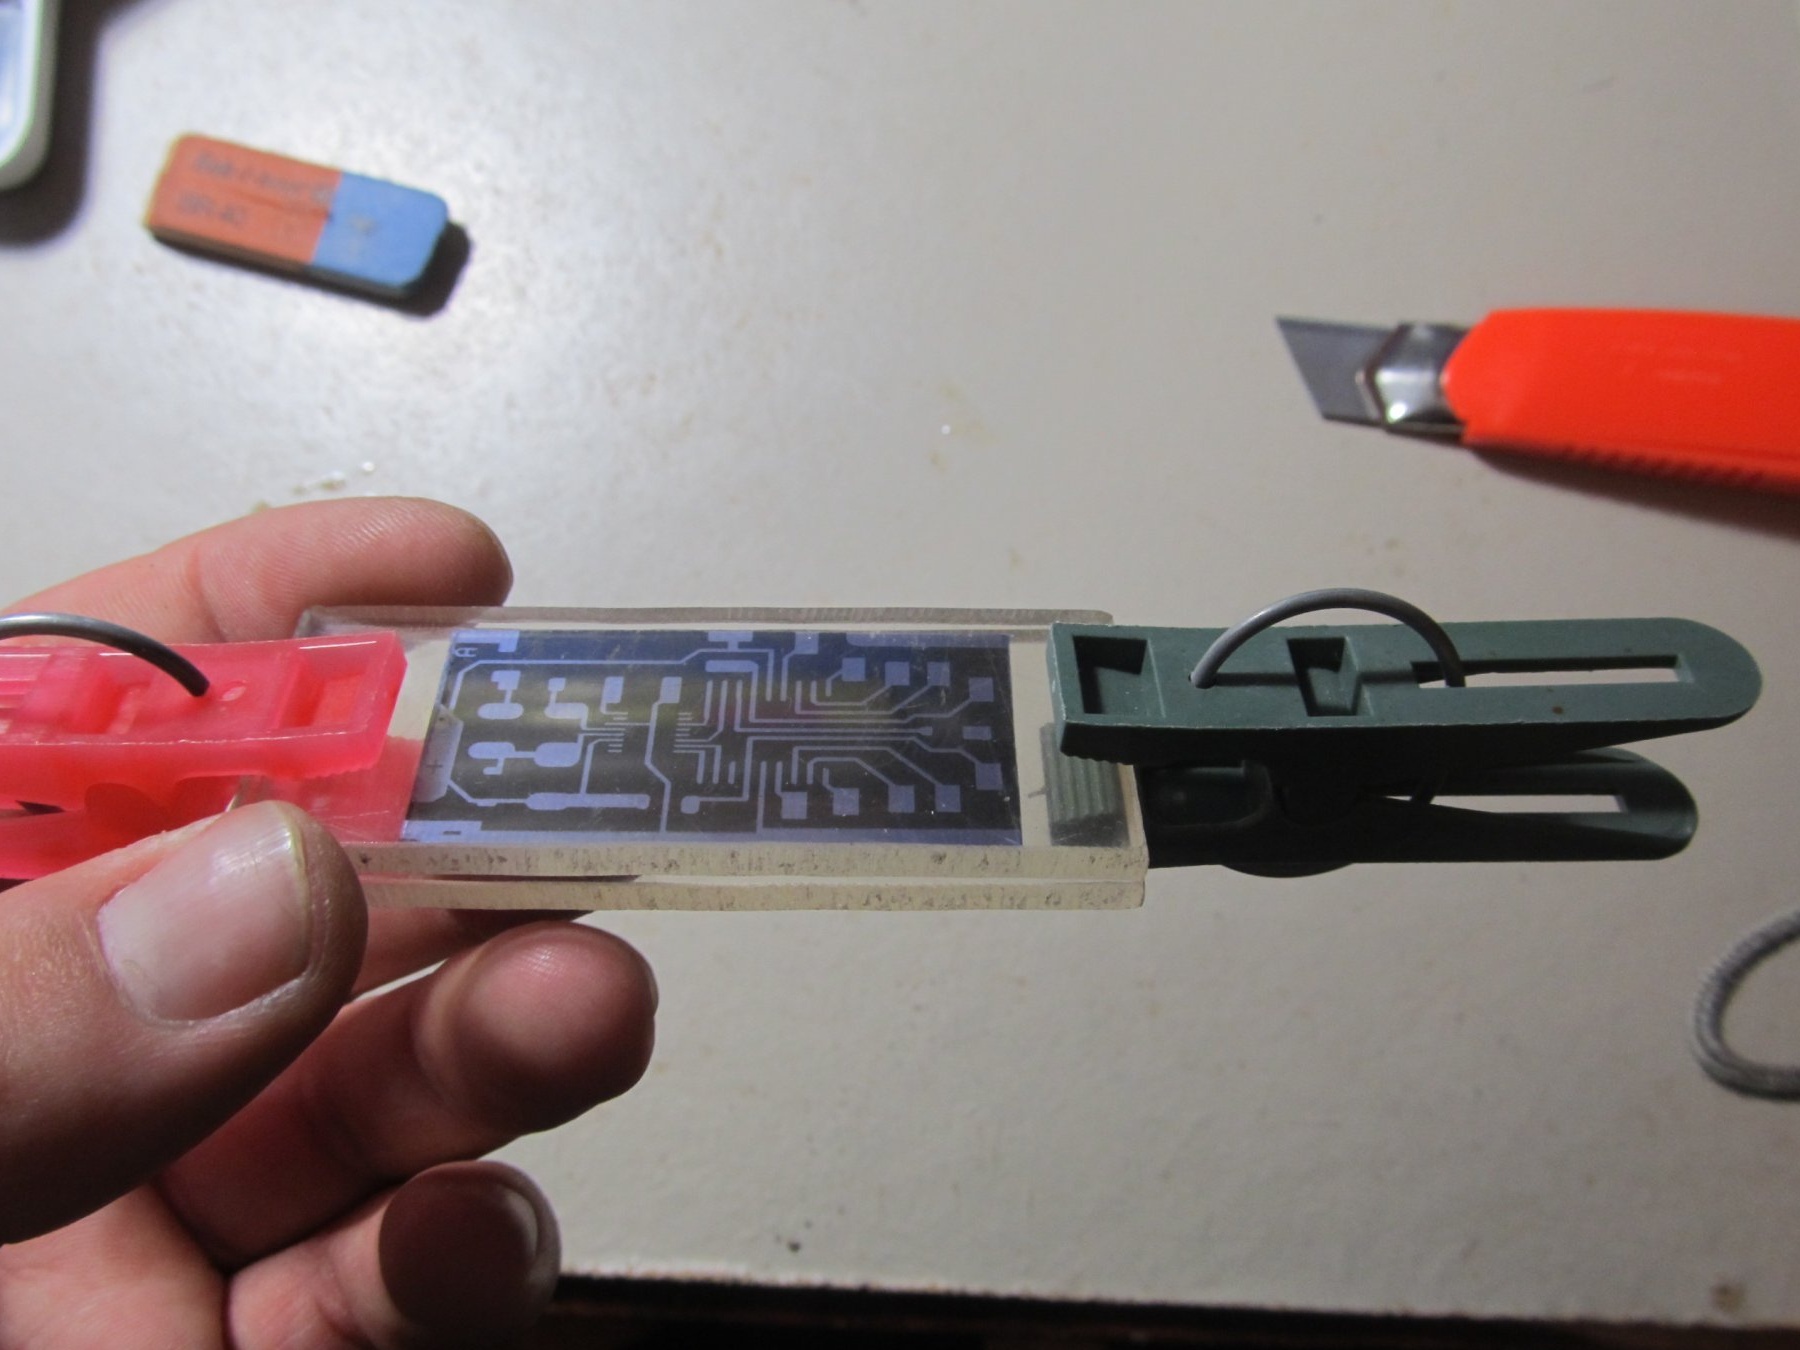
We put our printed template on the board, it is necessary to put the template with the printed side on the textolite and clamp between two halves of plexiglass so that everything fits snugly
After that we need a UV lamp (or a simple sun on a sunny day)
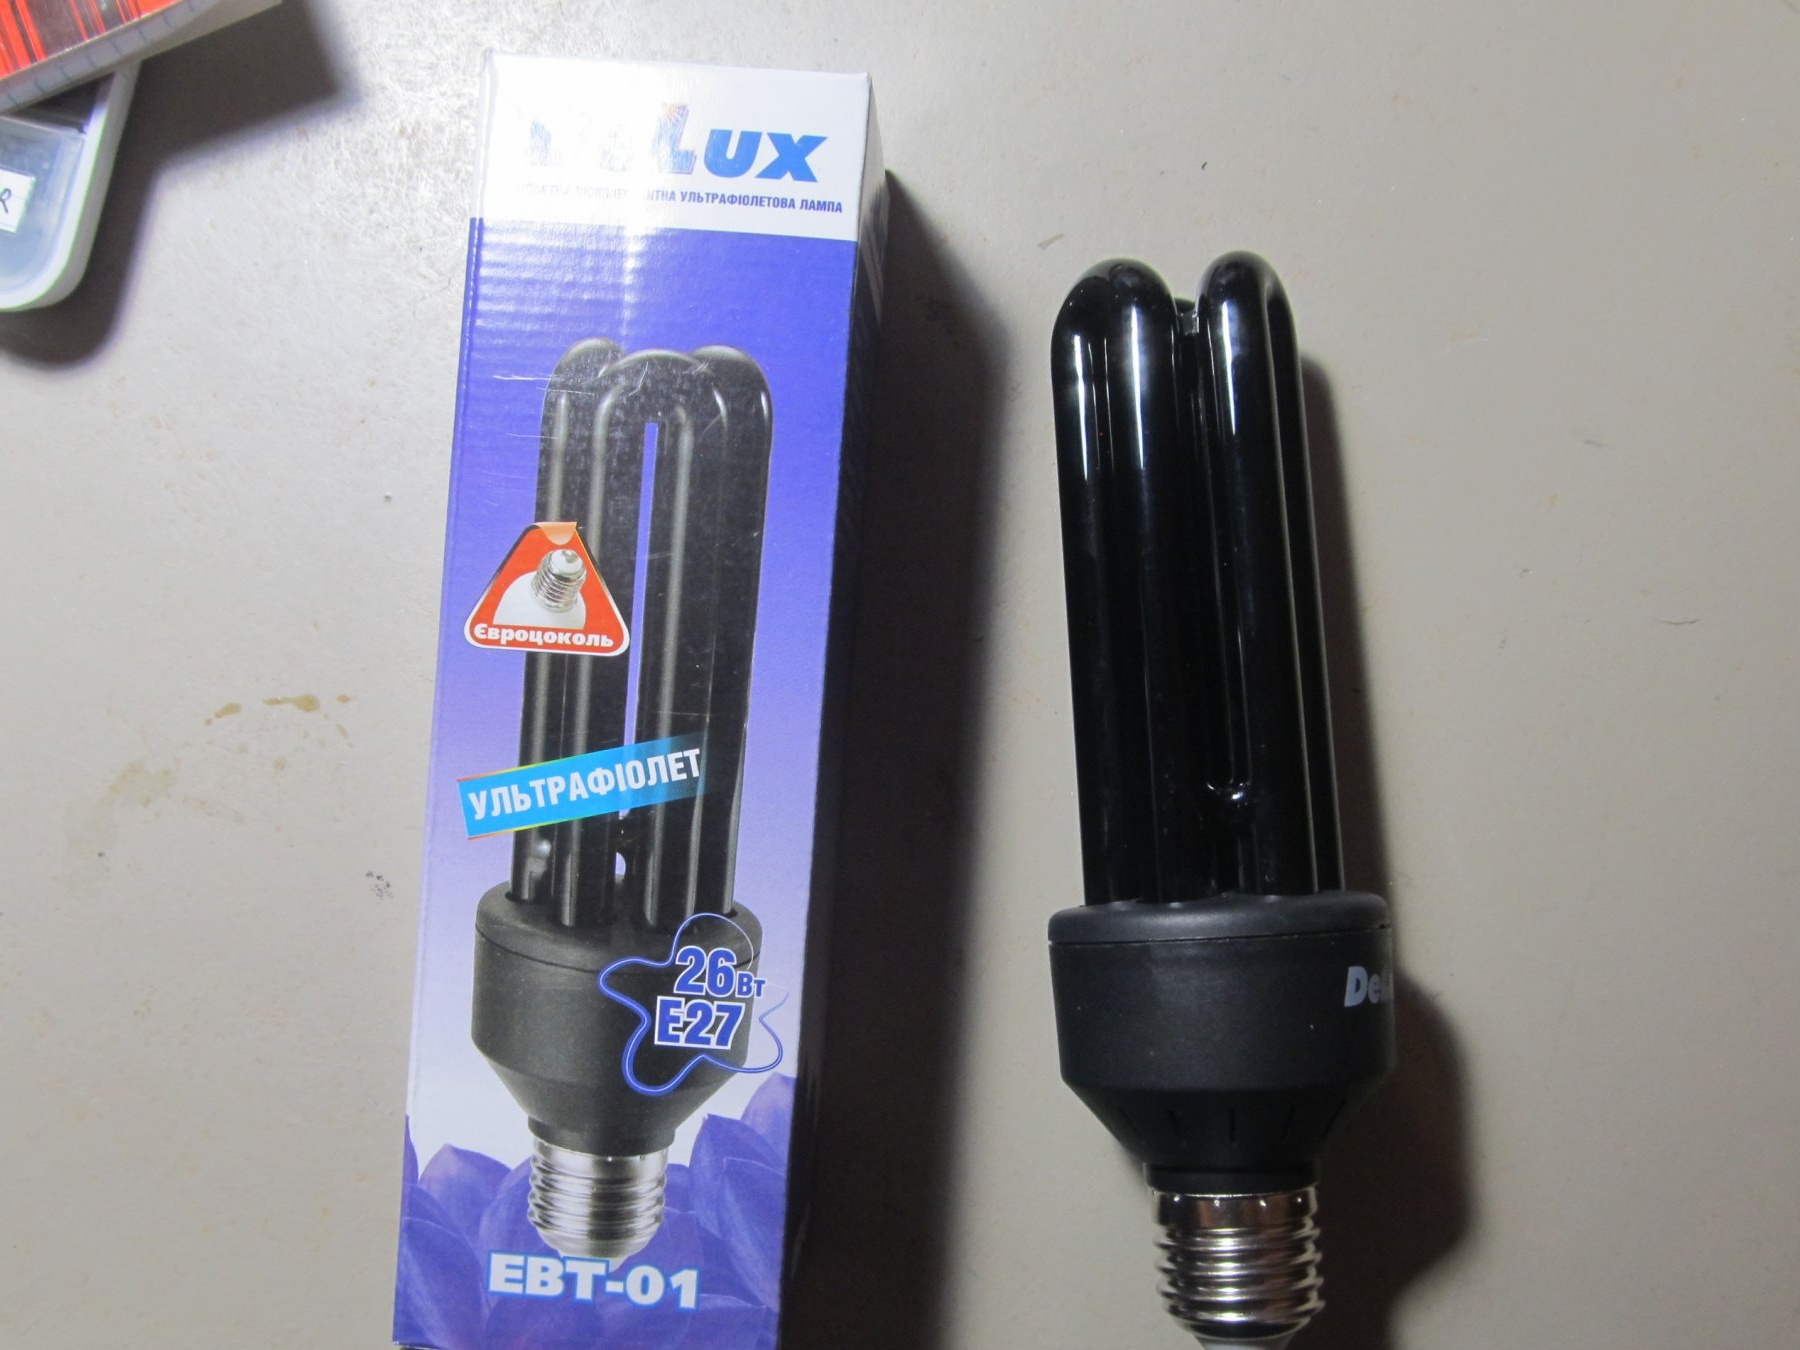
We screw the bulb into any lamp and set it above our circuit board at a height of about 10-20 cm. And turn it on, the illumination time from such a lamp as in the photo at a height of 15 cm is 2.5 minutes. I do not advise longer, you can ruin the photoresist
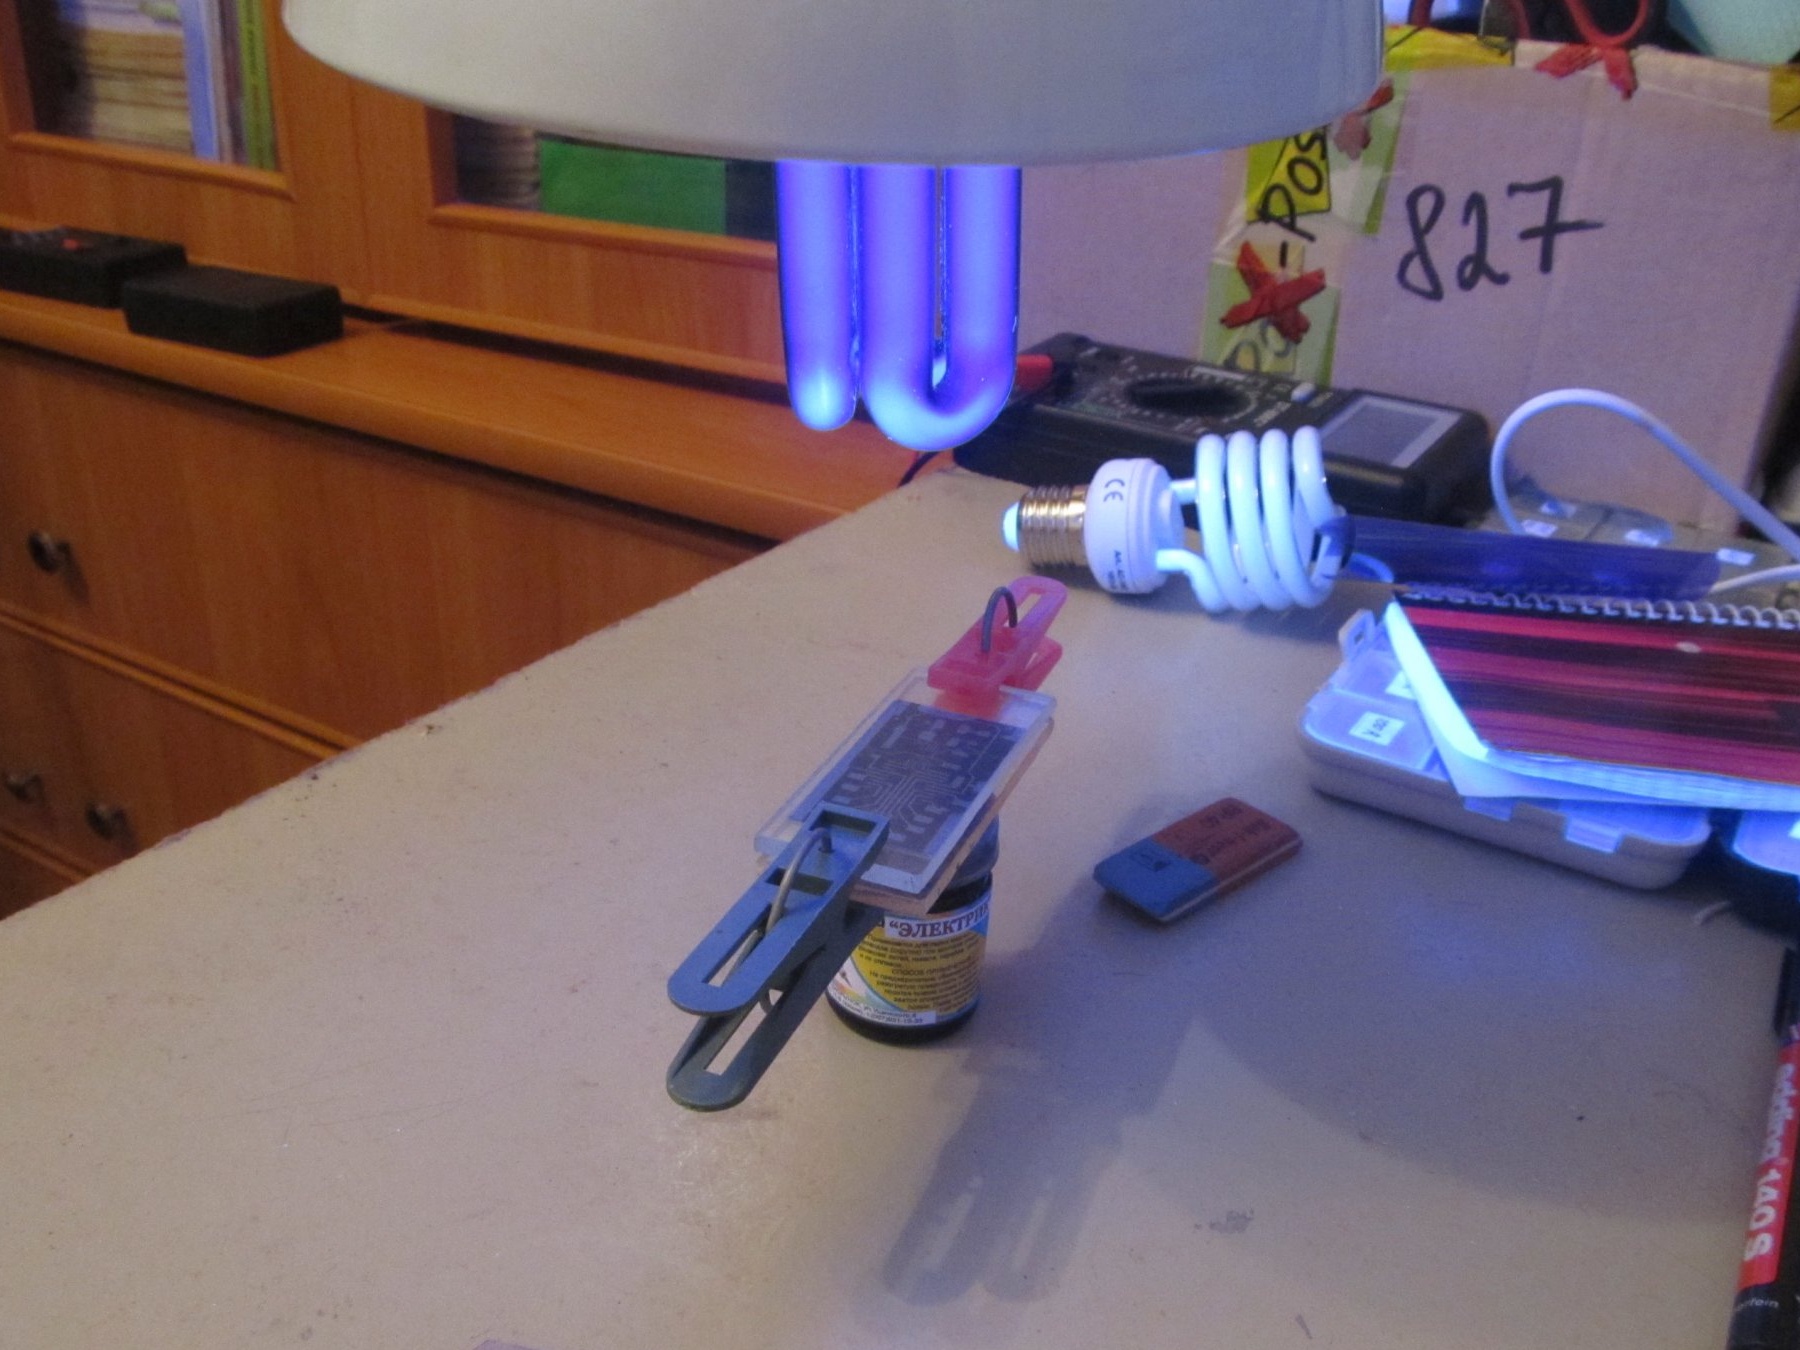
After 2 minutes, turn off the lamp and see what happened. Tracks must be clearly visible.
If everything is clearly visible, proceed to the next step.
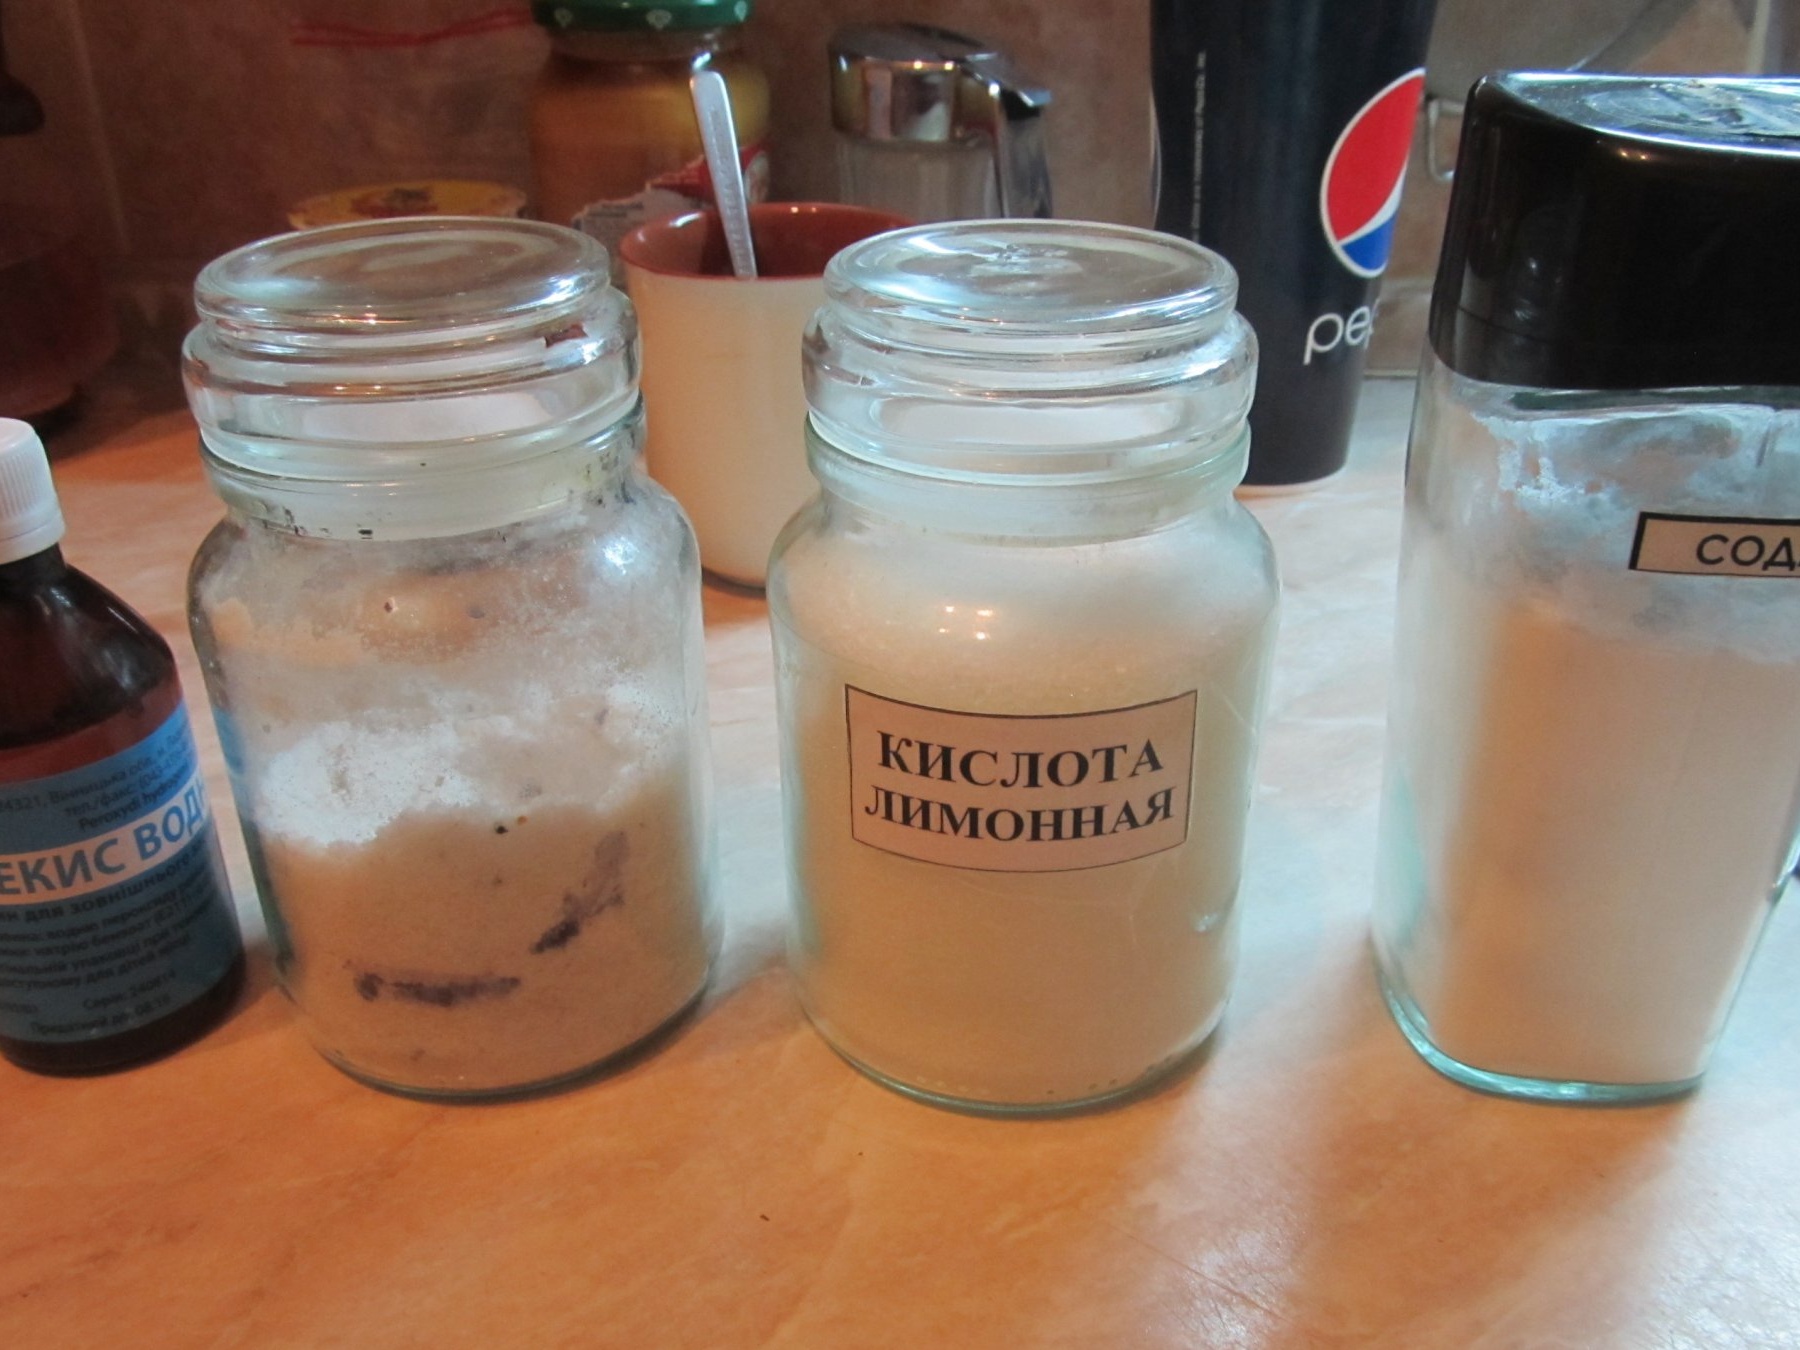
We take the listed ingredients
- Peroxide
- Lemon acid
- salt
- Soda
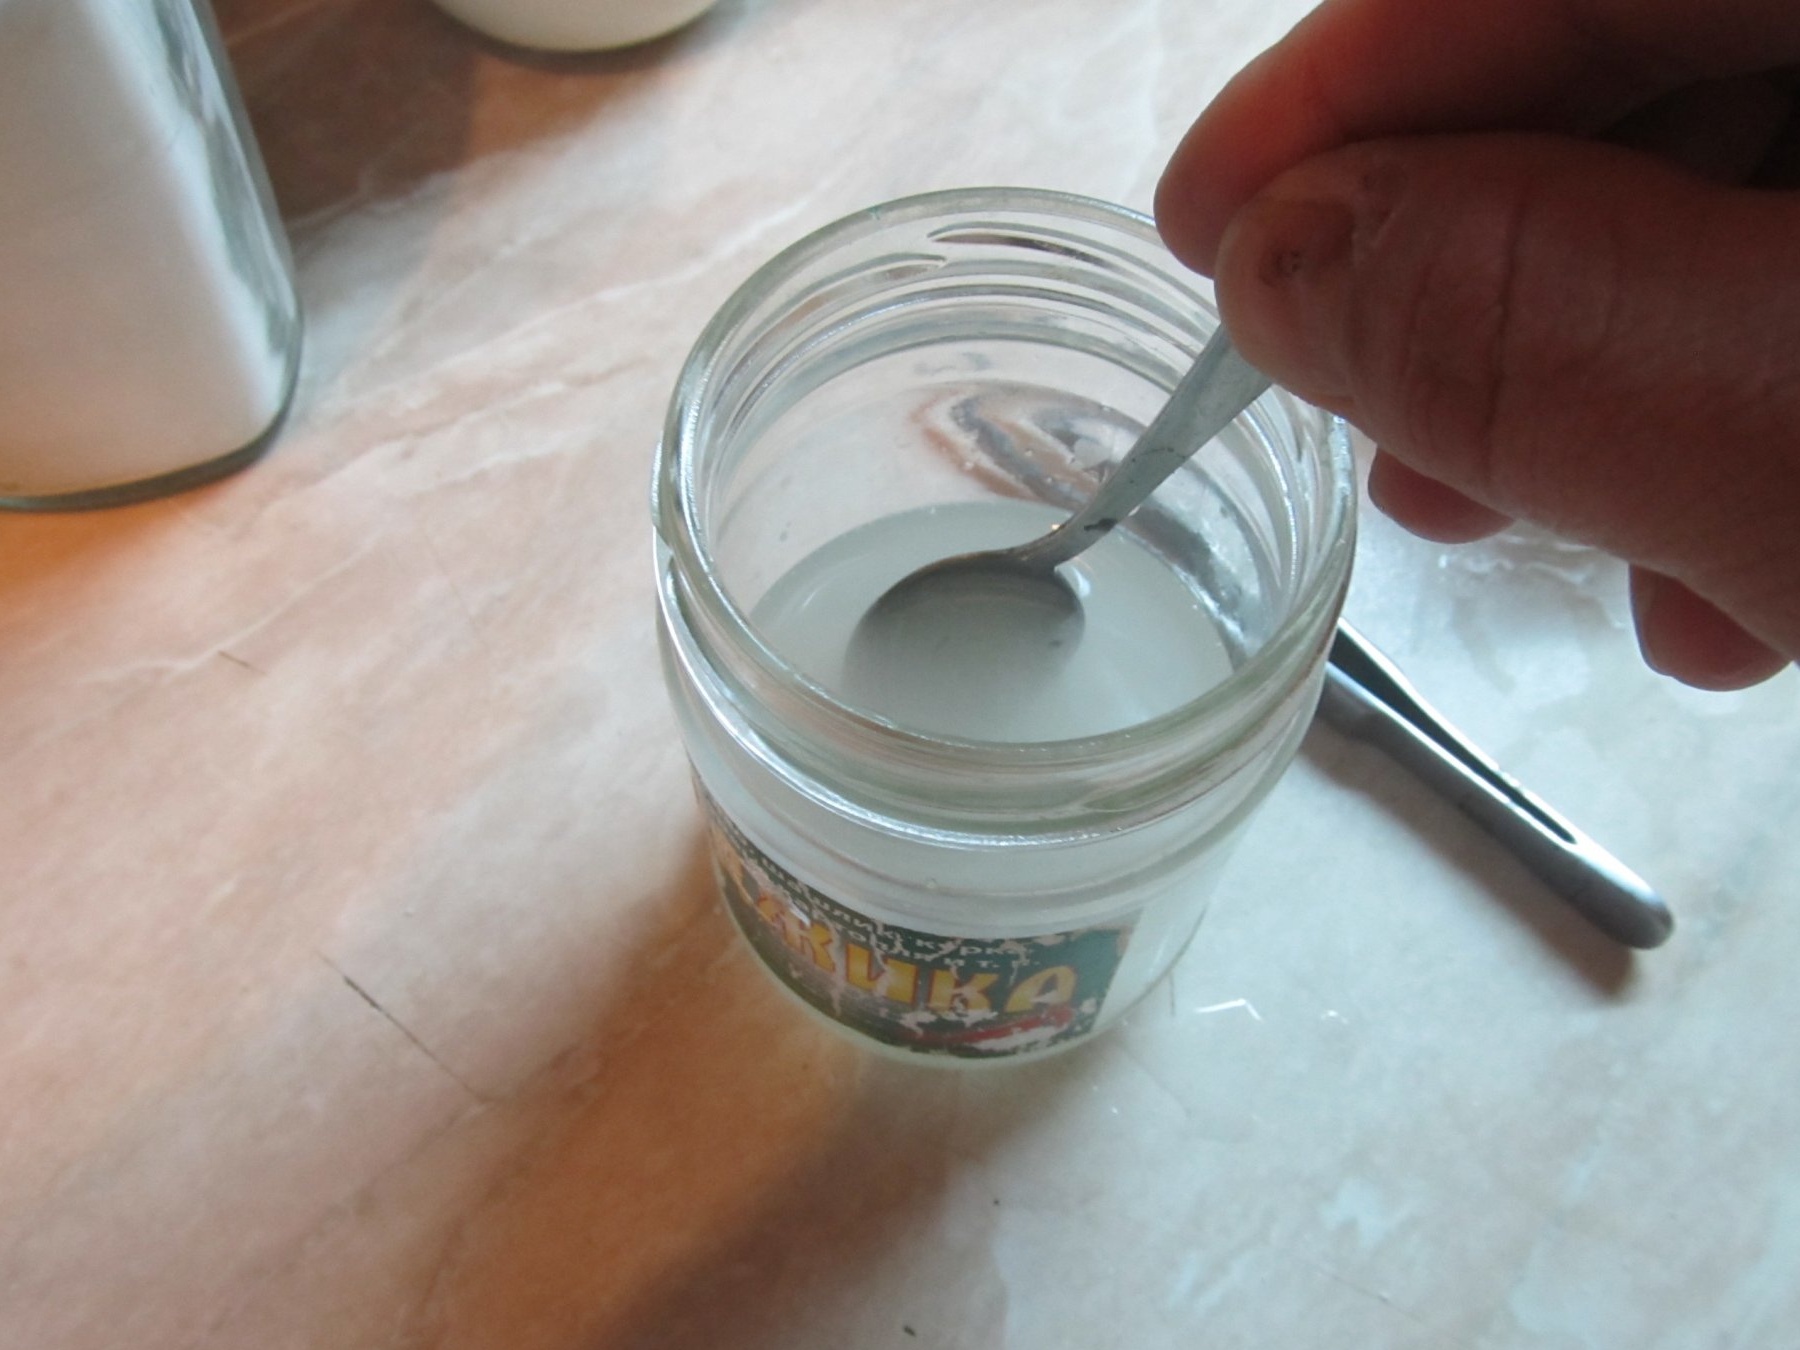
Now we need to remove the unlit photoresist from the board, we need to remove it in a solution of soda ash. If it is not, then you need to do it. Boil water in a teapot and pour into a container
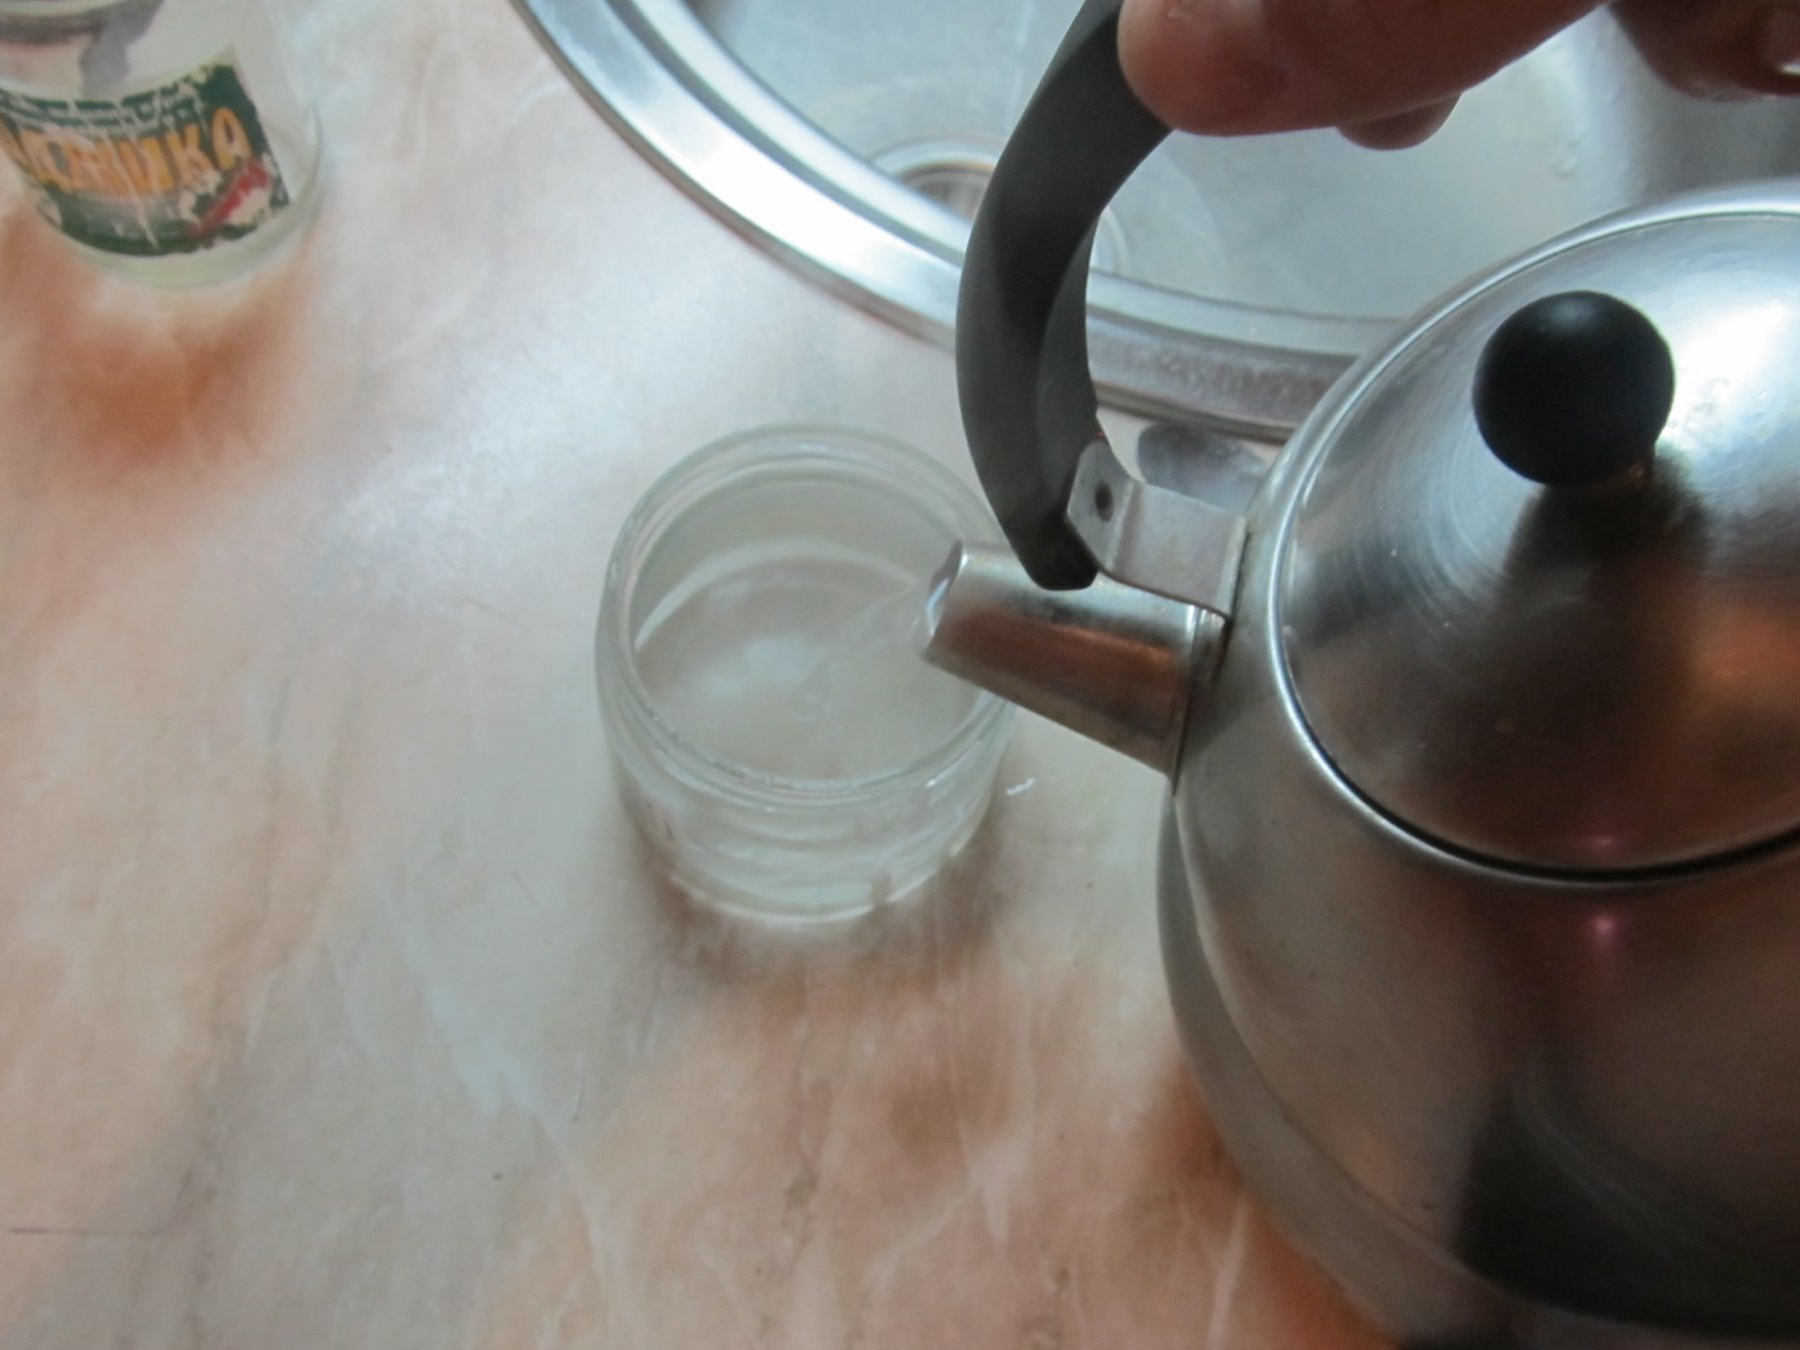
Pour there a simple soda. You do not need much per 100-200 ml 1-2 tablespoons of soda and mix well, the reaction should begin
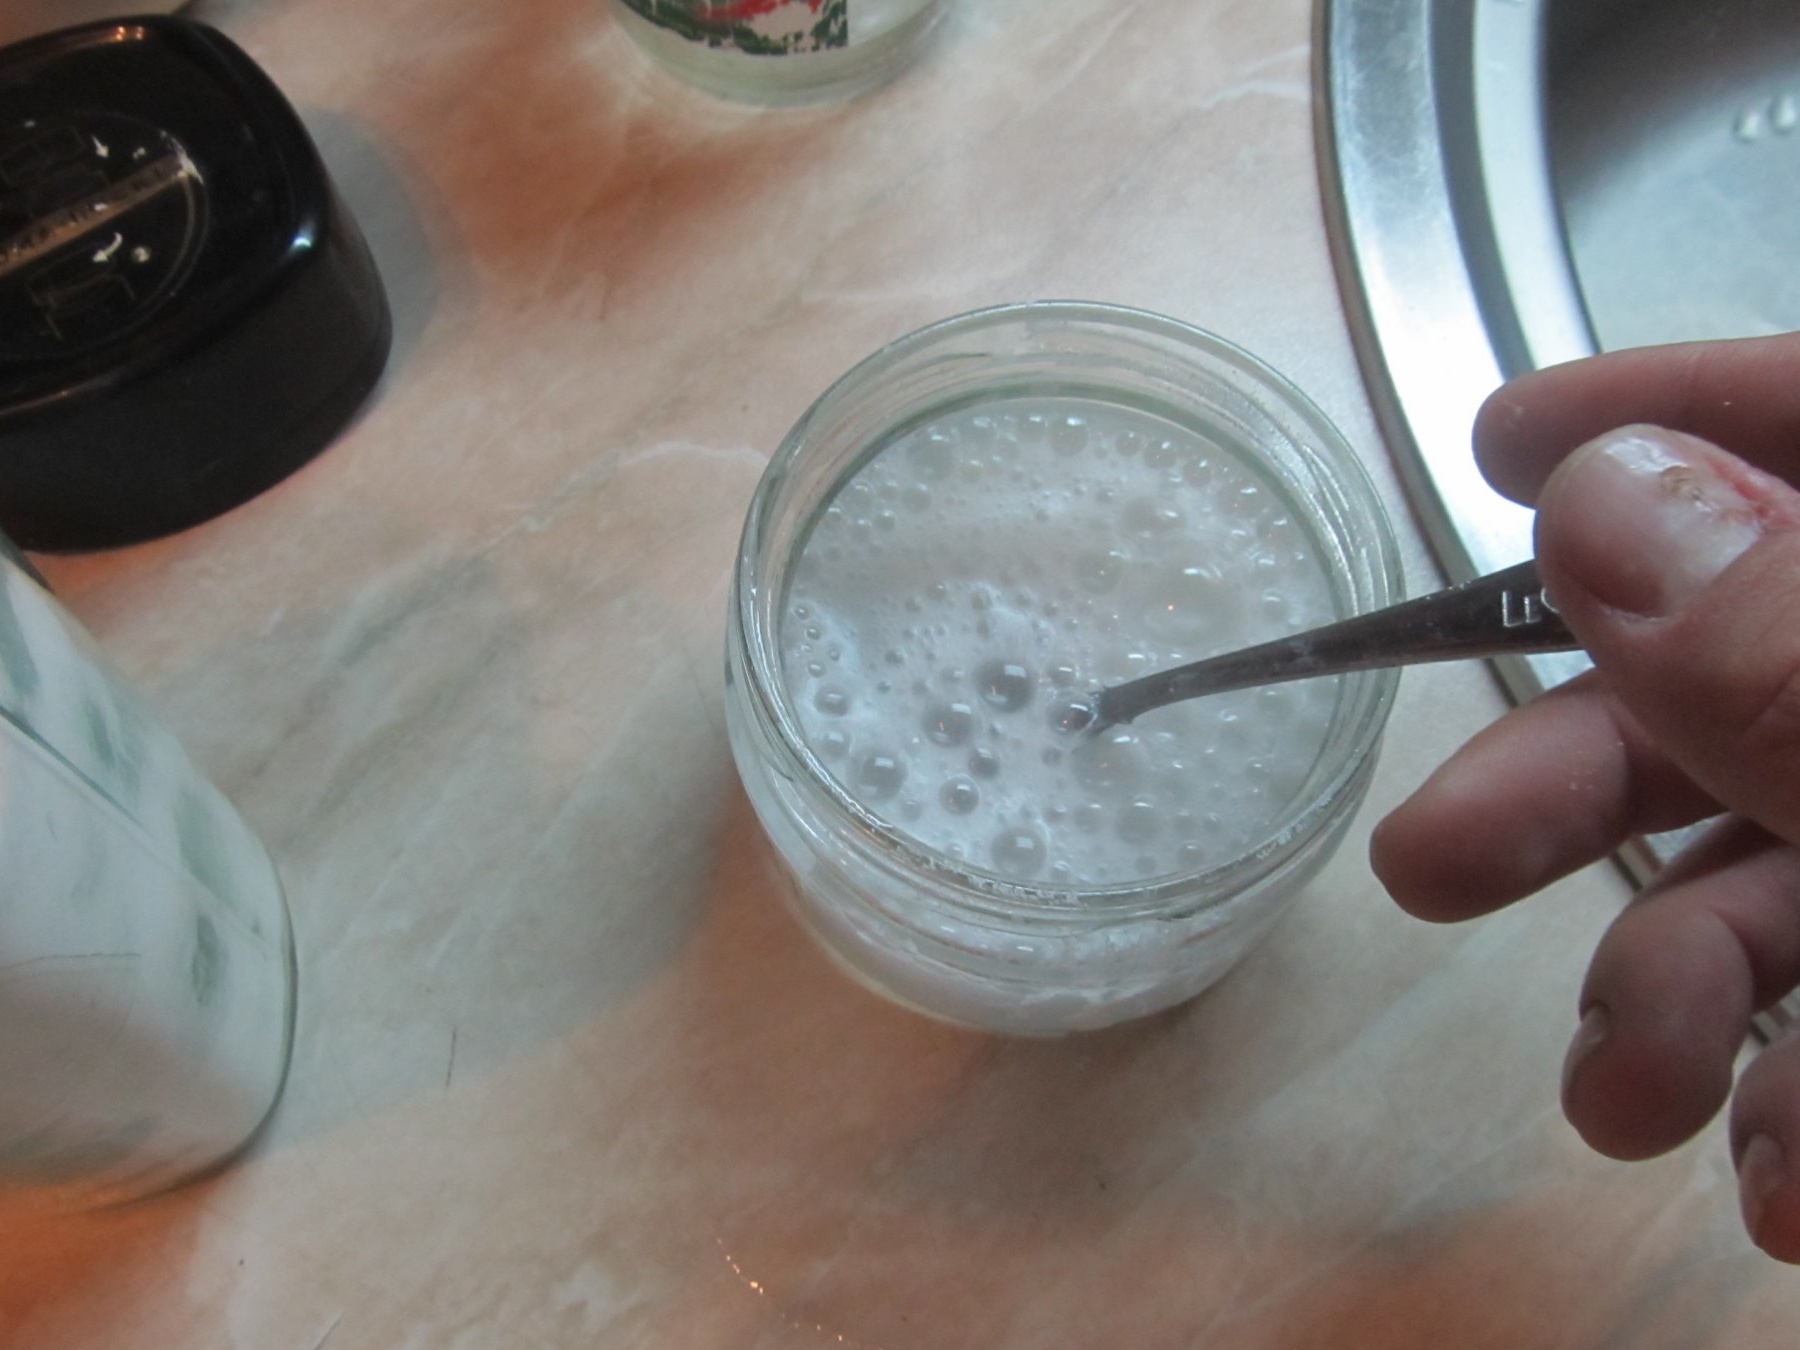
Let the solution cool down to 20-35 degrees (you can’t put a board in a hot solution right away, the whole photoresist will peel off)
We take our board and remove the second protective film
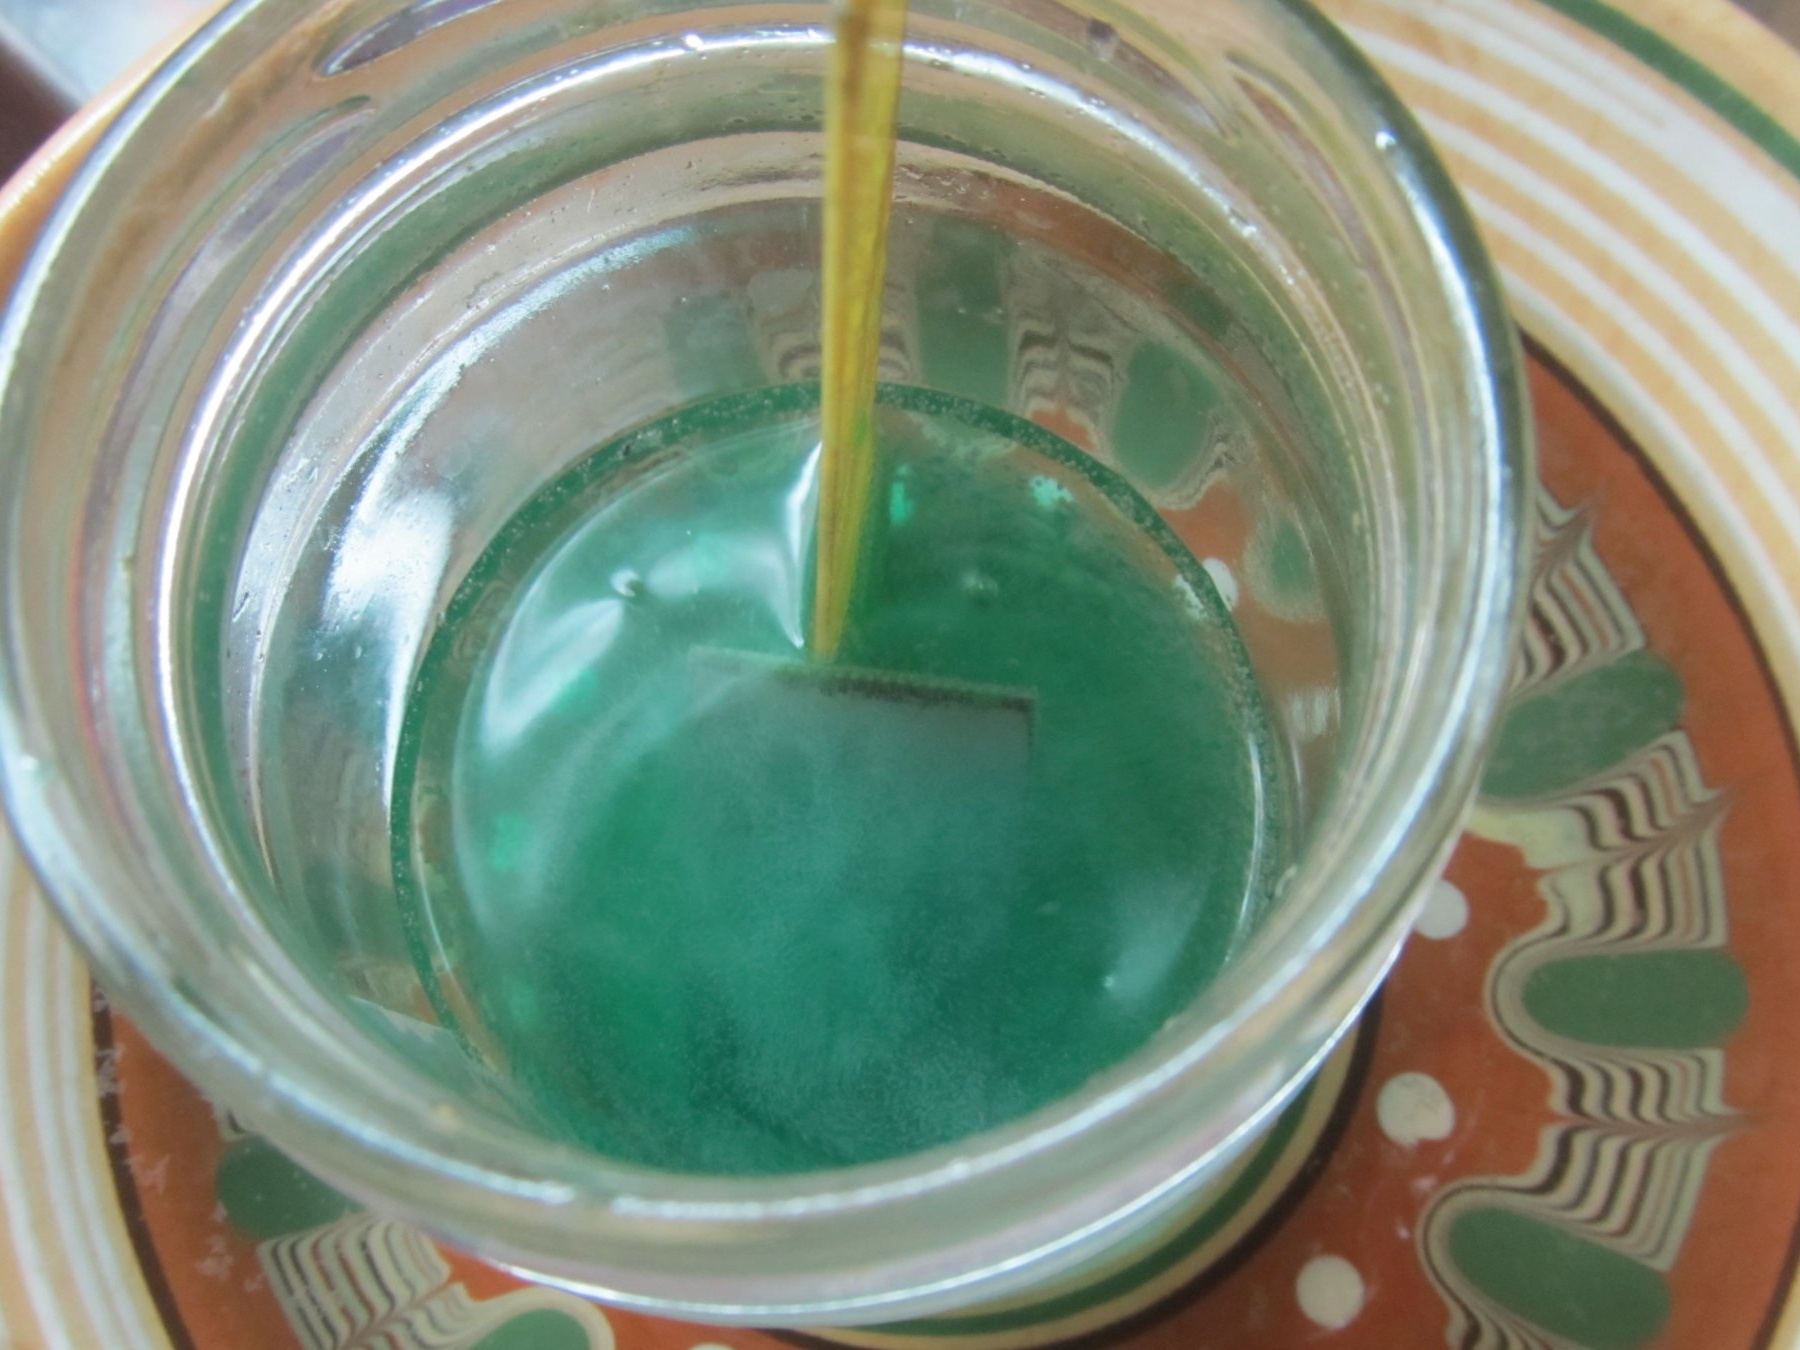
And we lay the fee in the COOLING solution for 1-1.5 minutes
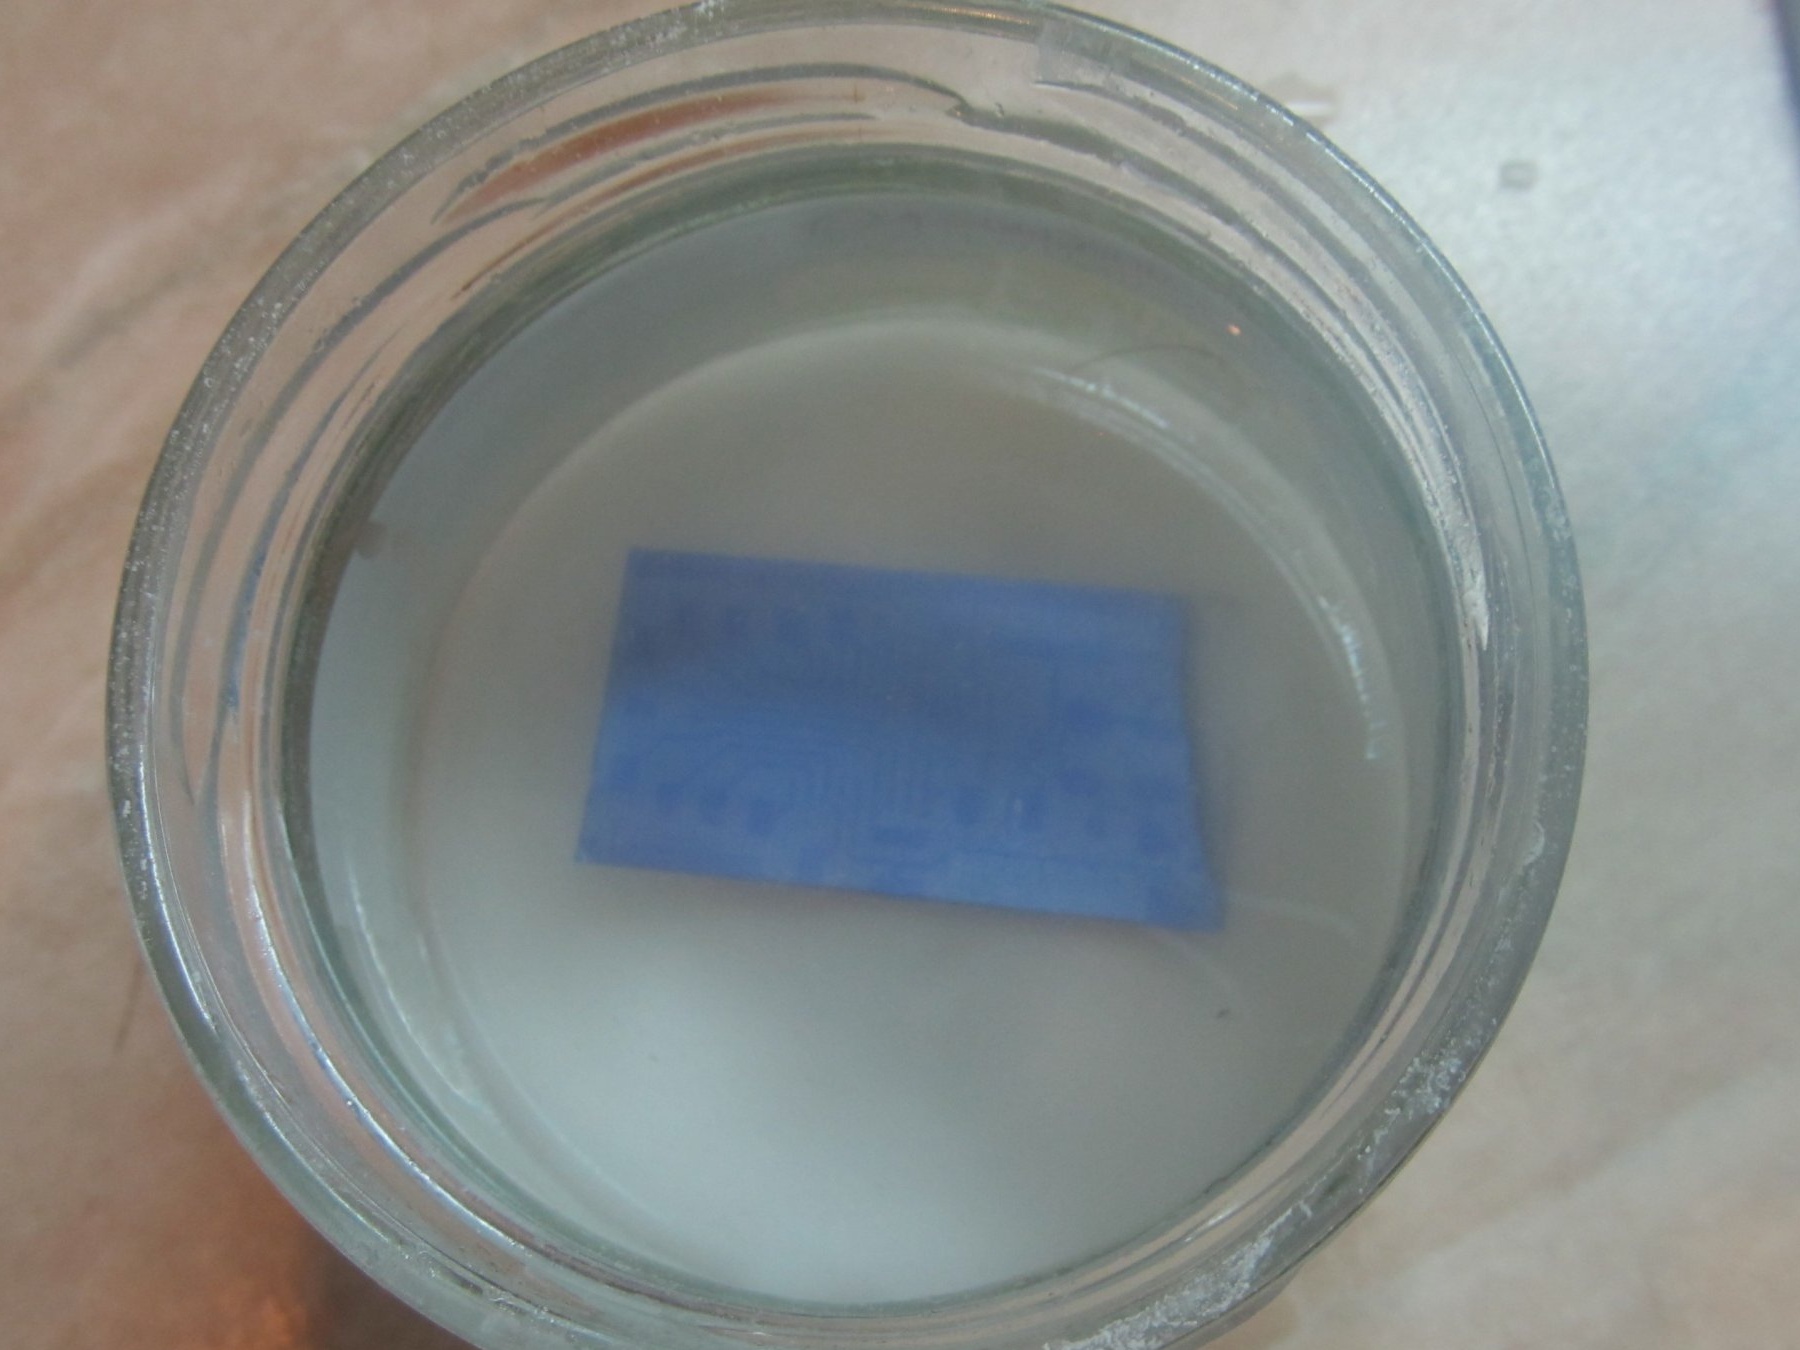
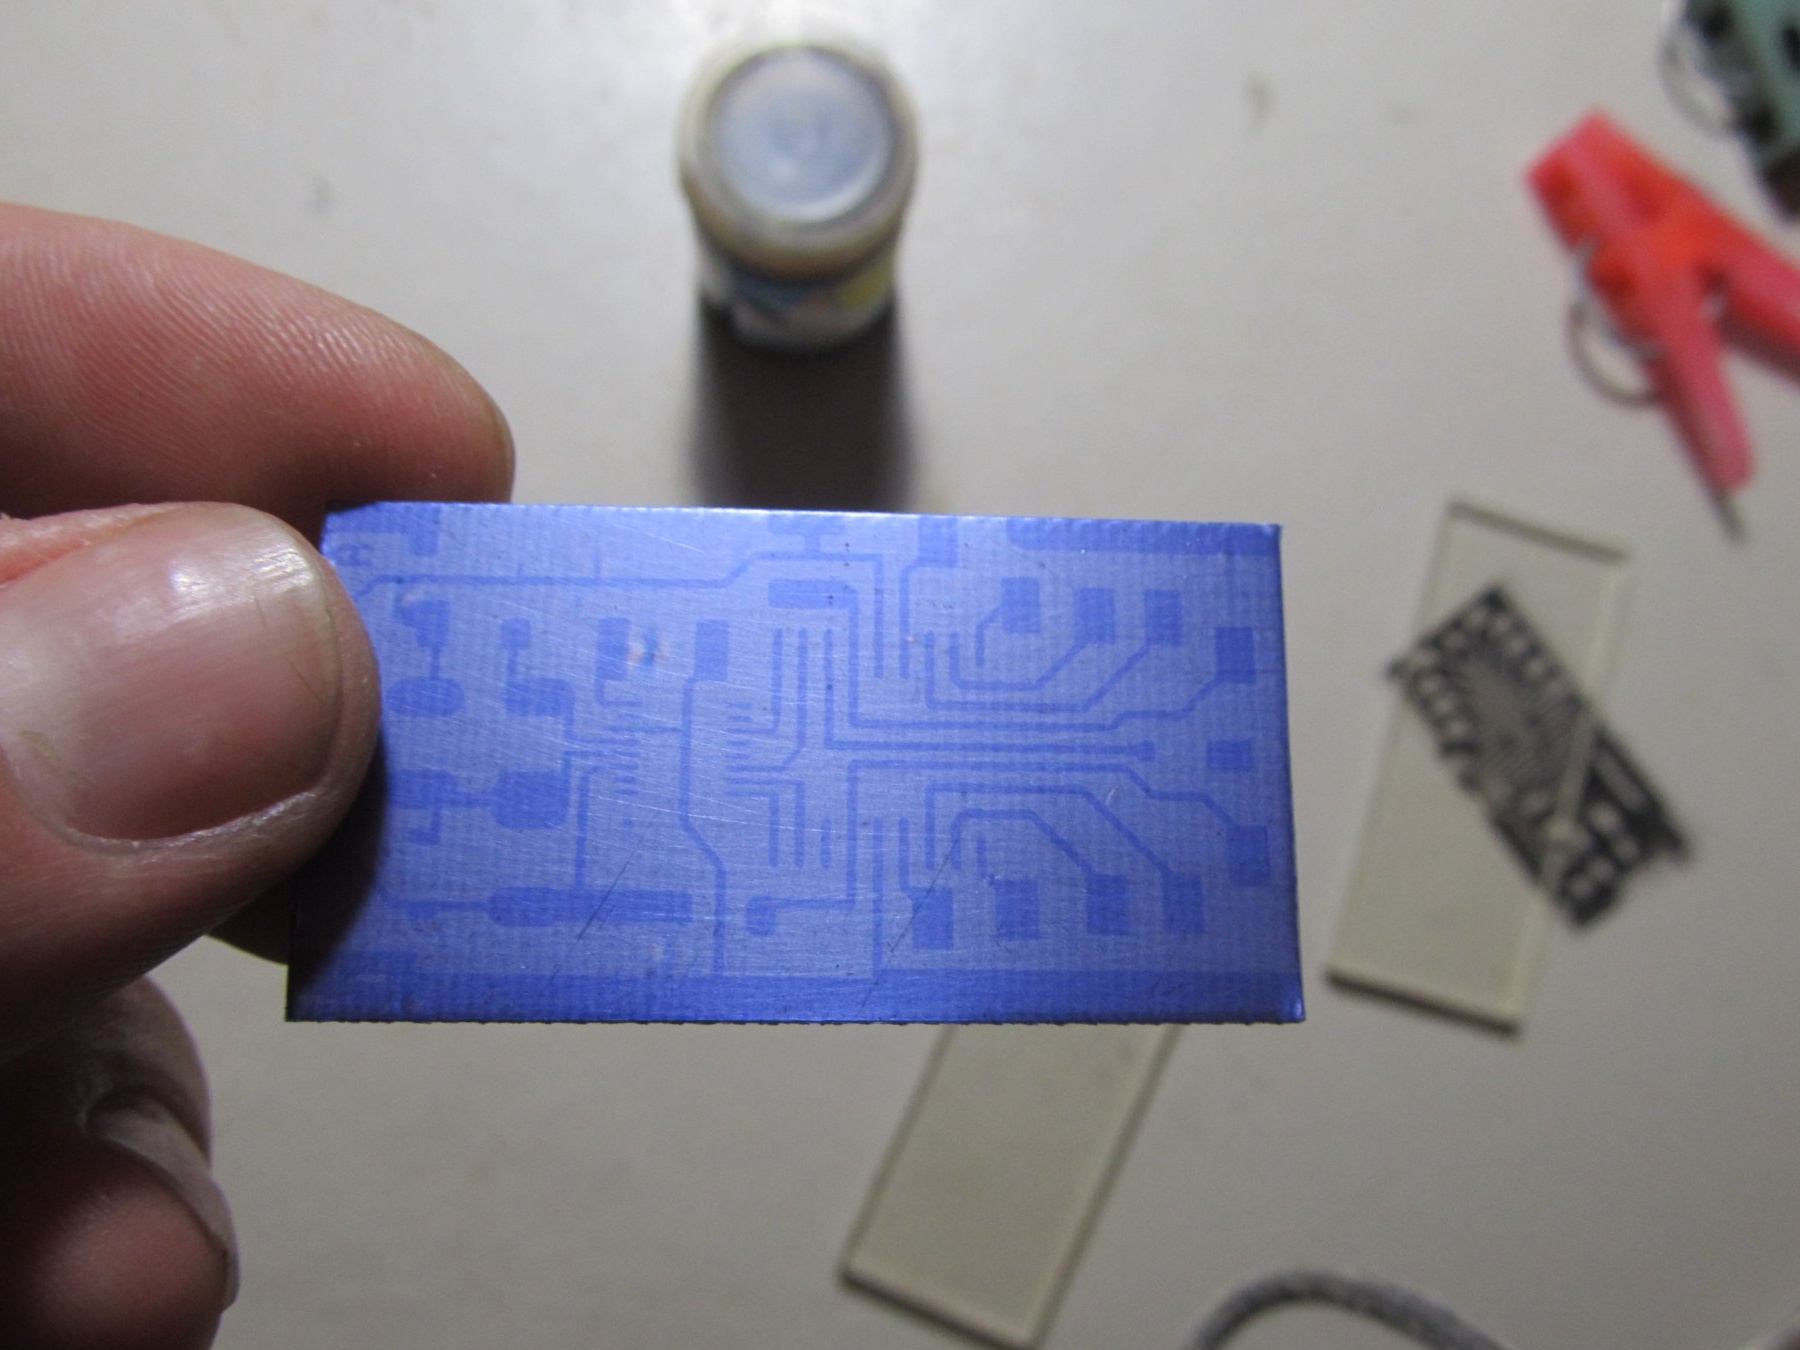
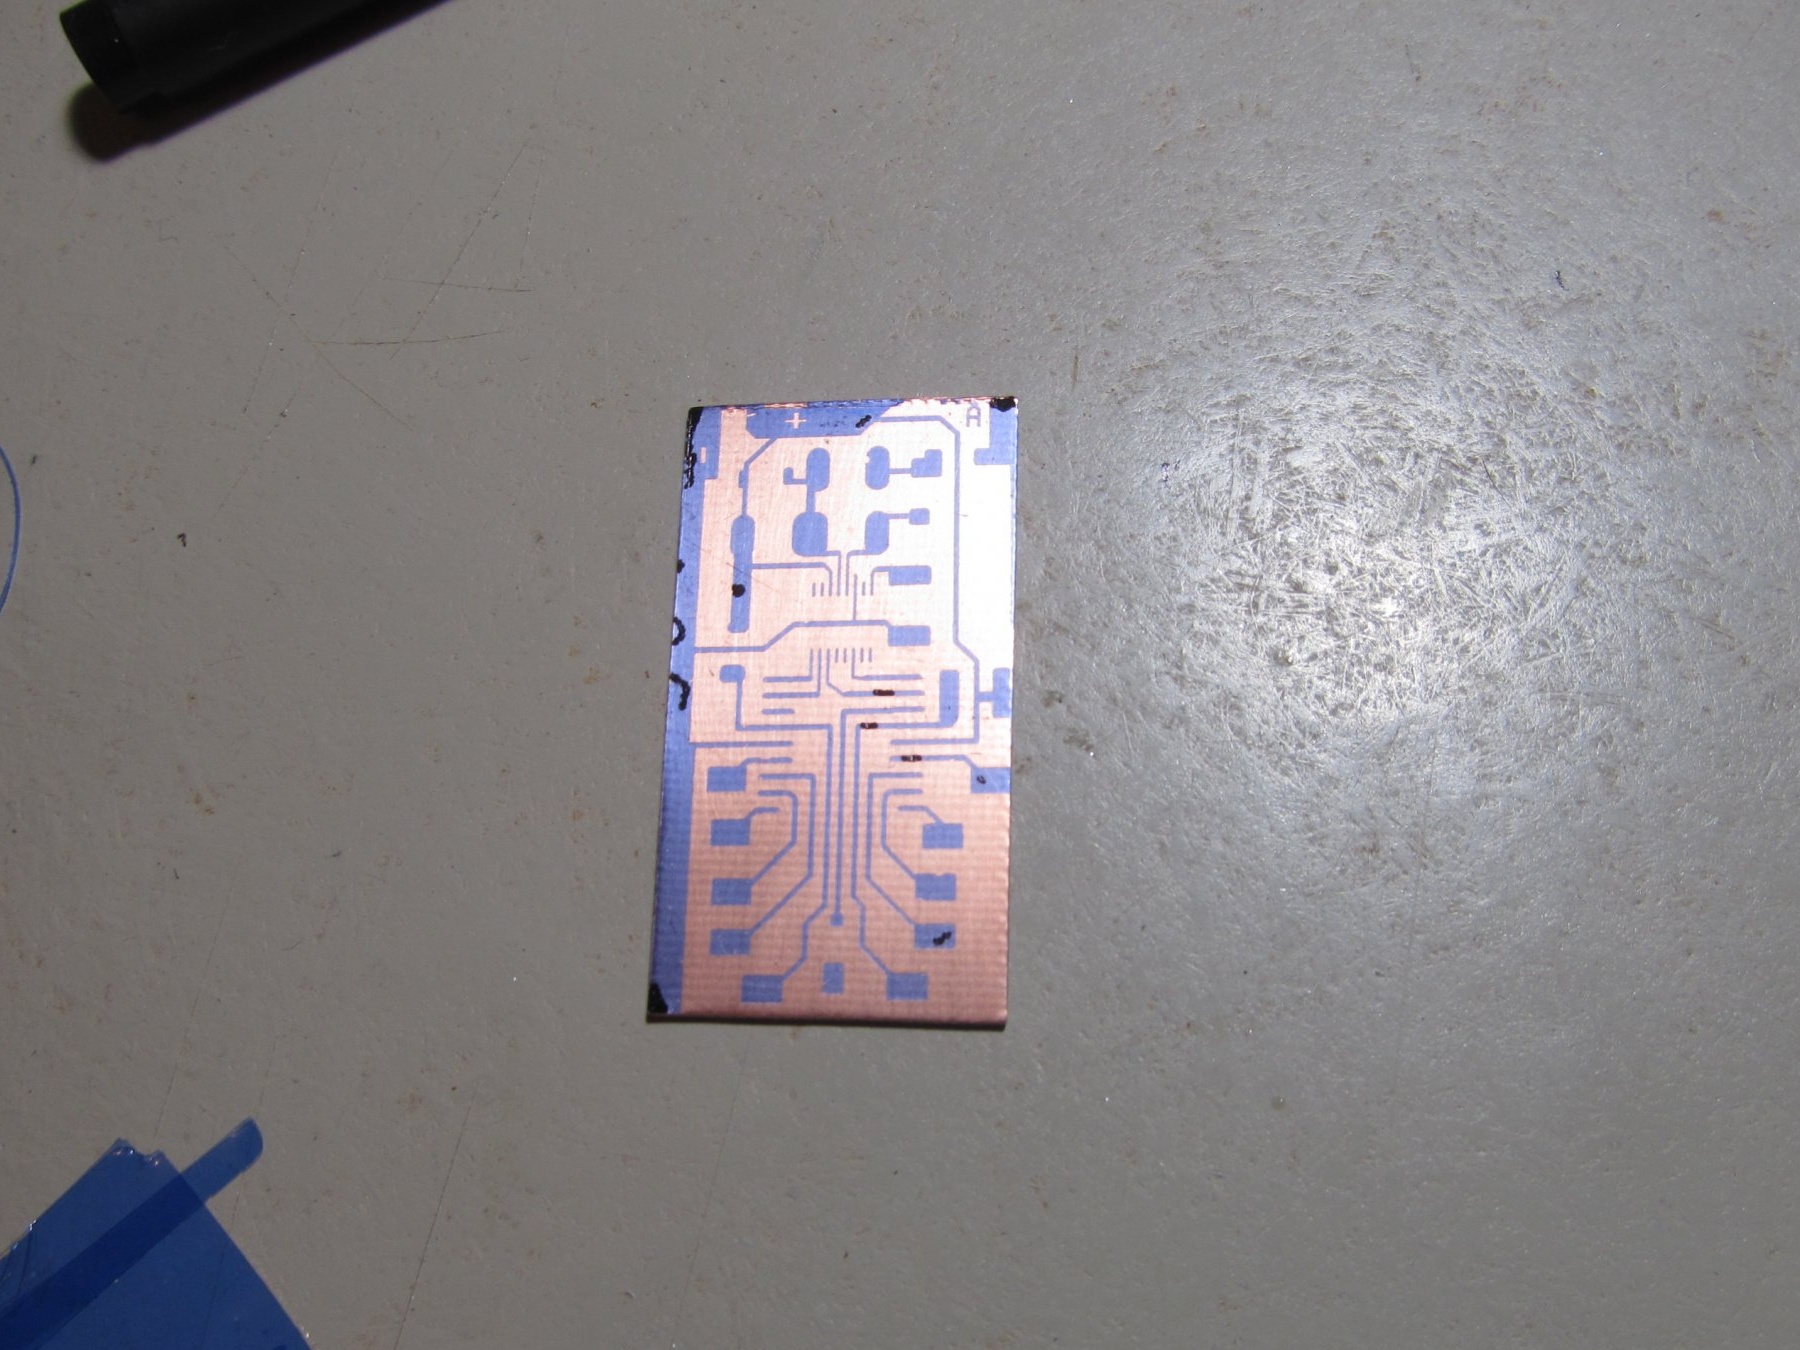
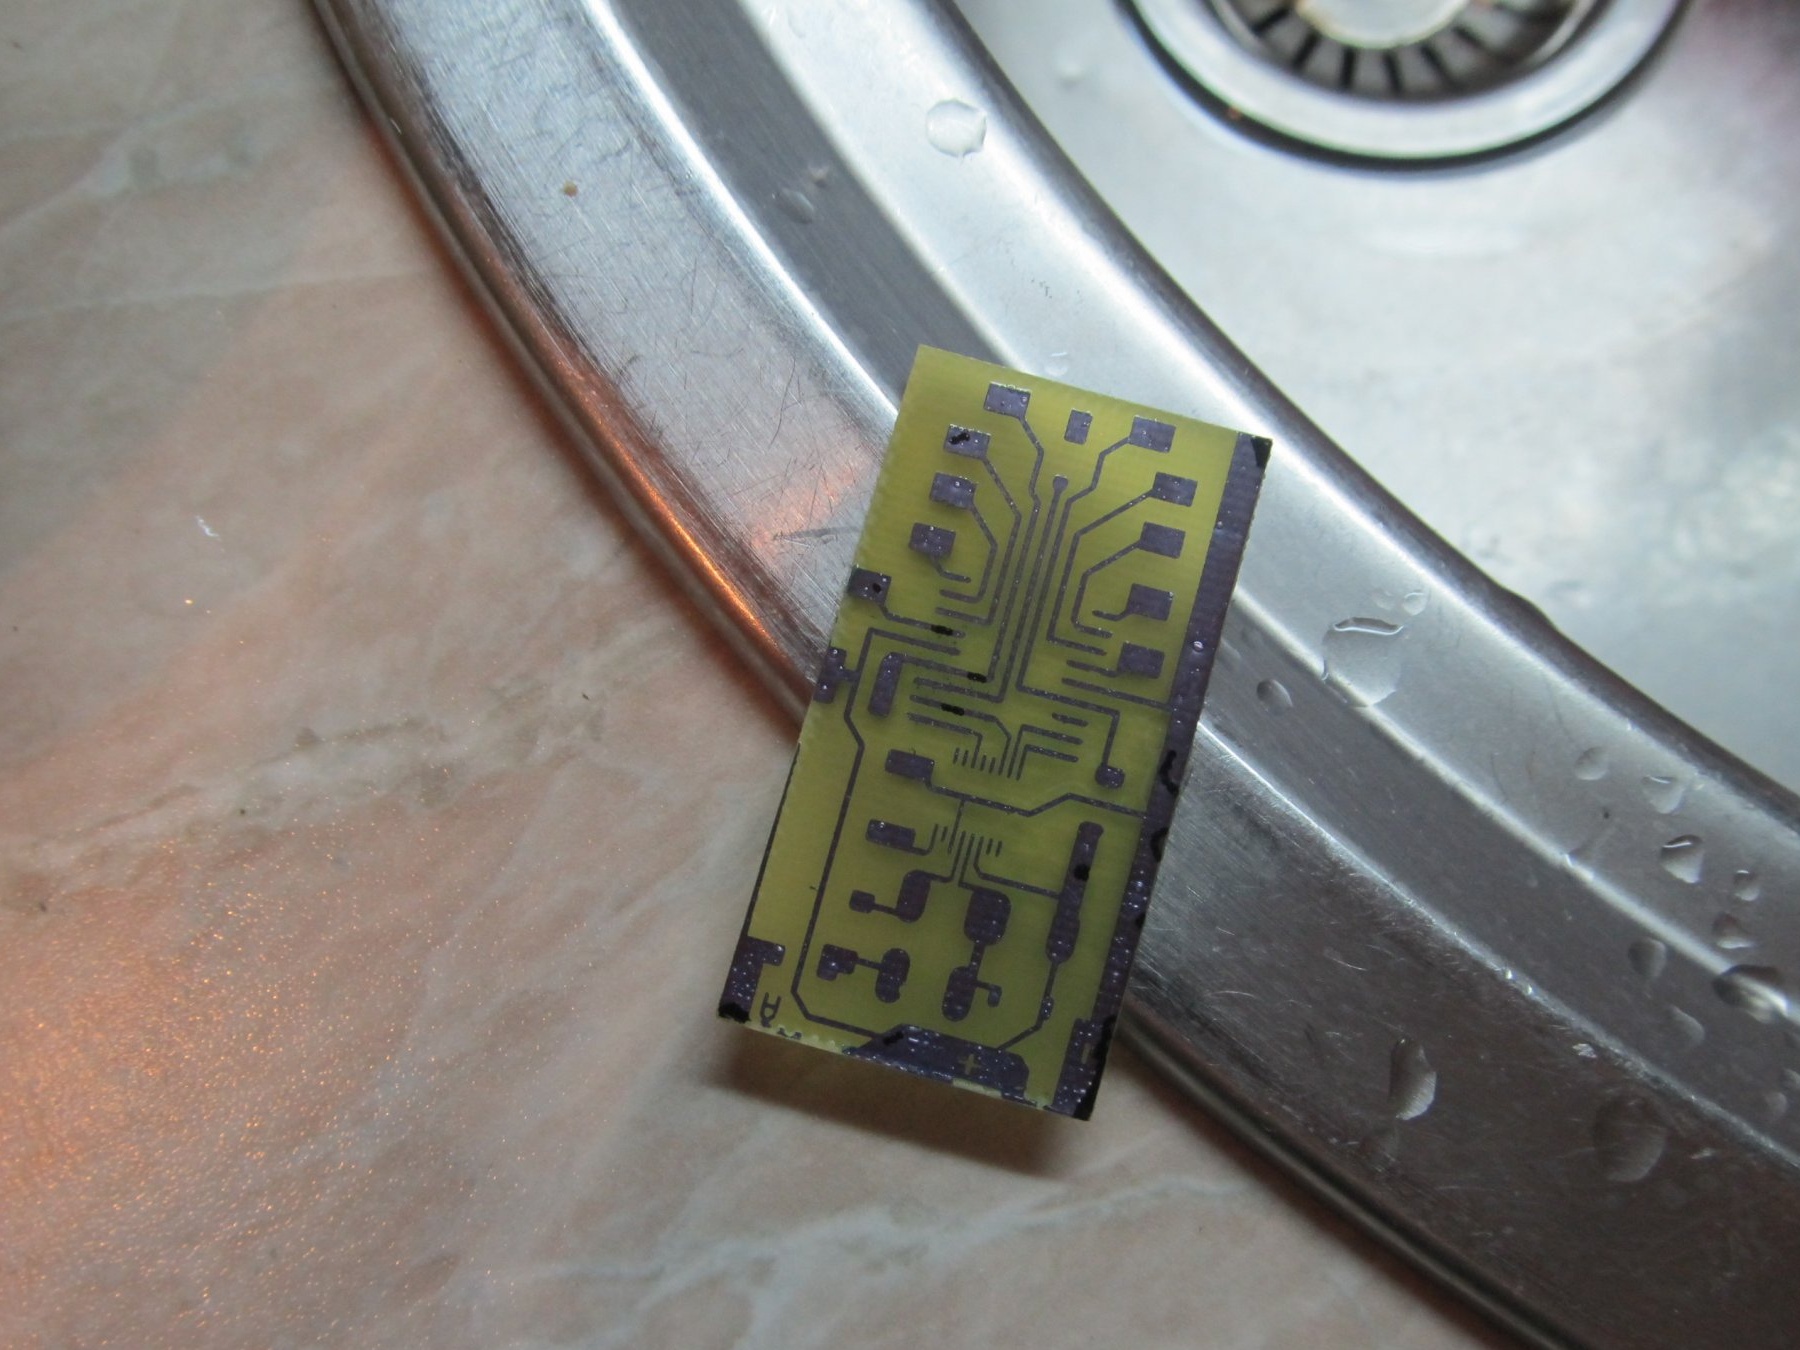
We periodically take out the circuit board and rinse it under running water, gently brushing it off with a finger or a soft kitchen sponge. When all the excess is washed off, there should be such a board
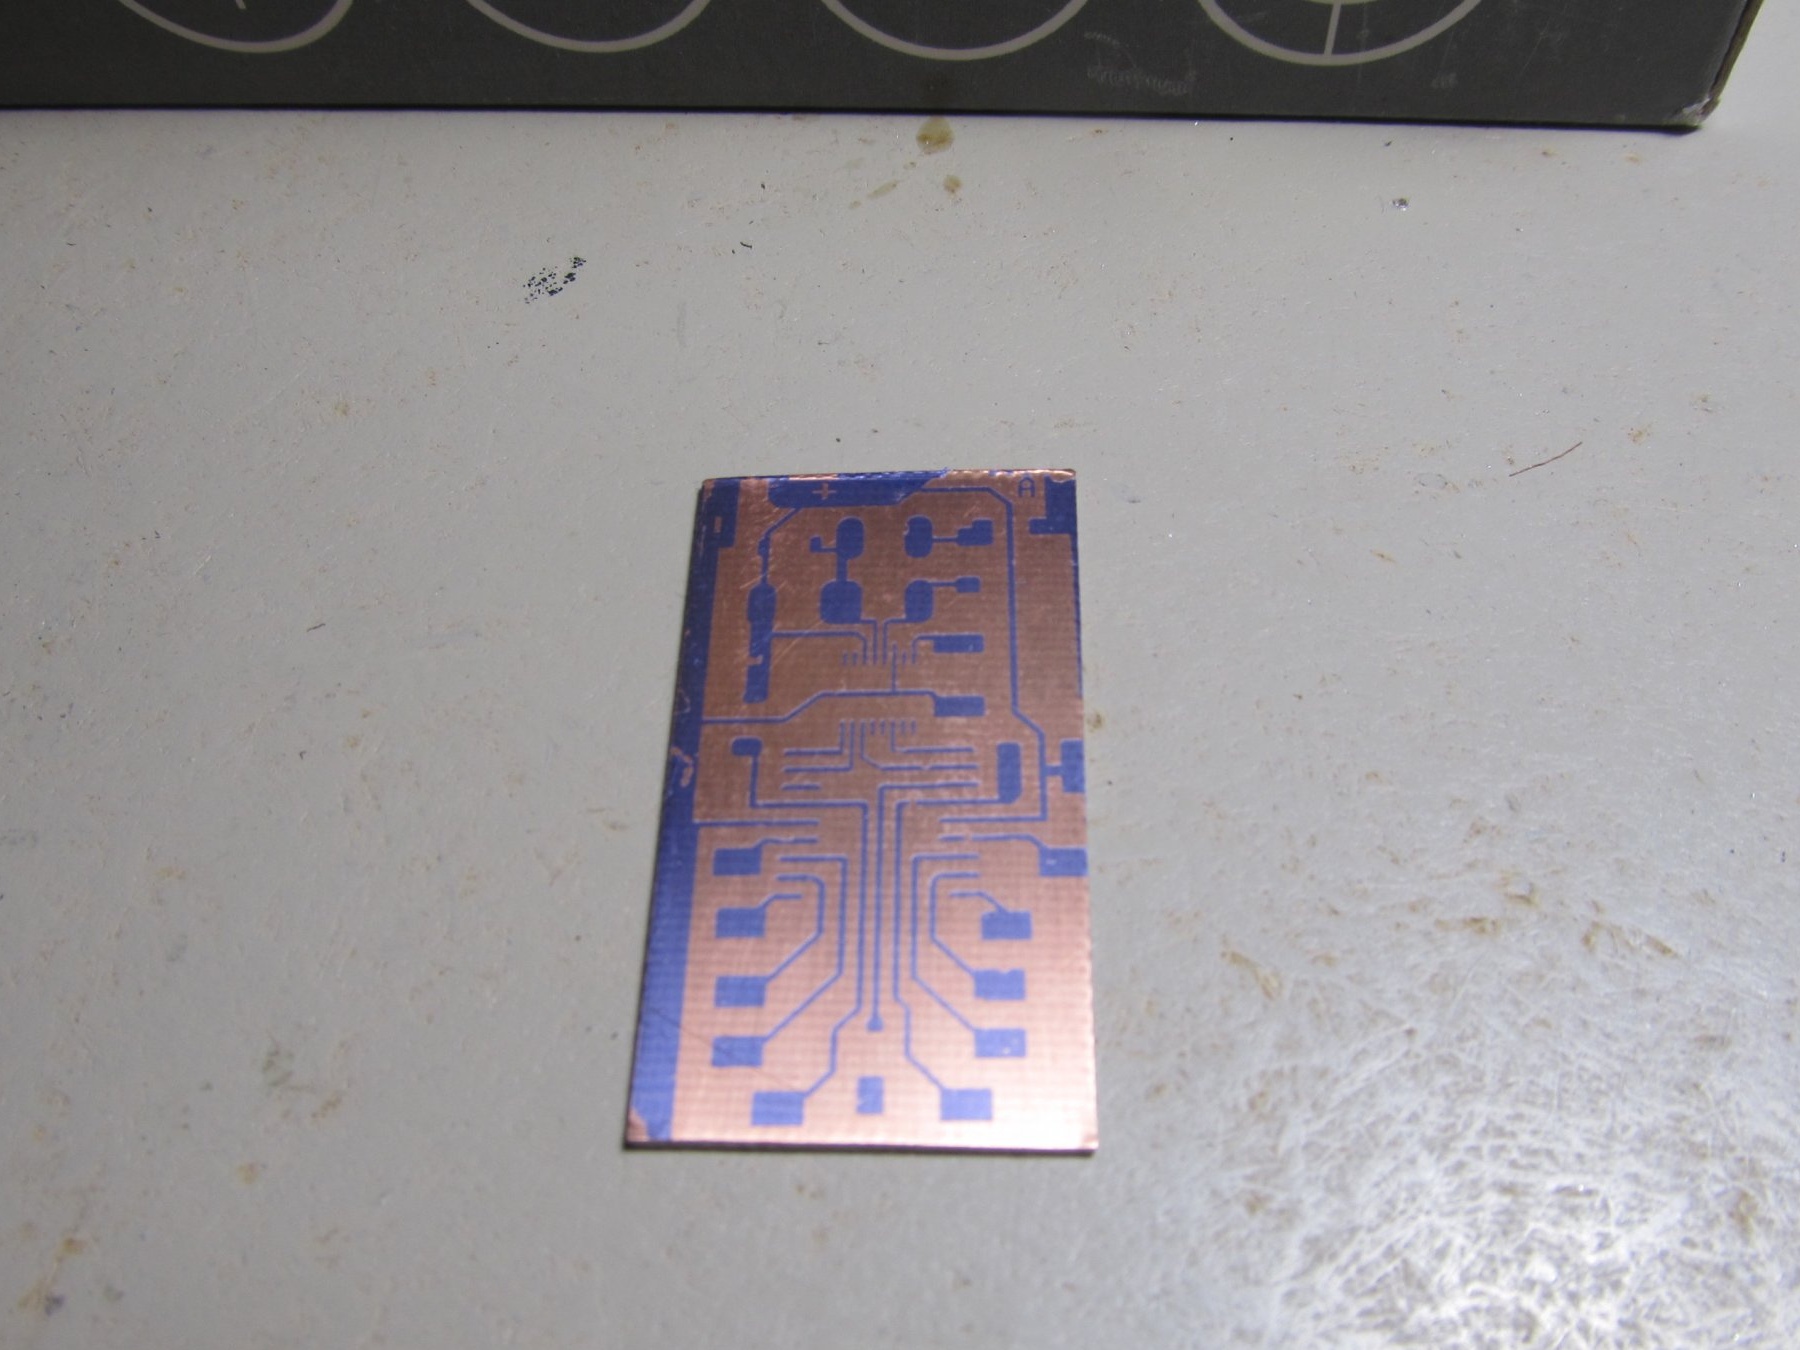
The photo shows that it washed off a little more than necessary, probably overexposed in a solution (which is not recommended)
But that's okay. just take a marker for printed circuit boards or nail polish and cover it with all the mistakes
Then pour into another container Peroxide 100 ml, 3-4 tablespoons of citric acid and 2 tablespoons of salt.
The solution needs to be heated, take a bowl, pour warm water there and put the container in a bowl
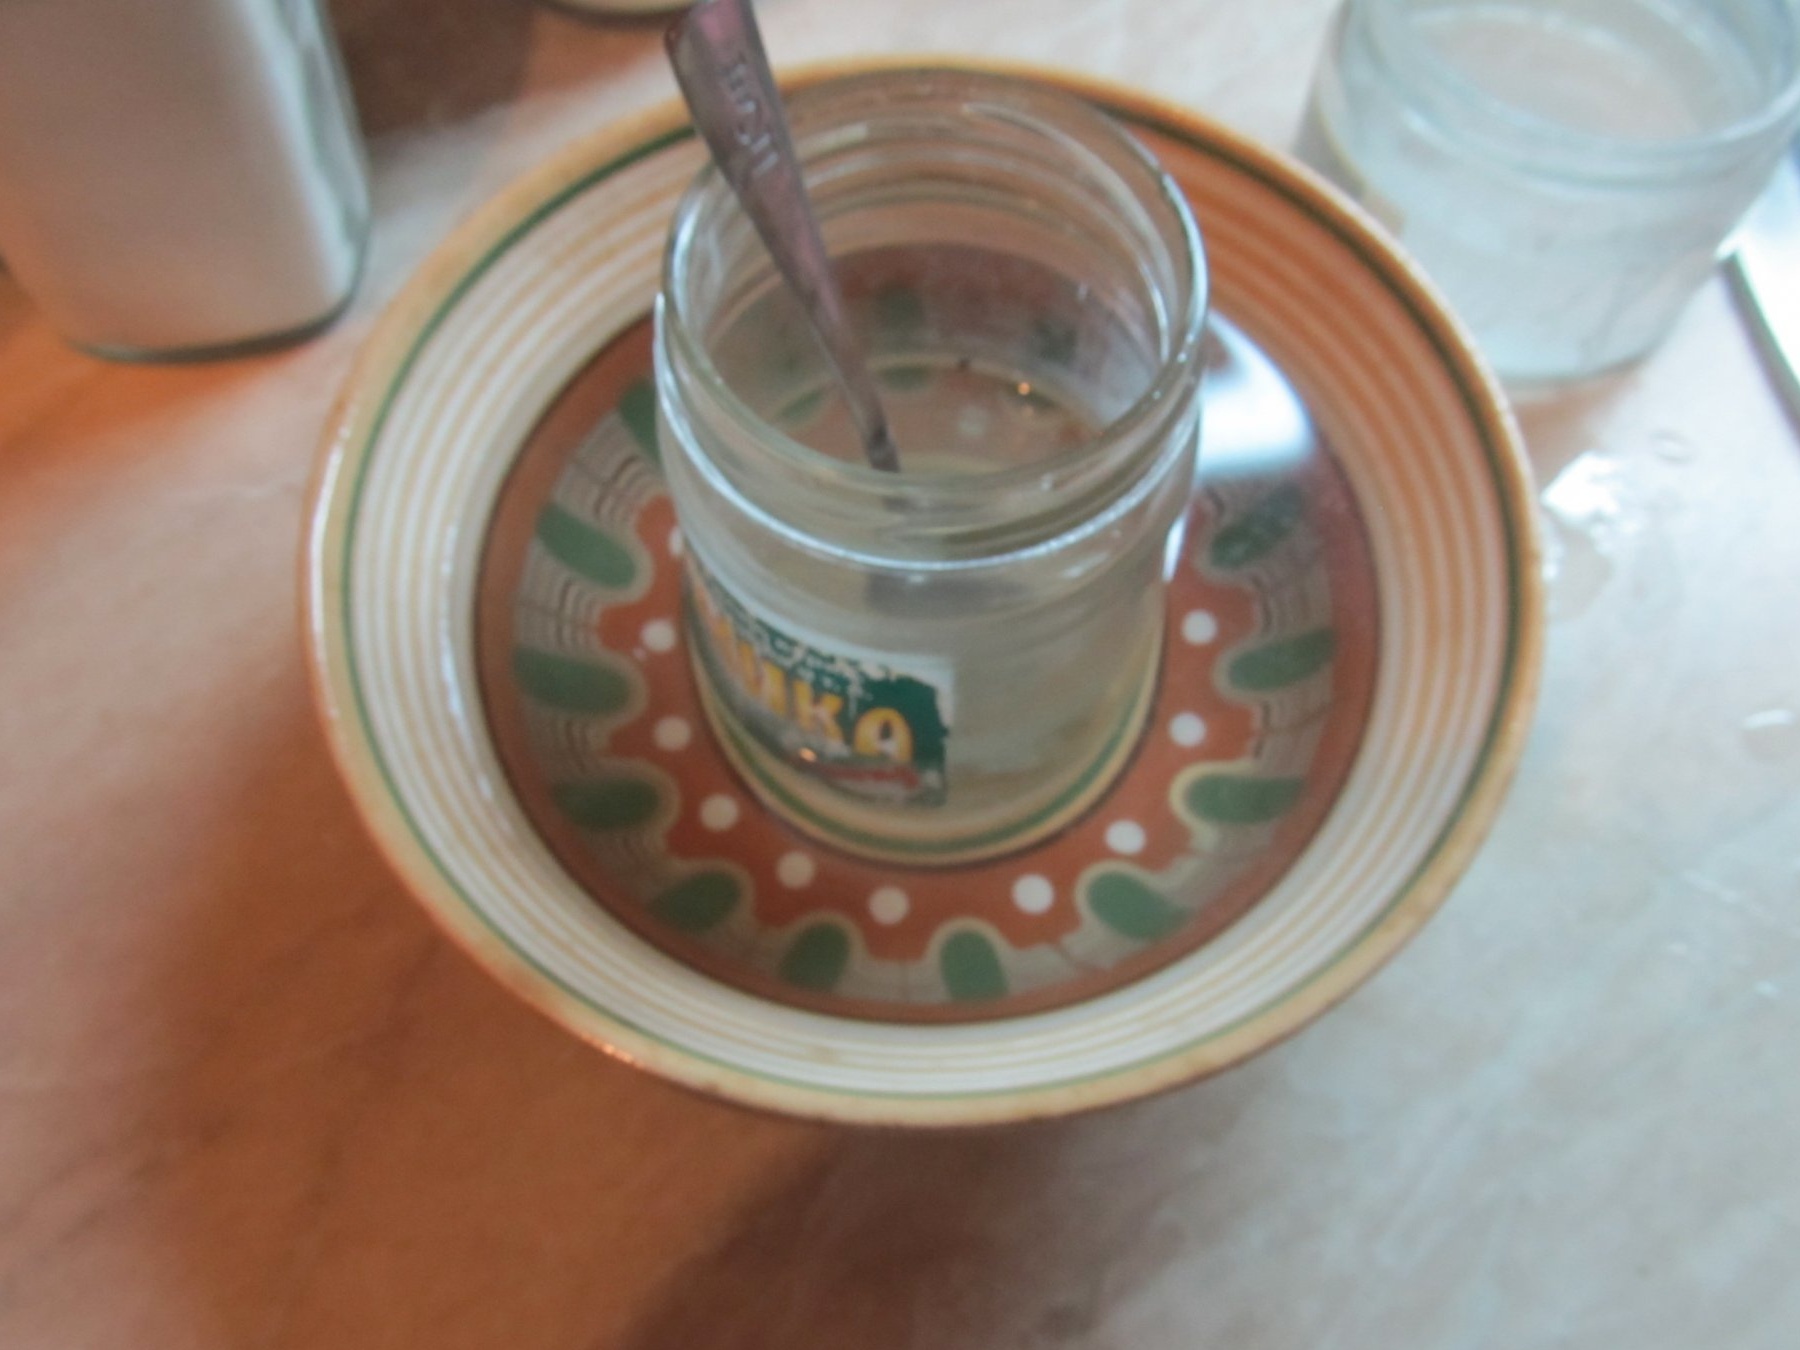
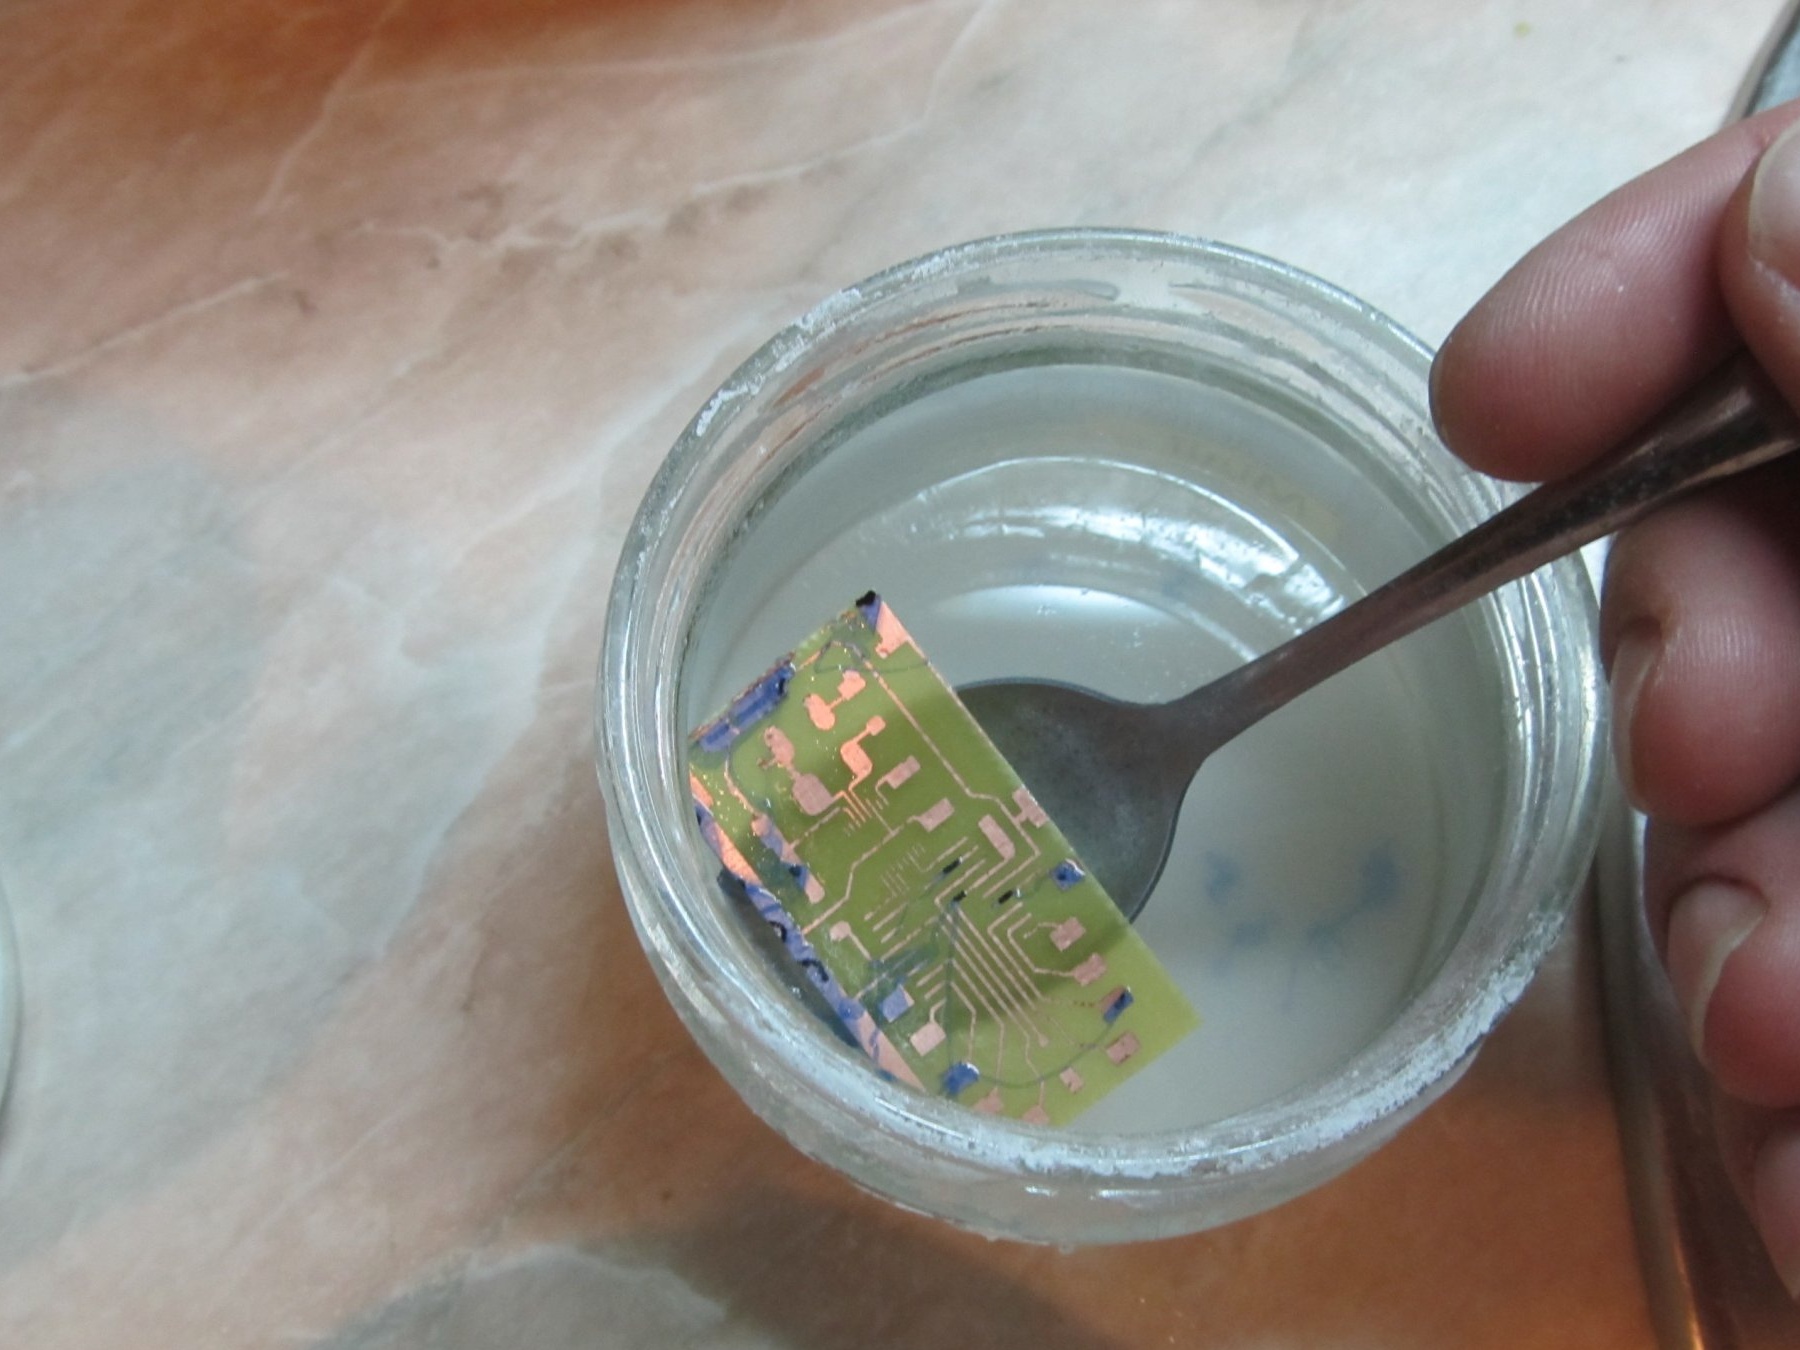
We put the board in the solution and wait
When the board is worn out, it must be washed with water.
To remove the remaining photoresist, boil water again and dilute with soda, you can have more soda. And in a hot solution we put our board for 10-15 minutes.

And the board is completely ready
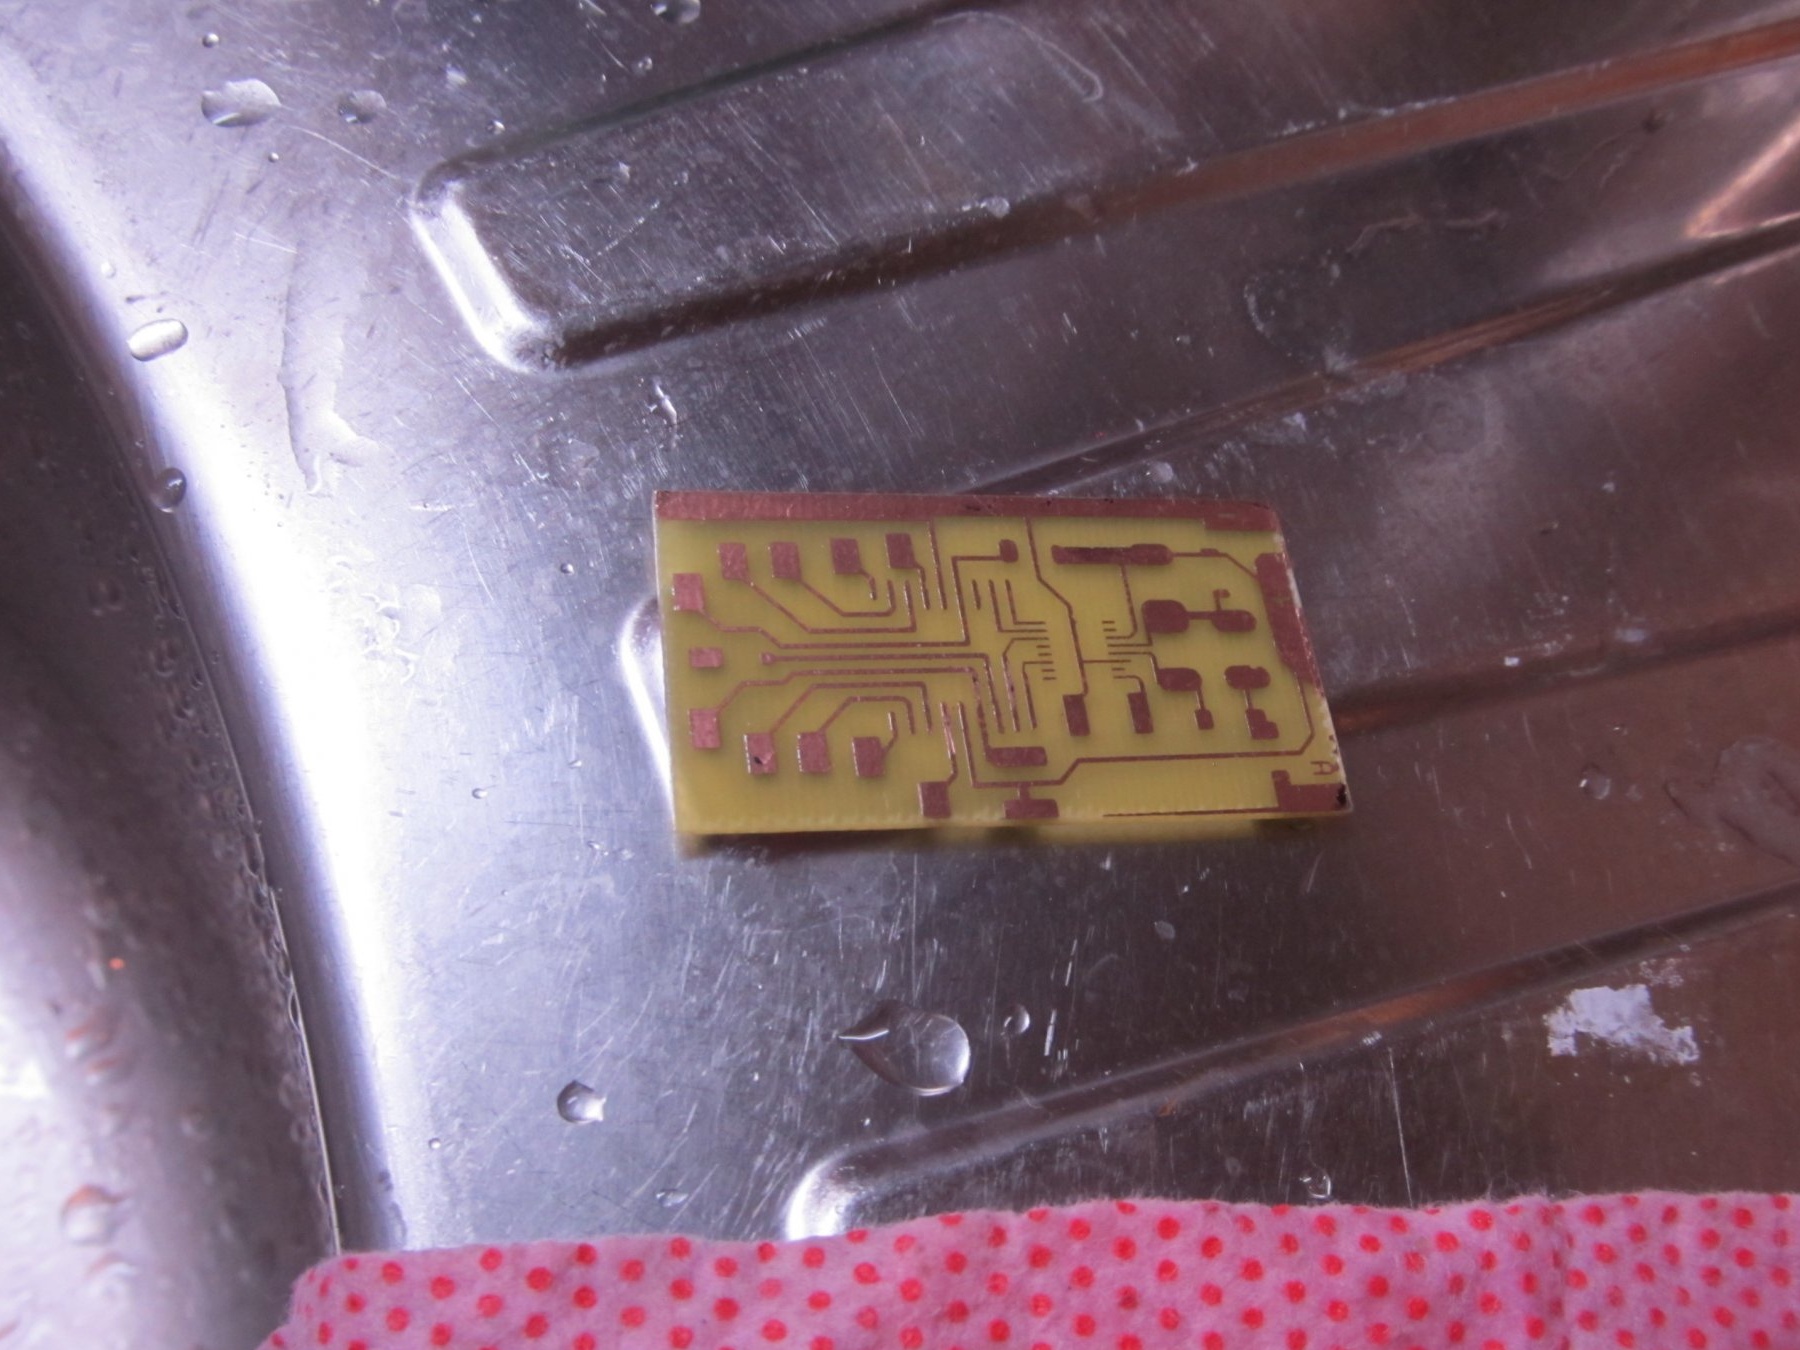
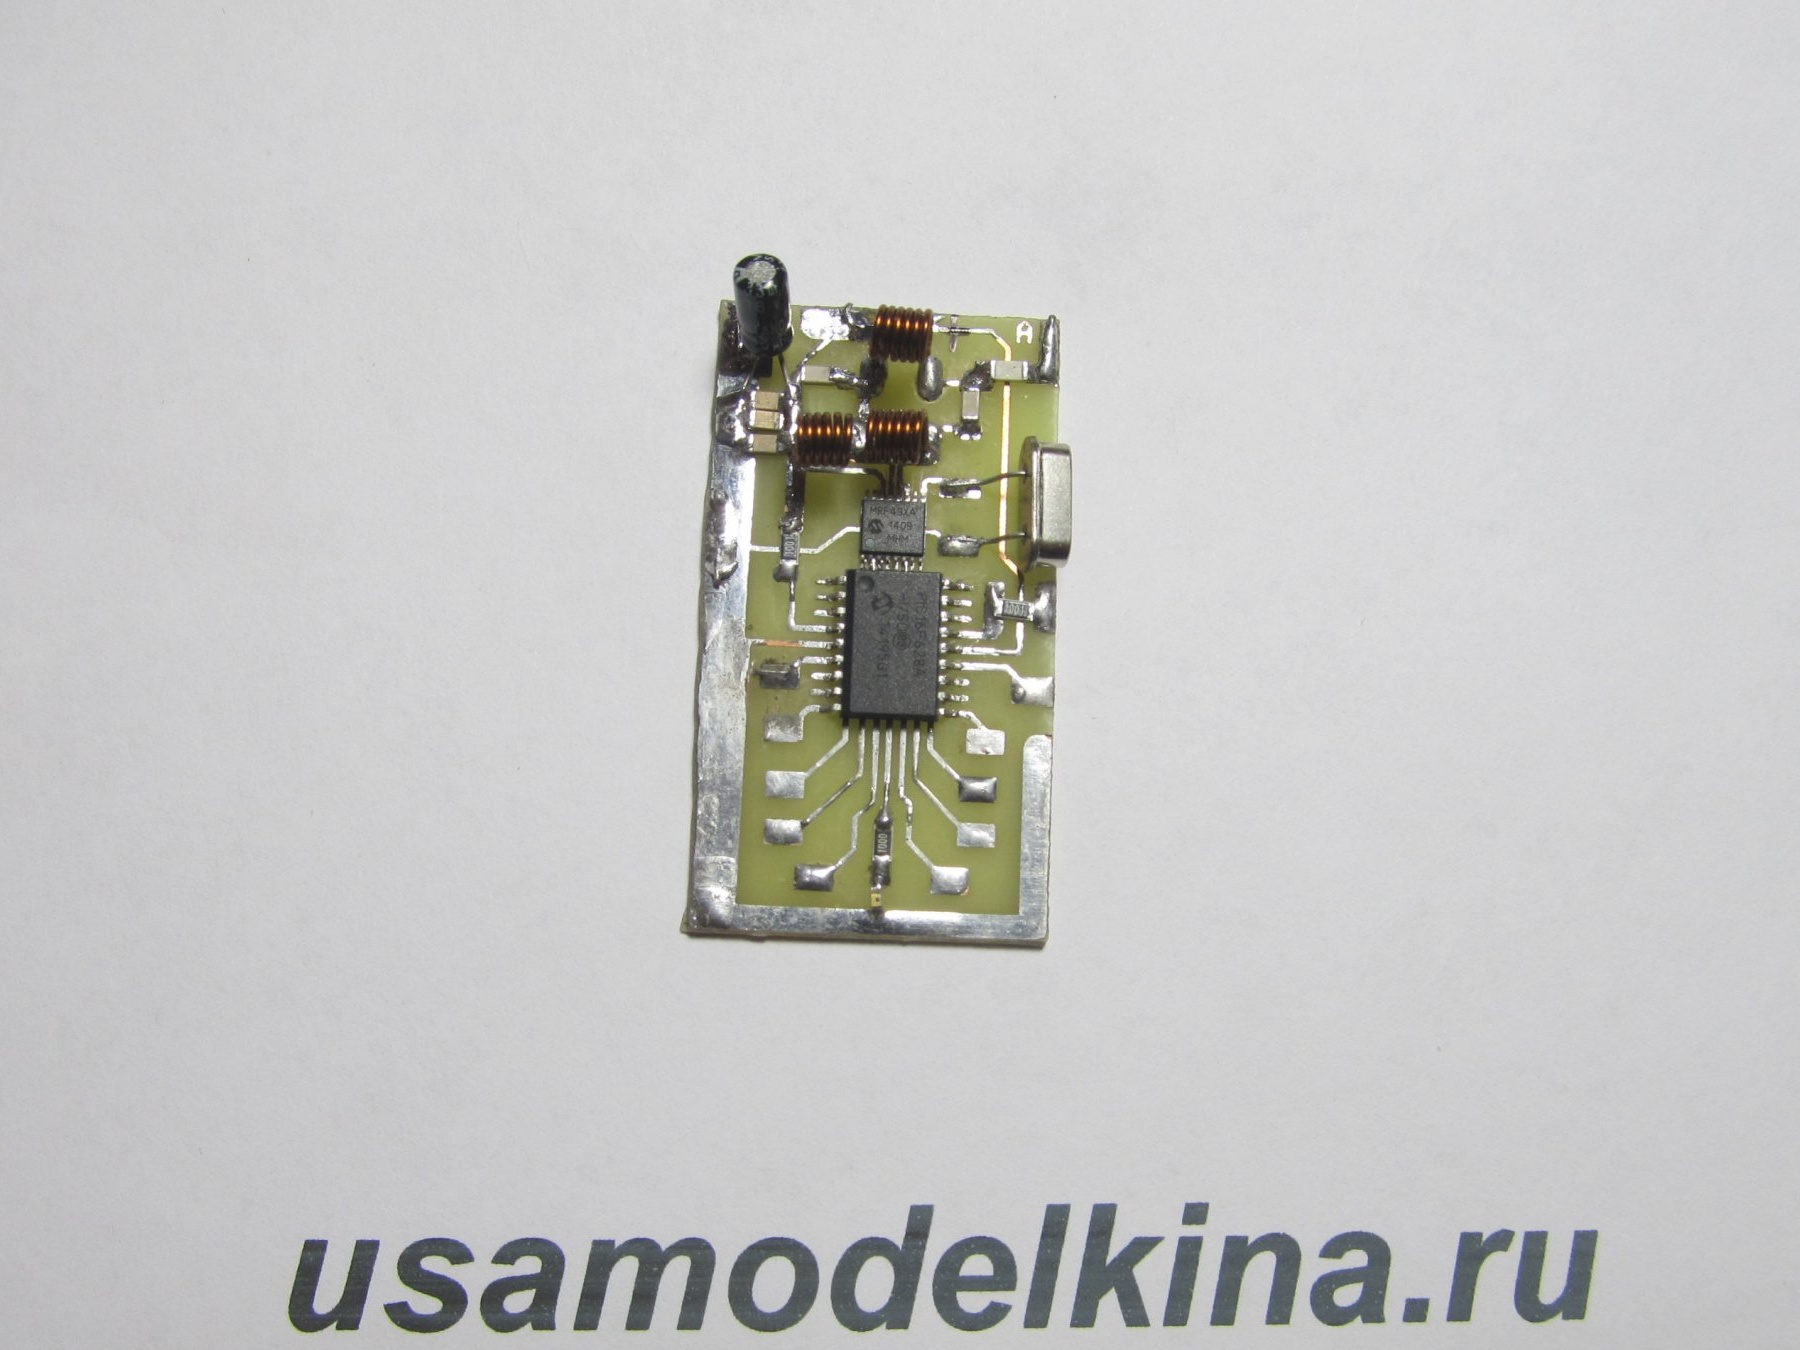
After drying and soldering, the board looks very good.