

Really cheap and affordable way to etch circuit boards in home conditions by means of LUT !!!
1 Availability
2 Simplicity
3 Reusable board etching solution
4 Just time-tested =)
Hello everyone reading this article !!! If you are here, I’m glad that there are still people who are eager to do something. do it yourself, which means they do not degrade and try not to buy consumer goods from our comrades in the Middle Kingdom. I’m not saying that this is bad, but when a person does something, it’s really excellent, of course there are “troubles”, but they learn from mistakes as they say. Today we will go through the stage from A to Z, how to etch the board cheaply, reliably, and angrily (and most importantly, everything is available).
First we need prepare a solution of our, so to speak, copper eater from the board. We go to a household magician or to the auto parts bazaar and buy 1 liter of electrolyte for batteries (it’s possible even more, depending on what size you want to pickle the boards =) I took 3 liters at once and I’ve been poisoning for 2 years now) if you don’t lie 20%.

Further, if you, like me, chose 3 liters of solution to make, then you will need a kilogram of ammonium nitrate, which is also sold in household stores.
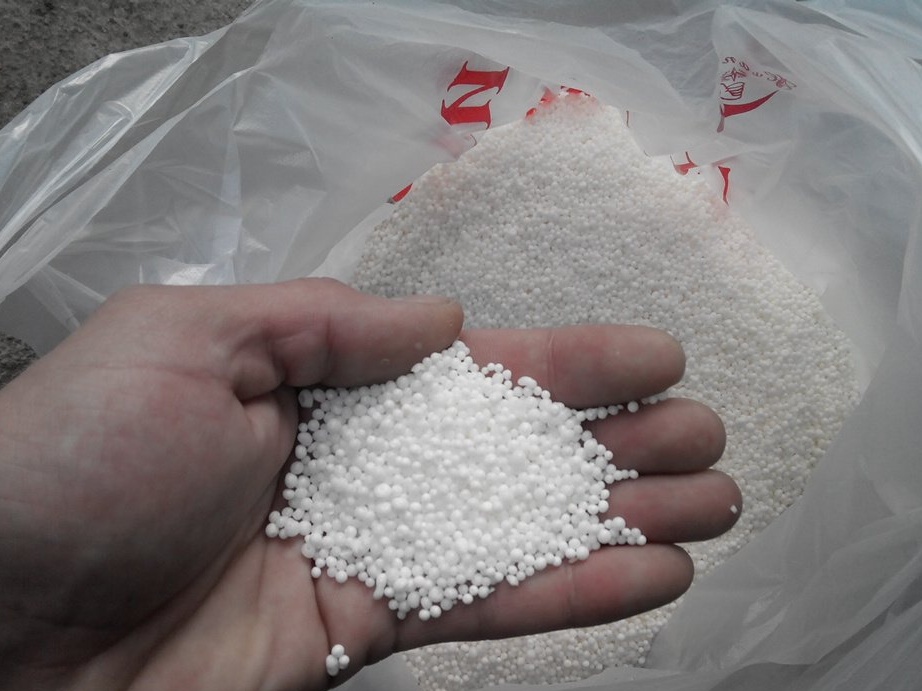
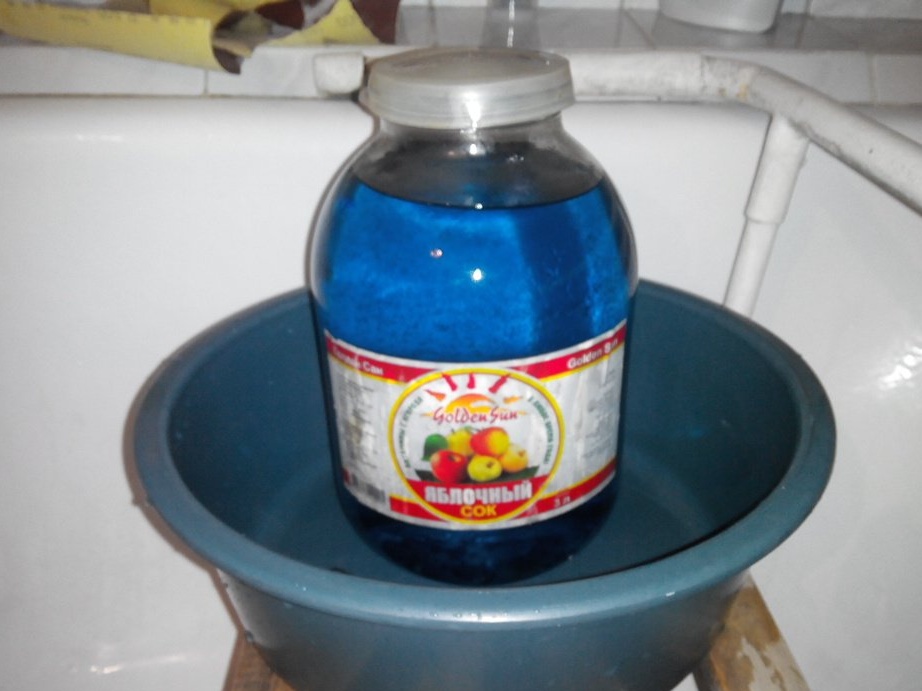
The proportion of the solution is per 1 liter of electrolyte, a faceted glass of nitrate !!! A faceted glass of about 200 g is obtained. I personally did this: I threw the electrolyte into hot water so that it warmed up, then poured it into a jar, added a glass of nitrate and stirred until it dissolved. When the nitrate dissolves, add a little bit more nitrate until it stops dissolving. This is done in order because saltpeter absorbs moisture very well, which means a less concentrated solution is obtained and you have to add it a little more =). The result is not concentrated nitric nitric acid with impurities (but they are not important to us, no impurities are visible, these are salts formed which are also dissolved). Here is my miracle jar of solution
Further preparation of the board !!!
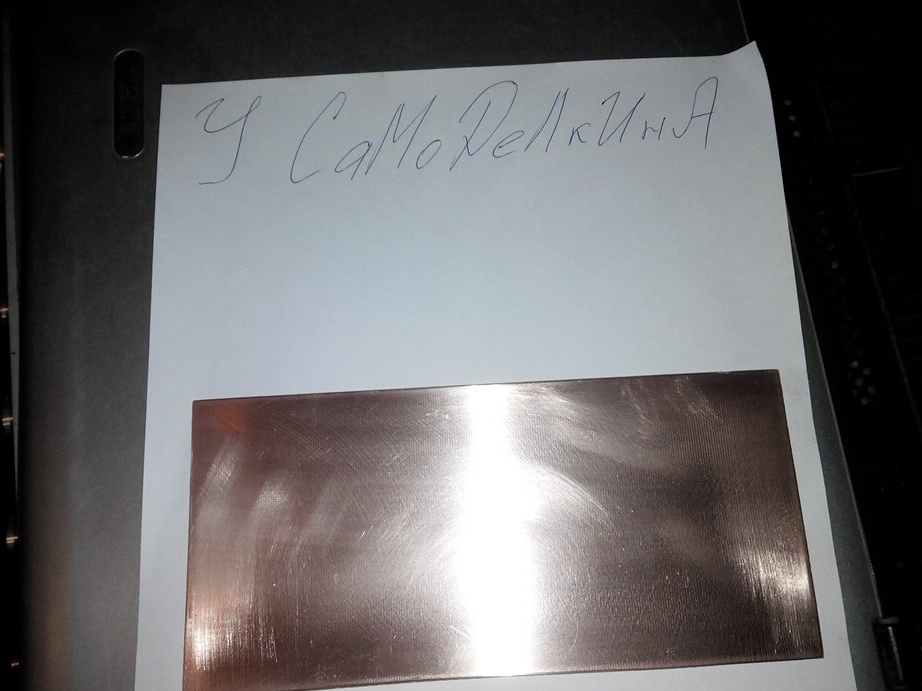
Take a small piece of PCB =)
We saw off the size we need, preferably with a margin of a couple of millimeters, and treat it with 1500-2000 sandpaper to remove dirt, oxides, and remove shells in copper.
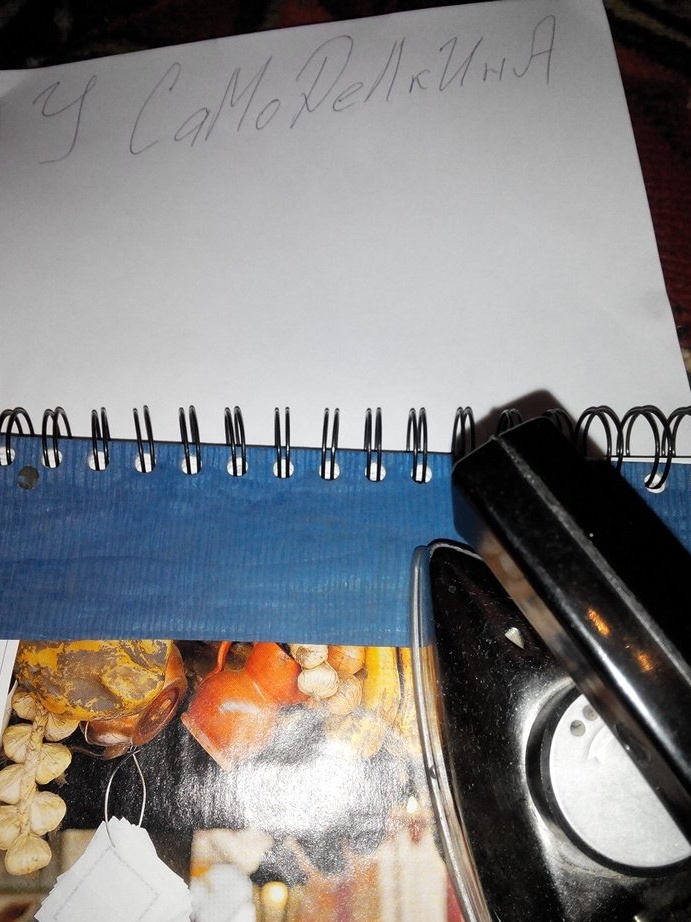
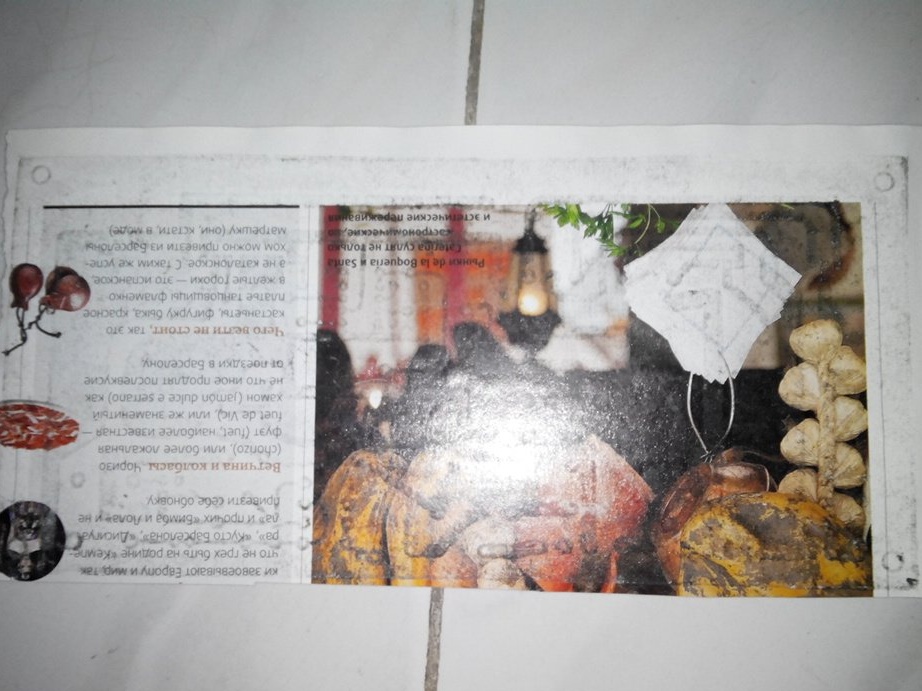
Then I wipe the board with ammonia and then with the usual ethyl, medical =). Now you need to print the board itself, for this you need a program called Sprint-Layout.I won’t lay out here how to work with her, even a child will figure it out, we already laid out my article too, or google if it’s really tight, you can write it down if you have questions about it. For the paper on which we will print, we need a regular magazine, glossy =) Where are the pages dense and glossy (litter for a tautology). The laser printer is black and white, well, one finger on the mouse =) We print and prepare the iron.
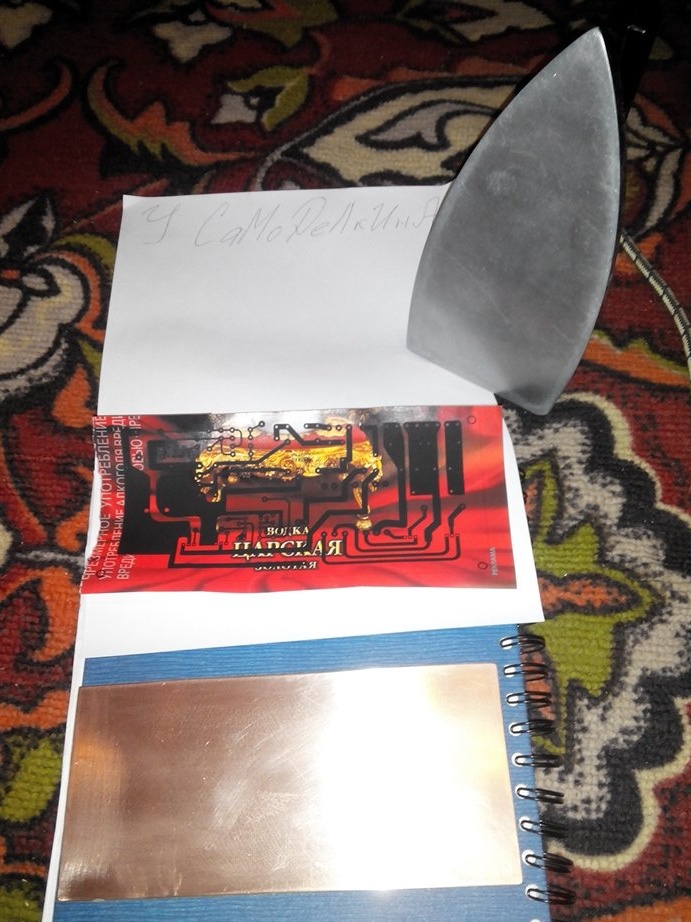
An ordinary iron is needed, not with steam or any bells and whistles there, but an ordinary real iron. To keep his sole flat. Next, we impose the printout from the printer on a copper surface, turn it over and put it on something solid (I used a journal for recordings with a hard crust). We iron it so that the paper sticks a little and now we again flip the paper to the top.
Now we begin to iron the board from one edge to the other so that there are no creases in the middle of the board, carefully smoothing every jitter of the board (they will appear after you iron them). The main thing is not to overdo it, since toner can float !!! After 3 minutes of ironing, you can relax and have a smoke, or you can drink juice as you like =). The main thing is to throw the board to cool, I use the tile in the bathroom
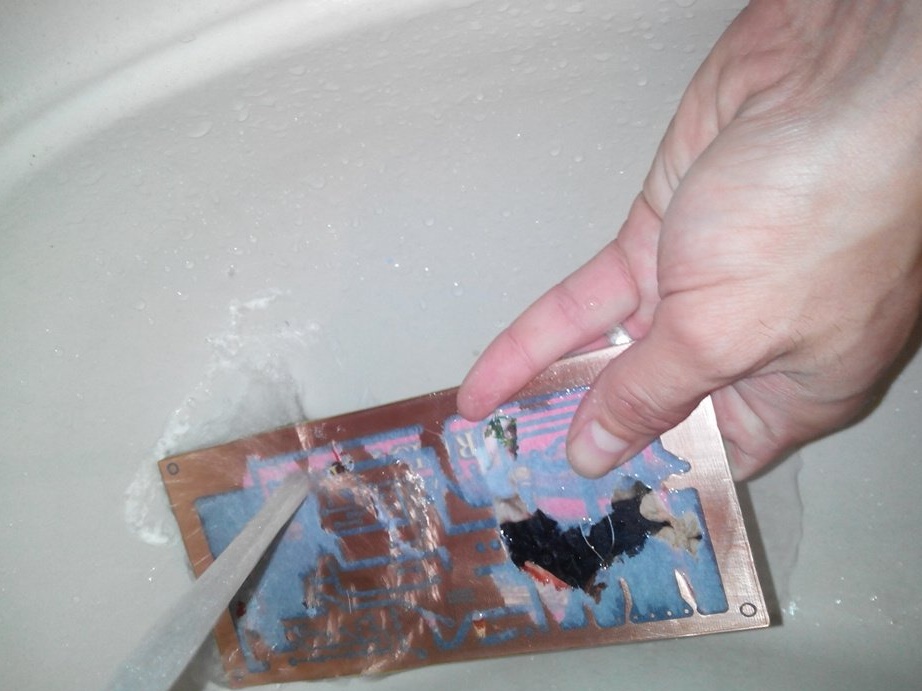
Further, under warm water (after the board has cooled down), we wash off the paper from it a little rubbing, but not too zealous. You can rub a little with the old or neighboring toothbrush (while he is sleeping) those parts of the board where the holes should be.
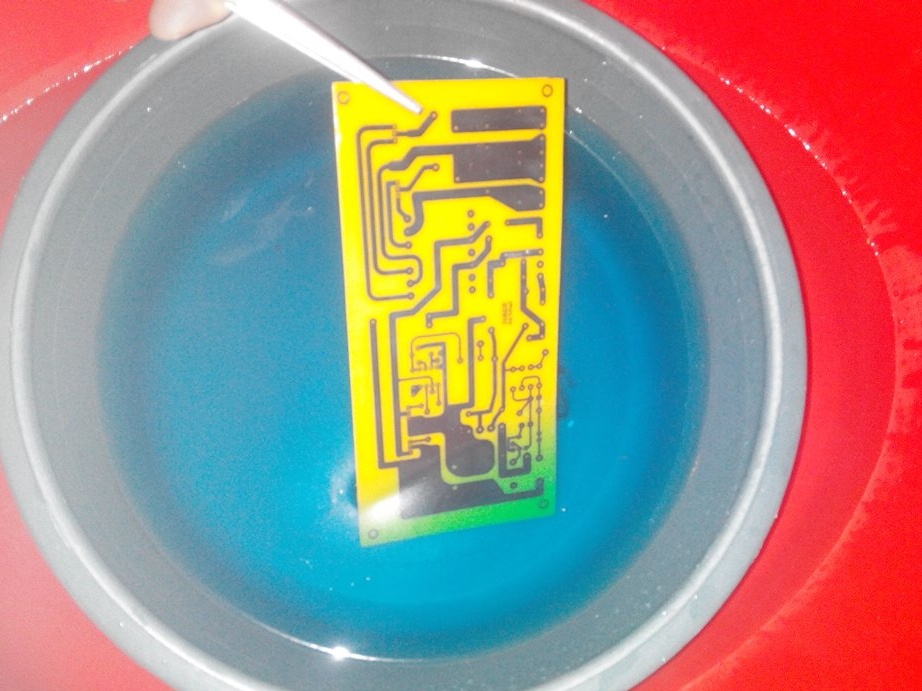
The board is ready for pickling !!!
We warm the solution (I gradually warm the jar with warm water, so the reaction quickly takes 15 minutes, I just put the jar in the basin), then pour it into the basin with a smaller diameter, throw the board up with copper and wait =) After 30 seconds, a reaction will appear, periodically lift and look fee.
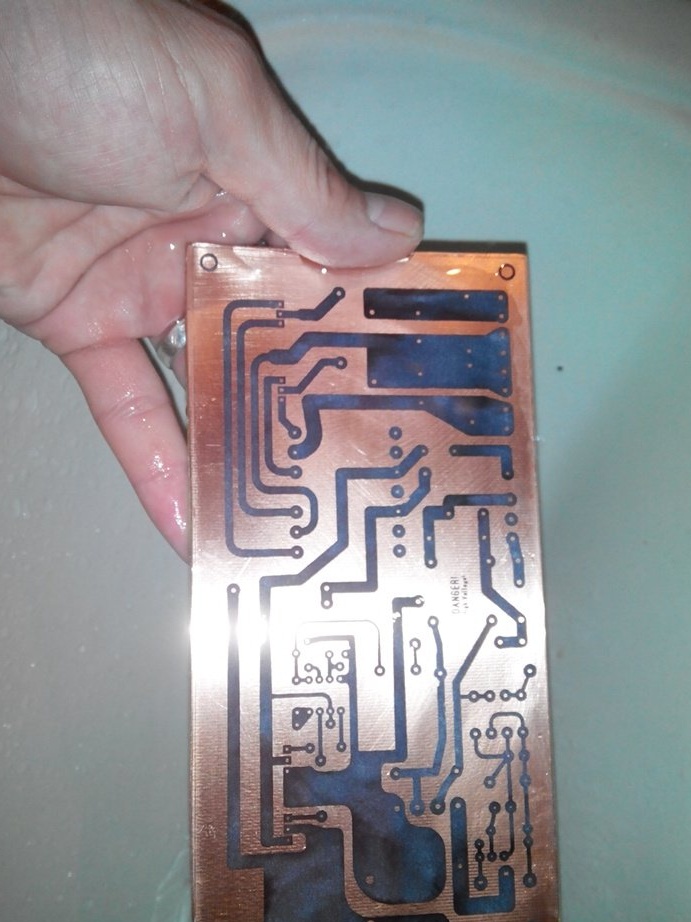
Now remove the toner with acetone, a solvent or some other caustic rubbish that dissolves the paint. And it should be something like this!
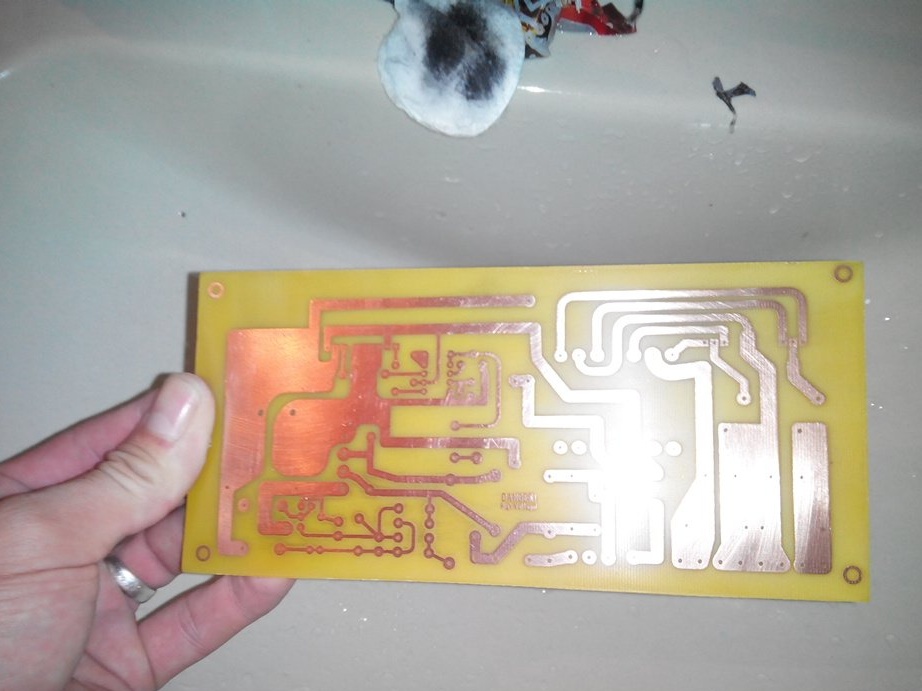
Next, drill, trick.
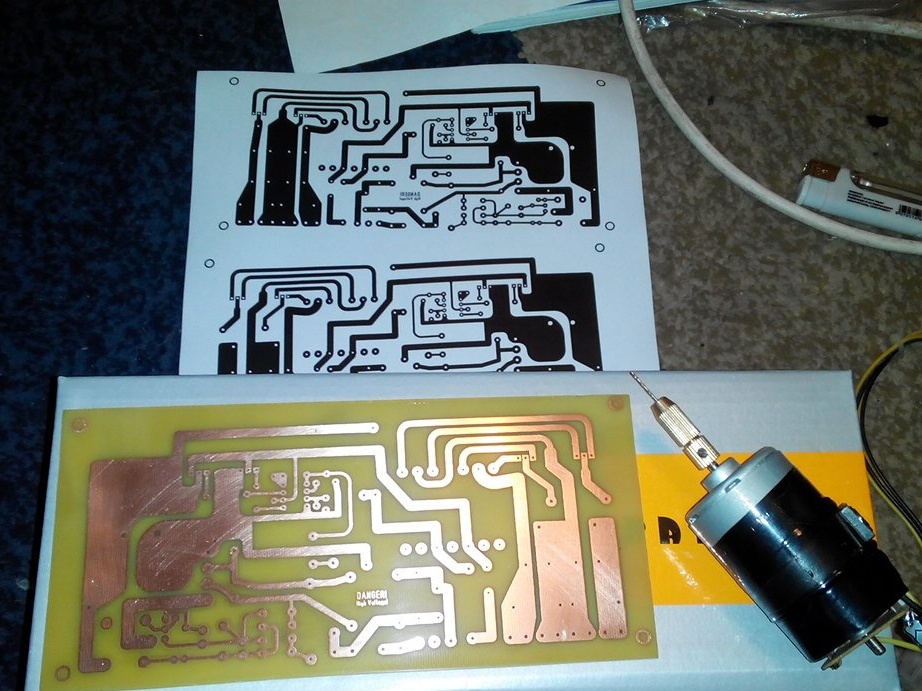
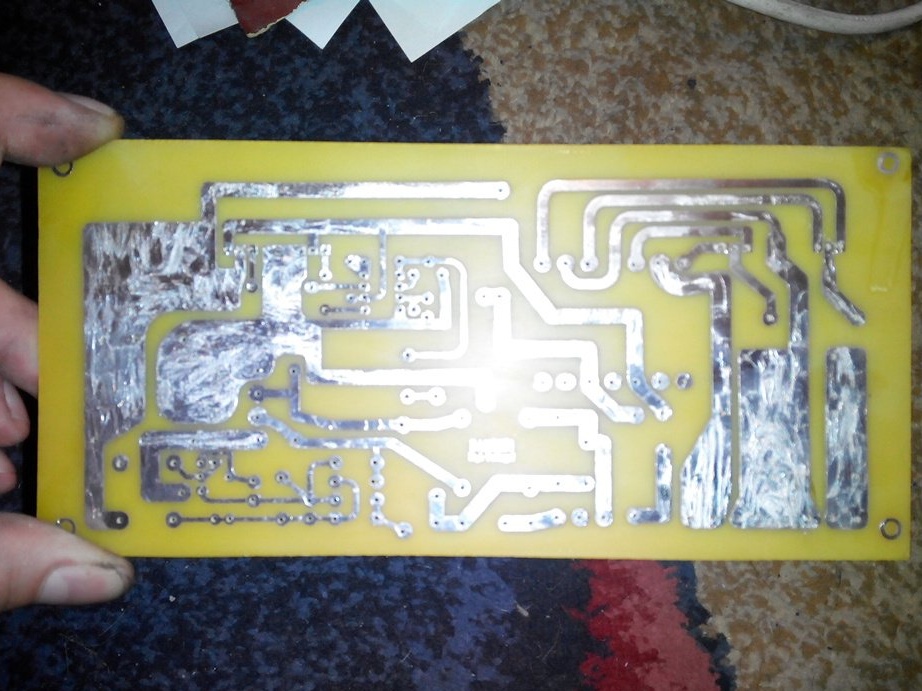
As a result, we get something interesting =)
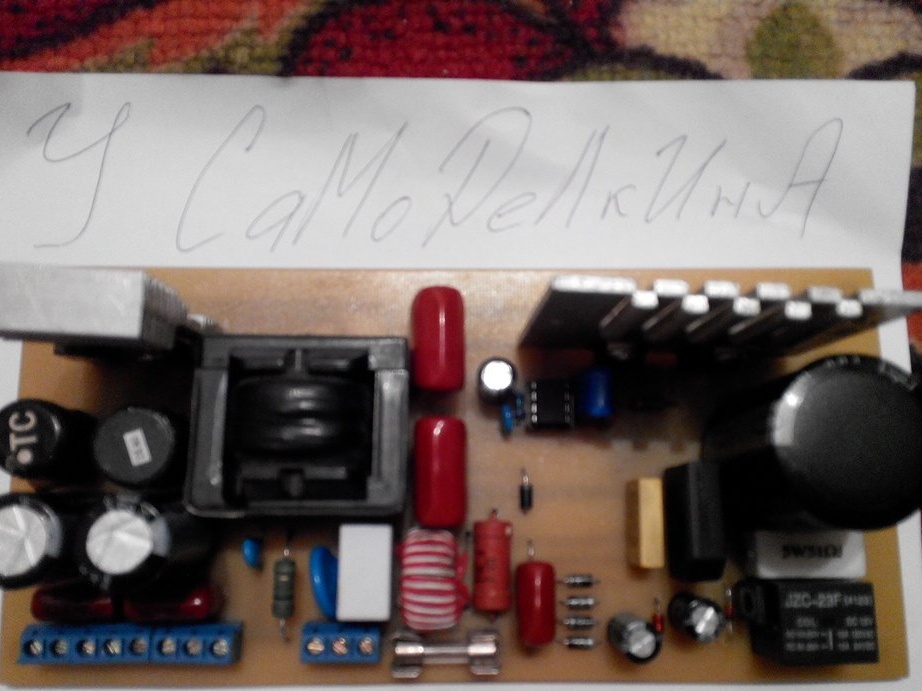
By the way, a switching power supply for amplifier MF1=)
Thanks for attention. I hope you enjoyed it =)
If that is not clear, write !!!