USB charging from normal charging from nokia, if you're interested, then here
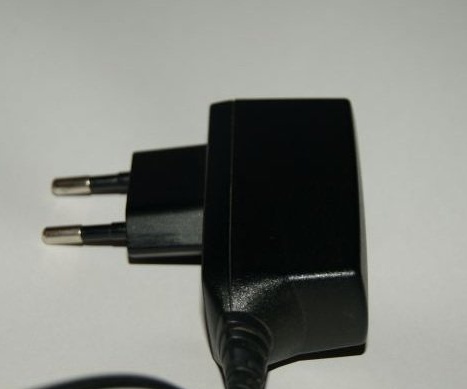
A couple of days ago I ran into the problem of charging a mobile phone, since the original charging failed for an unknown reason. Immediately I began to think about buying a new charge, but when I went to the store and saw the price of charging for my Lenovo a708, I immediately remembered that I had enough powerful charge from my old Nokia 6303 phone, and thought about what I could try myself do charging for my lenovo. It is from the already unnecessary thin charge from Nokia that we will do USB charging or charging with a USB output.
And so, for the assembly we need:
• Old charge from Nokia
• USB input 2.0
• Soldering iron and soldering accessories (Flux, rosin, tin)
• Hot melt adhesive (I used the usual universal adhesive moment)
• Screwdriver (in order to carefully disassemble the old charge)
• Well sharpened knife
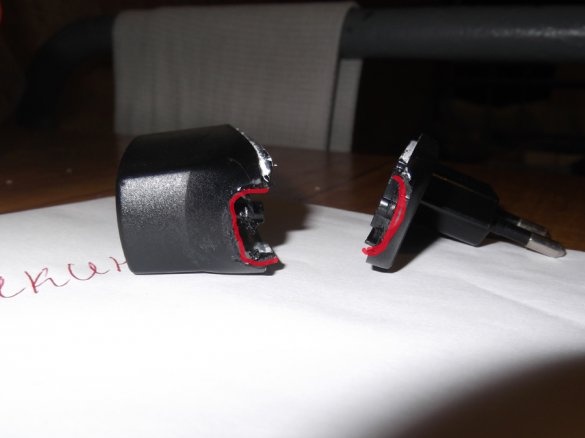
Cord we have collected everything you need - you can start assembling, or rather, disassembling the old charge from Nokia. As you can see in the photo, we have a charging board, USB 2.0 input, and a charging box.
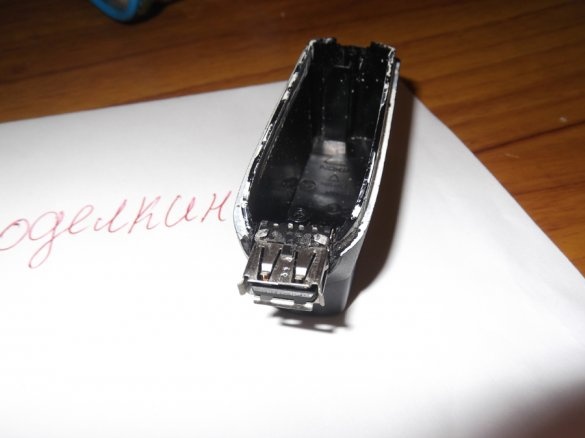
First you need to make a hole of the required size in the box for USB input.
At first I melted the plastic with a soldering iron and then straightened it with a knife. That's what I got
After the hole is ready and USB enters there with little effort, you can proceed to the next step, namely, soldering.
You should get the following
We take the charging board and unsolder the old wire from it, while you need to remember the polarity so as not to mix the wires when we solder the wires to the input. You can simplify the task a bit and just cut the wire so that it is long enough for installation
In my case, well, and in most cases:
red Is a plus
the black Is a minus
Well, we connect to the input according to a long-known scheme
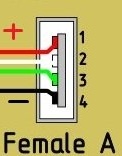
Well, here, in fact, what happened with me, you, I think it should turn out something similar
I almost forgot that in order for the phone to determine our charging, you need to use a jumper to connect the two middle pins on the USB output, as I indicated in the picture.
After everything is soldered correctly, you can collect the charge. That's what happened
To increase reliability, it is necessary to fill the outlet, it is best with hot-melt adhesive or the moment I did it.
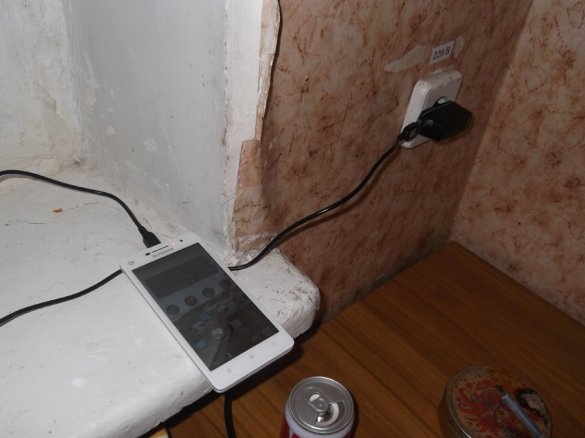
When everything is dry, you can begin testing. Charging is in progress, as indicated by a message on the screen and a red light on the case.
Thank you all, and good luck =)


