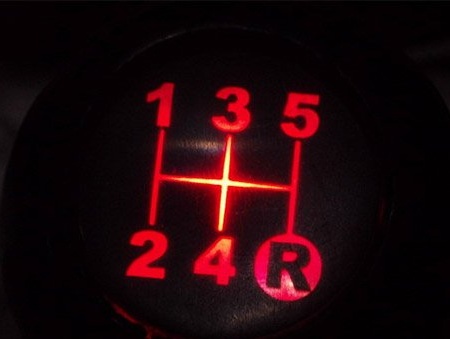
How to make a bright, original backlit gear knob do it yourself.
To work, we need:
1) Gear knob itself
2) LED
3) Glue gun
4) 1Kom Resistor
5) Transparent film for printing (plain paper is also possible)
6) laser printer (if available)
7) Stationery knife
8) Soldering iron
And so, from the shift knob itself we remove (neatly) the glass where the gears are drawn. Whoever simply has the gear numbers stamped on the handle itself, just cut it out in a circle with a depression of 0.5 cm (though later it will be necessary to choose a glass for the size of the cut-out, can you make old wrist watches from a plastic bottle)
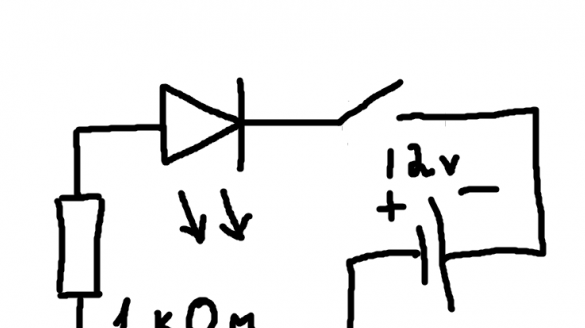
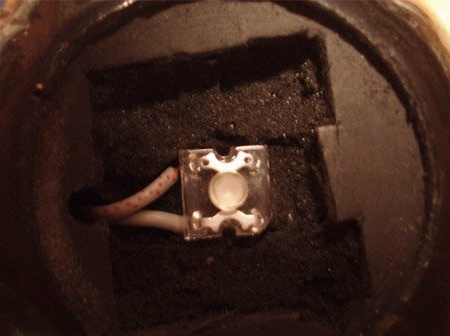
Next, we cut out a small recess for the LED and insert it there. We solder the LED according to the scheme (choose the LED which one you like best, but the best option is the color of the dashboard backlight)
After the LED is installed, take the glue gun and cover everything with glue.
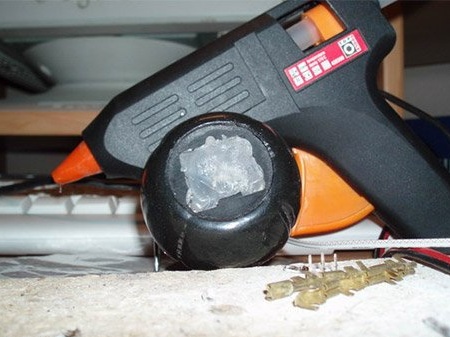
In principle, something like this should work out for you. BUT, it is best to align the entire adhesive solution to the size of the cutout. That would be a flat surface.
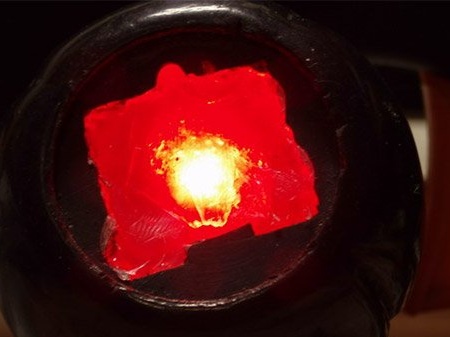
Next, put on top of a plain paper cut along the contour, this is for a more aesthetic light.
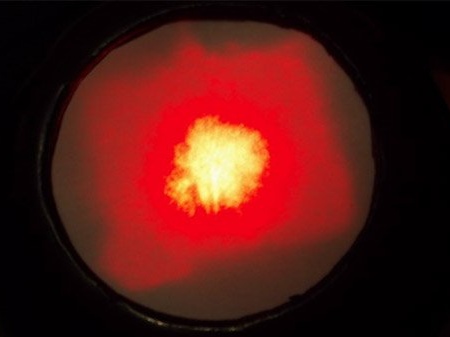
In the Photoshop or Paint program, or in whatever else is more convenient for you, we print out the transmission numbers. It is advisable to drive several times through the printer so that the light does not pass through the toner. We cut out our printout along the contour and attach it to the handle, gently glue the glass from above. Those whose gear numbers were right on the glass. We simply clean it to transparency and polish the glass and put it in place.

