On the network you can find many videos and text materials for the manufacture homemade stun guns. The manufacture of most of them requires considerable money and knowledge. In this material we will consider a method of manufacturing for sure one of the cheapest and easiest stun guns. As a result, we get a good means of self-defense.
Take a look at the stun gun video
So we need:
- electric fly swatter;
- two finger batteries;
- box;
- transparent hoses;
- self-tapping screws.
Unlike most analogues made on the basis of piezoelectric elements, this stun gun will be made of serious materials, so you need to be extremely careful. Let's get started.
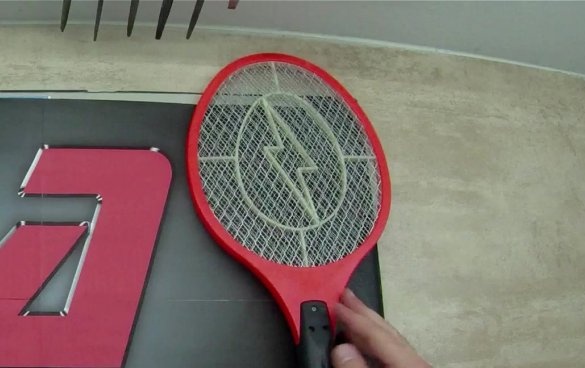
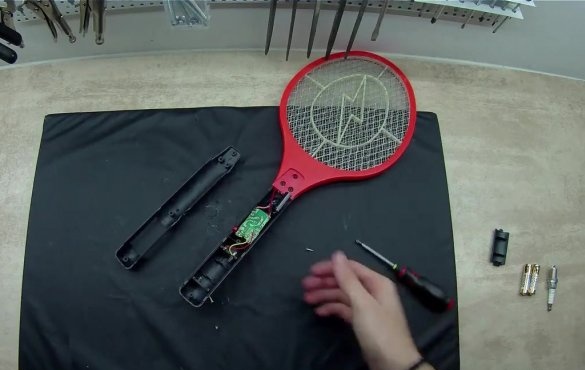
First of all, take electronic fly swatter and disassemble it. After successfully disassembling the fly swatter handle, all the electronics will open in front of us.
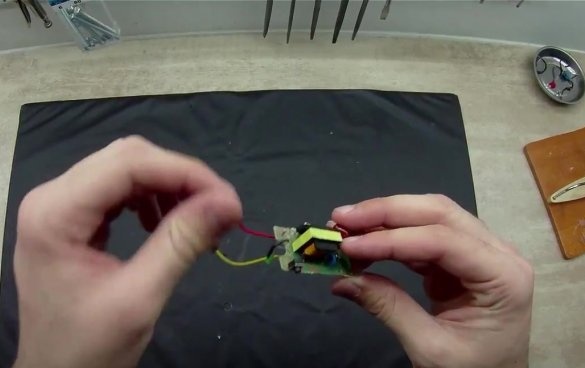
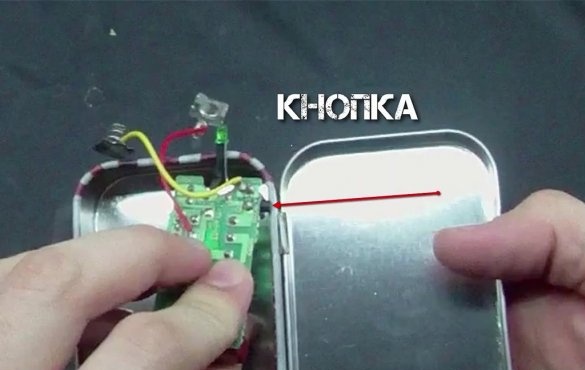
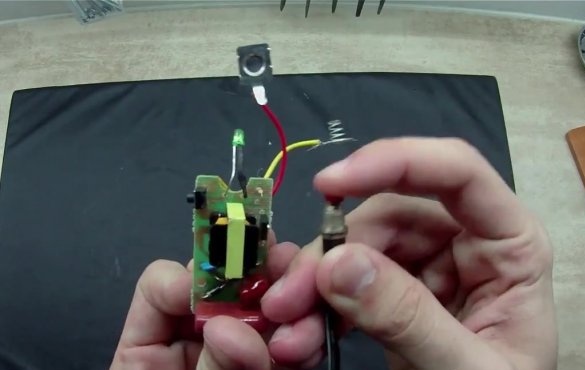
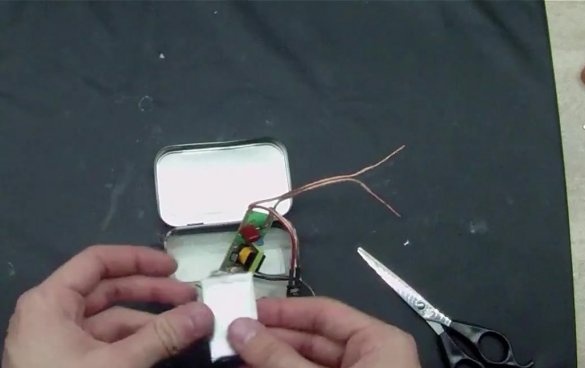
All we need is a board, which is located at the very top of the handle. On the board is the transformer itself, power, a start button, which we later bring out, an ice indicator that indicates that the device is turned on, as well as capacitors, the outputs of which are on the back of the board.
Since the factory decision of the location of the button may not be so convenient when installing the board in the box, it is therefore possible to extend the contacts of the button with wires and install its own switch or button.
The exact location of the button should be chosen at your discretion, depending on the type and size of the box.
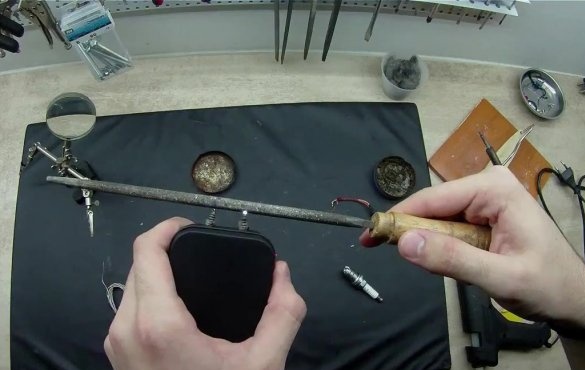
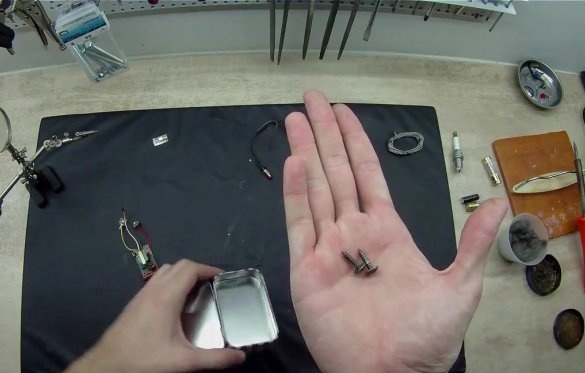
As contacts, we will use the most ordinary screws. When searching for them, care must be taken to ensure that they are as identical as possible. As for the hoses, we will use them to isolate the contacts.
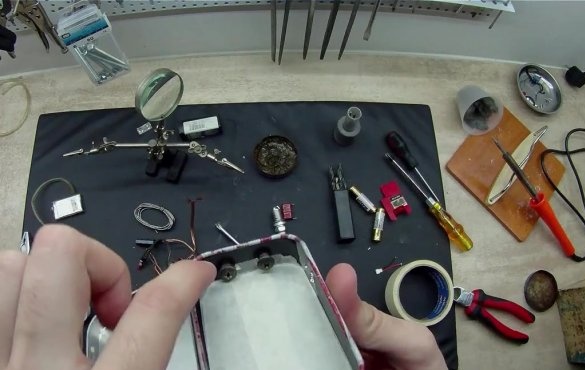
On the box you need to make two holes for the contacts. If the box, like the author’s, is metal, then you must take care to isolate the contacts.
Finally, you can make the stun gun rechargeable. To do this, you can replace the finger batteries with rechargeable ones.
You can also replace the factory capacitor on the board with a capacitor taken from the camera’s flash, however we will not do this.
Insulate the inside of the box to prevent a short circuit.
We make a hole on the side under the button, on the top under the screws and paint it.
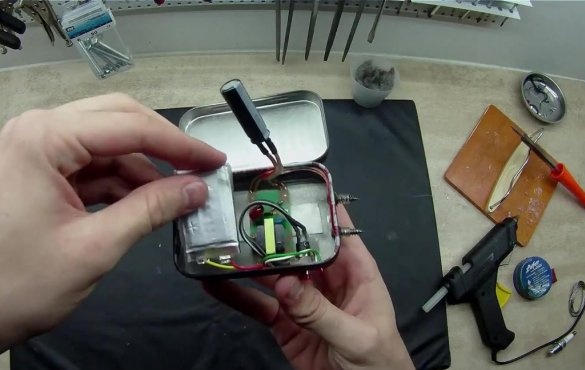
Glue double-sided tape to the bottom of the box and assemble the entire board design, along with the battery and contacts in the box.

