


Hello the inhabitants of our site!
I have an old Acer Aspire 5738zg laptop. The poor one has long lost his keyboard, monitor and is connected to an external LCD. Nothing worked at first, but later it began to get very hot, so I decided to transplant it into a new building. For a long time I did not know where to start, but nevertheless undertook.
First, I’ll tell you what I used.
Tool:
- a hacksaw,
- screwdriver,
- stationery knife,
- a set of files,
- scissors
- thermogun with hot glue,
- pencil and ruler,
- skin.
Material and consumables:
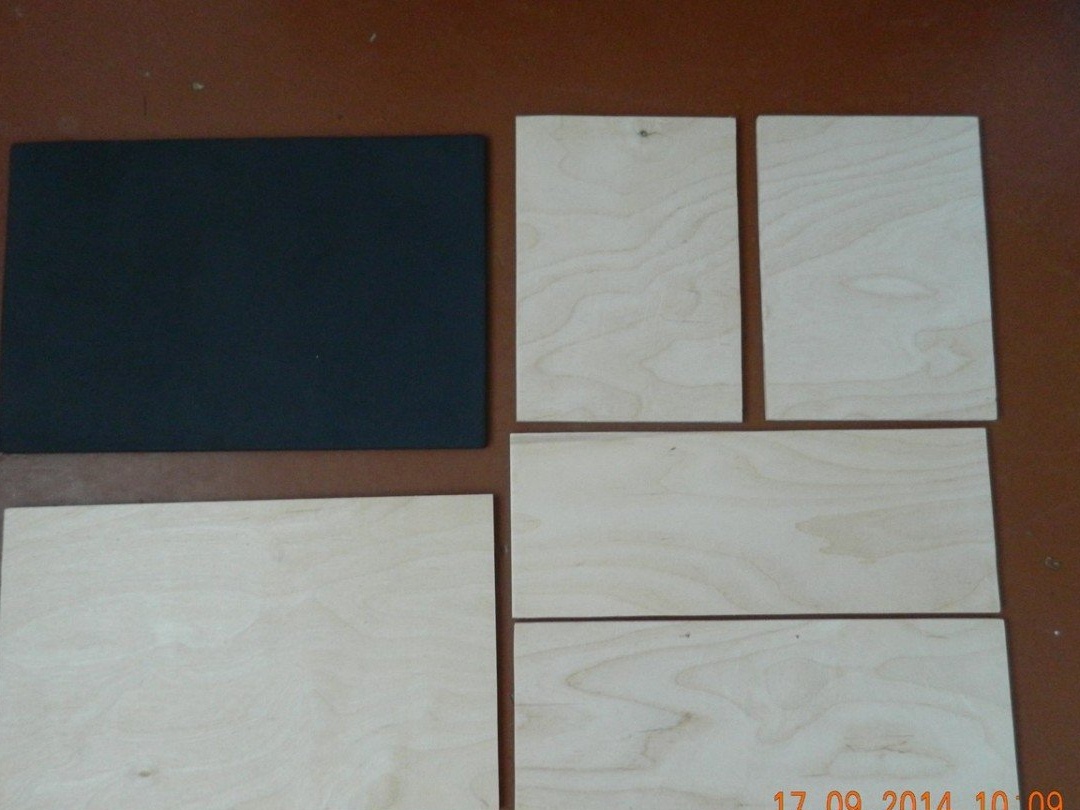
- Plywood 7 mm,
- nitro paint black and red (in spray cans),
- lattice from muses. speakers
- putty
- primer
- hot glue,
- electrical tape
- metal corners,
- screws
- fine sandpaper.
And now the process of work
Stage one: Design and preparation of parts
I sketched 3D first model in Google SketchUp 8:
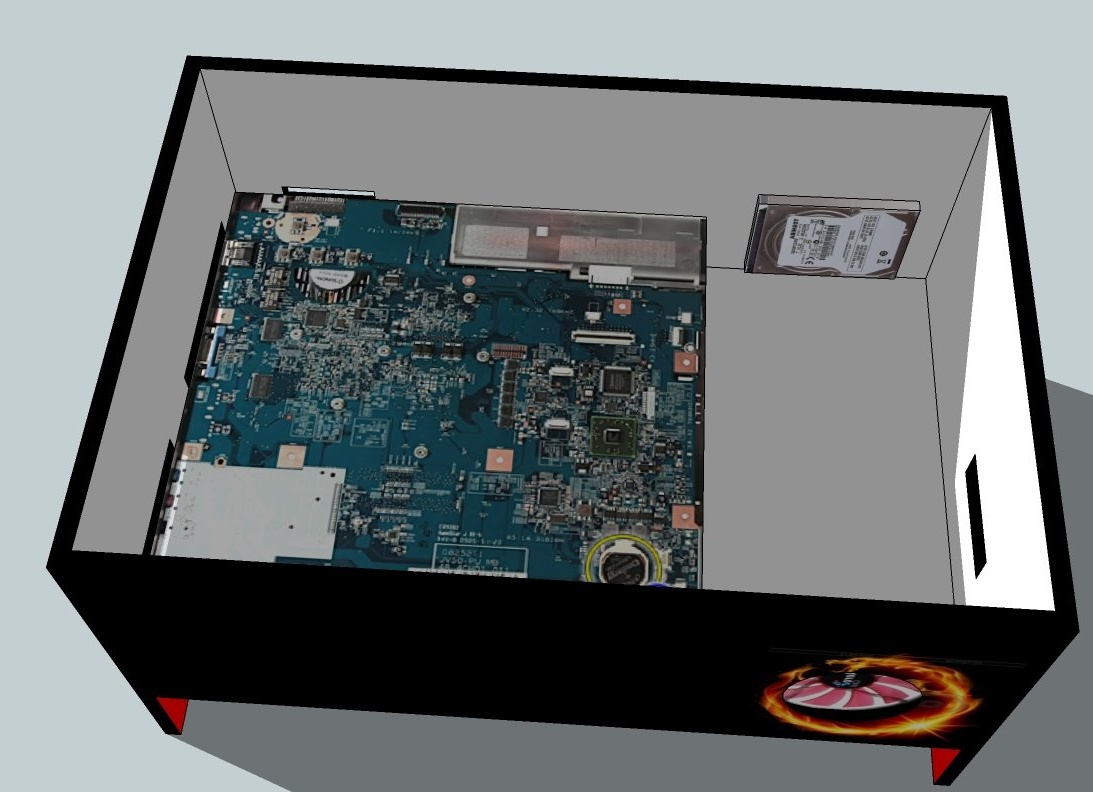
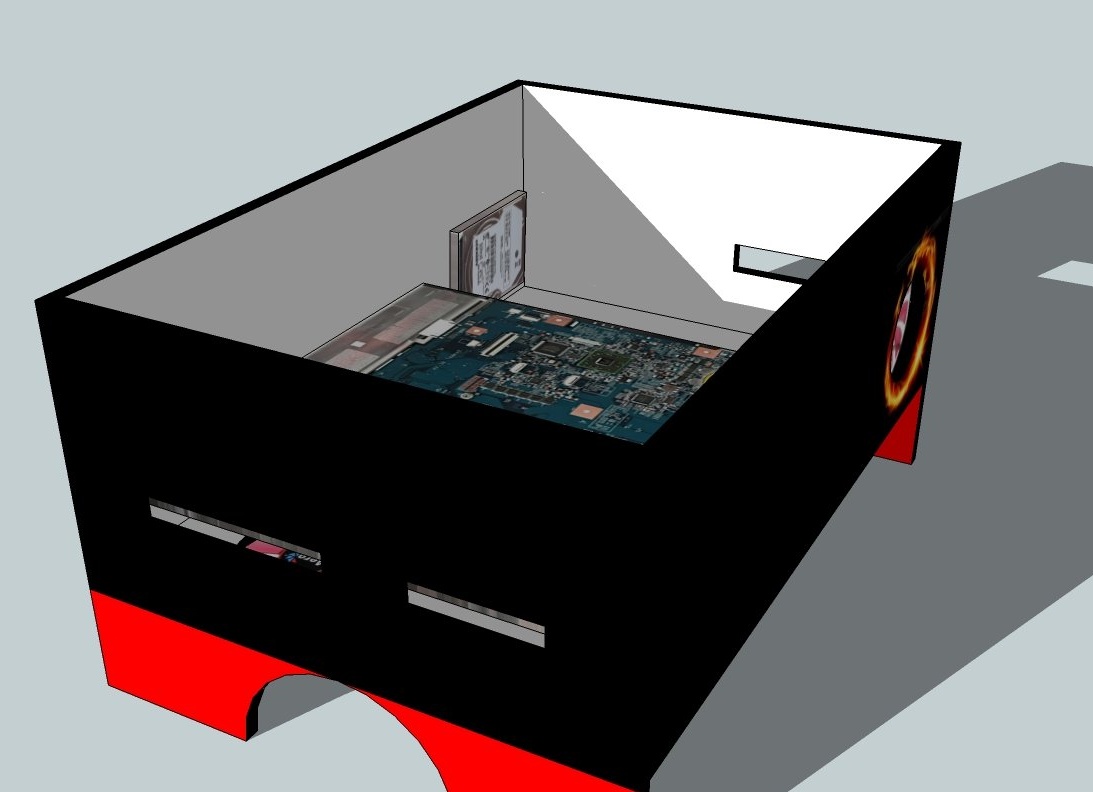
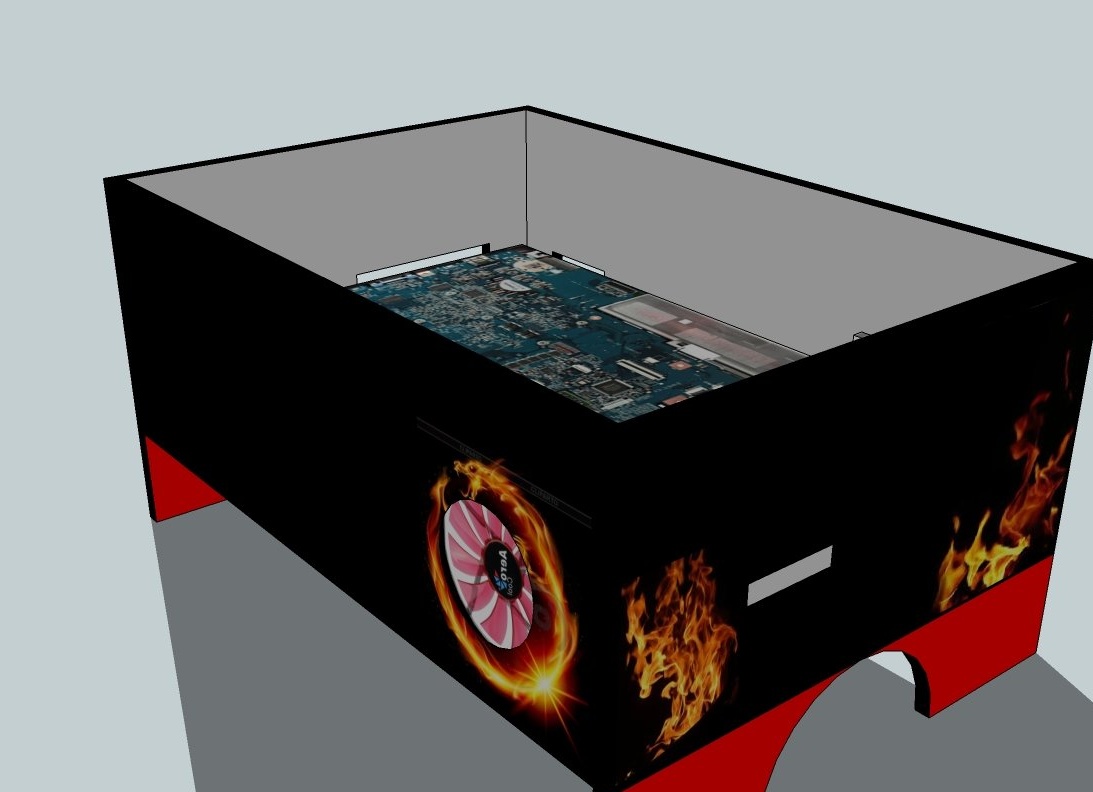
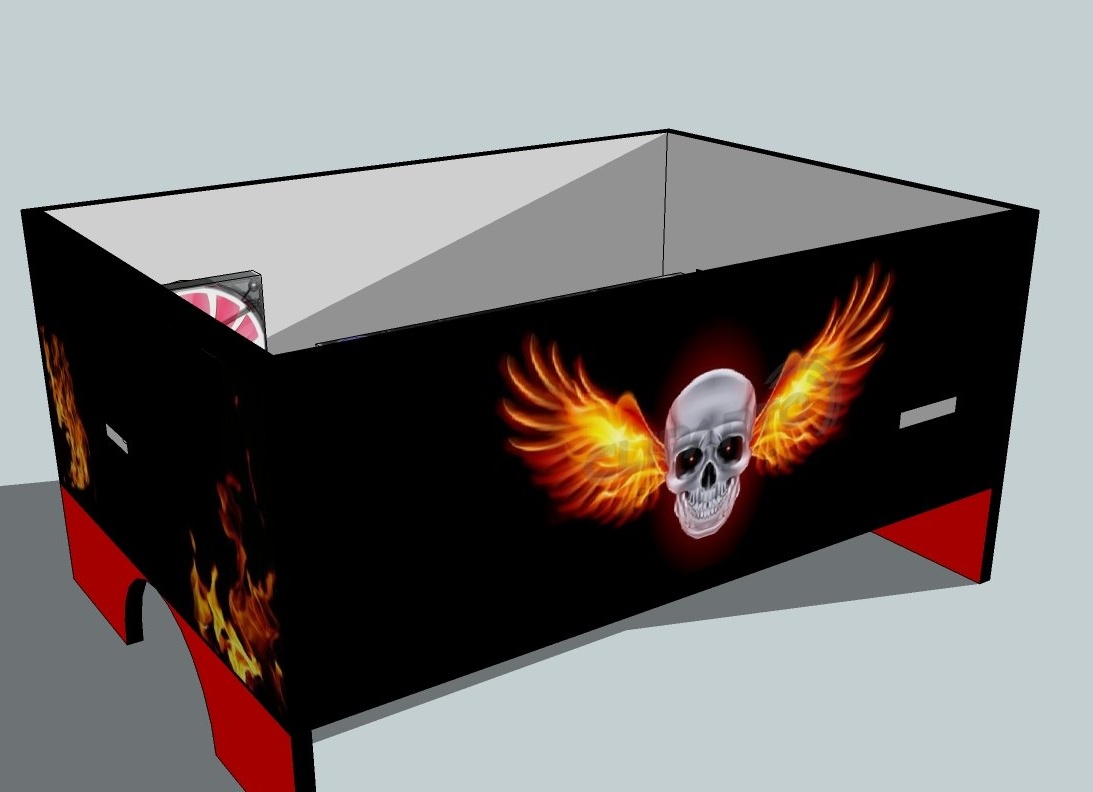

There is a model! Everything seems to be fine.
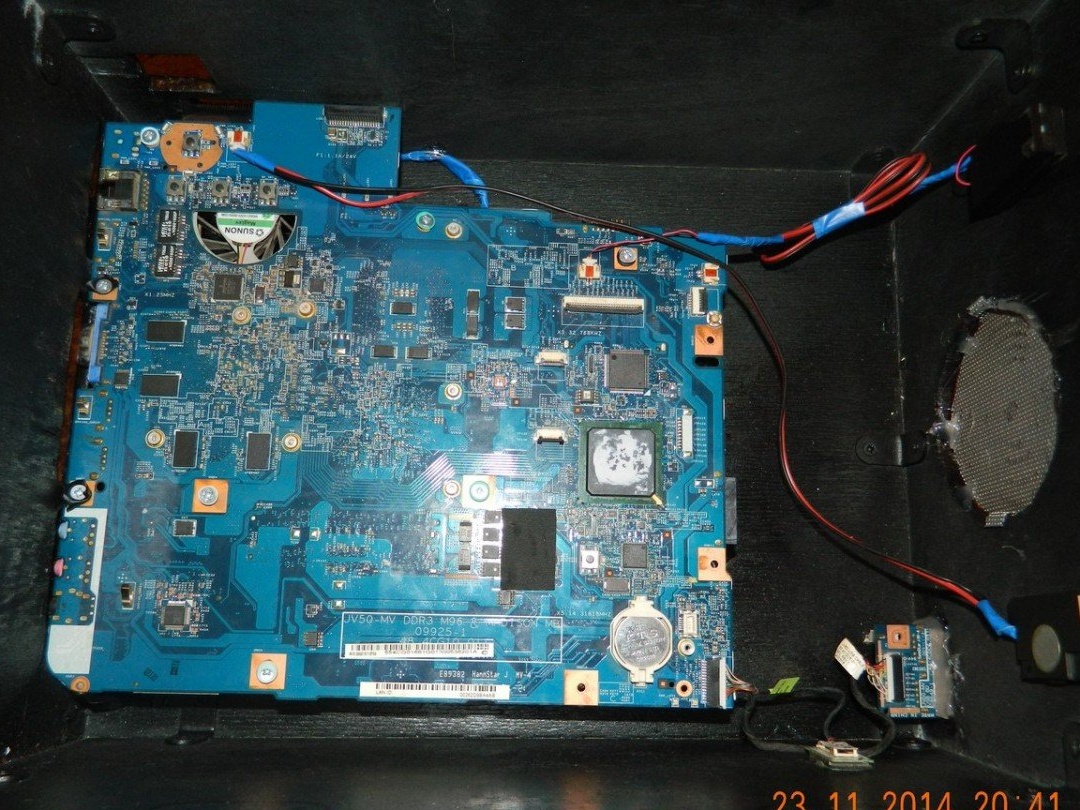
Then he measured the laptop board and figured the dimensions on plywood. He drew all the walls on the material and began to cut. Sawed long and tedious with a hacksaw. That's what happened
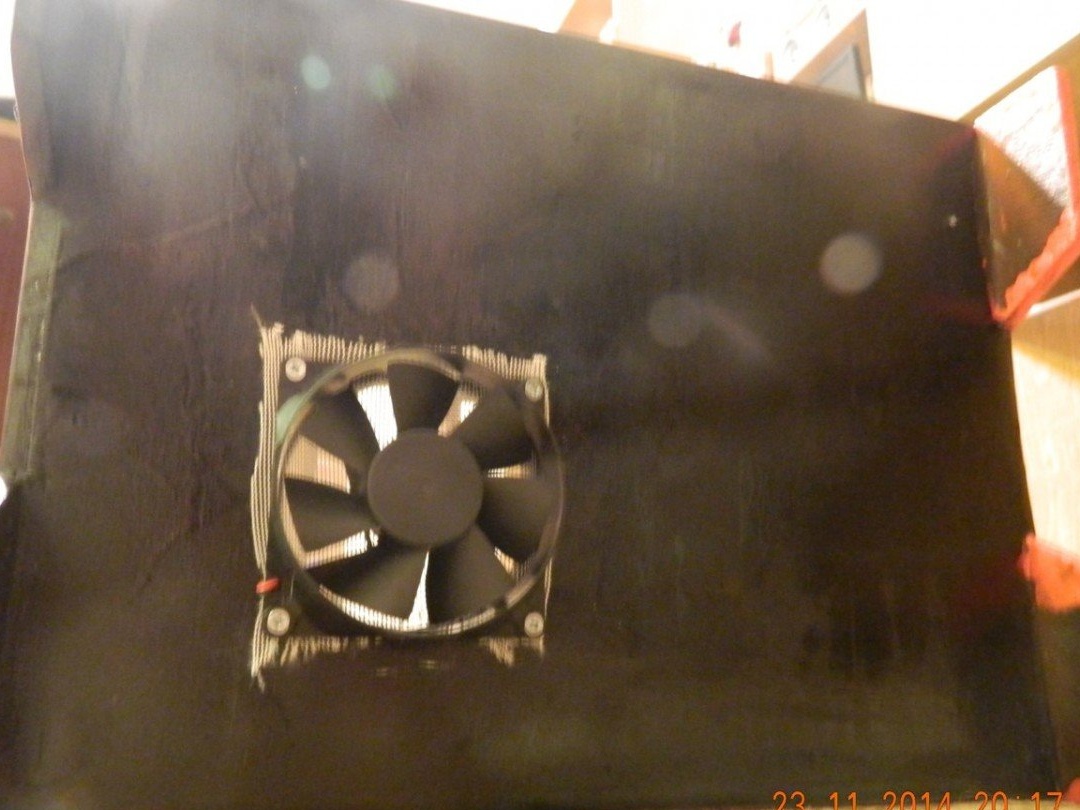
Further is better: measured and marked cutouts for all connectors and fans. I decided to position the blower fan from below to blow heat pipes. I also cut it out for a long time in the evenings, using a screwdriver with a drill, a knife and files in the following order:
I drilled a hole with a screwdriver along the contour of the hole cutout (I drilled the holes as close to each other as possible - then it is easier to cut), then I cut the gaps between the holes with a knife and cleaned all the edges with a file cleanly, well, I walked a bit with sandpaper.
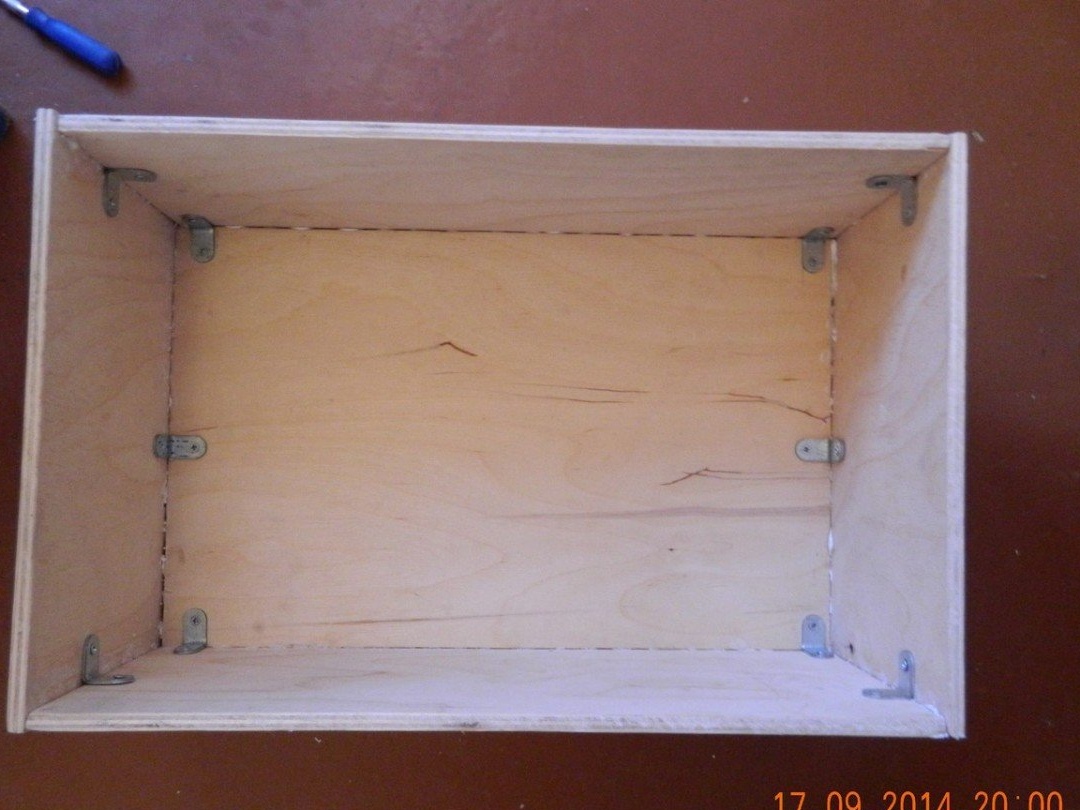
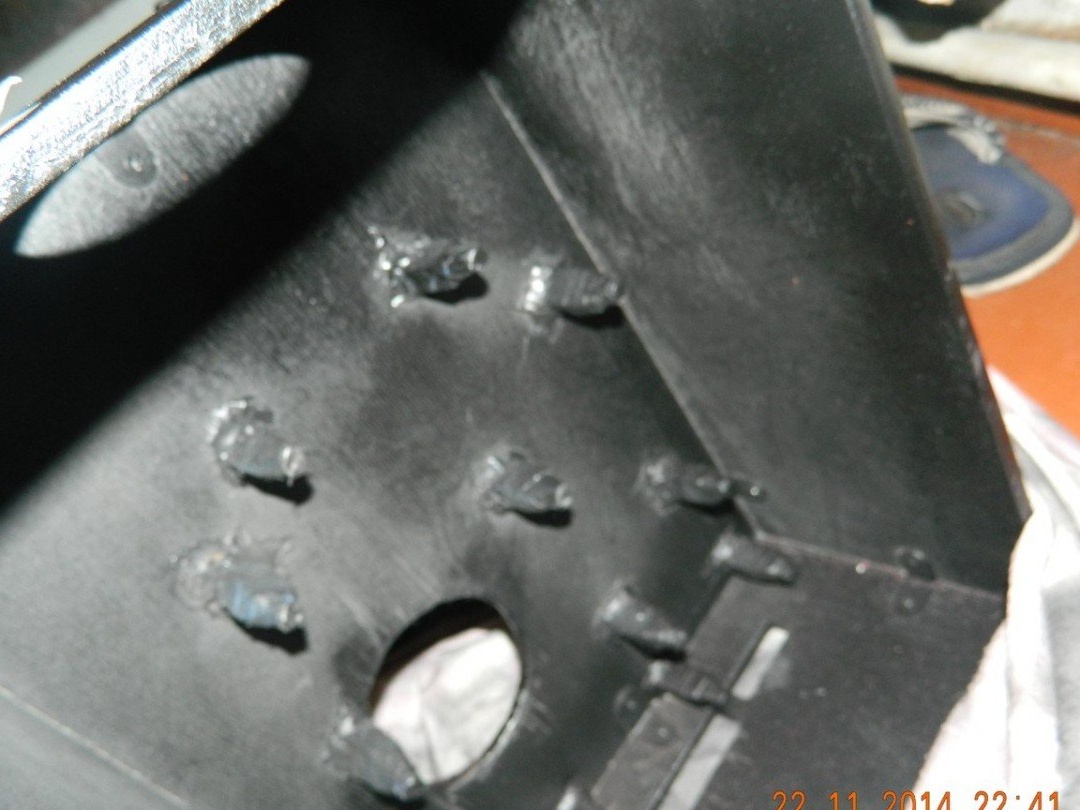
I made mounting racks for small boards with a height of 2.5 cm each with slightly sharpened tops. Just in case, for better strength, I wrapped them with electrical tape and poured a little hot glue on the upper ends.
The second stage: Primer, putty, assembly of all parts and painting.
First, I assembled the parts of the case together with the help of corners and screws. Some of them were long and left on the other side, had to grind.
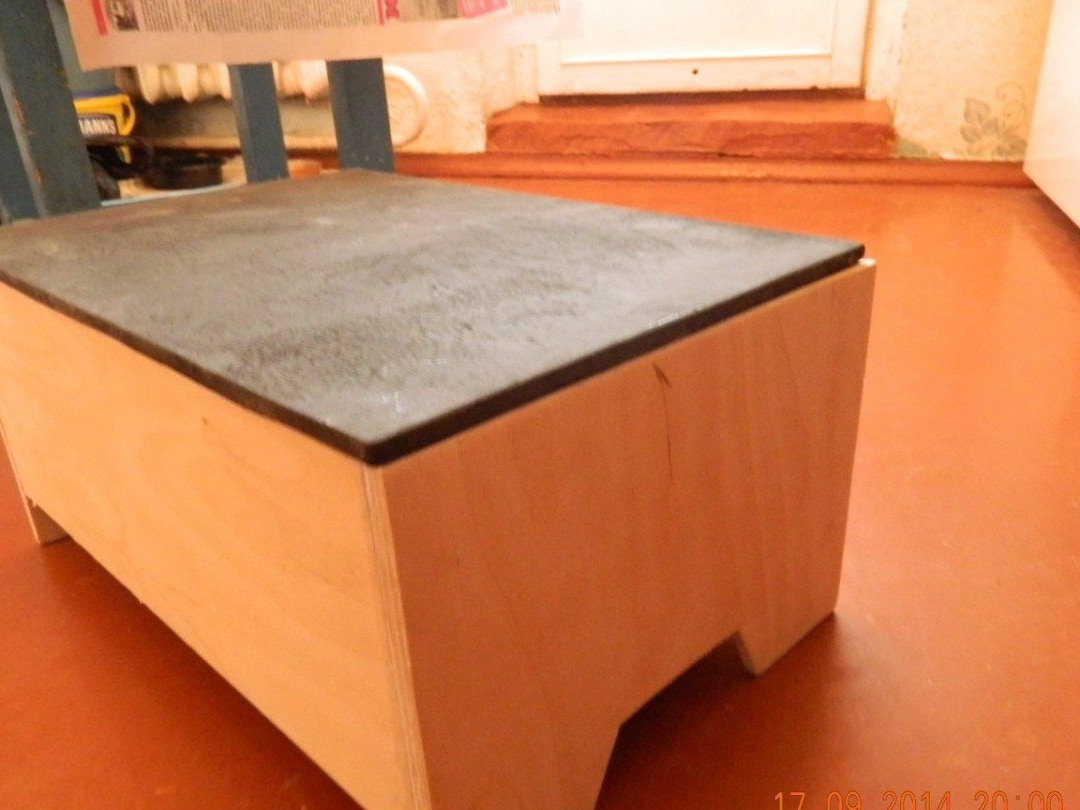
Then I cleaned all this beauty with a fine sandpaper (I didn’t throw away the used skin, it was useful) and soaked it with a primer. I applied the primer according to the instructions on the can. When everything was dry put putty.
After the putty dries, I cleaned everything up with a used sandpaper.
Next, I marked the location of the strut mounts and glued them with hot glue.
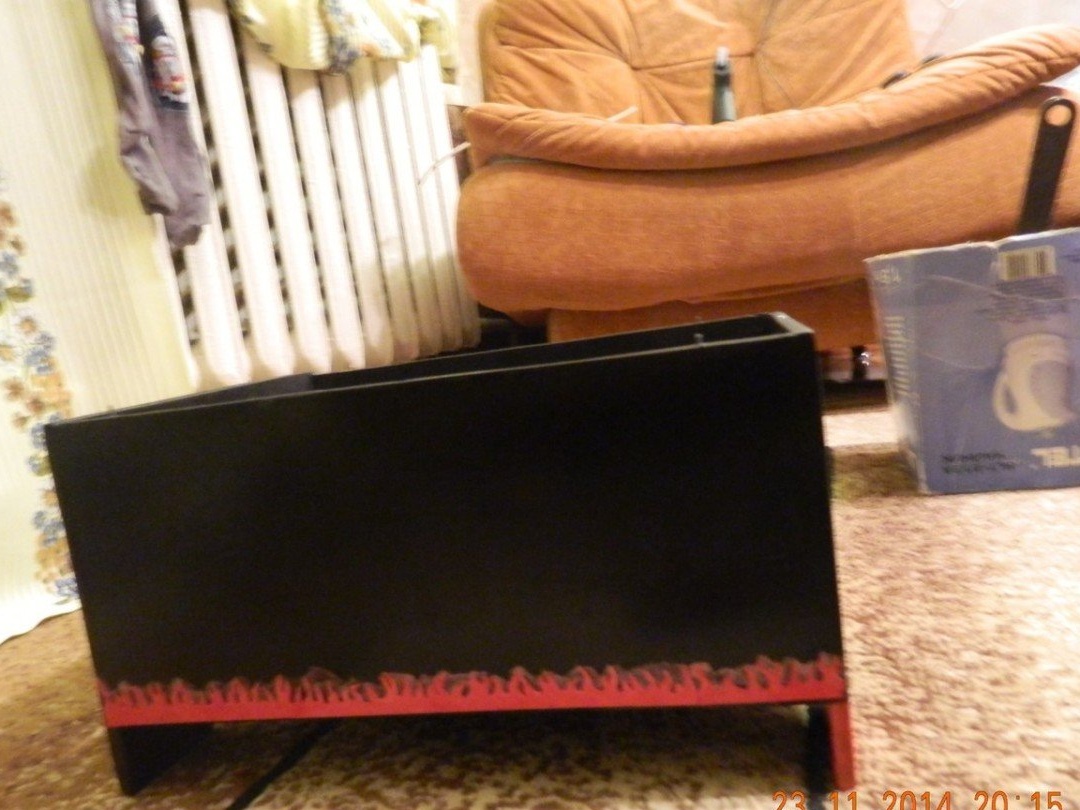
He started painting: he painted the first time normally (a thick layer swelled), when applying the second layer the first drip and swelled in places. I had to remove all the paint and paint it in thin layers in a couple of passes with drying for 15 to 20 minutes per layer. As a result, it turned out not perfect ((
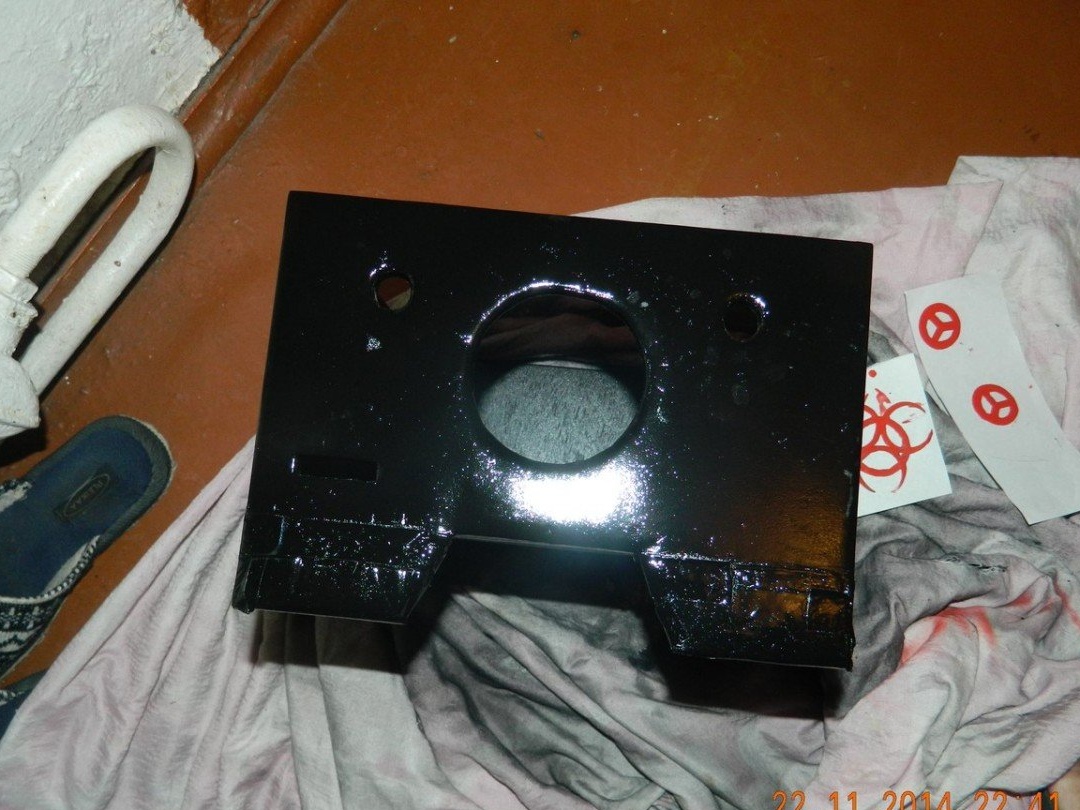
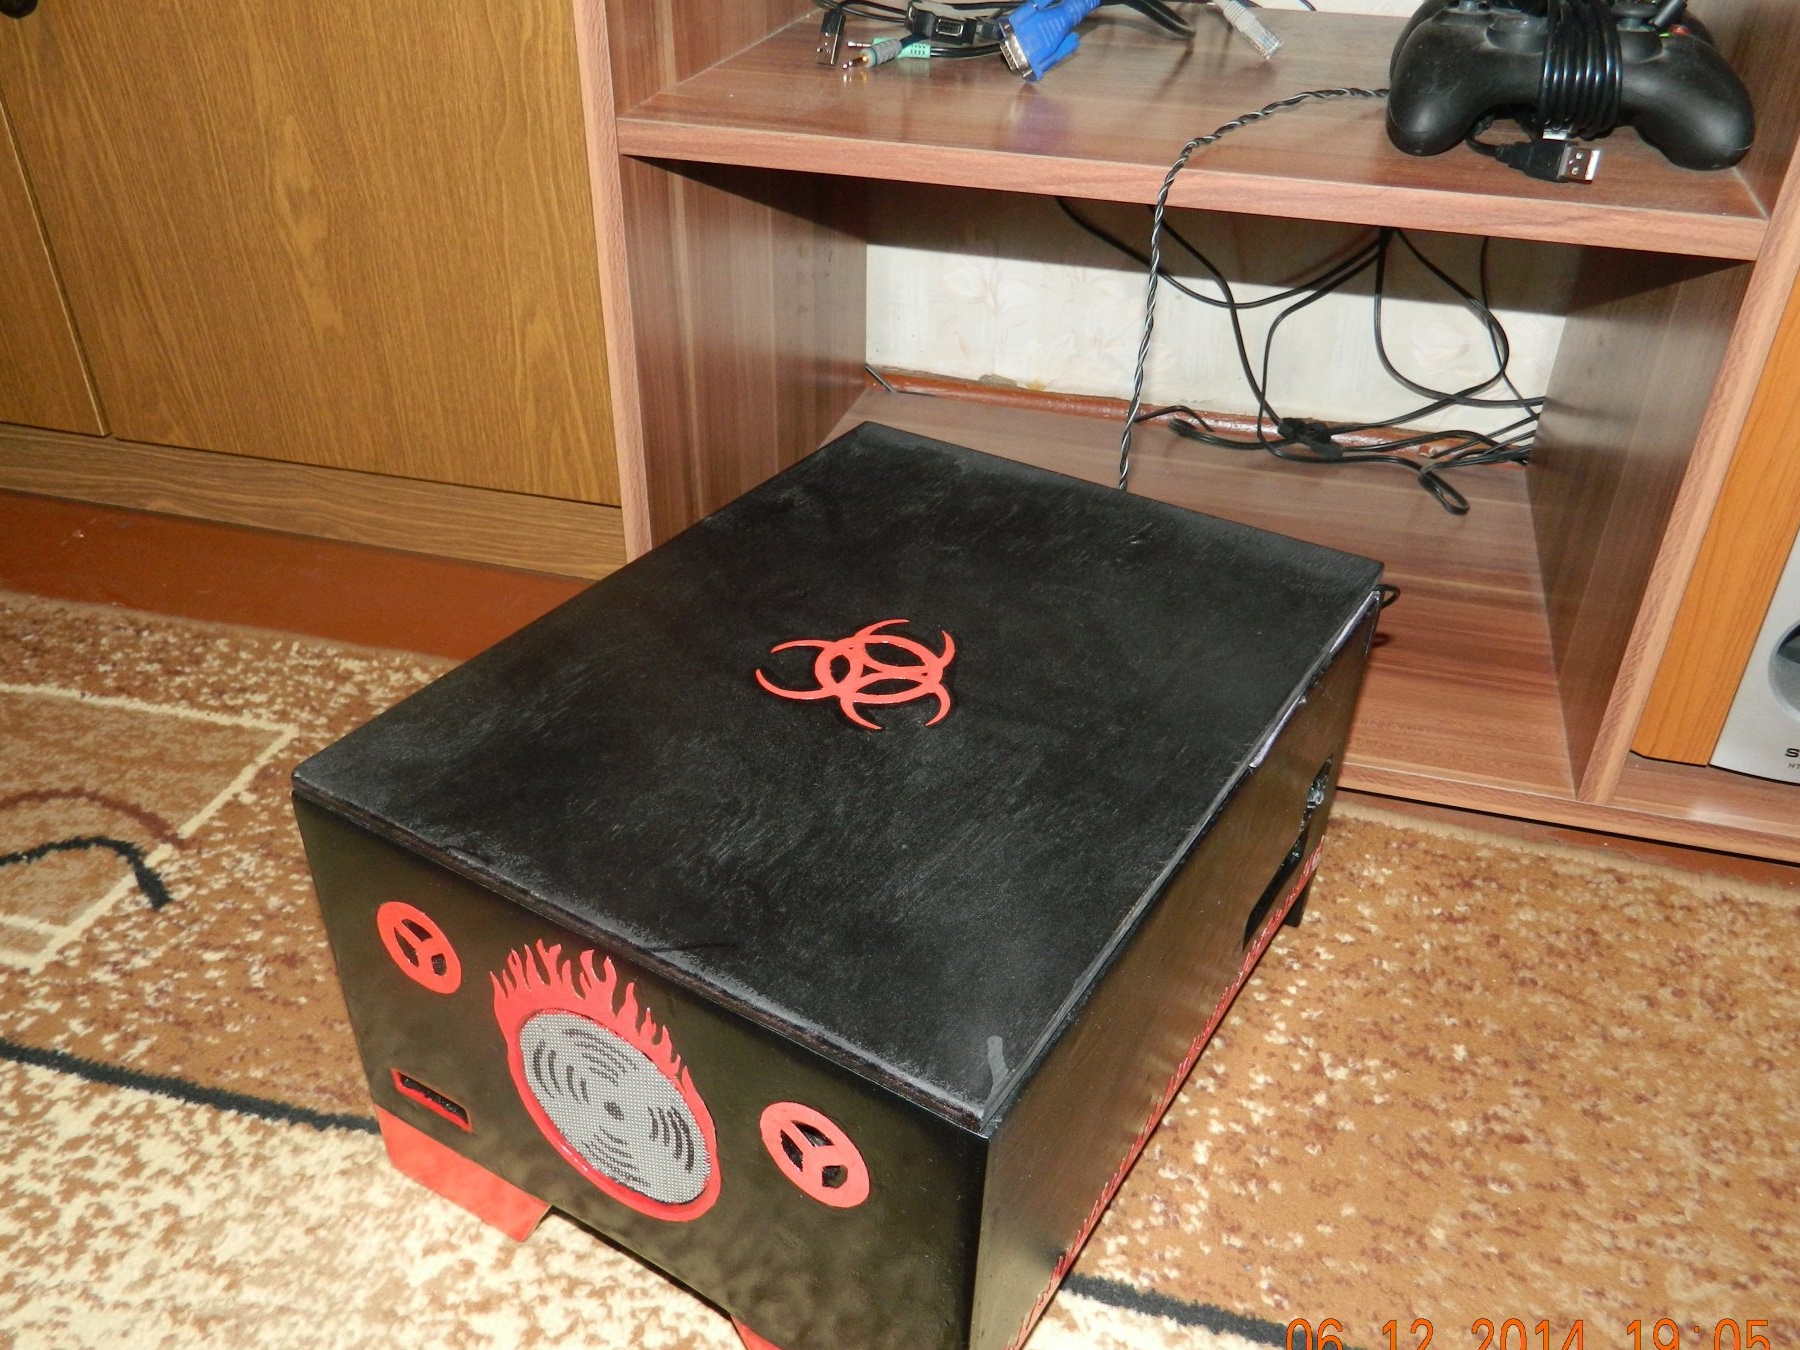
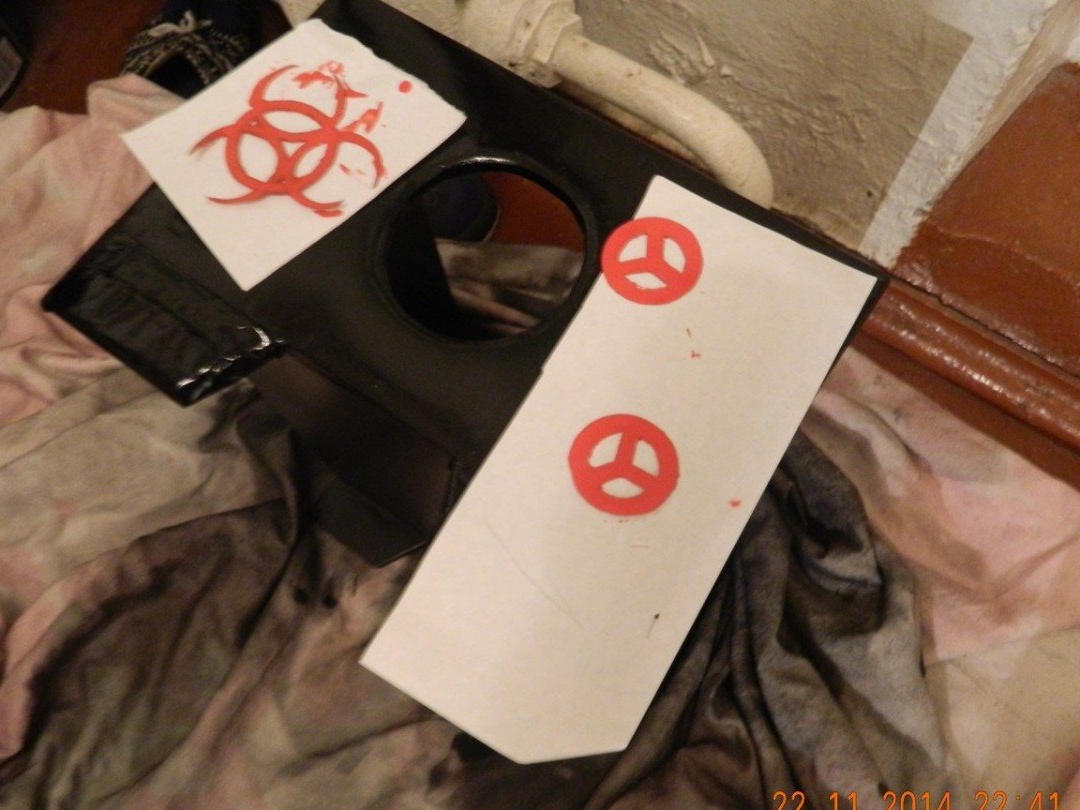
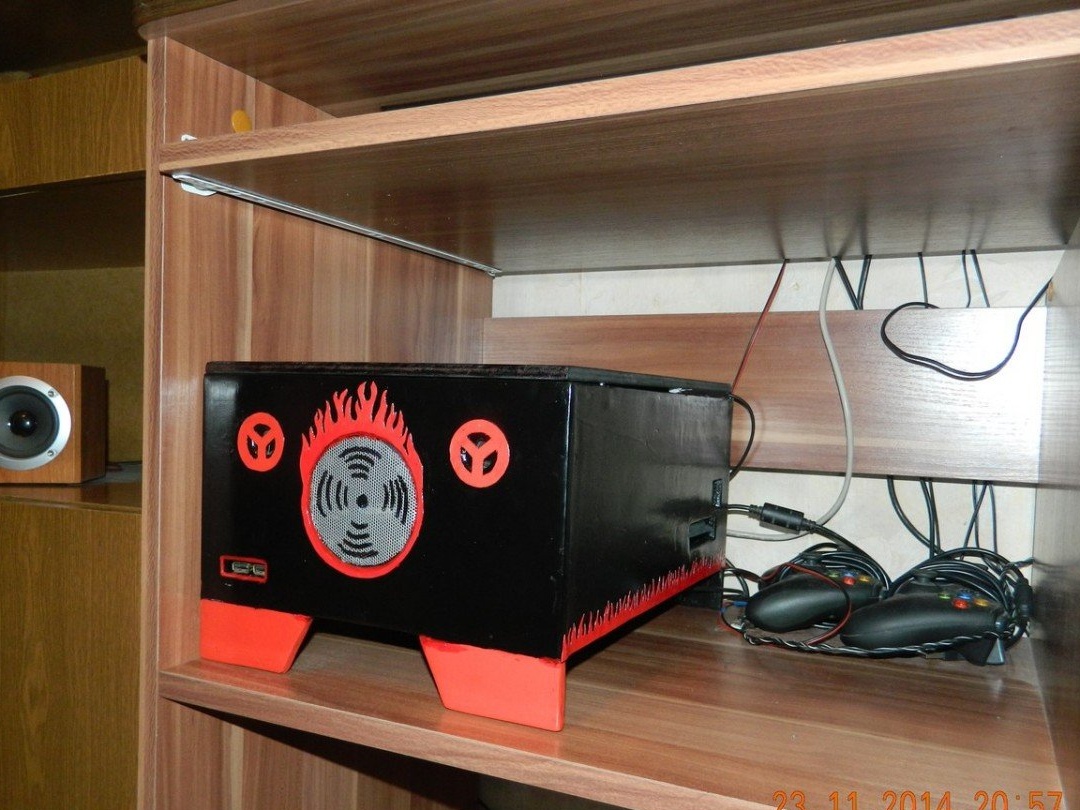
Painted on cardboard, cut and painted red stickers
Then he removed the wire clamps from the old column and attached it to the back wall, having pre-drilled holes in the wall of the case and wrapped the wires to the terminals of the clamps.
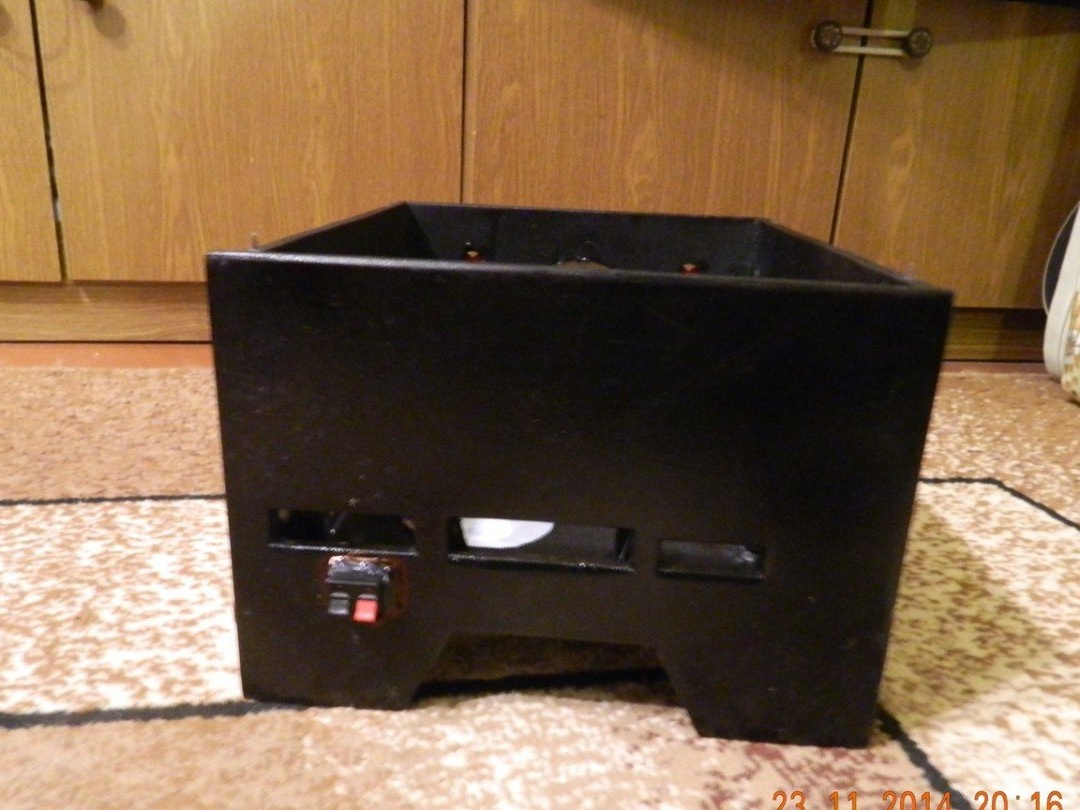
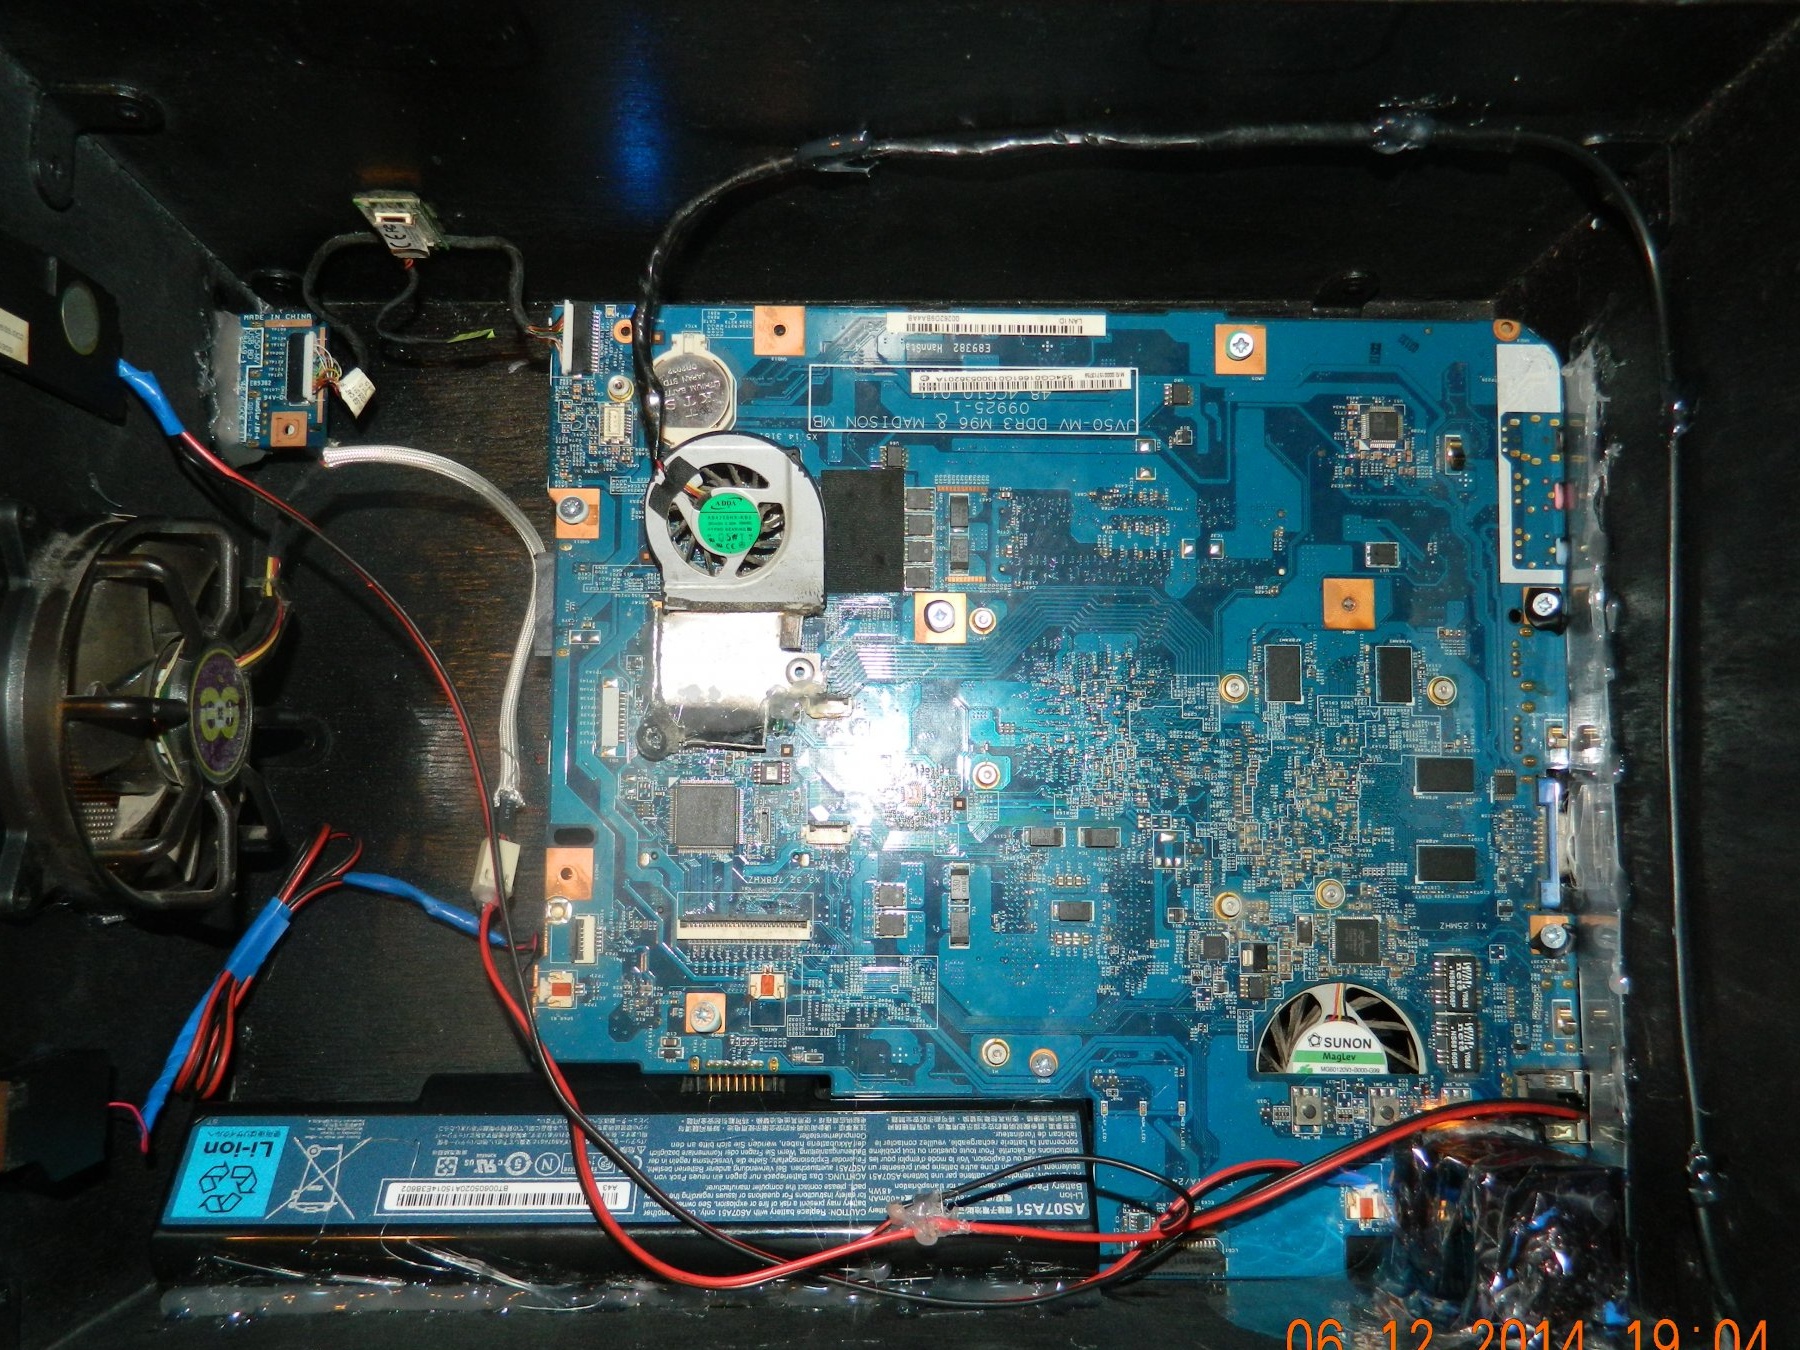
Then he glued native speakers, USB ports and a cooler for blowing with hot-melt glue, and screwed on the bottom with a gauze filter (connected to the wire clamps on the rear panel). I cut out a circle from the speaker’s net and glued it with a thermal gate to the hole for the cooler on the front panel - it will serve as a “grill” on the fan. The hard drive is attached to the board and therefore had to wrap it with electrical tape on one side. I made a backup for the HDD and stuck it to the case. Initially, I wanted to take the HDD to the side wall, but did not find the loops.
When everything was screwed and fitted, I inserted and secured the board with screws, connected everything and that's what I got
Not enough battery. I mounted the battery with hot-melt adhesive and one 3.5 cm support from the bottom.
After all, I stuck decorative stickers and here's what happened:
I connected all the wires from the input and output devices, brought the power to the coolers and rejoice. The main goal, namely the cooling of the processor and video card, is achieved! The laptop board in the new case feels very good. Temperatures have dropped significantly, and cleaning CO will now be easier.
I have not yet figured out how to design a power button.
I wish you all success and look forward to advice and comments!